Tag: scene imaging
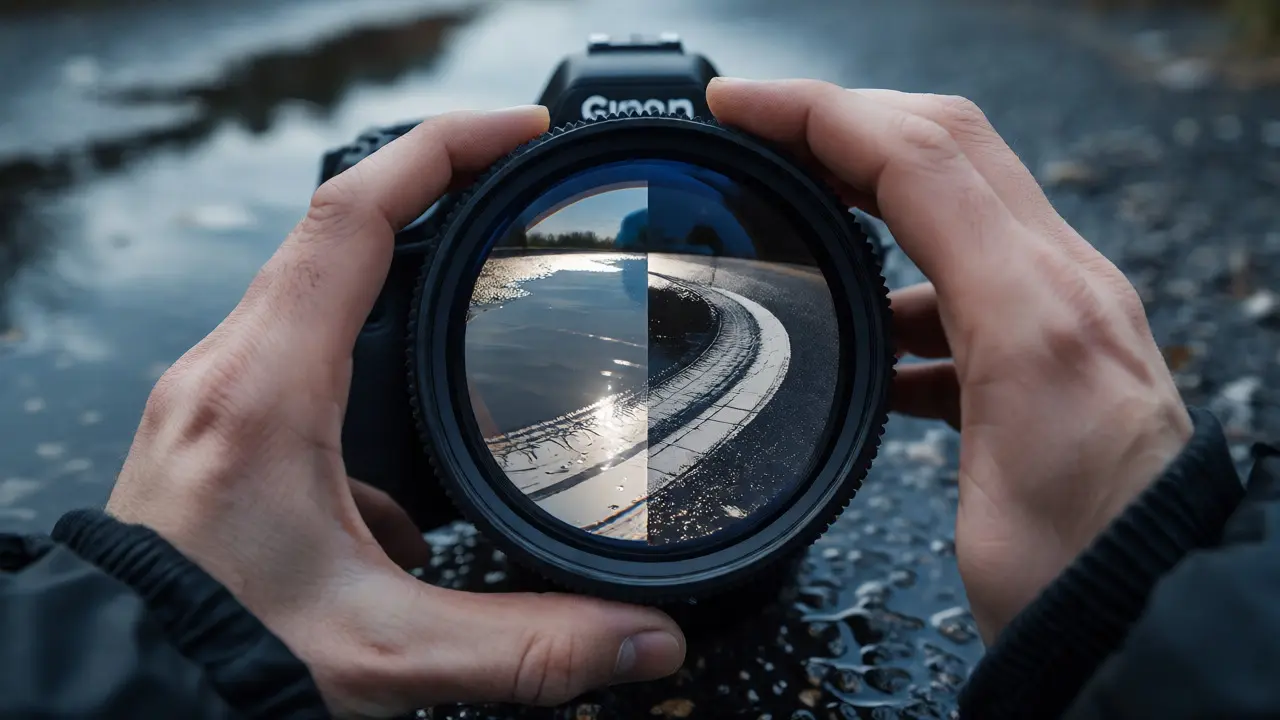
Mastering Glare: How Polarizing Filters Control Reflective Surfaces in Scene Imaging
- By : Ian Brophy
- Date : Oct 7 2026
Learn how polarizing filters control glare in forensic scene imaging. Discover techniques for documenting wet surfaces, glass, and reflective evidence effectively.
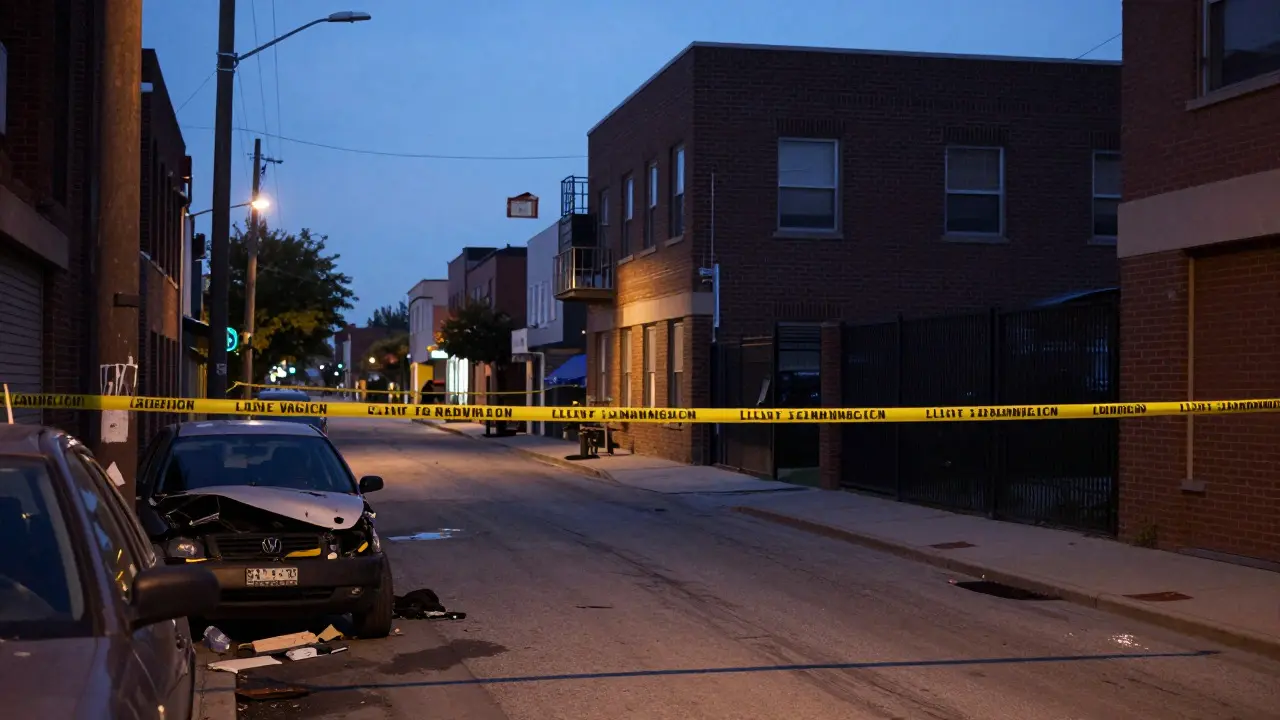
Long-Range, Medium-Range, and Close-Up Photography: A Guide to Scene Imaging
- By : Ian Brophy
- Date : Aug 17 2026
Learn how to master long-range, medium-range, and close-up photography for effective scene imaging. Discover technical tips, equipment needs, and common pitfalls to avoid.
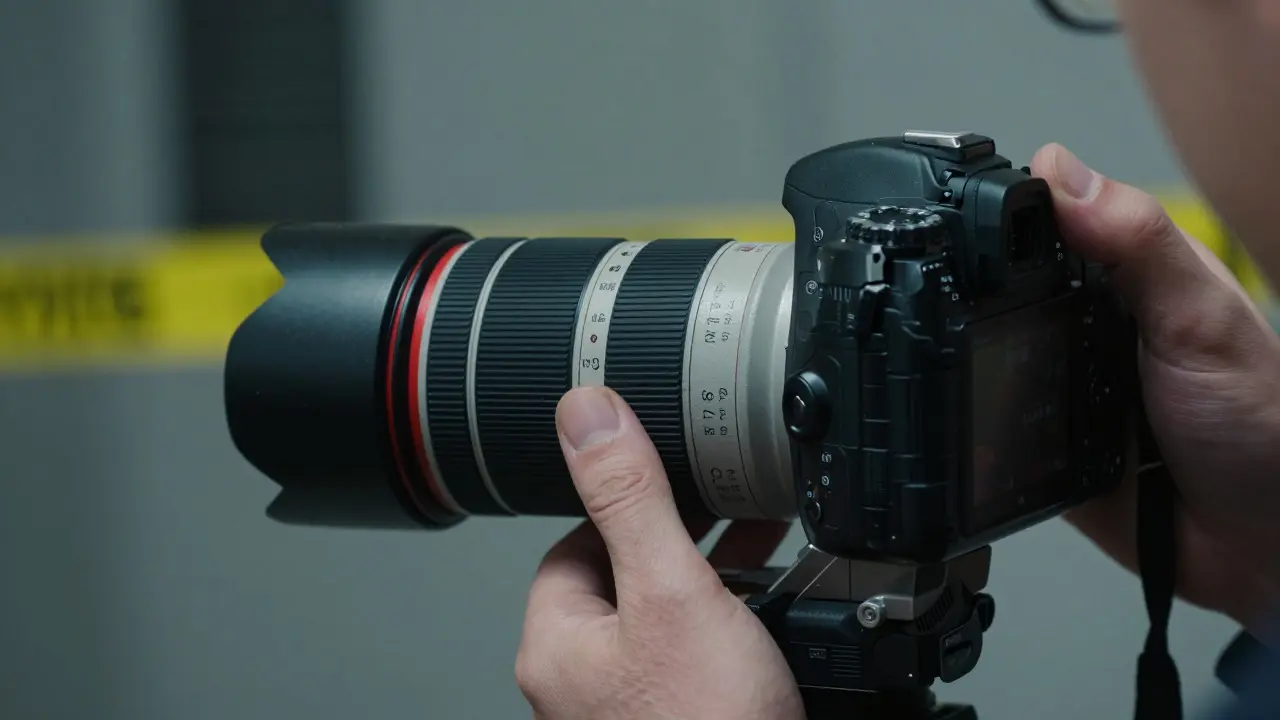
Forensic Lens Selection Guide: Matching Optics to Scene Imaging Tasks
- By : Ian Brophy
- Date : Aug 17 2026
An optical device designed to focus at extremely close distances, typically achieving a 1:1 magnification ratio. Standard prime lenses often struggle here because their minimum focus distance is too far to capture fine textures without significant blur or parallax error.
For true forensic integrity, look for lenses with a 1:1 reproduction ratio. This means a 1cm object on the sensor appears as 1cm in the image. Cheaper "macro" labels on kit zooms often only reach 1:2 or 1:3, which forces you to crop heavily later. Heavy cropping degrades image quality and can introduce noise that obscures ridge details in fingerprints.
Lighting becomes the bigger challenge with macro work. At such close distances, even slight movement causes blurring. You will almost certainly need external ring lights or twin flash units positioned perpendicular to the subject to minimize shadows and enhance surface texture. Without controlled lighting, the high resolution of a macro lens is wasted because the subject lacks definition.
Wide-Angle Lenses for Scene Overviews
The first shot you take at any scene is usually the overview. Here, a Wide-Angle Lens is optical equipment with a short focal length, typically between 14mm and 35mm, used to capture broad fields of view. These lenses are indispensable for showing the relationship between evidence and the room structure.
However, perspective distortion is your enemy. If you tilt the camera up to shoot a ceiling, vertical lines converge. To mitigate this, keep the camera sensor parallel to the plane of the subject whenever possible. For floor-to-ceiling shots, use a shift lens if budget allows, or step back further rather than tilting the camera. Tilted shots make it difficult for analysts to measure distances accurately from the photo later.
In tight spaces like vehicle interiors or small apartments, a 16mm or 24mm lens is often necessary. Just be aware that the wider the angle, the more curvature you see. Document the lens model and focal length used in your notes, as this metadata helps experts correct for distortion during analysis.
Telephoto Lenses for Detail Isolation
Sometimes you need to isolate a piece of evidence from a cluttered background without moving the camera position. This is where a Telephoto Lens is optical equipment with a long focal length, typically 70mm and above, used to magnify distant subjects and compress depth comes in handy. A 100mm or 200mm lens allows you to frame a specific injury or object while keeping the background blurred and non-distracting.
The compression effect of telephoto lenses makes objects appear larger and closer together. This is useful for showing the proximity of two pieces of evidence, but misleading if you need to demonstrate actual spatial separation. Always include a scale reference when using telephoto shots for measurement purposes.
Stability is critical here. Longer focal lengths amplify hand shake. Even at 1/200th of a second, a 200mm lens can produce soft images if held by hand. Use a tripod or brace yourself against a stable surface. In low-light scenes, this stability prevents motion blur that could obscure critical details.
Comparing Lens Types for Specific Tasks
Choosing the right lens often comes down to matching the tool to the task. The table below outlines the primary uses and limitations of each category in forensic settings.
| Lens Type | Typical Focal Length | Primary Use Case | Key Limitation |
|---|---|---|---|
| Wide-Angle | 14mm - 35mm | Scene overviews, establishing shots | Perspective distortion, edge vignetting |
| Standard Prime | 50mm - 85mm | Mid-range documentation, body shots | Requires physical repositioning for framing |
| Telephoto | 70mm - 200mm | Isolating details, compressing depth | Magnifies camera shake, shallow depth of field |
| Macro | 90mm - 105mm | Fingerprints, tool marks, small artifacts | Very shallow depth of field, requires specialized lighting |
Notice that the Macro column lists 90mm-105mm. This is not a coincidence. Most professional forensic macro lenses are based on medium telephoto primes because they offer a comfortable working distance. Being able to stand 6-10 inches away from the subject prevents your shadow from falling on the evidence and allows room for lighting setups.
Depth of Field and Aperture Settings
Lens selection is useless if you don't understand aperture. In forensic photography, depth of field (DOF) determines how much of the image is sharp. For most documentation, you want maximum sharpness across the entire subject.
This means stopping down to smaller apertures, typically f/8 to f/11. Wide open apertures like f/1.8 create beautiful artistic blur, but in forensics, blur is the enemy. If a fingerprint is partially out of focus, it’s unusable. Stopping down increases DOF, ensuring both the front and back of the object are sharp.
However, there is a trade-off. Very small apertures like f/16 or f/22 introduce diffraction, which slightly softens the entire image due to light bending around the aperture blades. For most forensic work, f/8 to f/11 hits the sweet spot between maximum sharpness and acceptable diffraction. Always test your specific lens combination to find its optimal aperture range.
Practical Tips for On-Scene Decision Making
When you arrive at a scene, you rarely have time to deliberate. Here is a quick decision framework:
- Overview First: Grab your widest lens (e.g., 24mm). Capture the room from all four corners. Keep the horizon level. Include a scale if possible.
- Mid-Range Context: Switch to your 50mm or 85mm. Move closer to the evidence. Show the object in relation to nearby items. Ensure no important context is cut off.
- Detail Shots: If the evidence is small, switch to your macro lens. Set up your ring light. Focus manually for precision. Take multiple shots at different angles.
- Scale References: Regardless of lens, always place a ruler or scale card in the frame for any shot intended for measurement. The lens type doesn't matter if you forget the scale.
Don't be afraid to change lenses. Modern mirrorless systems make swapping quick and quiet. Better to spend 30 seconds changing optics than to spend hours in post-production trying to fix a poorly framed shot.
Frequently Asked Questions
Do I need a dedicated macro lens for forensic work?
Yes, for serious forensic documentation, a dedicated 1:1 macro lens is highly recommended. Kit zooms labeled "macro" often lack the magnification ratio and optical correction needed for high-detail evidence like fingerprints. A dedicated lens ensures consistent performance and better color accuracy under artificial lighting.
Which focal length is best for general crime scene photography?
A versatile setup includes a wide-angle (24mm) for overviews and a standard prime (50mm or 85mm) for mid-range shots. The 50mm is often considered the most versatile single lens because it minimizes distortion while allowing enough flexibility to frame most evidence without excessive cropping.
How does lens choice affect measurement accuracy?
Lens choice directly impacts measurement accuracy through perspective distortion. Wide-angle lenses exaggerate distances and curve straight lines, making measurements unreliable unless corrected mathematically. Standard and telephoto lenses distort less, making them safer choices for any photo intended to be used for dimensional analysis. Always include a scale reference regardless of lens used.
Should I use a zoom lens or prime lenses for forensics?
Prime lenses generally offer superior optical quality, wider maximum apertures, and less distortion than zoom lenses. For high-stakes forensic work, primes are preferred. However, a high-quality zoom can be useful in dynamic scenes where you cannot reposition the camera. If using a zoom, avoid the extreme ends of the range where optical defects are most pronounced.
What aperture setting should I use for forensic photos?
Use f/8 to f/11 for most forensic shots. This range provides a deep depth of field, ensuring the entire subject is in focus, while avoiding the diffraction softening that occurs at very small apertures like f/16 or f/22. Always verify sharpness on your camera screen before moving to the next shot.
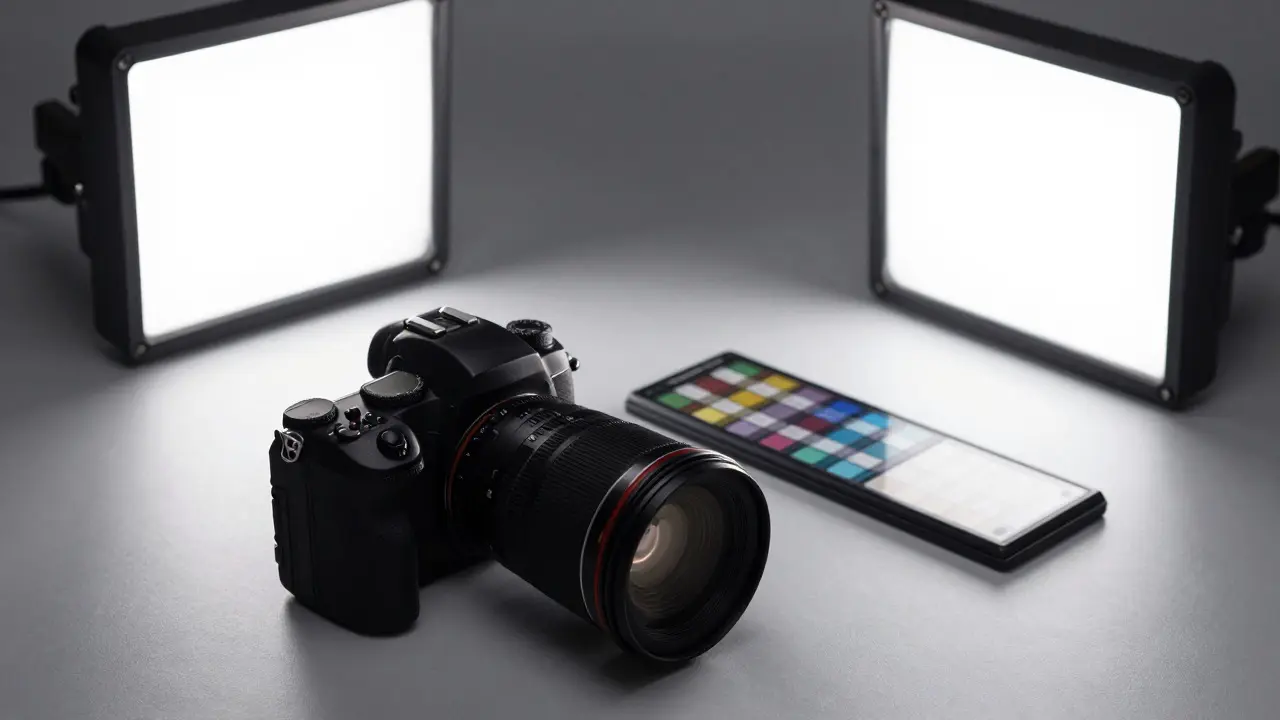
Witness Injury Photography: Standardized Clinical Techniques for Forensic Accuracy
- By : Ian Brophy
- Date : Aug 17 2026
Learn standardized clinical techniques for witness injury photography. Master the three-shot protocol, lighting setups, and equipment needed for forensically sound documentation.
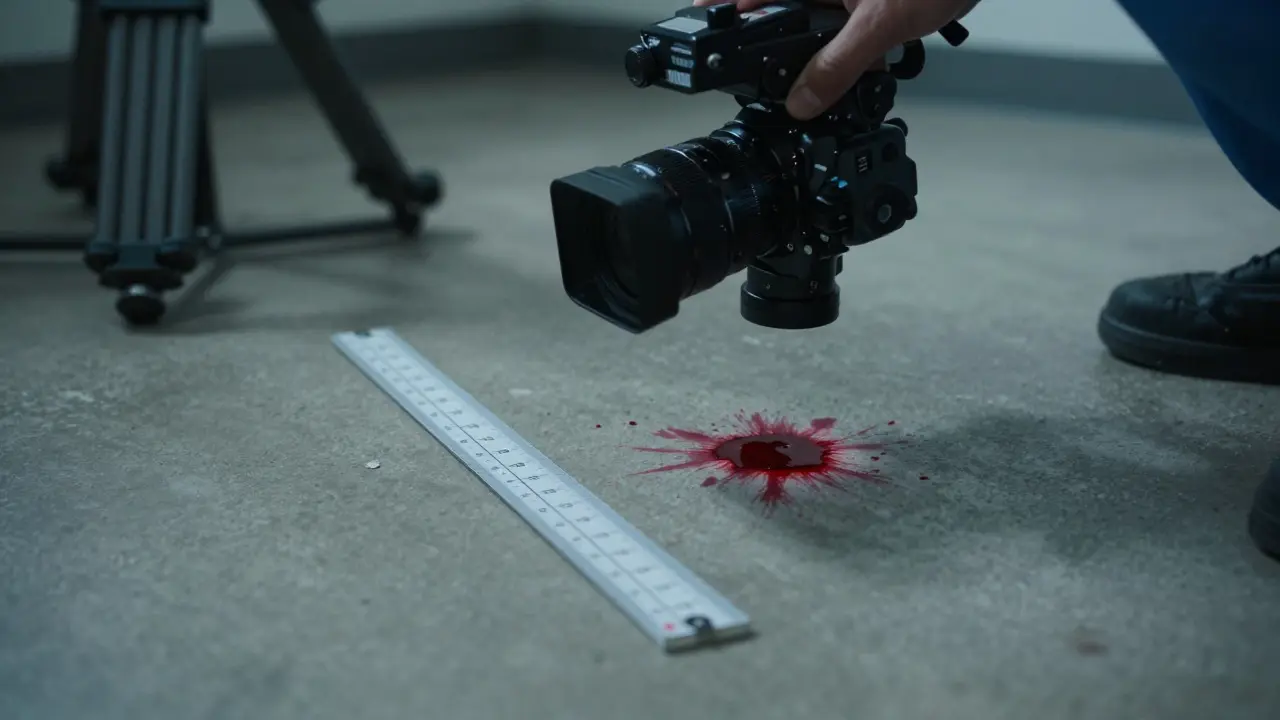
Photography Distortion in Court: Legal Admissibility Standards
- By : Ian Brophy
- Date : Aug 16 2026
Learn how to avoid photographic distortion in crime scenes to ensure legal admissibility. Covers lens choice, lighting, scale usage, and digital integrity for forensic imaging.
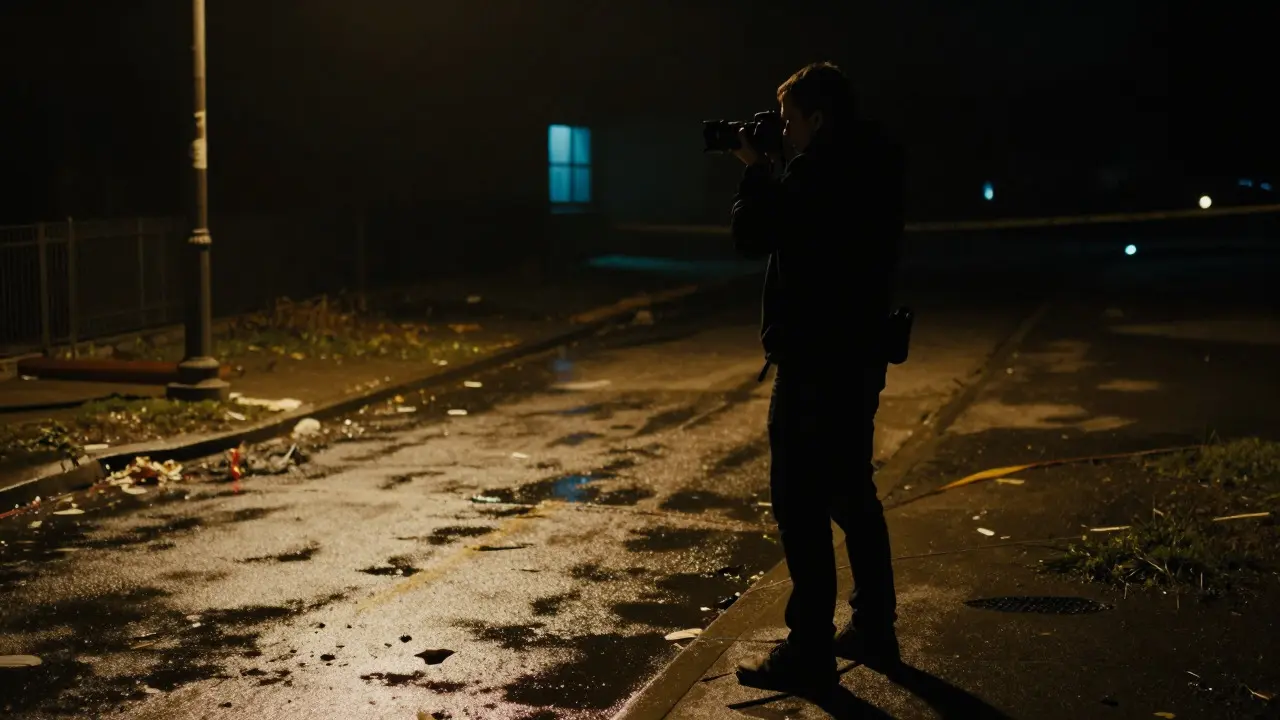
RAW vs. JPEG in Forensic Photography: When to Use Each
- By : Ian Brophy
- Date : Aug 16 2026
Learn when to use RAW vs. JPEG in forensic photography. Discover how file choice affects dynamic range, chain of custody, and admissibility in court.
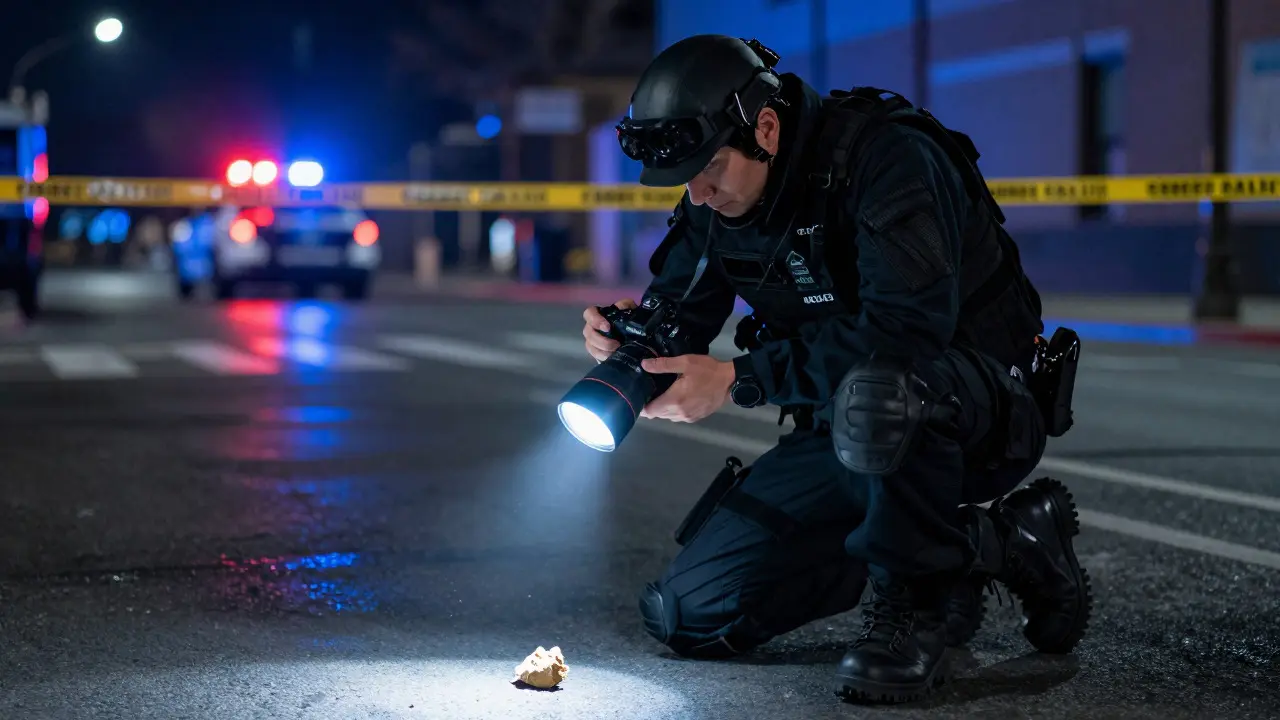
Video Evidence Admissibility: Courtroom Presentation Guide for Scene Imaging
- By : Ian Brophy
- Date : Aug 16 2026
Learn how to ensure video evidence from scene imaging is admissible in court. Covers chain of custody, metadata management, and presentation tips for investigators.
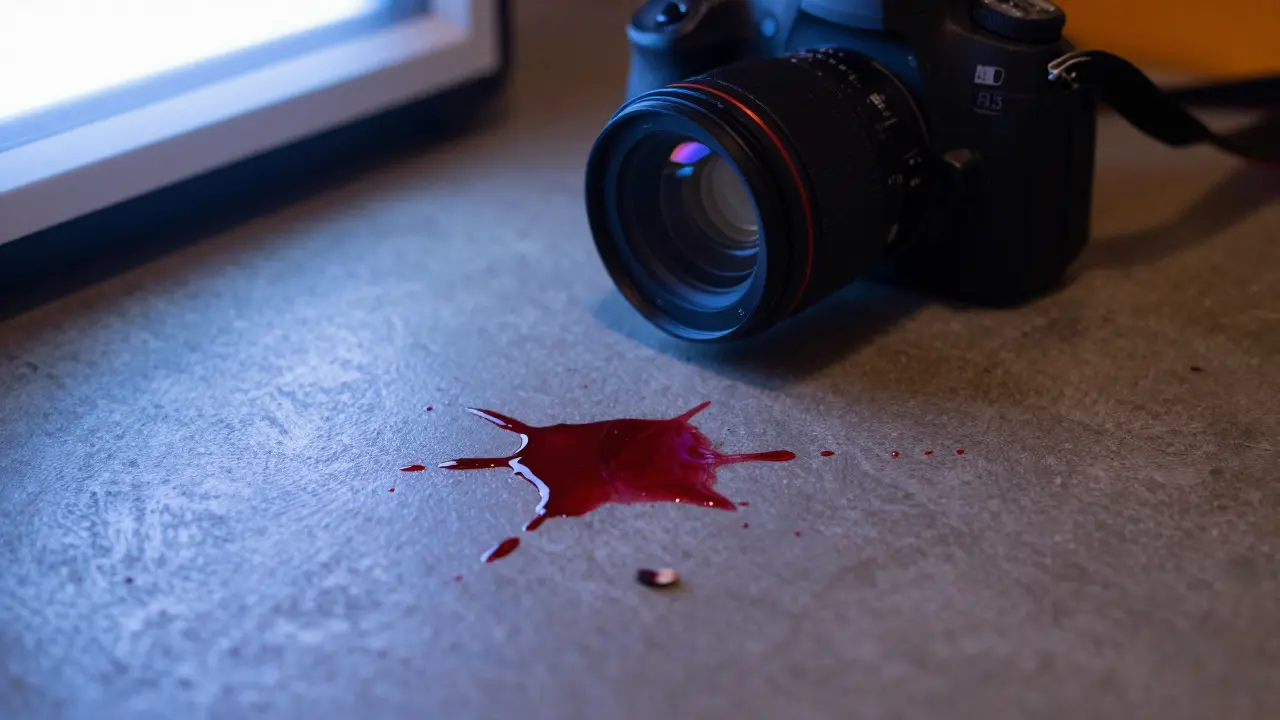
Color Accuracy in Forensic Photography: Standards, Tools & Pitfalls
- By : Ian Brophy
- Date : Aug 16 2026
Learn how to achieve lab-grade color accuracy in forensic photography. Covers standards, essential tools like ColorCheckers, and workflows to ensure evidence withstands legal scrutiny.
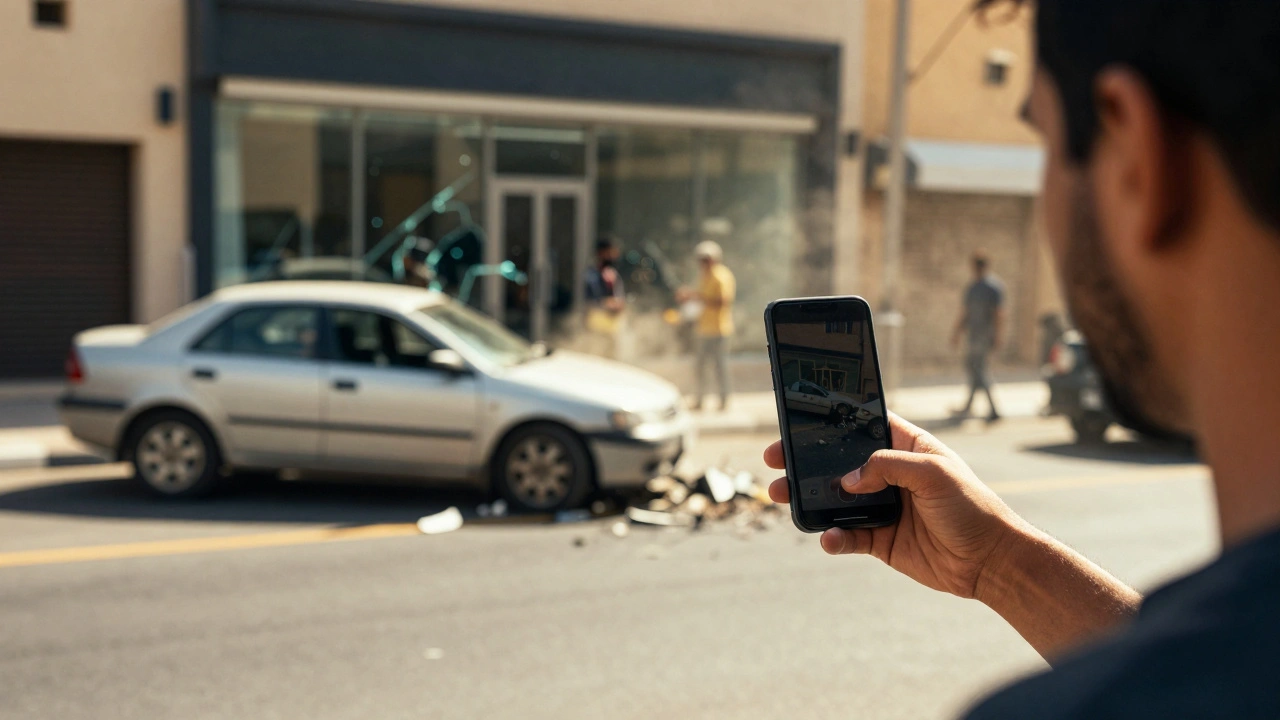
Smartphone Cameras in Emergencies: Admissibility Considerations for Scene Imaging
- By : Ian Brophy
- Date : May 25 2026
Explore the legal admissibility of smartphone cameras in emergencies. Learn about authentication, chain of custody, wiretap laws, and best practices for preserving scene imaging evidence in court.
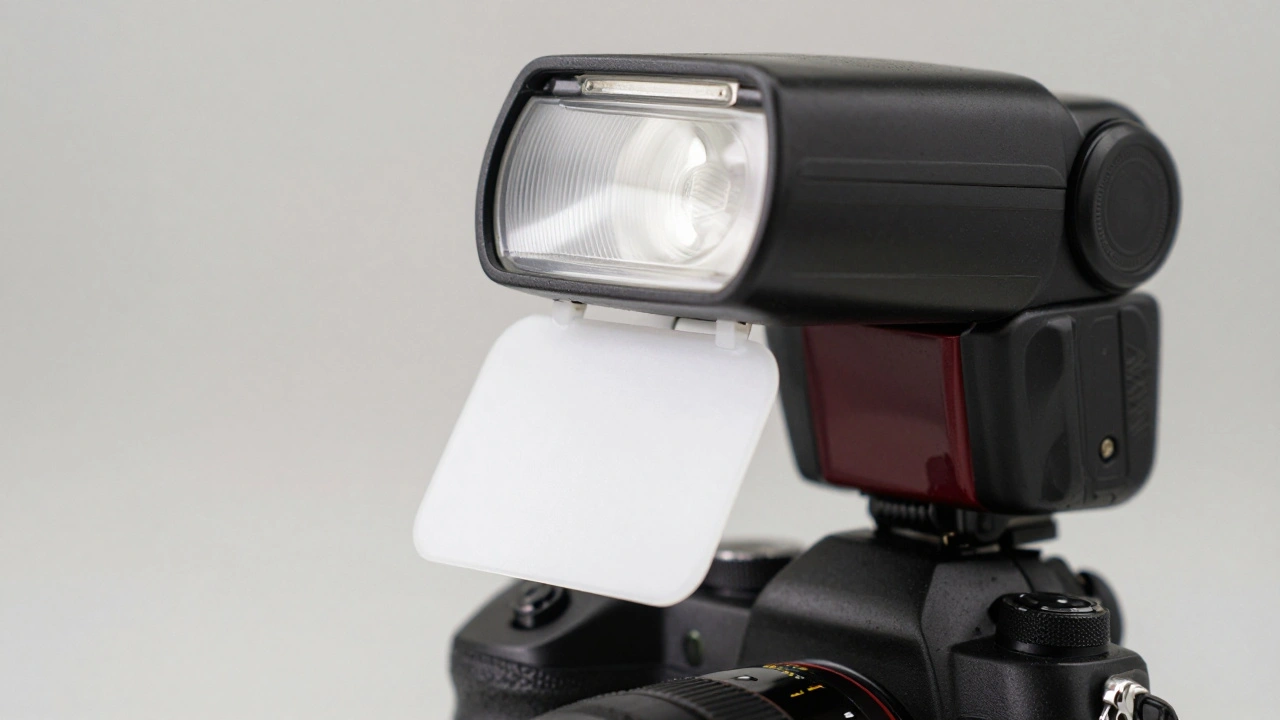
Mastering Flash Techniques: Diffusion, Bounce, and Off-Camera Lighting
- By : Ian Brophy
- Date : Apr 5 2026
Learn how to master flash techniques including diffusion, bounce, and off-camera lighting to achieve professional scene imaging and soft, natural light.
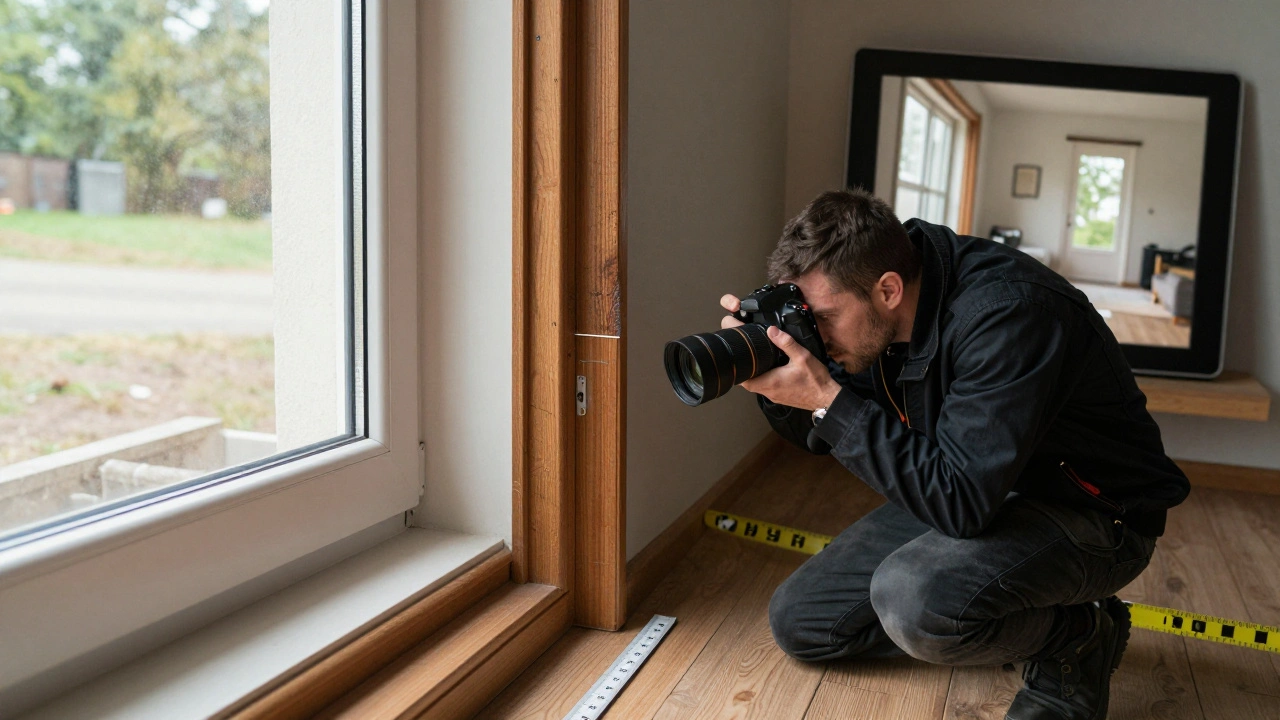
Training Exercises for Photographic Documentation: Real-World Scenarios
- By : Ian Brophy
- Date : Feb 18 2026
Photographic documentation training teaches how to capture meaningful, accurate images for forensic, educational, and tactical contexts. Learn practical exercises like the 100 Paces method, five-minute action shots, and the three-point art documentation system.