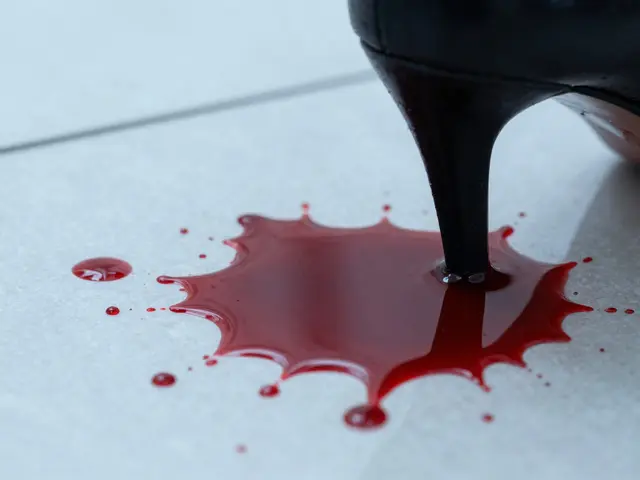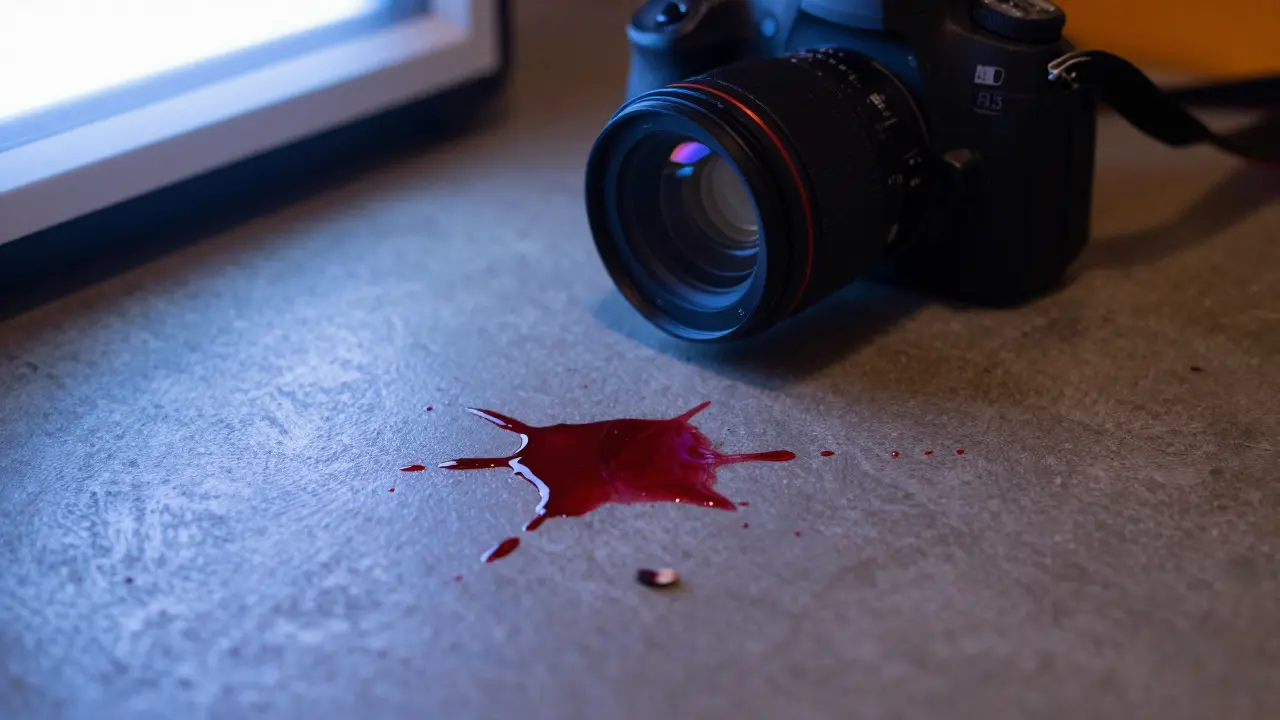
Imagine a jury staring at a photo of a bloodstain. The color looks dark red. But was it actually maroon? Or did the camera white balance shift it under harsh fluorescent lighting? In forensic science, that tiny difference can change the narrative of an entire case. Color accuracy is the degree to which a digital image reproduces the true spectral reflectance of a physical object or scene, measured against standardized reference targets. It is not just about making photos look "pretty"; it is about creating evidence that withstands cross-examination.
When you capture a crime scene, you are documenting light. Light interacts with surfaces based on their chemical composition and texture. If your sensor misinterprets that interaction, the data is compromised. This article breaks down how to achieve lab-grade color fidelity in the field, what standards apply, and where most investigators go wrong.
The Physics of Color in Crime Scenes
To understand why colors fail, you have to look at the light source. Most indoor crime scenes use mixed lighting: overhead LEDs, streetlights through windows, and maybe a flashlight beam. Each source has a different Color Rendering Index (CRI) and correlated color temperature. A standard office LED might be 4000K, while a sodium streetlight is 2200K. Your camera’s auto white balance tries to guess the dominant light source, but it often guesses wrong when multiple sources mix.
The result is a color cast. Shadows turn blue, highlights turn orange. For general documentation, this is annoying. For forensic analysis-like identifying paint chips or fabric fibers-it is fatal. You need to neutralize the light source before the sensor even sees the subject. That means controlling the environment or compensating for it digitally using reference targets.
Standards and Protocols: What Counts as "Accurate"?
You cannot just say a photo is "accurate." You need a benchmark. The global standard for forensic imaging is often aligned with ISO 17025, an international standard for the competence of testing and calibration laboratories, which requires traceable measurement systems. While primarily a lab standard, its principles dictate field practices: every measurement must be traceable to a national or international standard.
In practice, this translates to two key metrics:
- Delta E (ΔE): A numerical value representing the difference between the captured color and the reference color. A ΔE of 0 is perfect. A ΔE below 2 is generally imperceptible to the human eye. In forensics, you aim for ΔE < 1.5 for critical evidence.
- White Balance Error: Measured in Kelvin deviation from the target. If your target is 5500K and your image renders it at 6000K, you have a 500K error, which shifts all hues.
These numbers aren't abstract. They determine whether a fiber match holds up in court. If the defense argues the fiber was photographed under poor light, and you have no ΔE data to prove otherwise, the evidence becomes weak.
Essential Tools for Field Calibration
You don’t need a million-dollar spectrophotometer to get good results, but you do need the right tools. Here is the minimum kit for reliable scene imaging:
| Tool | Purpose | Best Use Case | Limits |
|---|---|---|---|
| X-Rite ColorChecker | 24-color patch chart for white balance and hue correction | General scene documentation, macro shots | Does not cover extreme shadows/highlights well |
| Kodak Q-13 | Standardized color bar for broadcast/video | Video recording of scenes | Less common in still photography workflows |
| Gray Card (18%) | Neutral density reference for exposure and WB | Quick white balance fixes | No color information, only luminance |
| Spectrophotometer | Measures exact spectral reflectance | Lab verification of field cameras | Bulky, expensive, not for daily field use |
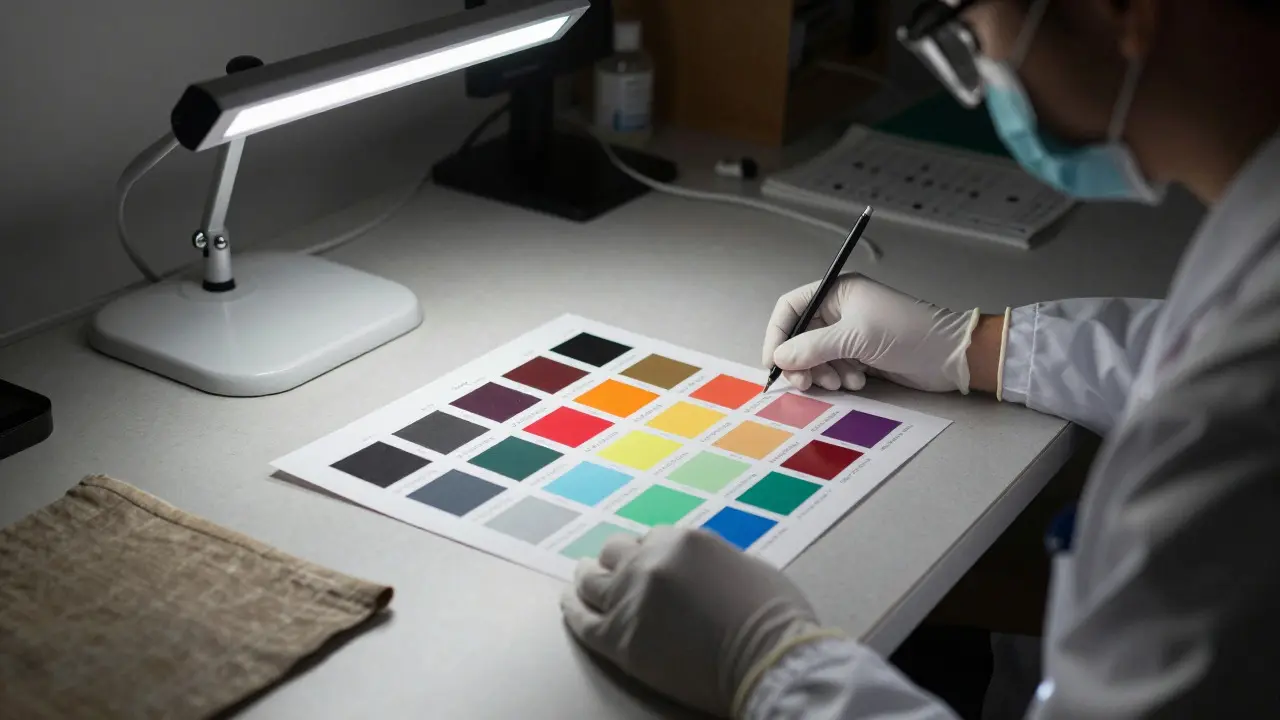
The X-Rite ColorChecker remains the industry gold standard for still photography. It provides 24 patches covering skin tones, foliage, and primary colors. When you place it in the same plane as your evidence, under the same lighting, you give post-processing software a mathematical anchor to correct the entire image.
Step-by-Step Workflow for Accurate Capture
Getting the shot is half the battle. The other half is ensuring the metadata supports the correction. Follow this sequence:
- Stabilize Lighting: Turn off flickering lights if possible. Use continuous LED panels with a CRI of 90+ if you control the environment. If not, note the ambient light conditions in your logbook.
- Place the Target: Position the ColorChecker flat on the surface next to the evidence. Ensure it receives the same light intensity and angle as the object. Do not hold it; let it rest to avoid motion blur.
- Set Manual White Balance: Do not rely on Auto WB. Set your camera’s white balance to match the light source (e.g., 4000K for tungsten, 5500K for daylight). If unsure, take a test shot of the gray card and adjust until the histogram shows a neutral midtone.
- Capture RAW: Always shoot in RAW format. JPEG compression bakes in white balance decisions, making later corrections destructive. RAW files retain full sensor data, allowing non-destructive color grading.
- Verify Immediately: Review the image on the camera screen. Check the histogram for clipping. Ensure the ColorChecker patches are sharp and evenly lit. If one side is darker, move the light or reposition the target.
This workflow takes less than two minutes but saves hours in post-production and eliminates legal challenges regarding image integrity.
Post-Processing: From Data to Evidence
Once you are back in the lab, the real work begins. You are not editing photos; you are correcting data. Use professional software like Adobe Lightroom, Capture One, or specialized forensic tools like EnFocus.
Here is how to proceed:
- Calibrate Profile: Import the RAW file and use the ColorChecker profile created during capture. Software like Capture One can generate a custom ICC profile from the chart, mapping the camera’s response to standard sRGB or ProPhoto RGB spaces.
- Check Delta E: Use built-in tools or plugins to measure the ΔE between the corrected image and the reference values. Aim for a mean ΔE below 1.5 across all 24 patches.
- Document Corrections: Save the original RAW file untouched. Export a TIFF for evidence submission. Keep a log of all adjustments: white balance settings, exposure changes, and crop details. Transparency is your best defense against claims of manipulation.
If you skip the ColorChecker step, you are guessing. And in court, guessing is dangerous.
Common Pitfalls and How to Avoid Them
Even experienced photographers make mistakes that compromise color fidelity. Watch out for these:
- Mixed Lighting Without Compensation: Shooting near a window with daylight coming in while the room is lit by incandescents creates conflicting color temperatures. Solution: Use gels to match the secondary light source to the primary, or isolate the evidence area with controlled lighting.
- Ignoring Surface Texture: Glossy surfaces reflect light differently than matte ones. A shiny bloodstain will show specular highlights that distort color perception. Solution: Use polarizing filters to reduce glare, or shoot at an angle that minimizes reflection.
- Using Auto Exposure Lock Incorrectly: AE Lock can freeze exposure based on a bright background, leaving the evidence underexposed. Solution: Meter specifically for the evidence, not the background. Use spot metering on the subject.
- Neglecting Lens Profiles: Some lenses introduce chromatic aberration, especially at the edges. Solution: Apply lens profiles in post-processing to correct fringing and distortion.
Each of these errors introduces noise into your data. The goal is signal purity.
Why It Matters in Court
Defense attorneys love to attack the integrity of photographic evidence. They will ask: "How do we know the color hasn't been altered?" If you have a documented chain of custody, RAW files, and a calibrated ColorChecker reference, your answer is strong. You can demonstrate that the image is a faithful representation of the scene at the time of capture.
Conversely, if you relied on auto white balance and JPEG compression, the defense can argue that the color is subjective. They can claim the lighting was poor, the camera was faulty, or the photographer made artistic choices. With proper protocol, those arguments lose traction.
Color accuracy isn't just technical; it's legal. It transforms a picture into proof.
What is the acceptable Delta E for forensic photography?
A Delta E (ΔE) value below 1.5 is generally considered excellent for forensic applications, as differences below 2.0 are barely perceptible to the human eye. For critical evidence like fibers or paint, aiming for ΔE < 1.0 ensures high confidence in color matching during laboratory comparison.
Do I need a ColorChecker for every single photo?
Ideally, yes, for any image intended for detailed analysis. For general overview shots, a gray card may suffice for white balance. However, for close-ups of evidence where color identification is crucial, a ColorChecker provides the necessary multi-hue reference for accurate correction and validation.
Can smartphone cameras be used for forensic color accuracy?
Yes, but with caution. Modern smartphones shoot in HEIF or JPEG, which compresses data. To ensure accuracy, use a manual mode app that allows RAW output (DNG), set manual white balance, and include a ColorChecker in the frame. Verify the phone’s color performance against a known standard before relying on it for evidence.
What is the role of ISO 17025 in field photography?
ISO 17025 sets the competency standards for laboratories. While not a direct field protocol, it mandates that measurements be traceable. In photography, this means using calibrated equipment and reference targets so that color data can be verified against national standards, ensuring the evidence is scientifically defensible.
How does lighting affect color rendering in crime scenes?
Lighting determines which wavelengths are reflected by objects. Poor quality light sources with low CRI (below 80) distort colors, making blues look green or reds look brown. Using high-CRI LEDs (90+) or natural daylight ensures more faithful color reproduction, reducing the need for aggressive post-corrections.