Direct flash often creates a harsh, clinical look that kills the depth of a scene. You've seen it: the blinding white spot on a forehead, the deep black shadows cast directly behind a subject, and that flat, "deer-in-the-headlights" appearance. The problem isn't the flash itself, but the size of the light source. A small, concentrated burst of light creates hard edges; a large, spread-out source creates soft transitions. To get professional results in scene imaging, you have to stop pointing your flash directly at what you're photographing and start manipulating how the light travels.
The Secret to Soft Light: Understanding Diffusion
If you want light to look natural, you need to make the light source appear larger. Since you can't physically stretch your flash bulb, you use diffusion. Diffusion is the process of scattering light rays to reduce contrast and soften shadows. This is essential when you're capturing detail in a tight space where a harsh glare could obscure critical evidence or visual data.
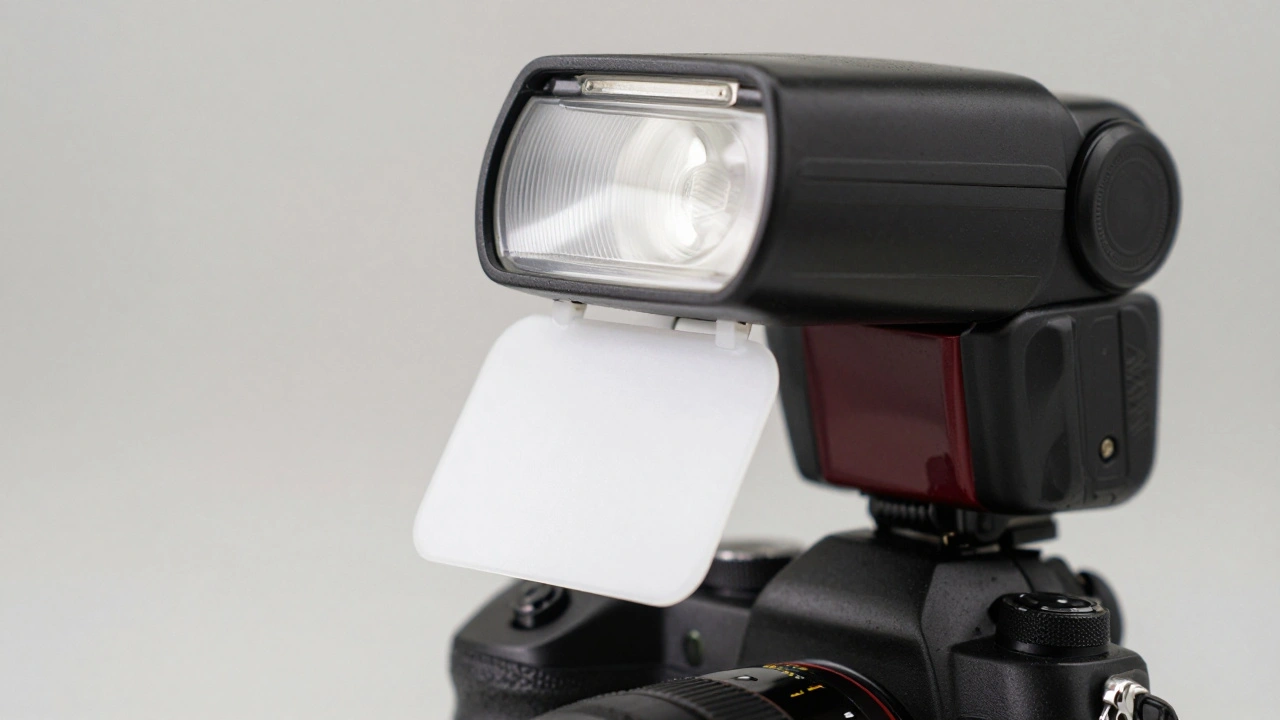
One of the simplest ways to achieve this is by using a bounce card. Most modern flashes have a small white plastic card that flips up. By reflecting a portion of the light back into the flash head, you create a slightly larger emitting surface. If a built-in card isn't enough, you can DIY a solution by attaching a white card to the perimeter of the flash. This increases the "face" of the light, casting a gentler fill-light that fills in those oppressive shadows without blowing out the highlights.
Bounce Flash: Using Your Environment as a Softbox
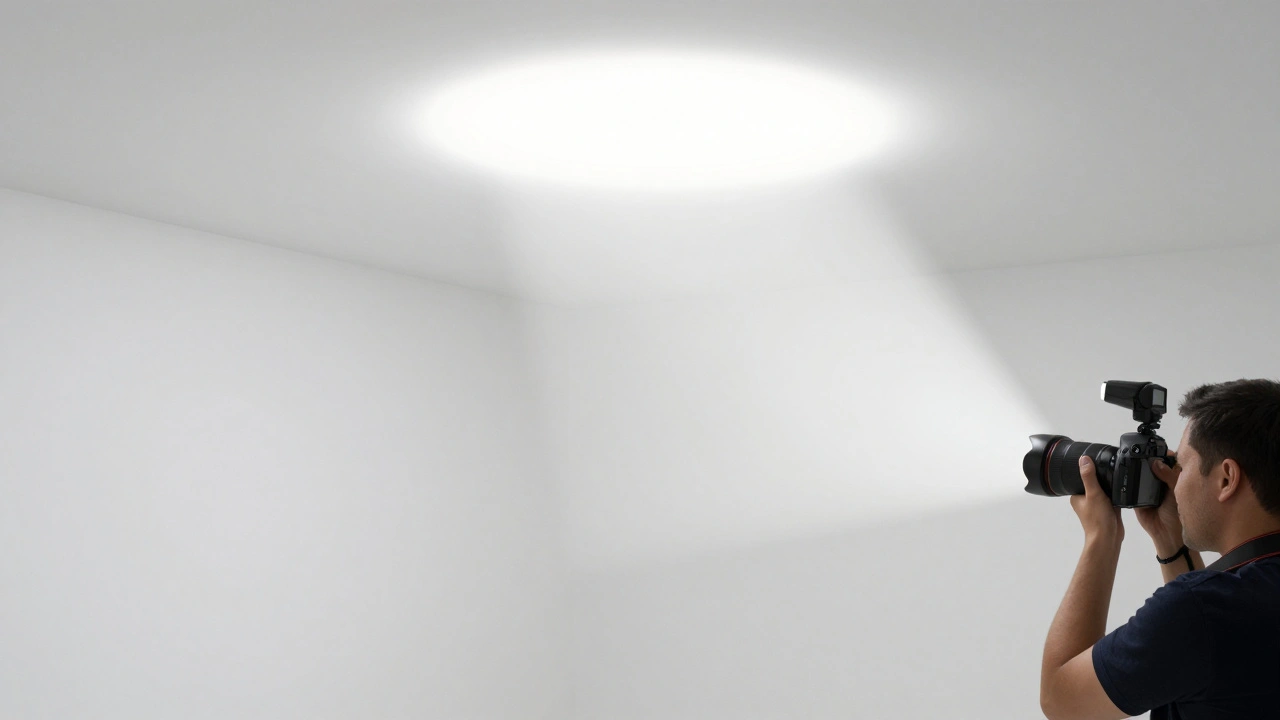
Imagine you're in a room with white walls and a white ceiling. Instead of firing the flash forward, you point it at the ceiling. You've just turned the entire room into a massive softbox. This is bounce flash, a technique where you redirect the light toward a reflective surface before it hits your subject.
The magic here is in the physics of reflectance. When light hits a white ceiling, it spreads out. Because the light source is now the ceiling itself-which is huge compared to a tiny flash head-the shadows become soft and wrap around the subject. However, don't just tilt the flash up blindly. If you fire it straight up, you might get "flat" lighting. Instead, swivel the flash to a side wall. This mimics a studio setup where a light is placed to the side, adding dimension and shape to the subject's face or the object in the scene.
A fascinating quirk of this method is how it handles distance. Due to the inverse square law, direct flash loses intensity rapidly as you move away. But with bounce flash, the light levels out. This means a person in the foreground and someone several feet behind them often receive almost the same amount of exposure, creating a more consistent image across the entire frame.
| Feature | Direct Flash | Bounce Flash | Diffused Flash |
|---|---|---|---|
| Shadow Quality | Hard/Sharp | Very Soft | Soft/Muted |
| Light Source Size | Small | Large (Room) | Medium (Modifier) |
| Natural Look | Low | High | Medium-High |
| Setup Speed | Instant | Fast (if surfaces allow) | Moderate |
Breaking Away: The Power of Off-Camera Flash
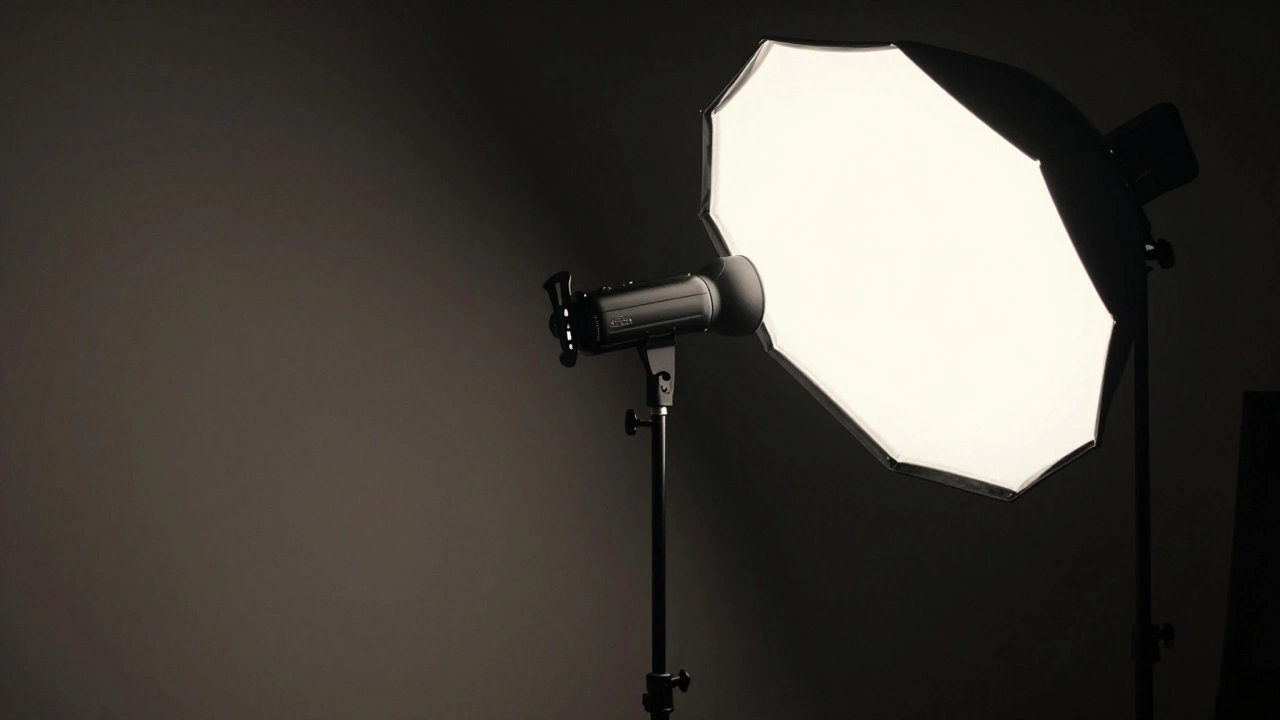
While bouncing light is great, you're still limited by the walls of the room. For total control, you need off-camera flash. This means triggering your strobe from a position physically removed from the camera body. By separating the light from the lens, you can place the light exactly where you want it-just like a studio photographer would.
For a classic, flattering look, try placing the flash at a 45-degree angle in front of the subject, slightly raised and tilted downward. This creates a natural-looking depth. If you want something more dramatic, try side lighting. Start by placing the flash behind the subject and slowly circle around them until you find the sweet spot where the light accentuates the textures and contours of the scene. If you point the flash toward a side wall while it's off-camera, you can create "split-lighting," where half the subject is illuminated and the other half remains in shadow.
Technical Execution and Pitfalls
You might be tempted to rely on TTL (Through-The-Lens) metering, which automatically calculates the flash output. While TTL is convenient, it can be unpredictable when bouncing light because the camera doesn't always know how much light the wall will absorb. In these cases, switching to manual flash is often better. You gain precise control over the output power, ensuring that your exposure remains consistent across a series of photos.
One common headache occurs when shooting vertically. If your flash is mounted on top of the camera, it creates an awkward sideways shadow. To fix this, use a rotating flash bracket. This keeps the flash above the lens axis regardless of whether you're shooting landscape or portrait, ensuring the light direction stays consistent.
Practical Tips for Better Results
- Ask the Studio Question: Before firing, ask yourself, "Where would I put a softbox if I had a full studio here?" Then, try to mimic that position using a wall or a remote flash.
- Check Your Surfaces: Bounce flash only works on light-colored surfaces. Trying to bounce light off a dark blue or brown wall will result in a color cast in your photos and very little light returning to the subject.
- Control Your ISO: Don't be afraid to bump your ISO to 800 or 1600. This allows your flash to work less hard, meaning you can bounce the light further away from the subject and still get a usable exposure.
- Avoid the "Omnibounce" Trap: Using a wide-angle diffuser (omnibounce) as a default can often lead to flat, uninspired lighting. Be intentional about the direction of the light, not just the softness.
Why does my bounce flash look too dark?
Because the light has to travel to the ceiling and then back down to your subject, you lose a significant amount of intensity. To fix this, increase your ISO or open your aperture (lower the f-stop number) to let in more light.
Can I use bounce flash outdoors?
Not in the traditional sense, as there are no ceilings. However, you can bounce light off a white wall, a car, or even a piece of white foam core held by an assistant to achieve a similar softening effect.
What is the difference between diffusion and bouncing?
Diffusion happens when light passes through or reflects off a material (like a softbox or bounce card) attached to the flash. Bouncing involves reflecting light off a distant surface in the environment, like a wall or ceiling, to create a much larger light source.
Is TTL flash better than manual flash for bounce photography?
TTL is faster for snapshots, but manual is better for consistency. When bouncing, the distance to the reflective surface changes the light output. Manual flash lets you lock in the power so every shot looks the same.
How do I stop the "red-eye" effect when using flash?
Red-eye happens when light enters the eye and reflects off the retina directly back into the lens. The best way to stop this is to use bounce flash or off-camera flash; by moving the light source away from the lens axis, the light won't bounce straight back into the camera.
Next Steps and Troubleshooting
If you're just starting, begin with bounce flash in a room with white walls. It's the lowest risk and fastest way to see the difference between hard and soft light. Once you're comfortable, invest in a wireless trigger and a light stand to experiment with off-camera positioning.
If you notice a weird yellow or blue tint in your photos while bouncing, check the color of the wall you're using. Light picks up the color of the surface it hits. If you're forced to bounce off a colored wall, you may need to adjust your camera's White Balance settings manually to neutralize the color cast.