Photographic documentation isn’t just about taking pictures. It’s about telling a story that lasts-whether you’re recording a crime scene, a student’s pottery project, or a soldier’s movement through terrain. The difference between a snapshot and a useful document comes down to training. And training means exercises-repeated, structured, intentional practices that build skill, not luck.
Start with the Basics: The Four Pillars of Documentation
Official training programs, like the U.S. Army’s Photographic Documentation Administration and Preparation course (SS0574), break down the process into four core skills. These aren’t optional. They’re the foundation.
- Preparing for assignments-Know your purpose before you pick up the camera. Are you documenting evidence? Artistic progress? Tactical movement? Your goal changes how you shoot.
- Planning picture sequences-One photo rarely tells the whole story. You need wide shots, close-ups, angles from above and below. Think in sequences, not single frames.
- Writing captions-A photo without context is just an image. Captions must include time, location, subject, and relevance. No guesswork allowed.
- Numbering negatives (or files)-In digital terms, this means consistent file naming: SCENE001_01.jpg, SCENE001_02.jpg. No random names. No “IMG_1234.jpg.” Organization saves hours later.
These aren’t just military rules. They’re universal. A forensic photographer documenting a burglary, an art teacher capturing ceramic work, or a researcher recording wildlife behavior-all need this structure.
Exercise 1: The Five-Minute Action Shot
Set a timer for five minutes. Find a place with movement: a classroom, a street corner, a workshop. Your job? Take as many photos as you can that show people, objects, or animals in motion.
You’ll shoot from far away. You’ll crouch down. You’ll zoom in on hands. You’ll catch a laugh, a frown, a tool slipping, a brushstroke. You won’t have time to compose perfectly. That’s the point.
This exercise trains your brain to react. You learn to see relationships-not just subjects. A student’s hand gripping clay isn’t just a hand. It’s evidence of technique. A soldier adjusting gear isn’t just moving. It’s revealing a tactical pattern.
Afterward, review your photos. Did you capture the moment the student paused to think? Did you get the moment the tool hit the table? If not, try again tomorrow. This is muscle memory.
Exercise 2: The 100 Paces Method
Stand in one spot. Take 10 photos of the same scene. Then walk 100 paces. Take 10 more. Walk again. Repeat.
This isn’t about distance. It’s about perspective. From close up, you see texture. From far away, you see context. From above, you see layout. From below, you see power.
In a classroom, this helps document how a sculpture changes as students move around it. In forensics, it shows how evidence relates to the room’s structure. In military training, it reveals terrain features that might be missed from one angle.
Try it with your own kitchen. Take 10 photos from the doorway. Walk to the window. Take 10 more. Walk to the fridge. Take 10 more. You’ll see how the same space tells three different stories.
Exercise 3: Daily Life Documentation
Each day, pick three moments to document. Not just anything-meaningful moments. The steam rising from your coffee. The way sunlight hits your notebook as you write. The moment you pause before leaving for work.
This trains you to notice the quiet details that make a story real. In art documentation, it’s the moment a student glances at their work before adding the final glaze. In forensics, it’s the way a suspect’s shoes leave a pattern on the floor before they even speak.
Use composition rules: the rule of thirds, leading lines, framing. Don’t just point and shoot. Ask: Am I capturing what I need to show? Is the background distracting? Should I get closer?
After a week, look back. You’ll start seeing patterns. You’ll notice how lighting changes the mood. You’ll understand how a single frame can carry emotion.
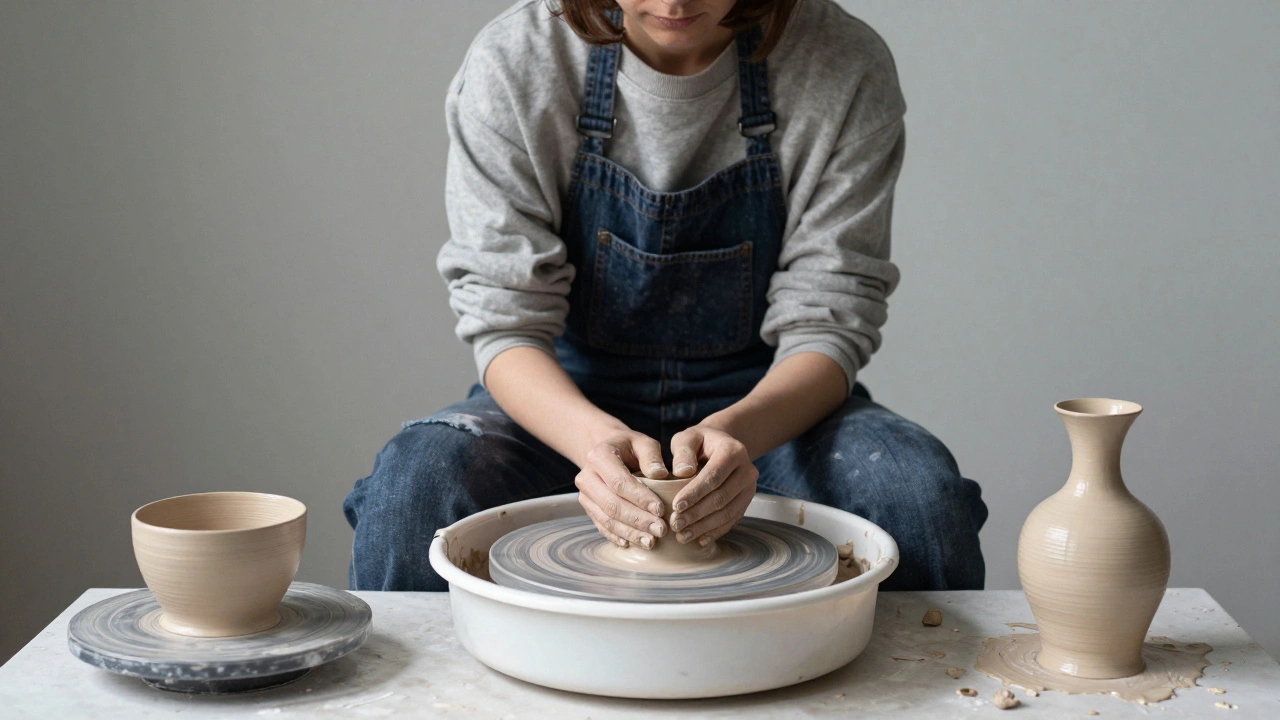
Documenting Art: The Three-Point System
Valley Community College’s ceramics program uses a simple, repeatable method: three photos per piece.
- Initial formation-The clay on the wheel. Centering technique. Hands shaping.
- Pre-bisque firing-Surface texture, tool marks, glaze application.
- Post-glaze firing-Final form, color, cracks, glaze flow.
This system works because it’s consistent. Every student’s work is documented the same way. No guesswork. No missing steps.
Set up a dedicated photo station with consistent lighting. Use a neutral background. Rotate student photographers so everyone learns the system. Label files clearly: ART001_INIT.jpg, ART001_PRE.jpg, ART001_FINAL.jpg.
Don’t just photograph the finished product. Show the journey. The cracks, the smudges, the fingerprints-all are part of the story.
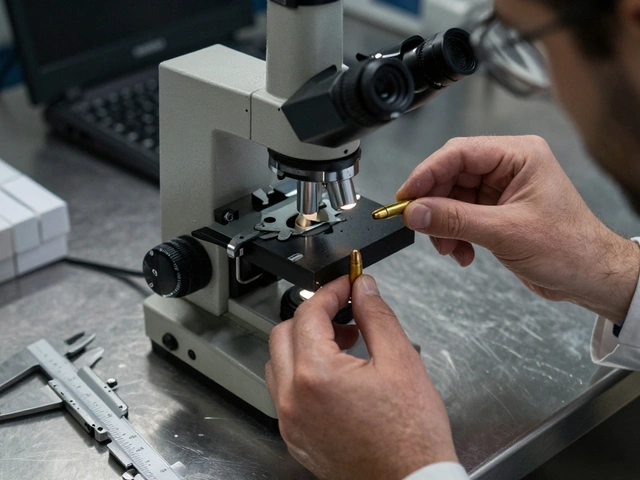
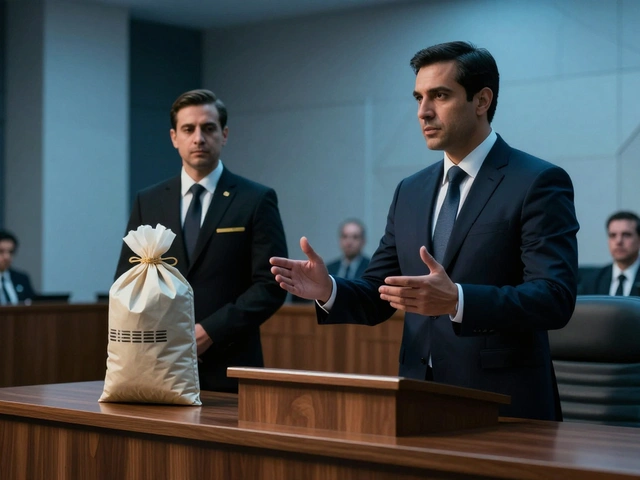
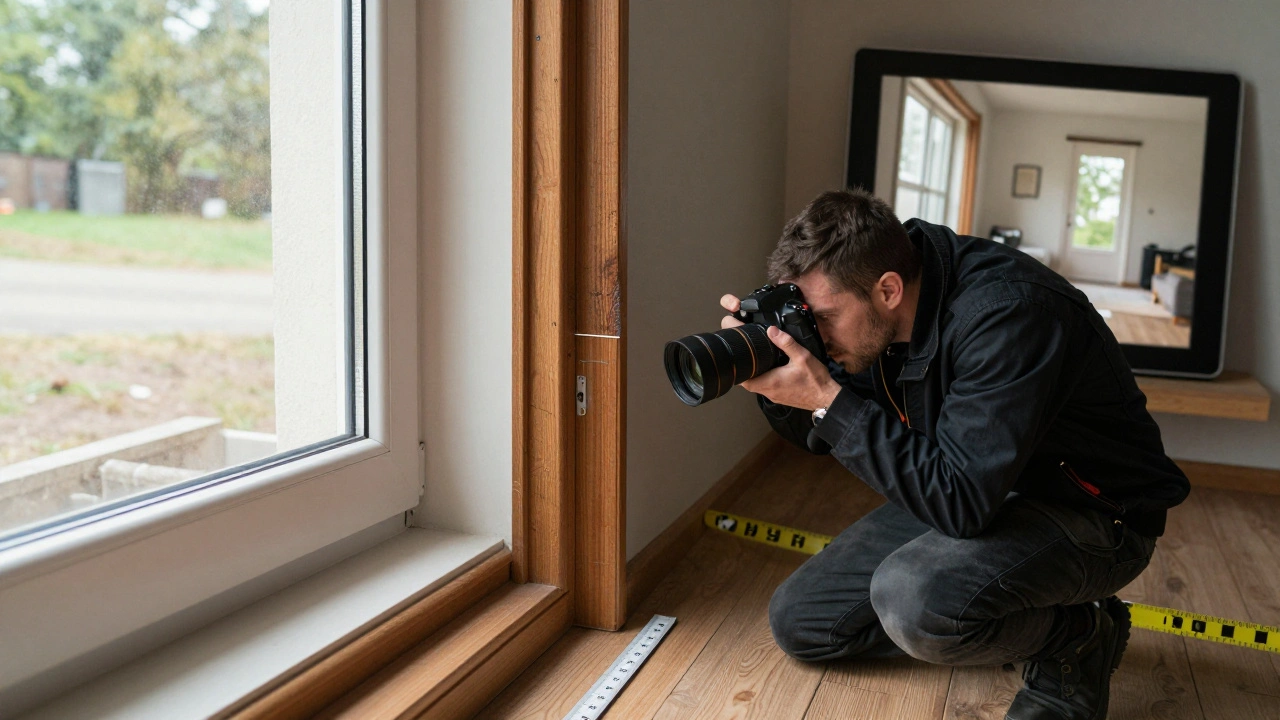
Forensic Documentation: Precision Under Pressure
Criminal scenes don’t wait. Evidence moves. Weather changes. People talk. You have to be ready.
Training here is rigid. Every photo must follow protocol:
- Take wide shots first-show the whole scene.
- Then medium shots-show the relationship between objects.
- Then close-ups-show blood spatter, tool marks, fibers.
- Always include a scale-ruler, coin, or marker-in every close-up.
- Never move evidence to make it look better. Document it as found.
Use video for context. A 30-second clip of a room can show movement patterns no still image can. Combine photos with sketches. A photo shows what’s there. A sketch shows how things relate.
Forget creativity. This isn’t art. It’s law. Every frame must hold up in court.
Equipment and Environment: Protecting Your Tools
Art classrooms are messy. Dust. Glaze. Wet clay. Broken tools. Your camera or phone doesn’t belong there.
Use protective cases. Designate a documentation assistant-someone whose only job is to handle gear. Or use mounted tablets on tripods. Hands-free is safer.
In forensics, cameras must be clean, calibrated, and backed up immediately. No SD cards left in pockets. No unsecured cloud uploads. Evidence can’t be lost.
Set up your space before you start. Lighting. Backgrounds. File naming. Cloud storage. Test it for a week. Adjust. Then roll it out.
When to Shoot: Timing Matters More Than Gear
Don’t photograph while someone is deep in focus. Wait for the pause.
Best moments: after a student steps back to look at their work. During cleanup. When a group is discussing next steps. When a forensic analyst steps away to review notes.
These are natural breaks. People aren’t distracted. You’re not interrupting. And you get cleaner, more authentic shots.
Use the "gallery walk" trick: let students or investigators view each other’s work while you photograph. It turns documentation into part of the process-not an interruption.
Editing: Less Is More
You don’t need filters. You don’t need dramatic contrast. You need clarity.
- Crop to remove distractions.
- Adjust brightness so details are visible-especially in shadows.
- Balance color. A blue wall shouldn’t look purple.
- Never alter evidence. No removing stains. No enhancing textures.
Editing isn’t about making it pretty. It’s about making it accurate.
Final Rule: The Photo Must Serve the Purpose
Every image you take should answer one question: What does this show that words can’t?
Is it the way the clay cracked under pressure? The angle of the bullet hole? The hand position during the brushstroke? If the photo doesn’t answer that, it’s not documentation. It’s decoration.
Training isn’t about learning how to use a camera. It’s about learning how to see. And how to let others see through your lens.
What’s the difference between artistic photography and photographic documentation?
Artistic photography focuses on aesthetics-emotion, mood, creativity. Photographic documentation focuses on accuracy, context, and purpose. A photo of a sculpture for art might highlight light and shadow. A documentation photo shows the texture of the glaze, the tool marks, the thickness of the walls-all to prove how it was made. One tells a story. The other records evidence.
Do I need a professional camera for documentation?
No. A smartphone with good manual controls works fine if you know how to use it. What matters is consistency: same lighting, same file naming, same angles. A $3,000 camera with random settings is worse than a $300 phone with a solid system. Focus on process, not gear.
How many photos should I take for one scene?
There’s no fixed number, but aim for at least three: wide, medium, and close-up. For complex scenes-like a crime scene or a group art project-take 10-20. More is better than less. You can delete later. You can’t go back and reshoot evidence.
Why is file naming so important?
Because without clear names, photos get lost, mixed up, or ignored. Imagine a forensic team with 200 images labeled "IMG_1234.jpg." They’ll never find the right one in court. A system like SCENE001_01.jpg, SCENE001_02.jpg tells you exactly what’s there, when, and where. It’s not just organization-it’s accountability.
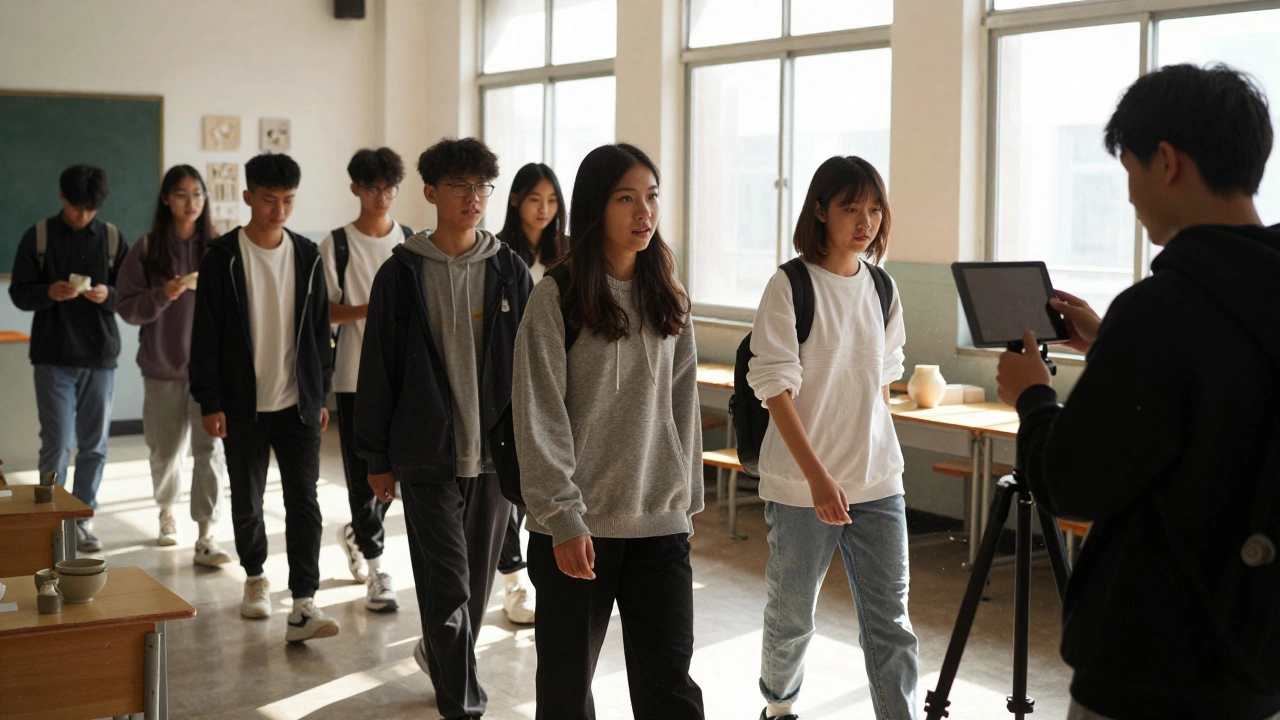
Can students document each other’s work?
Yes-and it’s often better than having an instructor do it. Students notice details others miss. Rotating roles builds responsibility and empathy. Just make sure they’re trained in the same system: angles, lighting, file naming. Give them a checklist. Test them. Let them lead.