When documenting a crime scene, the order of actions isn’t just about convenience-it’s about legality. If you photograph evidence after placing a ruler, a label, or a cone, you’ve already compromised the case. The rule is simple: photography before evidence markers isn’t a suggestion. It’s a requirement. And failing it can mean the difference between a conviction and a dismissed charge.
Why You Can’t Skip This Step
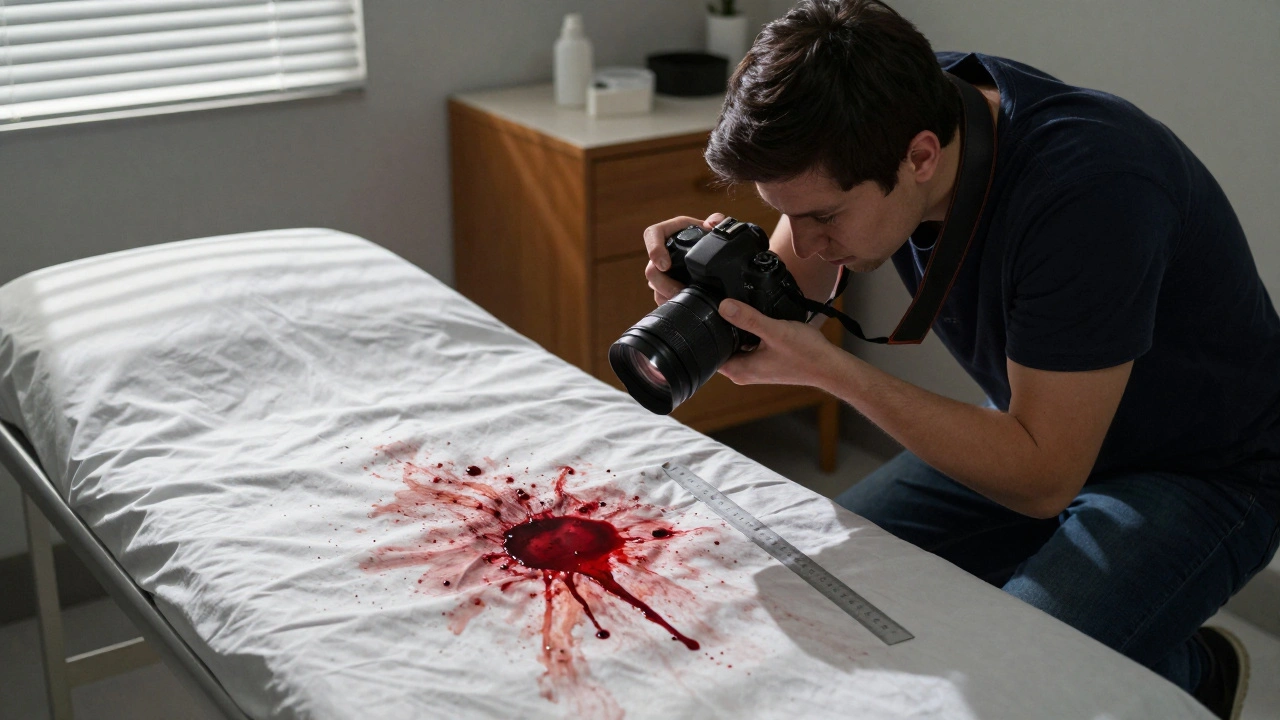
Imagine this: You arrive at a sexual assault exam room. The victim is in distress. You see blood on the bedsheet. You grab your camera, set up a scale next to it, and take the photo. Seems logical, right? Wrong. That scale changes the context. It moves the evidence. It alters the scene-even if just by inches. Now, when the defense attorney asks, "Was this blood spatter here originally, or was it moved to make it look more dramatic?"-you have no answer. The photo doesn’t prove anything anymore. It’s just an image. Not evidence. The Department of Justice laid this out clearly in 2016: "Photographs must be taken of the patient prior to the collection of forensic specimens and medical interventions, such as cleaning or suturing, when possible. Do not alter or move forensic evidence before photographing." This isn’t just policy. It’s the foundation of admissible evidence. The National Institute of Standards and Technology (NIST) confirmed it in 2020: "Photographs taken after evidence markers are placed cannot accurately represent the original context of evidence." This rule applies everywhere-traffic crashes, homicide scenes, arson sites, digital evidence collection. The sequence is universal. Take the photo. Then place the marker. Then take the next photo-with the marker. That’s the two-step process every accredited lab requires.The Three-Tier Photography Approach
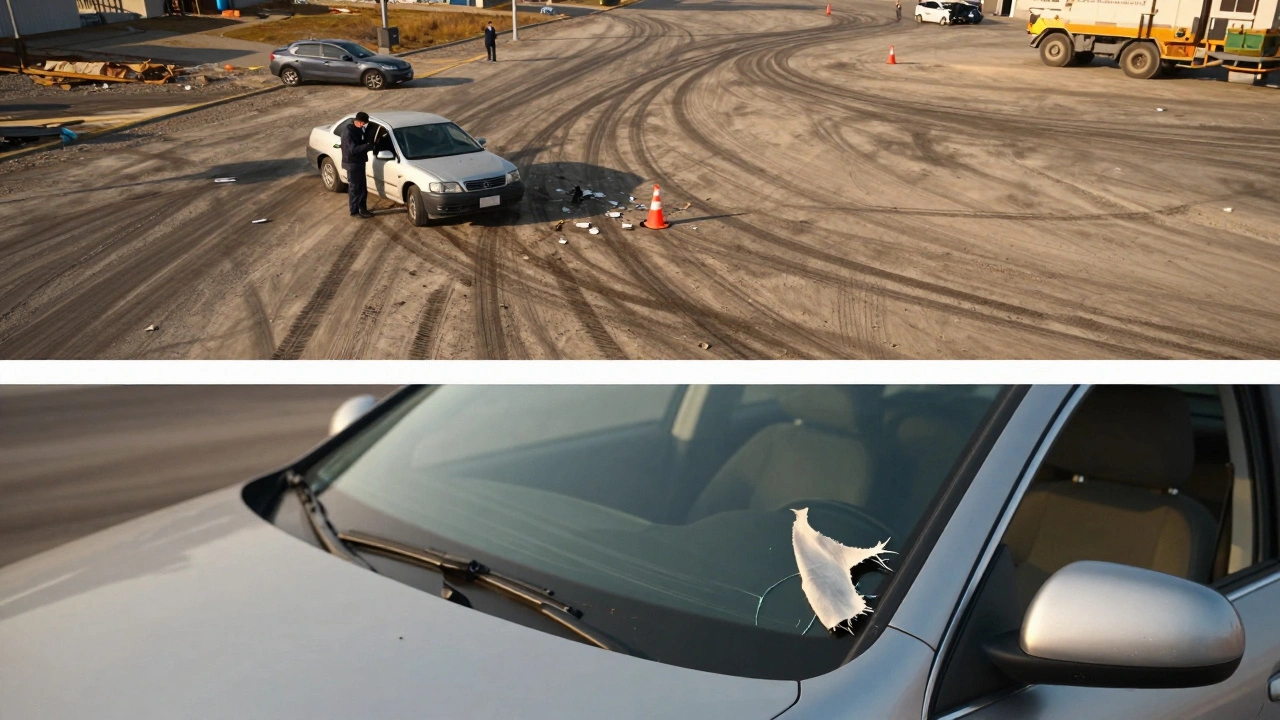
Good forensic photography isn’t just about snapping a few shots. It’s systematic. The DOJ and SWGIT both mandate a three-tier approach:- Overview shots: Capture the entire scene from multiple angles. For a vehicle crash, that means four photos-one from each side, from 10 to 15 feet away. For a room, step back. Show doorways, windows, furniture, and the position of all major items. These images give context. They show where things were in relation to each other.
- Medium-range shots: Zoom in on the specific evidence. If it’s a bruise on the arm, get a shot from 3 feet away. Show the injury, the surrounding skin, the angle of the body. These shots help experts reconstruct what happened.
- Close-up shots: Now you’re within inches. This is where you capture texture, color, pattern, and detail. A bloodstain’s spatter pattern. A fingerprint ridge. A fiber caught in a zipper. These images need to be sharp. They need to show what the naked eye might miss.
Technical Standards You Can’t Ignore
This isn’t amateur photography. There are hard technical rules.- Resolution: Your camera must be at least 12 megapixels for close-ups. Lower resolution blurs details. In court, a blurry fingerprint isn’t evidence-it’s a question mark.
- Lighting: Color temperature must be 5500K. That’s daylight. Too warm (yellow), and the blood looks brown. Too cool (blue), and bruises look faded. You need accurate color to show injury severity, fluid type, or material composition.
- File format: No JPEG compression. Use RAW or TIFF. JPEG loses pixel data. That’s not just a technical flaw-it’s a legal risk. ASTM E3161-18 requires retention of EXIF data: date, time, camera settings, GPS if available. If you can’t prove when and how the photo was taken, the defense can argue it was staged.
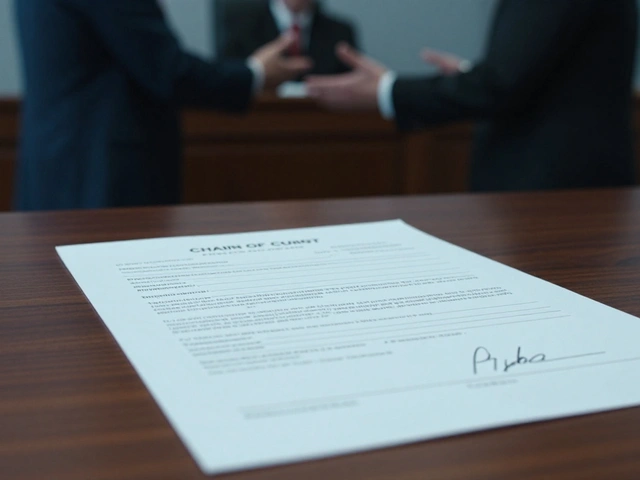
- Metadata: The file must carry the original timestamp. No editing. No cropping. If you edit the photo later-even to adjust brightness-you’ve tainted it. The chain of custody must show exactly what was captured at the scene.
What Happens When You Break the Rule
The consequences aren’t theoretical. They’re real-and costly. The International Association for Identification found that in 23.7% of cases where photographers placed markers before taking photos, courts excluded the evidence. Compare that to just 2.1% when the protocol was followed. That’s more than 10 times higher risk of rejection. Dr. Elizabeth Johnson, who oversees forensic lab accreditation, testified in 2022 that failure to photograph before marker placement is the second most common error in crime scene documentation. FBI data from 2020-2022 showed it occurred in 18.3% of reviewed cases. In sexual assault exams, the American College of Forensic Examiners found that 31% of cases suffered compromised evidence due to this single mistake. One case in Los Angeles showed why this matters. In State v. Thompson, the defense claimed blood spatter had been repositioned to make it look like a struggle. But because the lead investigator had taken five overview shots and three close-ups before placing any markers, the original position was clear. The jury saw the unaltered images. The conviction stood. On the flip side, a 2021 case in Ohio was thrown out because the officer photographed a knife with a ruler already beside it. The defense argued the knife had been moved to make the angle look more dramatic. The judge agreed. No original context. No admissible evidence.Why It’s Still Not Done Right
You’d think after all the training, all the guidelines, everyone would get it. But they don’t. A 2023 survey of 2,400 crime scene investigators found 67% struggled with time pressure. In high-crime cities, officers often rush. They see a weapon. They grab a marker. They snap the photo. They think they’re being efficient. They’re not. They’re endangering the case. Rookie investigators fail certification exams on this topic more than any other. The Midwest Forensic Science Training Consortium reported that 47% of mistakes involved photographing with the scale first. Another 32% moved evidence to get better lighting. And 21% skipped overview shots entirely. It’s not laziness. It’s habit. It’s pressure. It’s not knowing what "original state" really means.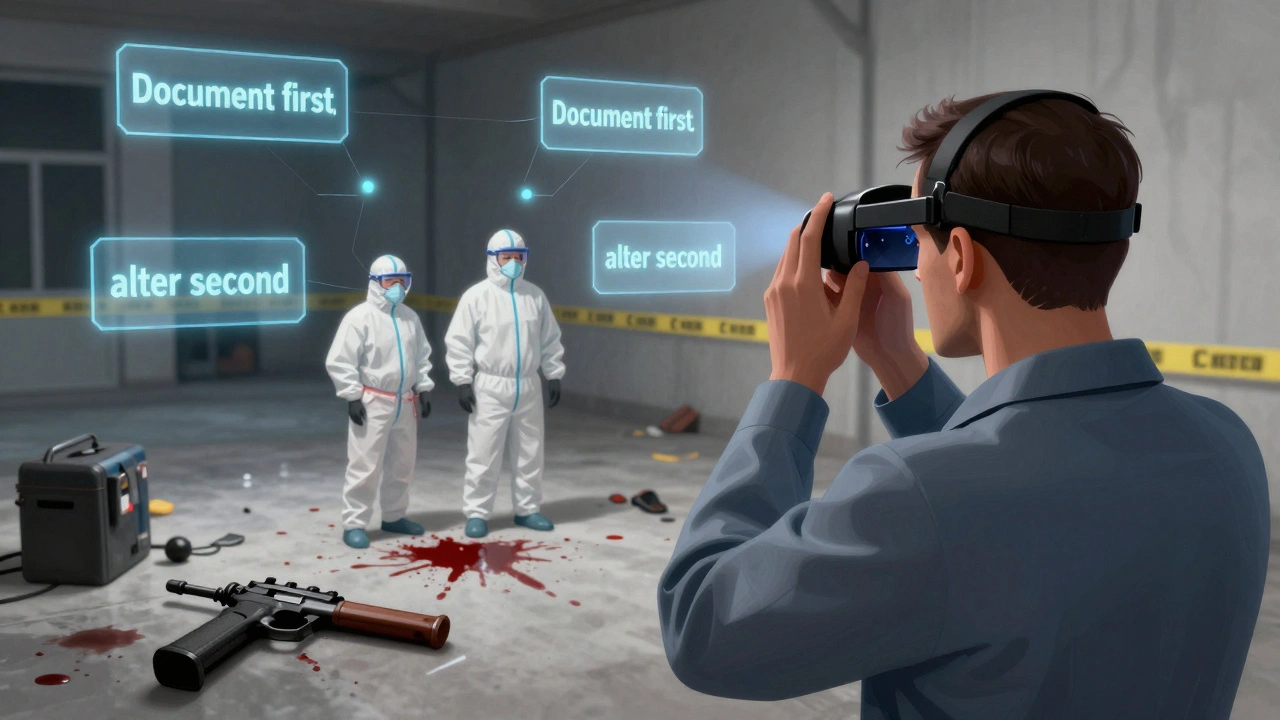
How to Get It Right Every Time
There’s no shortcut. But there’s a system.- Assess the scene. Don’t touch anything. Walk around. Note the major items. Where is the evidence? What’s nearby?
- Take overview shots. From 10 feet out. From the doorway. From above if possible. Capture the entire context.
- Take medium-range shots. Focus on each piece of evidence. Show its relationship to surroundings.
- Take close-up shots. Without any markers. Without any changes. Make sure focus, lighting, and exposure are perfect.
- Then place the marker. Ruler. Label. Cone. Whatever.
- Repeat steps 2-4. Now with the marker in place. This gives you the reference.
- Log it. Record the exact time between the last pre-marker photo and the first with the marker. Keep it under 90 seconds. Document who took each photo.
The Future Is Here
Technology is helping. The National Institute of Justice funded AI systems that now check photo sequences in real time. In Phoenix and Milwaukee, pilot programs cut protocol violations by 89%. Some labs now use 360-degree spherical cameras that capture the entire scene before anyone even steps in. No markers needed until after the digital capture. The Department of Justice is testing HoloLens 3 headsets that project virtual markers onto the scene. You document the real scene. Then, in post-processing, you add digital labels. No physical disturbance. No risk of contamination. But the principle remains unchanged: document first. Alter second. Whether it’s film, RAW files, or augmented reality, the rule is the same. The original state must be preserved.Final Rule
If you’ve been taught to "get the picture first," you’re right. But now you know why. This isn’t about photography. It’s about justice. Every photo taken before a marker is a shield. Every photo taken after is a liability. Don’t think you’re being efficient by skipping steps. You’re just setting up a future appeal. The law doesn’t care about your schedule. It cares about the truth. And the truth only survives if you document it before you touch it.What happens if I photograph evidence with a scale already in place?
Courts may exclude the photo entirely. The defense can argue the evidence was moved or staged. The National Institute of Justice and the International Association for Identification both show that failure to photograph before marker placement leads to evidence exclusion in over 23% of cases where the protocol was violated. The photo loses its legal value because it no longer proves the original condition of the scene.
Do I need to photograph every piece of evidence before placing a marker?
Yes. Every item-bloodstains, weapons, fibers, digital devices, trace evidence-must be photographed in its original position before any marker, ruler, or cone is placed. Even small items like a single hair or a button must be documented. The American Academy of Forensic Sciences requires at least one photo without a scale to show what was underneath. Missing even one item can create reasonable doubt.
Can I use a smartphone for forensic photography?
Only if it meets specific standards. Most smartphones have 12MP or higher cameras, but they often compress images (JPEG) and strip EXIF data. ASTM E3161-18 requires RAW or TIFF formats and intact metadata. Some agencies allow smartphones with forensic apps that lock metadata and disable auto-enhancement. But for serious cases, dedicated forensic cameras are still the standard.
How long should I wait between photographing and placing a marker?
The National Institute of Justice recommends completing all pre-marker photography within 90 seconds. This minimizes the chance of accidental scene alteration-like someone stepping closer, shifting a body, or changing lighting. The goal is to document the scene as it was found, not as it became after you started working.
Is this protocol the same for all types of crime scenes?
Yes. Whether it’s a homicide, a traffic crash, a sexual assault exam, or a cybercrime scene with a seized hard drive, the rule is identical: photograph before disturbing. For digital evidence, this means taking photos of the device’s location, connections, and surrounding environment before unplugging or tagging it. The principle is universal: preserve the original state before you change it.