Imagine you are standing in front of a crime scene. You have one shot to capture the truth. If you miss the context, the evidence becomes meaningless. This is why understanding scene imaging is not just about taking pictures; it is about telling a complete story through three distinct layers: long-range, medium-range, and close-up photography.
Many beginners think they need expensive gear to get good results. They do not. They need a clear method. Whether you are documenting a property damage claim or a serious incident, the goal remains the same: create a visual record that stands up to scrutiny. Let’s break down how to master each range so your photos speak for themselves.
Quick Summary / Key Takeaways
- Long-range shots establish context and location relative to landmarks.
- Medium-range shots show relationships between objects and the environment.
- Close-up shots capture fine details like tool marks or fibers with scale references.
- Always use a ruler or scale marker in close-up shots to provide size context.
- Keep camera settings consistent across all three ranges for accurate color and exposure comparison.
The Foundation: Why Three Ranges Matter
In Scene Imaging is a systematic process of capturing photographic evidence to document physical conditions, locations, and details. It relies on a hierarchical approach. Think of it as zooming in on a map. First, you see the country (long-range). Then, you see the city (medium-range). Finally, you see the specific street address (close-up).
If you skip the long-range shot, a viewer might wonder where the incident actually happened. If you skip the close-up, they might doubt the significance of a small scratch or stain. Each layer serves a specific purpose. Long-range answers "where?" Medium-range answers "how does this relate to its surroundings?" Close-up answers "what exactly is this detail?"
This structure is critical in fields like Forensic Documentation is the practice of recording physical evidence using standardized photographic techniques to ensure legal admissibility. But it applies equally to insurance claims, construction disputes, and accident reconstruction. The logic is universal: context before detail.
Mastering Long-Range Photography
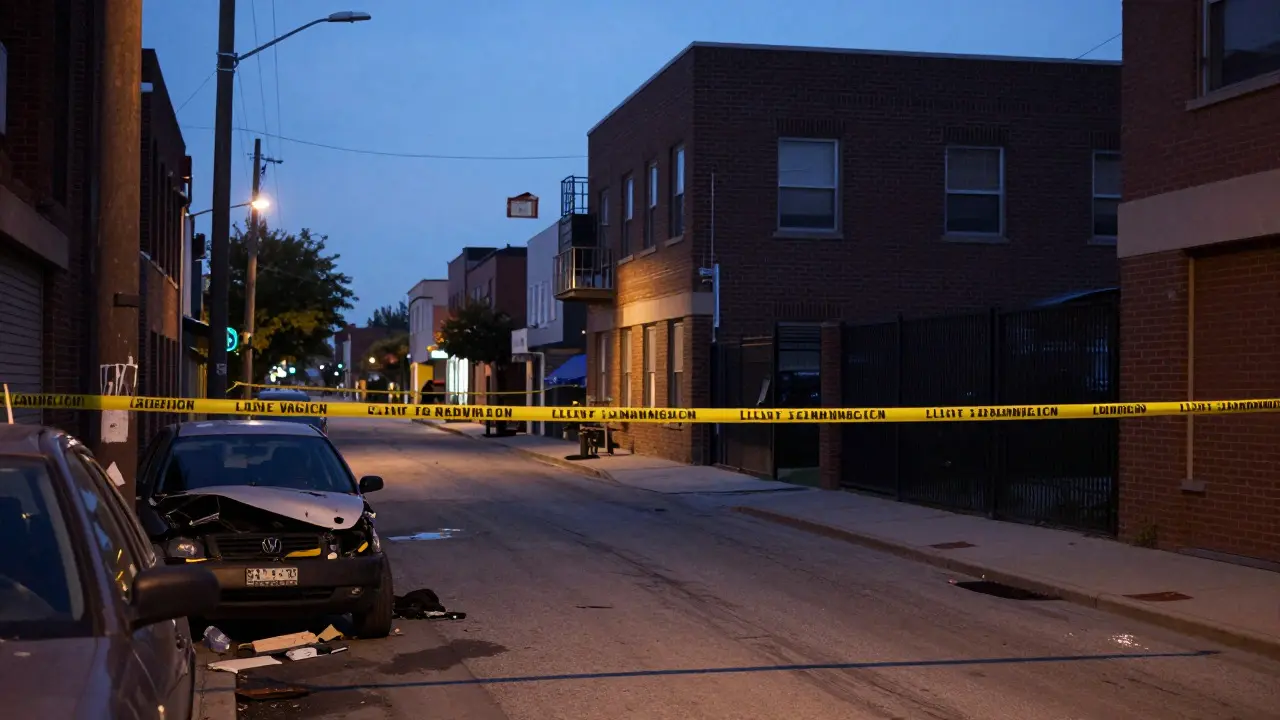
Long-range photography captures the entire scene from a distance. Your goal here is to show the big picture. Where is the car? Which way was it facing? What are the nearby buildings or trees?
- Choose a vantage point: Stand back far enough to include the main subject and at least two recognizable landmarks. These could be street signs, building corners, or natural features.
- Use a wide-angle lens: A focal length between 18mm and 35mm works well for most standard scenes. This allows you to fit more of the environment into the frame without distorting the perspective too much.
- Shoot multiple angles: Do not settle for one shot. Move around the scene. Capture it from the north, south, east, and west if possible. This prevents accusations of selective framing later.
A common mistake is getting too close. If the landmark is cut off, the photo loses its value. Always check your frame before pressing the shutter. Ask yourself: "If I showed this photo to someone who has never been here, would they know exactly where this is?" If the answer is no, step back further.
Capturing Context with Medium-Range Shots
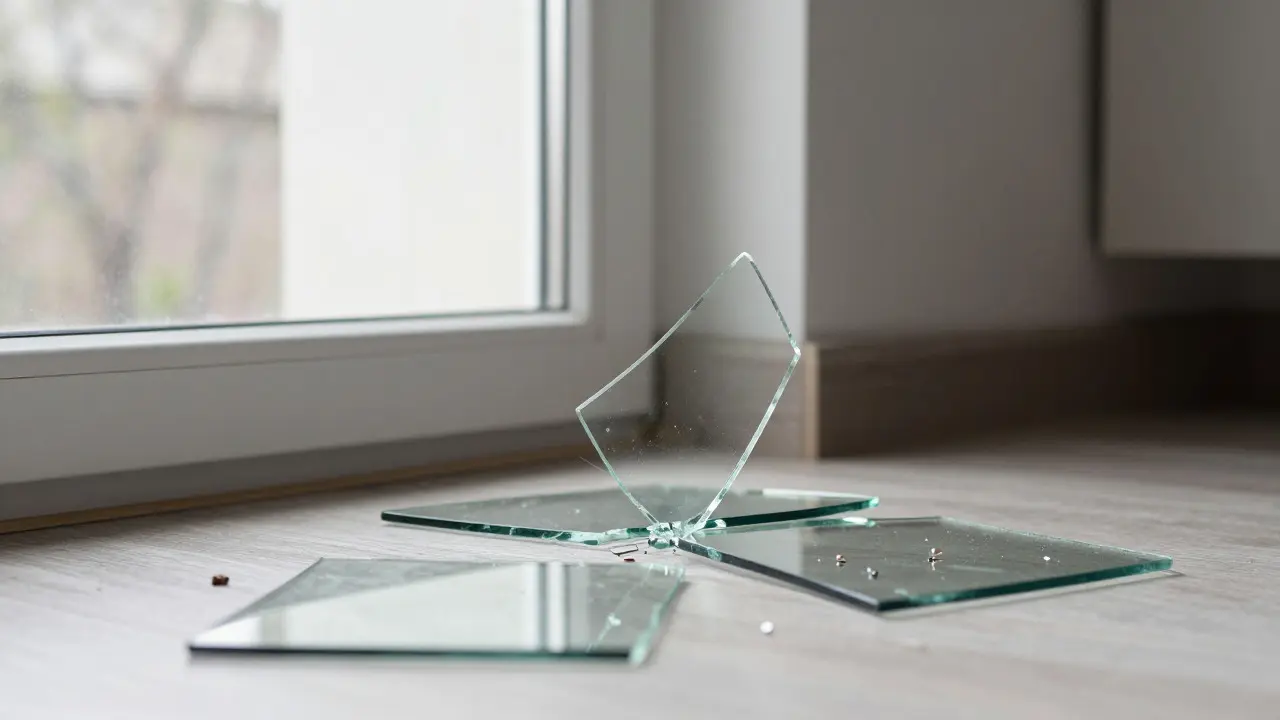
Medium-range photography bridges the gap between the wide view and the extreme close-up. Here, you focus on specific areas of interest while still showing their immediate surroundings.
For example, if there is a broken window, a medium-range shot shows the shattered glass on the floor, the broken frame, and perhaps a piece of debris nearby. It shows the relationship between the damage and the room. This helps investigators understand the sequence of events. Did the object come from inside or outside? The medium-range shot provides the clues.
- Focus on interactions: Show how objects interact with each other. A dropped phone next to a puddle tells a different story than a dry phone on a carpet.
- Maintain depth of field: Use an aperture between f/8 and f/11. This ensures that both the foreground and background are reasonably sharp, which is crucial for seeing details clearly.
- Include reference points: While you don't need a full ruler yet, including a known object (like a standard door handle or a credit card) can help gauge distances within the frame.
Think of medium-range shots as the narrative part of your documentation. They explain the "why" and "how" behind the damage or condition you are recording.
The Critical Role of Close-Up Photography
Close-up photography is where precision matters most. This is where you capture tool marks, tire treads, blood spatter patterns, or fabric fibers. Without these shots, the finer details of the case are lost.
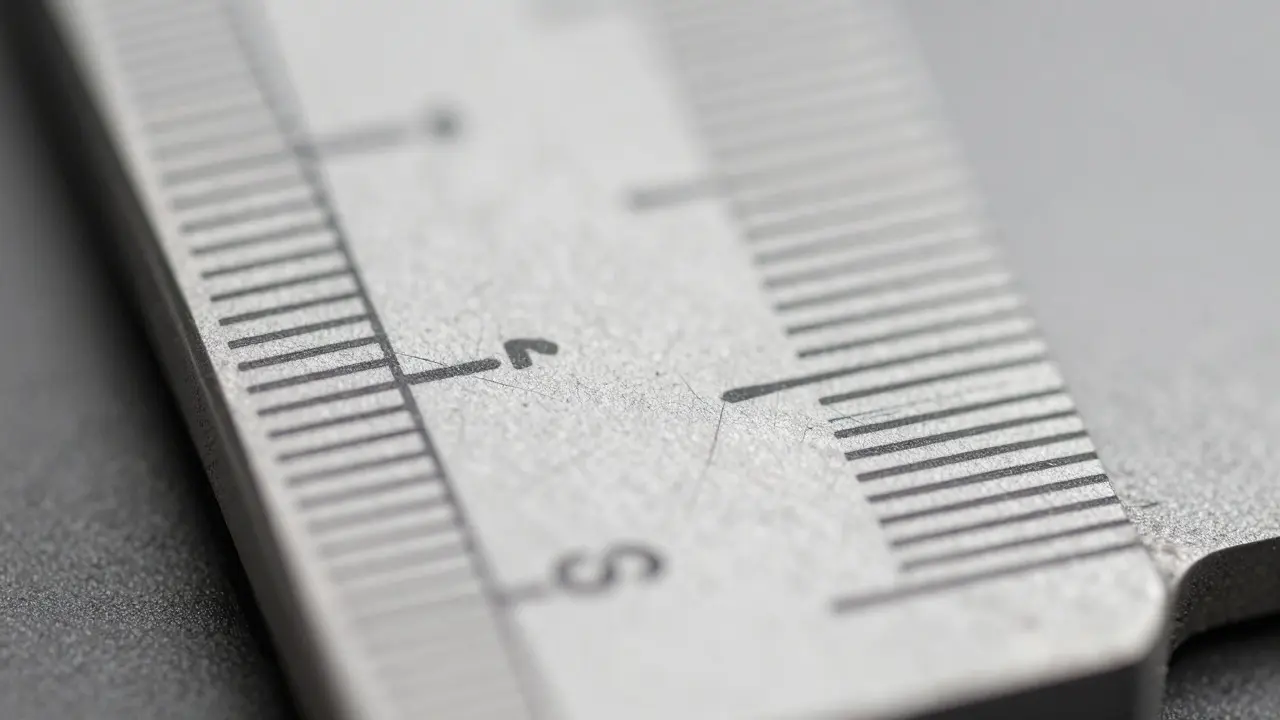
The golden rule of close-up photography is always include a scale. A Photographic Scale is a standardized measuring device placed next to the subject to indicate size and proportion in photographs. is non-negotiable. Without it, a 5mm scratch looks the same as a 5cm tear. With it, the difference is obvious.
- Place the scale correctly: Put the scale parallel to the subject, not angled away. This prevents distortion. Ensure the numbers on the scale are legible and facing the camera.
- Use a macro lens or extension tubes: You need to get very close. A dedicated macro lens is ideal, but many modern smartphones have a macro mode that works surprisingly well for basic documentation.
- Control lighting: Shadows can hide details. Use a flash or a portable light source to illuminate the subject evenly. Avoid harsh side-lighting that creates deep shadows unless you specifically want to highlight texture.
When shooting close-ups, stability is key. Even a slight hand tremor can blur fine details. Use a tripod if available, or brace your elbows against your body. If you are using a digital camera, take multiple shots and review them on the screen immediately. Zoom in to check for sharpness. If it's blurry, retake it.
Technical Settings for Consistency
One of the biggest errors in scene imaging is inconsistent settings. If your long-range shot is overexposed and your close-up is underexposed, comparing them becomes difficult. Aim for consistency.
| Setting | Long-Range | Medium-Range | Close-Up |
|---|---|---|---|
| Focal Length | 18mm - 35mm | 35mm - 70mm | Macro / 90mm+ |
| Aperture | f/8 - f/11 | f/8 - f/11 | f/16 - f/22 |
| ISO | Lowest possible (100-400) | Lowest possible (100-400) | As needed for stability |
| White Balance | Fixed (Daylight/Shade) | Fixed (Same as Long-Range) | Fixed (Same as Long-Range) |
Notice the emphasis on fixed White Balance. Auto white balance can shift colors based on the dominant tones in the frame. A red wall might make your skin look green in one shot and blue in another. Locking your white balance ensures that colors remain true across all three ranges. This is vital when identifying stains, paint chips, or clothing colors.
Also, pay attention to ISO. High ISO introduces noise, which can obscure fine details in close-up shots. Try to keep ISO below 800 if possible. If you are in low light, add a light source rather than cranking up the sensitivity.
Common Pitfalls and How to Avoid Them
Even experienced photographers make mistakes. Here are the most common ones and how to fix them.
- Parallax Error: This happens when you look through the viewfinder and aim at the subject, but the actual image is captured slightly off-center because the lens is not aligned with the sensor. To avoid this, use Live View or shoot from directly above the subject for close-ups.
- Missing the Scale: It sounds simple, but people forget the ruler constantly. Make it part of your workflow. Keep the scale in your pocket or attached to your camera strap. Check your bag before you start shooting.
- Distorted Perspective: Wide-angle lenses can make objects look larger than they are if held too close. For close-ups, use a longer focal length (macro) to maintain a natural perspective.
- Unstable Images: Blurry photos are useless. Always stabilize your camera. If you don't have a tripod, lean against a wall or use a bean bag.
Another subtle issue is file management. Name your files logically. Use a system like [Date]_[Location]_[Range]. For example, 20260817_Office_LR_01.jpg. This makes organizing hundreds of photos much easier later.
Equipment Recommendations
You do not need a $5,000 camera to do good scene imaging. However, having the right tools helps.
- Digital SLR or Mirrorless Camera: These offer manual control over settings and high resolution. Brands like Canon, Nikon, and Sony are popular choices.
- Macro Lens: A 90mm or 100mm macro lens is perfect for close-ups. It allows you to focus very close without distorting the image.
- Standard Zoom Lens: An 18-55mm kit lens is sufficient for long and medium-range shots. It covers the necessary focal lengths.
- Portable Flash: Essential for close-ups in low light. A small speedlight is compact and powerful enough for most tasks.
- Photographic Scales: Get a few different sizes. A L-shaped scale is often best because it can be placed in tight spaces.
If you are on a budget, a modern smartphone with a good camera can handle long and medium-range shots adequately. For close-ups, consider buying a clip-on macro lens. It is inexpensive and significantly improves detail capture.
Putting It All Together: A Workflow Example
Let’s walk through a practical scenario. You are documenting a slip-and-fall accident in a grocery store aisle.
- Long-Range: Stand at the end of the aisle. Shoot the entire aisle, including the entrance, the exit, and the wet spot. Include a visible store sign or shelf label to identify the location.
- Medium-Range: Move closer to the wet spot. Frame the puddle along with the surrounding floor tiles. Show the proximity to the nearest product shelf. This establishes the hazard's context.
- Close-Up: Place a scale next to the edge of the puddle. Photograph the water line and any residue. Also, photograph the shoes of the victim (if present) next to the scale to show size and tread pattern.
By following this sequence, you create a comprehensive record. The long-range shot proves where it happened. The medium-range shot shows the hazard. The close-up shot documents the specific condition of the floor and the footwear. Together, they tell a complete story.
Do I need a professional camera for scene imaging?
No, you do not necessarily need a professional camera. A modern smartphone can work for long and medium-range shots. However, a DSLR or mirrorless camera offers better control over lighting and depth of field, which is helpful for detailed close-ups. The most important factor is technique, not gear.
What is the best aperture for close-up photography?
For close-up photography, an aperture between f/16 and f/22 is generally recommended. This provides a large depth of field, ensuring that the entire subject and the scale are in focus. However, be careful of diffraction at very high apertures, which can soften the image. Start at f/16 and adjust as needed.
How many photos should I take per scene?
There is no fixed number, but more is usually better. Aim for at least four long-range shots from different angles, several medium-range shots covering key areas, and multiple close-ups of every significant detail. Redundancy ensures that if one photo is blurry or poorly framed, you have backups.
Why is white balance important in forensic photography?
White balance is crucial because it affects color accuracy. In legal or investigative contexts, color can be evidence (e.g., blood stains, paint chips, clothing). Auto white balance can shift colors based on the environment. Setting a fixed white balance ensures consistency across all photos, making comparisons reliable.
Can I use a flash for long-range photography?
Generally, no. Flash is effective only for short distances (usually less than 10-15 feet). For long-range shots, rely on ambient light or use a slower shutter speed with a tripod if the light is low. Using flash at long range will likely result in a dark background and a bright subject, which looks unnatural and unhelpful.