The Invisible Enemy of Forensic Photography
You know the feeling. You are standing over a crime scene or an accident site, camera in hand, trying to capture the exact state of a wet asphalt road or a shattered windshield. The light hits the surface, bounces back into your lens, and suddenly, the critical detail you need-the skid mark under the water, the fracture pattern in the glass-is washed out by a blinding white reflection. This is glare, and it is one of the most persistent obstacles in scene imaging. It isn't just annoying; it destroys evidentiary value. When light reflects off non-metallic surfaces like water, glass, or paint, it becomes partially polarized. If you don't manage this polarization, your photos lose contrast, color saturation, and clarity.
This is where the polarizing filter comes in. It’s not just a landscape photographer’s toy for making skies blue. In forensic and technical photography, it is a precision tool for controlling light behavior. By rotating a circular polarizer, you can selectively block specific light waves, cutting through reflections to reveal what lies beneath. But using it correctly requires understanding how light behaves, not just turning a dial until things look better.
How Light Polarization Actually Works
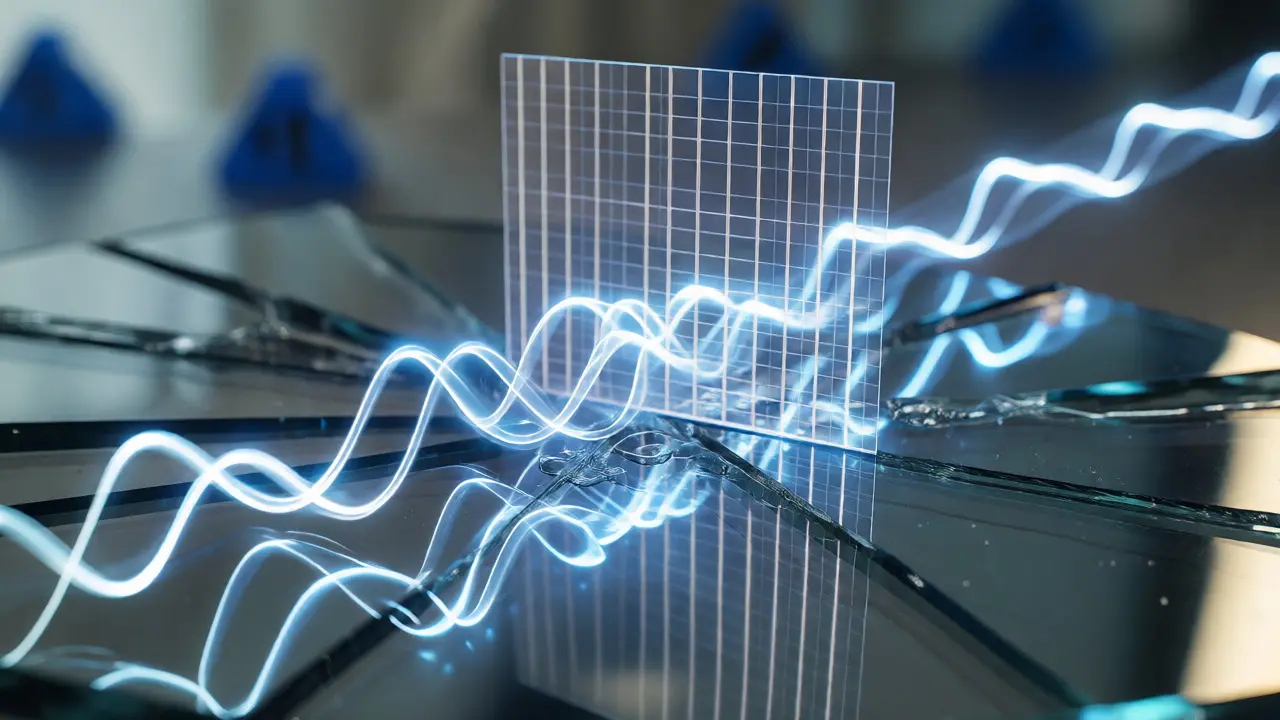
To use a polarizer effectively, you have to stop thinking about "brightness" and start thinking about "orientation." Light travels in waves that vibrate in all directions perpendicular to its path. This is unpolarized light. When that light strikes a horizontal surface-like a puddle or a car hood-and reflects, the vibration direction changes. Most of the reflected light waves end up vibrating horizontally. This is polarized light.
A linear polarizer has microscopic slits that only allow light waves vibrating in one specific direction to pass through. If you align those slits vertically, they block the horizontally vibrating reflected light. That’s why looking at a screen through sunglasses often makes the screen go black if you tilt your head; you’re blocking the light orientation the screen emits.
| Surface Type | Reflection Characteristic | Polarization Effect | Best Filter Angle (Approx.) |
|---|---|---|---|
| Wet Asphalt | Specular (Mirror-like) | Strong Horizontal Polarization | Vertical (90° from sun) |
| Glass/Windshield | Mixed Specular/Diffuse | Variable based on angle | Rotate to minimize reflection |
| Painted Metal | Diffuse with specular highlights | Reduces highlight blowout | Rotate for desired saturation |
| Water Surface | Highly Specular | Reveals submerged objects | Cross-polarized effect |
Linear vs. Circular Polarizers: Which One Do You Need?
If you are shooting with modern digital cameras, specifically DSLRs or mirrorless systems with autofocus and metering sensors, you almost certainly need a circular polarizer (CPL). Older film cameras used linear polarizers. The problem with linear polarizers on modern gear is that they interfere with the beam splitters inside the camera body that direct light to the autofocus and exposure sensors. Using a linear polarizer on a Nikon D850 or a Canon R5 can cause erratic focusing and incorrect exposure readings.
A circular polarizer solves this by adding a second layer called a quarter-wave plate behind the linear polarizing element. This converts the linearly polarized light into circularly polarized light before it hits the camera's internal sensors. For the sensor itself, the light looks normal again, but the reflection-cutting magic happens before the light enters the lens. So, buy a CPL. Unless you are using a vintage manual-focus lens on a fully manual camera, linear polarizers are a relic.
The Geometry of Glare: Positioning Matters
Here is the hard truth: you cannot eliminate glare from every angle. Polarizers work best when the light source (the sun or a flash) hits the surface at roughly a 35-degree angle relative to the camera. If you are shooting directly into the sun, a polarizer does very little. If the sun is directly overhead, it also struggles.
The sweet spot is when the angle between the sun, the subject, and your camera forms a triangle. Imagine drawing a line from the sun to the object, and another from the object to your eyes. The ideal angle for maximum polarization effect is around 90 degrees from the sun's position in the sky. This is why photographers are told to keep their thumb at 90 degrees from the sun to find the darkest part of the sky. In forensics, this translates to positioning yourself so the light source strikes the evidence at an oblique angle while you shoot from a side perspective.
- Direct Frontal Lighting: Minimal glare reduction. Use diffusers instead.
- Side Lighting (35-45 degrees): High glare reduction potential. Rotate filter slowly.
- Backlighting: Can create flare, but polarizer helps reduce haze.
Practical Application: Documenting Wet Scenes
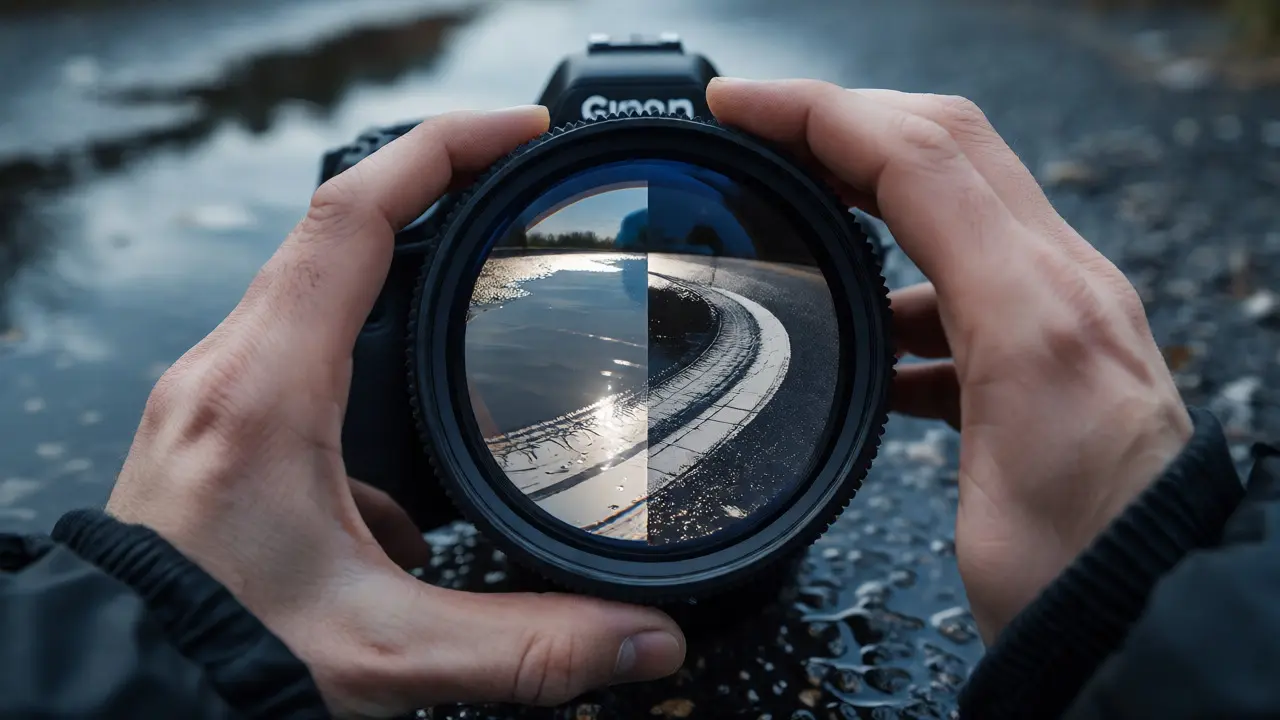
Let’s say you are documenting a hit-and-run on a rainy Tuesday in Portland. The tire marks are visible, but a thin sheet of water covers them, creating a mirror reflection of the gray sky. Without a filter, the tire marks disappear into the gray wash. With a CPL, you rotate the front ring of the filter while looking through the viewfinder. As you turn it, the gray sky reflection fades, and the dark rubber of the tire emerges from the water.
But there is a catch. A polarizer eats light. Typically, you lose 1 to 2 stops of exposure. On a cloudy day, this might force you to raise your ISO or slow down your shutter speed. If you are handheld, be careful. At 1/60th of a second, hand shake can blur fine details like shoe tread patterns. Always check your histogram after attaching the filter. If the image looks too dark, bump the ISO rather than opening the aperture too wide, which reduces depth of field-a bad trade-off when you need everything sharp from the foreground debris to the background witness.
Controlling Reflections on Glass and Plastic
Glass is tricky because it reflects light from both sides. When photographing a window or a windshield, you want to see through the glass, not at it. A polarizer can cut the reflection from the outside surface, allowing you to see interior details. However, if the glass itself is stressed or laminated, the polarization can sometimes create weird rainbow patterns or uneven darkness due to stress birefringence.
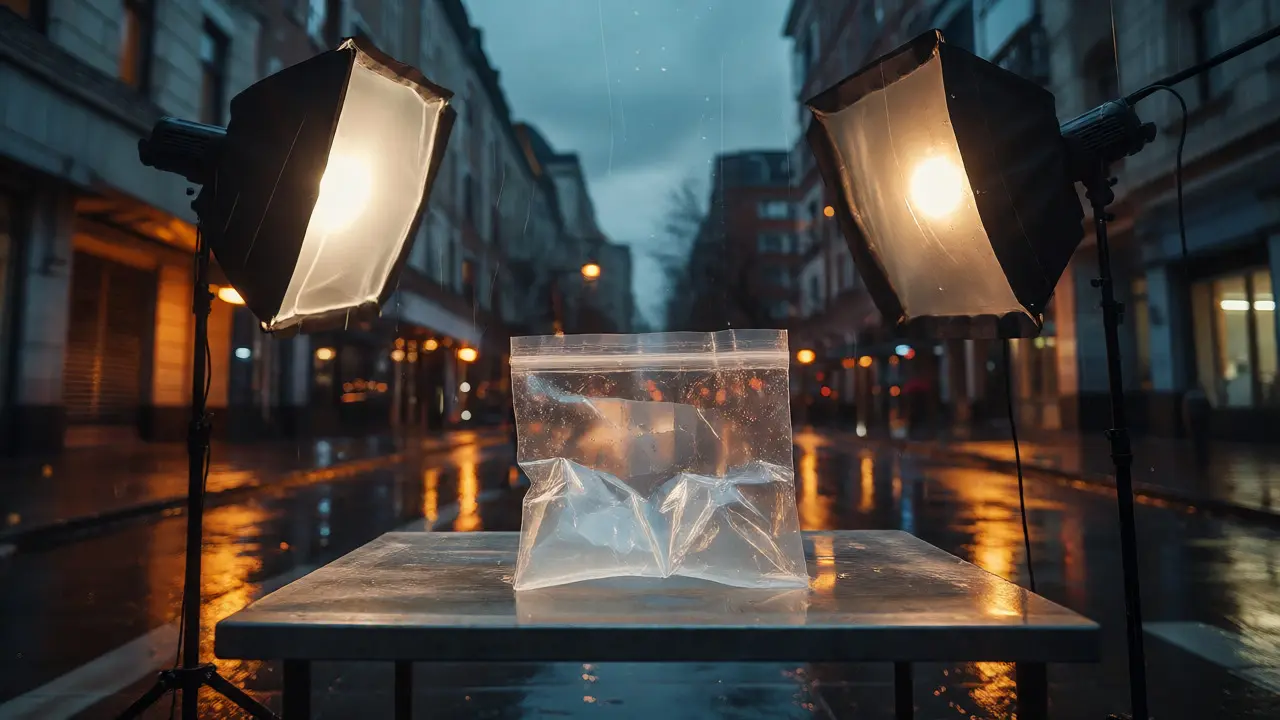
For plastic evidence bags or packaging, glare is a major issue. Transparent plastic reflects studio lights harshly. Here, cross-polarization is the pro move. You place a polarizing sheet over your light sources and a matching polarizer on your lens. When the two are crossed (rotated 90 degrees apart), the direct reflections from the plastic vanish, leaving only the diffuse light that passes through the object. This technique requires more setup time but yields incredibly clean images of transparent or semi-transparent evidence.
Common Pitfalls and How to Avoid Them
Don't just slap a filter on and hope for the best. Here are the mistakes I see most often in field documentation:
- Over-Polarizing: Rotating the filter too far can make the image look unnatural or overly dark. Always review the image on the LCD screen immediately. Does it look real? If the sky looks black while the ground is bright, you’ve gone too far.
- Ignoring Autofocus Issues: Some cheap polarizers degrade image quality. They introduce softness or chromatic aberration. Invest in multi-coated filters from reputable brands like B+W or Hoya. A $20 filter can ruin a $2,000 camera's output.
- Stacking Conflicts: If you already have a UV protection filter on your lens, remove it. Stacking a UV filter and a polarizer increases the risk of vignetting (dark corners) and flare. Put the polarizer on the bare lens thread.
- Wide-Angle Distortion: On ultra-wide lenses (e.g., 16mm or wider), the sky may appear unevenly polarized-one corner deep blue, the next pale. This is unavoidable physics. Crop it out or switch to a longer focal length if possible.
Beyond the Filter: Alternative Glare Solutions
A polarizer isn't always the answer. Sometimes, changing the light is better than filtering it. If you are working indoors or in a controlled environment, use large softboxes or bounce cards. Diffused light wraps around objects and reduces harsh specular highlights without needing a filter. This preserves your exposure latitude and keeps colors accurate.
In outdoor scenes, wait. If the sun is high noon, glare will be intense regardless of your filter. If you can return to the scene later in the afternoon when the sun is lower, the angle change alone may solve the problem. Or, use a flag or scrim to block direct sunlight from hitting the evidence while you shoot from the shadow side.
Quick Checklist for Field Deployment
Before you take that critical shot of a reflective surface, run through this mental checklist:
- Is my lens clean? Smudges exacerbate glare.
- Do I have a CPL attached? Is the UV filter removed?
- Where is the primary light source? Am I positioned at an angle to it?
- Have I rotated the filter while watching the monitor/viewfinder?
- Has my exposure changed? Adjust ISO/Shutter/Aperture accordingly.
- Does the image look natural, or did I crush the shadows too much?
Mastering glare control isn't about memorizing formulas. It's about developing an eye for how light interacts with materials. Once you understand that reflections are just light going the wrong way, you can use a polarizer to send it home.
Can a polarizing filter fix all types of glare?
No. Polarizers primarily affect reflections from non-metallic surfaces like water, glass, and painted wood. They do not significantly reduce glare from metallic surfaces like chrome bumpers or polished steel, as metal reflects light differently (preserving polarization states less predictably). For metallic glare, adjusting the angle of incidence or using diffused lighting is more effective.
Why does my image get darker when I use a polarizer?
A polarizer blocks light waves that are oriented incorrectly. Since it physically prevents some light from passing through the lens, you lose approximately 1 to 2 stops of light. This means you must compensate by increasing your ISO, slowing your shutter speed, or widening your aperture to maintain proper exposure.
Should I use a linear or circular polarizer for forensic photography?
Use a circular polarizer (CPL) for virtually all modern digital cameras. Linear polarizers can interfere with the autofocus and TTL metering systems in DSLR and mirrorless cameras, leading to inaccurate focus and exposure. Circular polarizers are compatible with these systems and provide the same glare-reduction benefits.
How do I know when the polarizer is working?
You will see the effect in real-time through your viewfinder or on your LCD screen. As you rotate the front ring of the filter, reflections on wet surfaces, glass, or foliage will fade, and colors will become more saturated. Stop rotating when the unwanted reflection disappears or when the image looks natural and balanced.
Can I stack a polarizer with other filters?
It is generally best to avoid stacking filters, especially with wide-angle lenses. Stacking a polarizer with a UV filter or neutral density filter can cause vignetting (dark corners) and increase the chance of internal reflections (flare). If you need both effects, consider removing the protective UV filter and using only the polarizer, or investing in high-quality slim-mount filters.