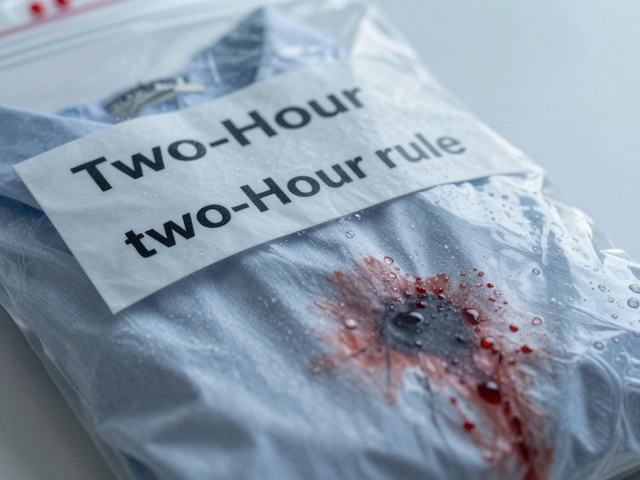
Imagine a jury watching a video of a crime scene. The suspect’s face looks elongated, the distance between two objects seems wider than it is, and the angle makes a small scratch look like a deep gash. If the defense attorney points out that the camera was held at a weird angle or zoomed in too much, the whole case can crumble. This is where photographic distortion becomes a legal nightmare. It isn’t just about taking pretty pictures; it’s about creating evidence that holds up under scrutiny. In court, your photo needs to be more than a visual record-it must be a truthful representation of reality.
Many investigators make the mistake of thinking that if they took the picture, it’s valid. But judges and jurors are not photographers. They rely on experts to explain why an image is accurate. When distortion enters the frame-whether from lens choice, perspective, or editing-the chain of credibility breaks. Understanding how to avoid these pitfalls ensures your scene imaging meets the high bar of legal admissibility.
Why Distortion Matters in the Courtroom
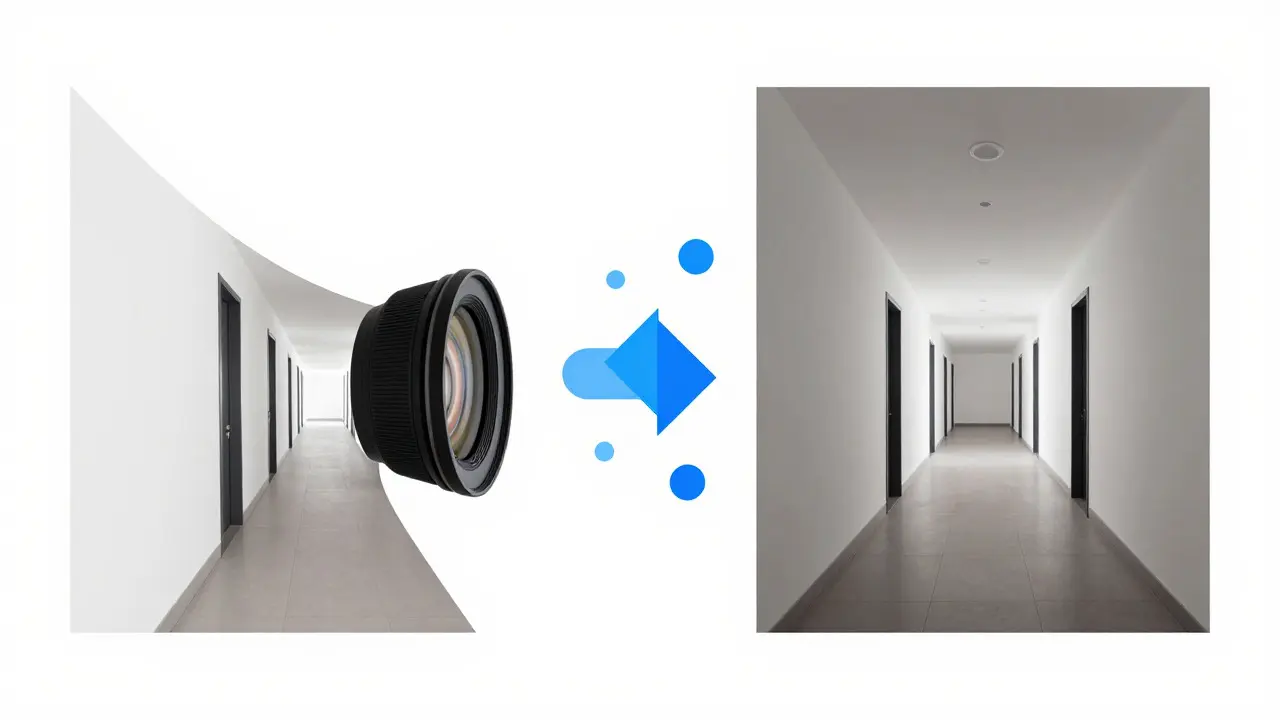
Courts operate on the principle that evidence must be relevant and reliable. For photographs, reliability means the image accurately reflects what existed at the time of capture. Distortion threatens this accuracy in three main ways: geometric, chromatic, and perspective. Geometric distortion happens when straight lines curve, often due to wide-angle lenses. Chromatic distortion causes color fringing around edges. Perspective distortion occurs when objects closer to the lens appear disproportionately larger than those further away.
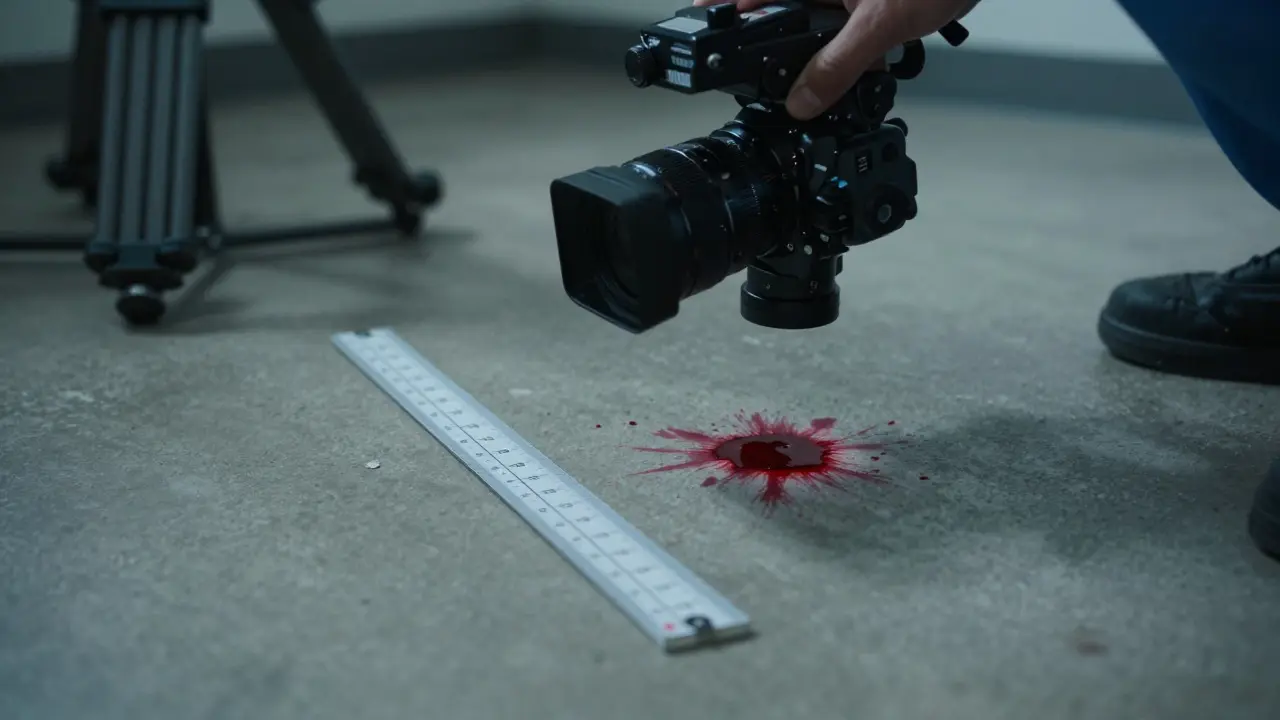
In a murder trial, for example, if a bloodstain pattern is photographed with a standard phone camera from a low angle, the pool might look deeper or spread wider than it actually is. A defense expert could argue that this misrepresentation misled the jury about the victim’s position. To prevent this, forensic photographers use specific techniques to neutralize these effects. The goal is not artistic perfection but scientific precision.
The Golden Rule: Scale and Context
The most common error in crime scene photography is the lack of scale. Without a reference object, a photo is just a snapshot. With one, it becomes data. Every photograph of a piece of evidence should include a standardized scale ruler. These rulers usually feature alternating black and white bars, each representing one centimeter or one inch. Placing the ruler next to the object allows viewers to calculate exact dimensions later.
But placement matters. The ruler should lie flat against the surface being photographed, parallel to the plane of interest. If you’re shooting a tire track, the ruler goes inside the tread, not beside it. If you’re documenting a wound, the ruler sits adjacent to the injury, never touching it unless necessary. This simple step anchors the image in physical reality, making it far harder for opposing counsel to claim the image is misleading.
Lens Choice and Focal Length
Not all lenses are created equal when it comes to legal evidence. Wide-angle lenses (below 35mm equivalent) exaggerate depth and cause barrel distortion. Telephoto lenses (above 85mm equivalent) compress space and can flatten details. The sweet spot for forensic work is typically between 50mm and 100mm on a full-frame camera. This range provides minimal distortion and a natural field of view that matches human perception.
If you must use a wide-angle lens to fit a large room into a single frame, consider taking multiple overlapping shots instead. Stitching them together in post-production creates a panoramic view without the warping effects of a single wide shot. Alternatively, use a rectilinear lens, which corrects curvature electronically or optically. Many modern digital cameras offer this feature, but you need to ensure it’s enabled before pressing the shutter button.
Lighting and Shadow Management
Lighting shapes how we see objects. In forensics, shadows can hide details or create false impressions of depth. Harsh, direct light casts long shadows that can make a shallow cut look deep. Soft, diffused light reveals texture without dramatic contrast. Use flash units with diffusers or bounce cards to spread light evenly across the scene.
When photographing reflective surfaces like glass, metal, or wet pavement, polarization filters help eliminate glare. Glare can obscure fingerprints or bullet casings, rendering the photo useless as evidence. A circular polarizer filter screws onto the front of the lens and rotates to block reflected light. Always test your setup by looking through the viewfinder while rotating the filter until the glare disappears.
Digital Integrity and Metadata
A photograph is only as good as its file history. Digital images can be edited, cropped, or resized without leaving obvious traces. To prove authenticity, preserve the original RAW file whenever possible. RAW files contain unprocessed data from the camera sensor, including exposure settings, white balance, and focal length. This metadata serves as a digital fingerprint, proving the image hasn’t been tampered with.
Keep the EXIF data intact. This includes the date, time, GPS coordinates, and camera model. Some courts require this information to establish the timeline of events. If you transfer photos to a computer, use write-protected media or hash verification tools to create a checksum. This ensures that the file on your hard drive is identical to the one on the memory card. Any change, even a single pixel, will alter the hash value, flagging potential tampering.
Common Pitfalls to Avoid
- Zooming in digitally: Cropping a photo reduces resolution and can introduce artifacts. Shoot tight enough to fill the frame with the subject.
- Moving the camera during exposure: Motion blur destroys detail. Use a tripod or stable surface, and keep shutter speeds fast enough to freeze movement.
- Ignoring background clutter: Distracting elements can draw attention away from the evidence. Frame carefully to isolate the subject.
- Failing to document the process: Keep a written log of every photo taken, noting the angle, lighting conditions, and any adjustments made. This narrative supports the visual record.
Comparison of Lens Types for Forensic Use
| Lens Type | Focal Length Range | Distortion Risk | Best Use Case |
|---|---|---|---|
| Wide-Angle | 14-35mm | High (Barrel) | Overview shots of large rooms |
| Standard | 50-85mm | Low | General scene documentation |
| Macro | 90-105mm | Very Low | Fingerprints, tool marks, wounds |
| Telephoto | 100-200mm+ | Medium (Compression) | Distant objects, surveillance views |
Establishing Chain of Custody for Images
Chain of custody applies to digital files just as it does to physical evidence. From the moment you download a photo to the moment it’s presented in court, every transfer must be documented. Who accessed the file? When? On which device? Create a log that tracks these details. Use encrypted storage for sensitive cases to prevent unauthorized access.
If you hire a photographer or assistant, ensure they sign a confidentiality agreement and follow the same protocols. Their actions reflect on your evidence. Consistency in procedure builds trust with the judge. If the jury believes the process was sloppy, they may doubt the truthfulness of the images themselves.
Expert Testimony and Explanation
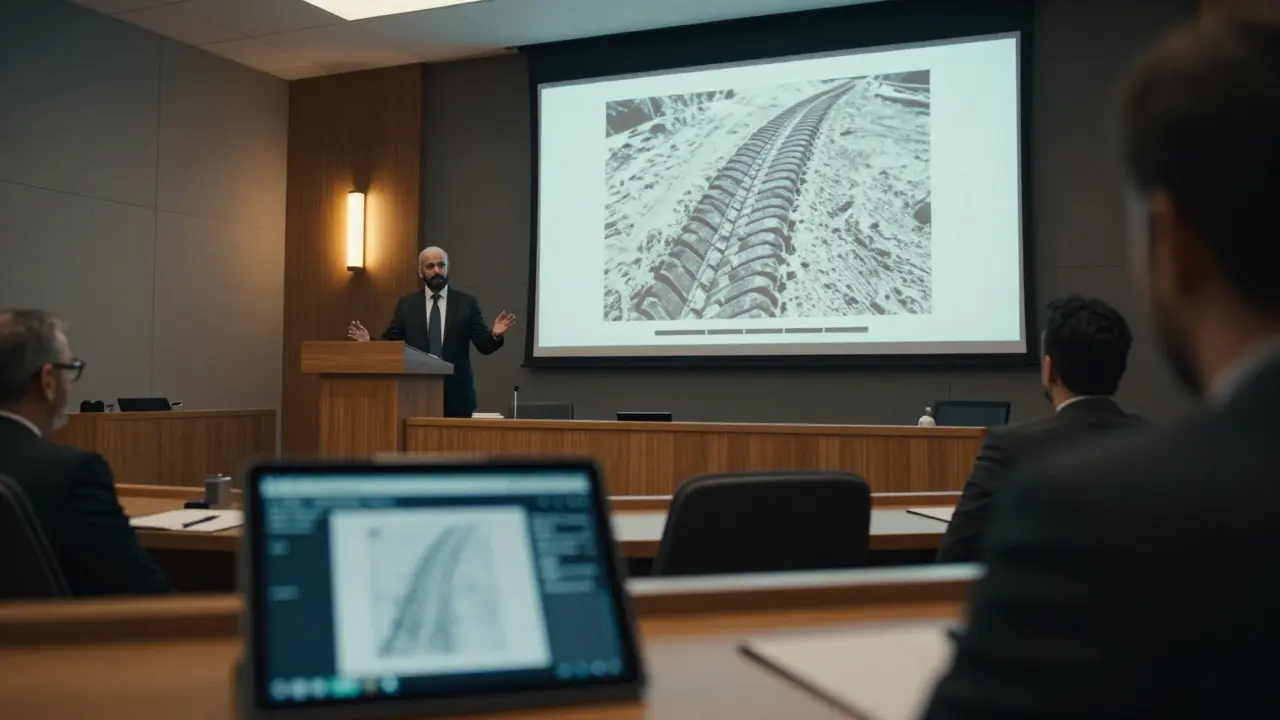
Even with perfect technique, you might need to explain your methods to the court. Prepare a clear, jargon-free explanation of why you chose certain lenses, lighting setups, and angles. Use diagrams to illustrate how perspective works. Show side-by-side comparisons of distorted versus corrected images to demonstrate the impact of proper technique.
Your testimony should focus on consistency and repeatability. Explain that you followed industry standards, such as those outlined by the American Society of Crime Laboratory Directors (ASCLD) or the Scientific Working Group on Forensic Photography. Citing recognized guidelines adds weight to your claims and shows you’re not just guessing-you’re following proven science.
Frequently Asked Questions
Is a smartphone photo admissible in court?
Yes, provided it meets the same standards as professional equipment. Ensure the image is sharp, properly lit, and includes a scale where applicable. Preserve the original file with metadata intact. Smartphones are increasingly accepted, but their automatic corrections can sometimes alter colors or contrast, so manual control is preferred for critical evidence.
How do I prove a photo hasn’t been edited?
Use hash verification. Generate a cryptographic hash (like SHA-256) for the original file immediately after downloading. Store this hash securely. Later, if questioned, regenerate the hash from the current file. If they match, the file is unchanged. Additionally, keep the RAW file, which is difficult to edit without leaving traces.
What is the best focal length for close-up evidence?
A macro lens with a focal length between 90mm and 105mm is ideal. This range allows you to get very close to the subject without introducing significant perspective distortion. It also provides a natural depth of field, making it easier to keep the entire area of interest in focus.
Do I need to photograph the entire room?
Usually, yes. Start with overview shots that show the layout of the scene. Then move to mid-range shots focusing on key areas. Finally, take close-ups of specific evidence. This hierarchical approach helps jurors understand the context before examining details. Skipping the overview can make close-ups seem out of place or suspicious.
Can I use filters to improve visibility?
Yes, but document it. Polarizing filters reduce glare, and UV filters protect the lens. However, avoid creative filters like sepia or black-and-white conversions unless necessary for highlighting specific features. If you use alternative light sources like UV or infrared, note the wavelength used and attach a comparison shot under normal light.