When a witness describes a cut on their arm or a bruise on their face, the first question isn't "what happened?" It's "how do we prove it looked exactly like that at 2:14 PM yesterday?" Witness witness injury photography is the bridge between a verbal account and objective visual evidence. Without standardized clinical techniques, photos can be misleading, admissible only with heavy caveats, or worse, dismissed entirely in court because they lack context, scale, or consistency.
This guide breaks down the exact steps investigators and medical examiners use to capture injuries accurately. We’re not talking about artistic composition; we’re talking about reproducibility. If another photographer walks into the room tomorrow, they should be able to take the same photo, from the same angle, with the same lighting, and get a nearly identical result. That’s the standard.
Why Standardization Matters in Injury Documentation
Human memory fades fast. A witness might remember a scratch as "deep," but without a reference point, "deep" is subjective. In forensic science, objectivity is king. Standardized protocols ensure that every image serves as a reliable record of the body’s condition at a specific moment in time. This matters for three reasons:
- Admissibility: Courts require chain-of-custody and methodological rigor. Non-standard photos often fail Daubert challenges because they aren’t reproducible.
- Comparison: Serial injuries (like those in domestic violence cases) need side-by-side comparisons over weeks. Only standardized angles allow valid comparison.
- Medical Correlation: Doctors need accurate images to assess healing rates. A distorted photo can lead to misdiagnosis of trauma severity.
The core principle here is consistency. Every variable-lighting, distance, angle, and scale-must be controlled or documented so that the image speaks for itself without interpretation bias.
Essential Equipment for Clinical-Grade Imaging
You don’t need a million-dollar studio setup, but you do need specific tools that eliminate guesswork. Here’s what belongs in your kit:
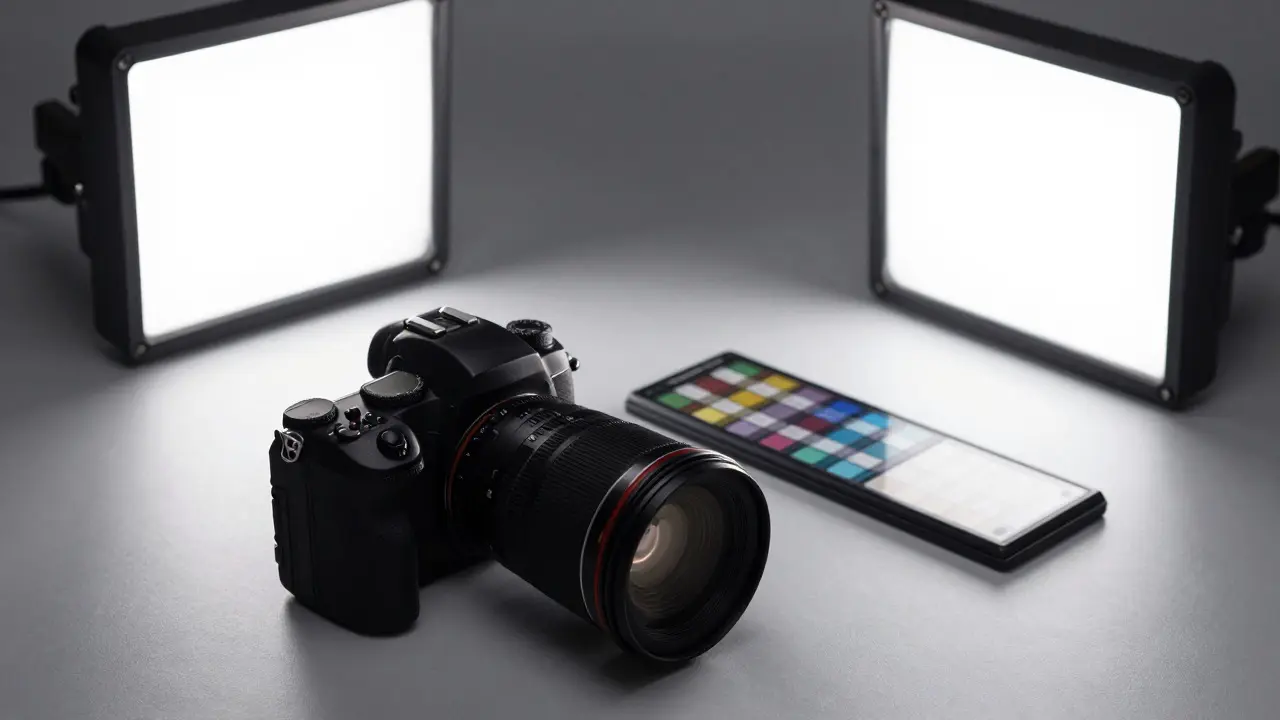
- Digital SLR or Mirrorless Camera: Use manual mode. Auto-exposure changes brightness based on skin tone, which distorts color accuracy. Set ISO to 100-400, aperture to f/8-f/11 for depth of field, and shutter speed accordingly.
- Macro Lens: A 90mm or 105mm macro lens is ideal. It allows close-up shots without perspective distortion. Avoid wide-angle lenses for detail shots; they warp edges.
- Luminometer (Scale): A standardized ruler or L-shaped luminometer placed next to the injury provides scale. Always include this in medium and close-up shots.
- Color Checker Card: Place this card in the frame for every session. It corrects white balance issues caused by ambient light (e.g., yellow hospital lights vs. blue daylight).
- Continuous Lighting Kit: Two LED panels with color temperature adjustable between 3200K and 5600K. Consistent lighting eliminates shadows that hide texture details like abrasions or lacerations.
A common mistake is relying on flash. Flash creates harsh shadows and flattens surface texture. Continuous lighting lets you see the topography of the injury in real-time before you press the shutter.
The Three-Shot Protocol: Overview, Medium, and Close-Up
Every injury documentation session follows a strict sequence. Skipping any step compromises the evidentiary value. Think of it as telling a story: where is the injury on the body? What does it look like up close? And how big is it?
1. The Overview Shot
This shot places the injury in context. You photograph the entire body part or even the full body if necessary. For example, if documenting a bruised shin, photograph the whole leg from hip to ankle. This shows location relative to anatomical landmarks. No scale is needed here, but the subject’s position must be clearly visible.
2. The Medium Shot
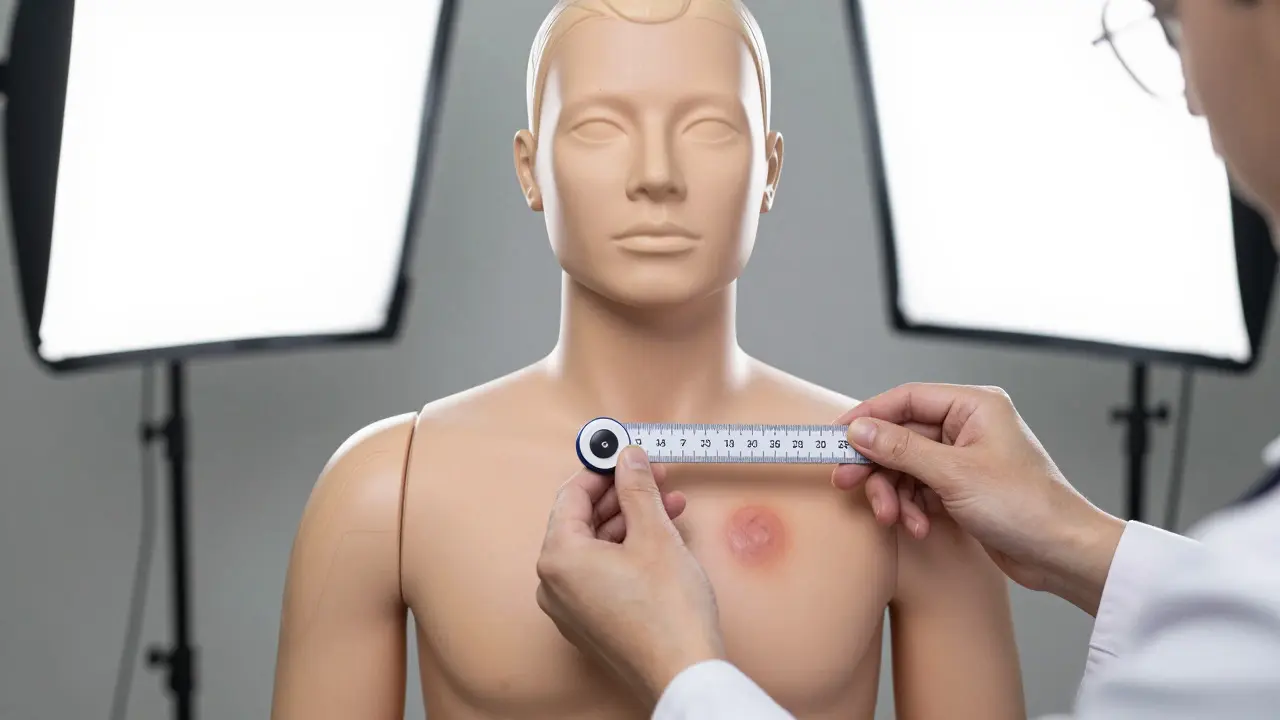
Zoom in closer. Frame the injury with surrounding tissue included. This is where you introduce the luminometer. Place the scale directly adjacent to the wound, parallel to its longest axis. Ensure the scale is in sharp focus. This shot captures the size and shape of the injury while still showing some context.
3. The Close-Up Detail Shot
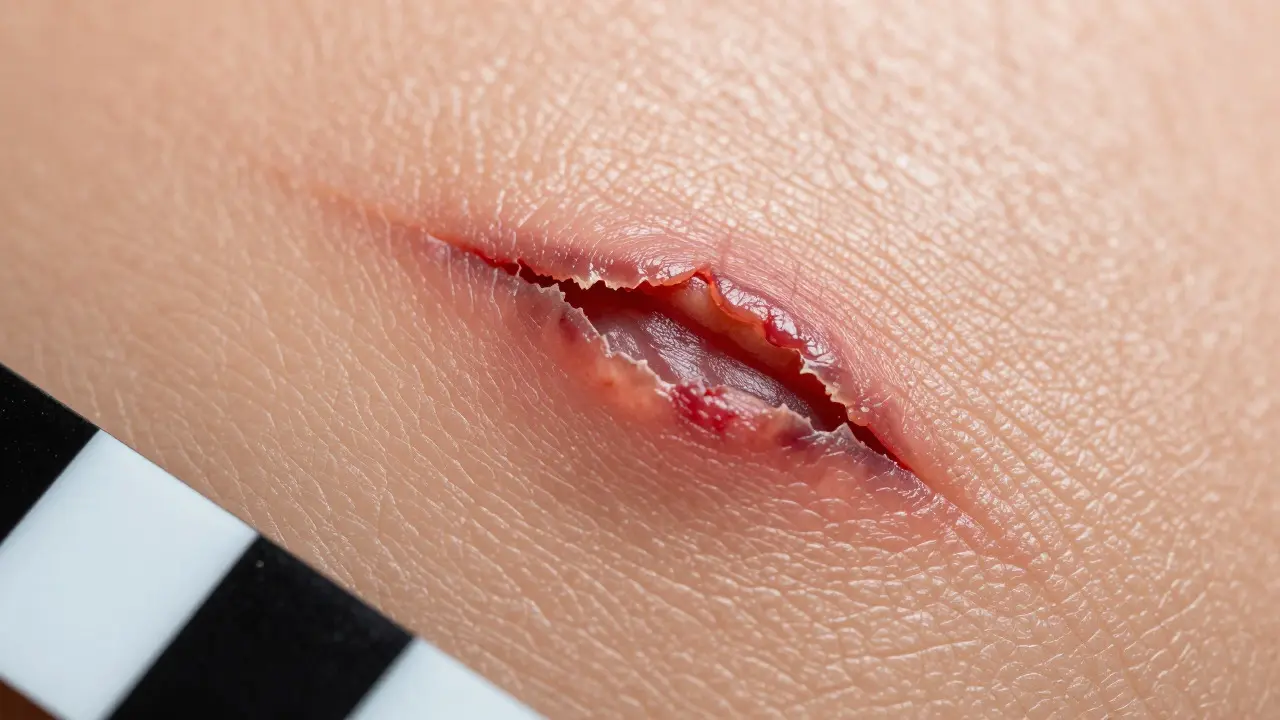
This is the critical forensic image. Use your macro lens to fill the frame with the injury itself. Include the scale again, but now it’s crucial for measuring millimeters. Capture texture: is the edge jagged? Is there swelling? Are there foreign objects embedded? Take multiple frames at slightly different focal points if the depth of field is shallow, then stack them later if needed for extreme clarity.
Lighting and Angle: Eliminating Distortion
Lighting isn’t just about brightness; it’s about revealing truth. Shadows can make a shallow scratch look deep. Glare can hide a bruise. Here’s how to control it:
- Diffused Light: Use softboxes or umbrellas to diffuse your LED panels. Direct light creates hot spots and hard shadows.
- Angle Control: Position lights at 45 degrees to the subject. This highlights surface texture without creating blinding reflections on wet wounds.
- Camera Angle: Shoot perpendicular to the injury surface. Tilting the camera introduces keystone distortion, making rectangular shapes look trapezoidal. Keep the sensor plane parallel to the wound plane.
If you’re shooting in a moving vehicle or an unstable environment, use a tripod. Even a small shake ruins a close-up. If a tripod isn’t possible, brace against a stable surface and use a slower shutter speed with a higher ISO rather than risking blur.
Handling Different Skin Tones and Healing Stages
One of the biggest pitfalls in injury photography is assuming all skin reacts the same way. Bruising patterns vary significantly across melanin levels. Darker skin tones may show less visible discoloration in early stages, requiring UV or infrared photography in some cases to detect underlying trauma. Always document the lighting conditions used, as standard visible light may miss subtle changes.
Healing stages also demand specific attention. A fresh laceration looks very different from one that is scabbing over. Document the date and time meticulously. Include a written note in the file describing the state of the wound (e.g., "active bleeding," "clotted," "epithelializing"). Photos alone don’t tell the timeline; metadata and notes complete the picture.
Metadata and Chain of Custody
Your photos are useless if no one knows when, where, and by whom they were taken. Before leaving the scene, check your camera settings. Ensure the internal clock is synced to UTC or local time with clear notation. Export images immediately to a secure, read-only drive. Do not edit raw files. Any adjustments to brightness or contrast must be done on a copy, with the original preserved untouched.
Create a log entry for each image set:
- Date and Time
- Subject ID (anonymized)
- Injury Location
- Photographer Name
- Equipment Used (Camera Model, Lens Focal Length)
- Lighting Setup Description
Common Pitfalls to Avoid
Even experienced photographers make these errors. Watch out for:
- Forgetting the Scale: It happens more often than you’d think. Double-check every medium and close-up shot.
- Auto White Balance: Always shoot in RAW format. JPEG compression locks in white balance decisions that may be wrong for forensic accuracy.
- Uncontrolled Background: Cluttered backgrounds distract from the injury. Use a neutral backdrop if possible, or crop carefully in post-processing (on a copy).
- Ignoring Consent: Ensure you have signed consent forms. Without them, photos may be inadmissible depending on jurisdiction.
Next Steps for Implementation
Start small. Pick one type of injury you handle frequently-say, contusions-and practice the three-shot protocol until it’s muscle memory. Test your lighting setup on mannequins or willing volunteers with simulated wounds. Compare your results against known standards. Once you’re consistent, expand to more complex injuries like burns or fractures. Remember, the goal isn’t to make pretty pictures. It’s to make undeniable records. When the next case goes to trial, you want the jury to see exactly what you saw, without doubt or debate. That’s the power of standardized clinical techniques.
What is the most important element in witness injury photography?
Consistency. Every photo must be reproducible by another photographer using the same methods. This includes standardized lighting, camera angles, and the inclusion of a scale in medium and close-up shots.
Do I need a professional camera for forensic injury documentation?
While smartphones can work in emergencies, a DSLR or mirrorless camera with manual controls and a macro lens is preferred for legal-grade documentation. Manual control ensures consistent exposure and white balance, which auto-settings often fail to maintain.
How many photos should I take of a single injury?
At least three: one overview, one medium with scale, and one close-up with scale. Additional shots from slightly different angles or focusing planes are recommended for complex wounds to ensure no detail is missed.
Can I edit the photos after taking them?
Only on copies. Always preserve the original RAW file untouched. Any adjustments to brightness, contrast, or cropping should be noted in the metadata log to maintain transparency and admissibility.
What if the injury is on dark skin and bruises aren't visible?
Use UV or infrared photography if available, as these wavelengths can reveal subsurface trauma not visible under standard light. Document the lighting method used in your log. If only visible light is available, note the limitation in your report.