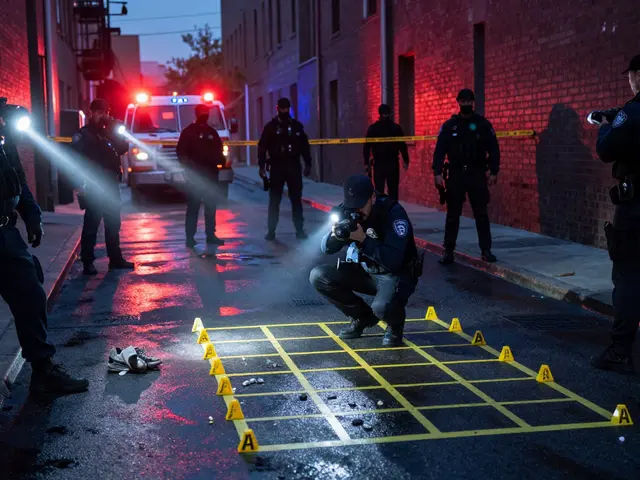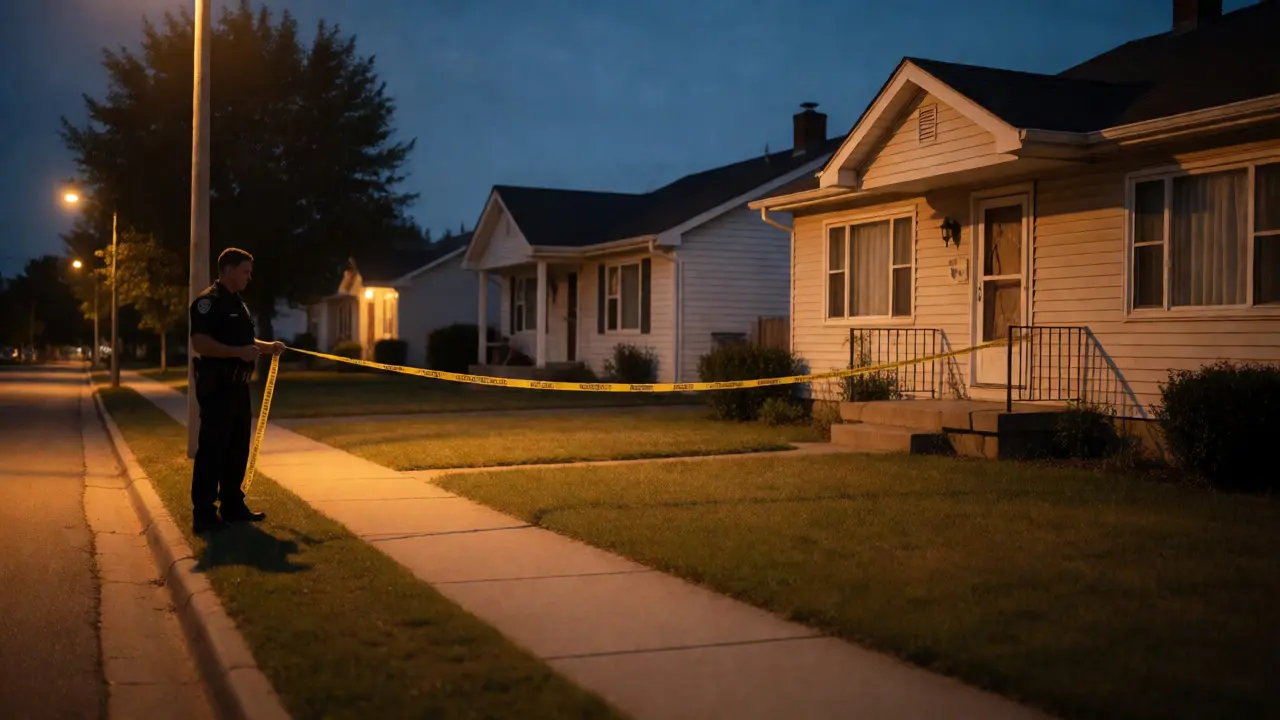
You arrive at the scene. The dispatcher said it was a break-in, but the front door is splintered inward and there’s blood on the porch railing. You step out of your cruiser, tape in hand, ready to cordon off the house. But here is the trap most rookie responders fall into: you set the boundary too tight. You think you’re being efficient, keeping the public away while letting neighbors watch from their lawns. In reality, you’ve just destroyed half the evidence before you even put on gloves.
Establishing a crime scene perimeter is not just about blocking traffic; it is about creating a controlled environment where evidence can survive long enough to be collected. It is a dynamic process, not a static line. If you get this wrong, the case might die before it reaches the lab. So, how do you draw a line that protects the truth? You start wide, then tighten strategically as facts emerge.
The Golden Rule: Start Wider Than You Think
Let’s address the elephant in the room: fear of looking foolish. First responders often hesitate to block off an entire city block because they don’t want to inconvenience the community or look like they are overreacting. This social pressure is dangerous. Evidence doesn’t stay neatly inside the victim’s living room. A suspect might have dropped a shell casing three houses down. A witness might have left a footprint in the mud fifty feet from the back fence. Blood spatter can travel further than you expect.
The standard heuristic used by seasoned investigators is simple: if in doubt, tape it out. Specifically, extend your initial boundary at least twice the distance of what seems obvious. If the shooting happened in a garage, tape off the driveway, the street in front, and the alley behind. Why? Because vehicles move. People flee. Items are discarded during flight. Once you tape off an area, you can always shrink it later with minimal effort. But once you’ve let a hundred curious onlookers trample through the "safe" zone outside your original line, you cannot un-crush that footprint or un-mix that DNA.
| Incident Type | Recommended Initial Buffer | Primary Risk Factor |
|---|---|---|
| Homicide (Indoor) | Full building + adjacent property lines | Tracking devices, discarded weapons |
| Shooting (Outdoor) | 100 yards radius minimum | Bullet trajectory, spent casings |
| Vehicle Accident | Debris field + 50 ft beyond | Skid marks, fluid leaks, glass shards |
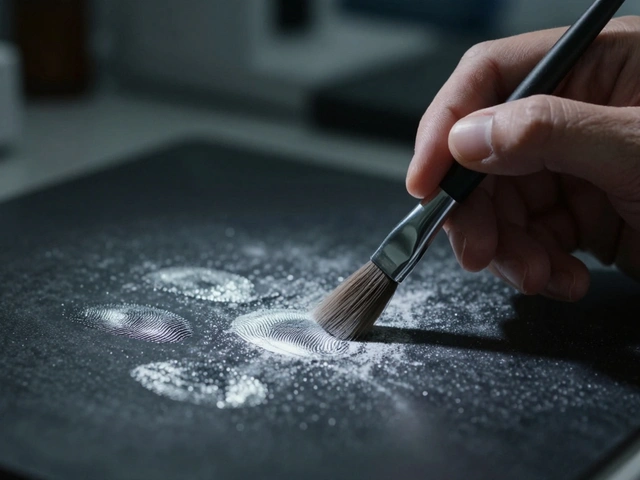
| Burglary | Point of entry + escape route | Fingerprints on exterior surfaces |
Dynamic Expansion: Reading the Scene
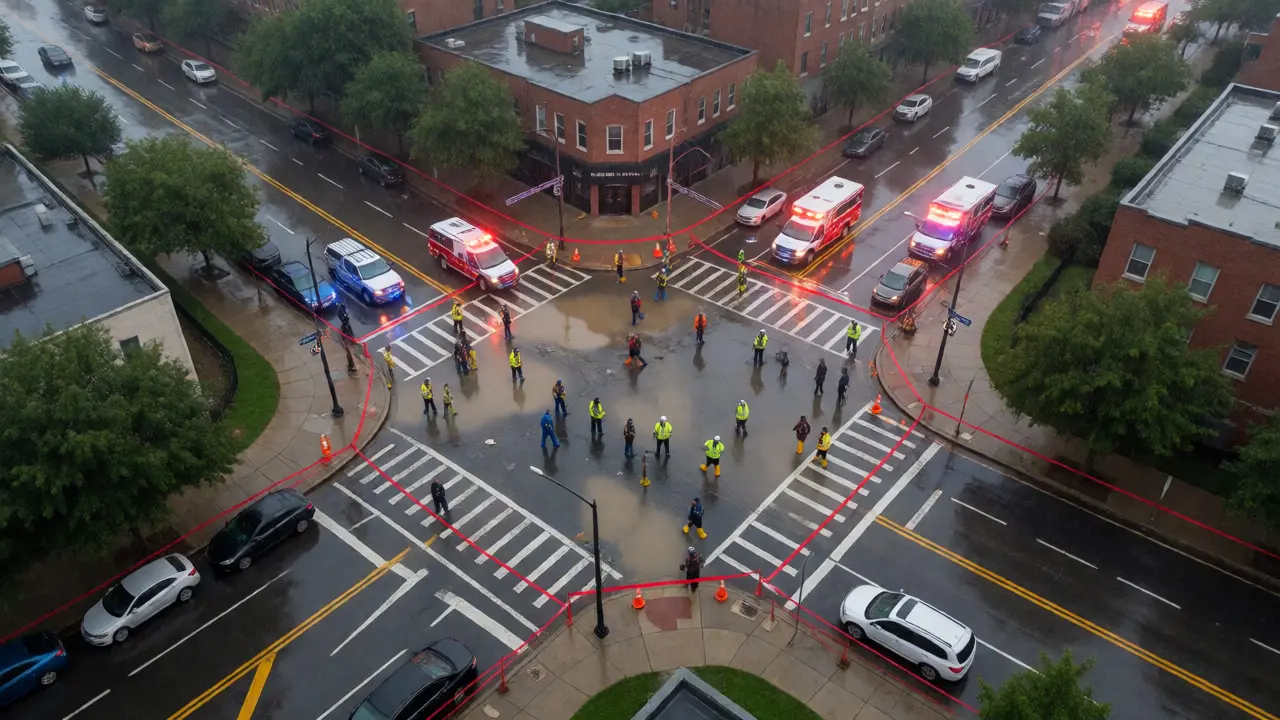
A perimeter is never finished when you first tie the knot. It is a living entity that grows based on new information. This concept is known as strategic boundary expansion. Imagine you are investigating a hit-and-run. Initially, you tape off the intersection where the pedestrian was struck. That seems logical. But ten minutes later, a canvassing officer finds a broken taillight lens two blocks away. Has your perimeter failed? No. It has succeeded because you recognized the need to expand.
To manage this effectively, you need a system for marking temporary boundaries. Use flagging tape for potential expansion zones. This signals to other units that "this area is under consideration." When you confirm evidence exists in that zone, you upgrade the yellow caution tape to permanent red barrier tape. This visual hierarchy helps maintain order without causing panic. If you see a suspect fleeing north, expand the northern boundary immediately. Do not wait for permission. The chain of custody begins the moment you secure the area.
Consider the evidence trail. Most crimes involve movement. The perpetrator enters, acts, and exits. Your perimeter must capture the entire narrative arc, not just the climax. If a body is found in a park, did the killer drive there? Park in a nearby lot? Walk from a bus stop? Each transition point is a potential source of trace evidence-fibers, hair, soil transfers. Ignoring the approach path is like reading only the last page of a book.
Controlling Access: The Choke Point Strategy
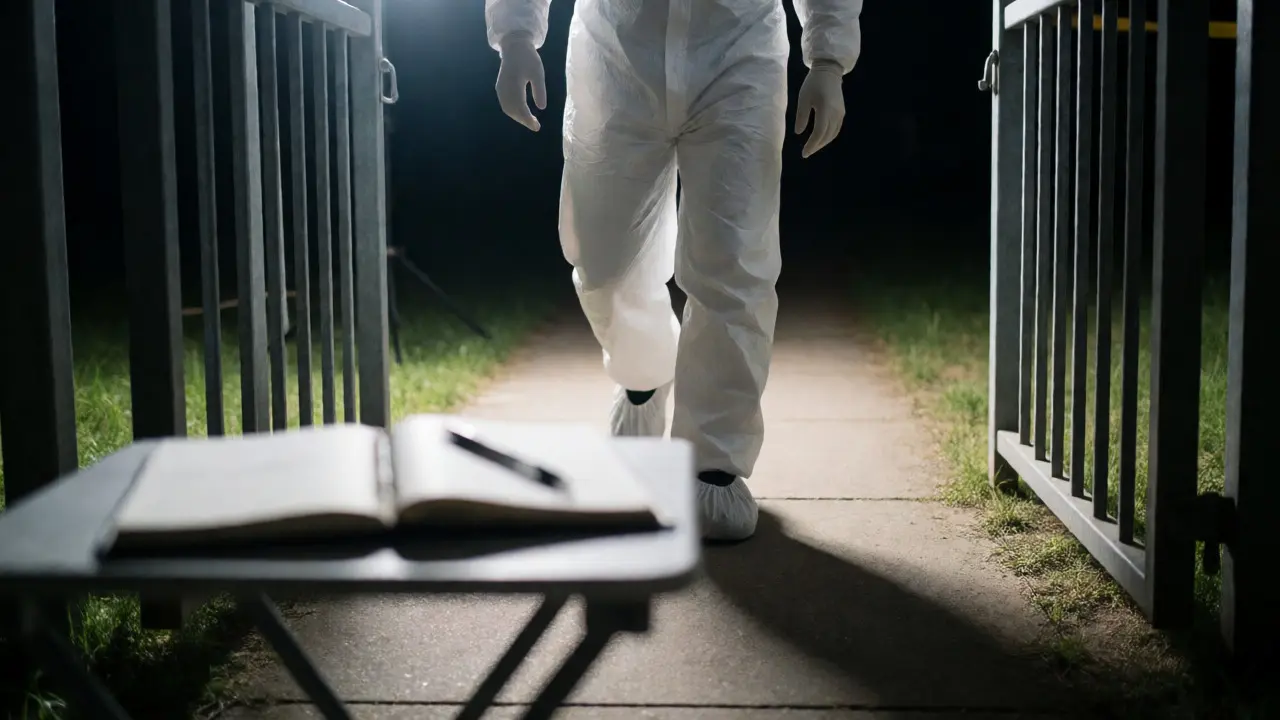
Once the boundary is set, the next challenge is managing who crosses it. You cannot simply rely on officers standing around looking stern. You need a physical choke point. This is the single entry and exit gate for all authorized personnel. Every person who steps across that line must sign in, sign out, and log the time. Why such strictness? Because contamination is invisible. A detective might walk in wearing shoes that tracked pollen from a different county. If that pollen ends up on a shirt in the evidence locker, defense attorneys will tear the case apart.
Set up your command post just outside the outer perimeter. Keep radios, coffee, and paperwork there. Never bring personal items like phones or lunch into the inner circle unless they are sealed in plastic bags. The goal is to minimize cross-contamination. If multiple agencies are involved-police, EMS, fire department-coordinate their entry times. Let EMS finish their work before forensics starts theirs. Overlapping activities create chaos and increase the risk of stepping on critical clues.
- Logbook Essentials: Name, Badge Number, Agency, Time In, Time Out, Reason for Entry.
- PPE Protocol: Boot covers and gloves are mandatory. Change them if you leave and re-enter.
- Media Management: Keep press strictly outside the outer tape. They are distractions and potential contaminators.
Environmental Factors and Boundary Integrity
Weather is the enemy of evidence. Rain washes away blood; wind scatters paper trails; snow hides footprints. When establishing your perimeter, you must account for environmental vectors. If it is raining heavily, expand your perimeter uphill. Water flows downhill, carrying debris with it. You might find crucial evidence thirty feet below the actual incident site. Similarly, if there is strong wind, check downwind areas for lightweight evidence like receipts, fibers, or hair.
Terrain matters too. In urban settings, vertical space is often ignored. Did someone throw a weapon from a second-story window? Tape off the sidewalk directly below. In rural areas, consider animal interference. Dogs, coyotes, or even birds can disturb remains or scatter evidence. A wider perimeter allows you to place deterrents or traps if necessary, though usually, simply securing the area prevents scavengers from entering.
Another overlooked factor is lighting. Night scenes require additional safety buffers. Officers working in the dark need space to move without tripping over equipment. Expand the perimeter slightly to accommodate floodlights and generator cords. These items become part of the scene infrastructure and must be logged if they come into contact with evidence areas.
Shrinking the Perimeter: Knowing When to Stop
So, when do you pull the tape in? Shrinking the perimeter is just as risky as expanding it. You should only reduce the boundary when you have confirmed that no evidence exists in the excluded zones. This requires systematic processing. Before you move the outer tape closer, ensure that:
- All visible evidence within the current boundary has been photographed and marked.
- Canvass teams have interviewed witnesses in the immediate vicinity.
- Search teams have swept the ground for small items like shell casings or jewelry.
If you shrink too early, you might miss a latent print on a mailbox that was technically "outside" your initial tight circle but inside the logical escape route. Always document why you reduced the boundary. Write it in the report: "Perimeter reduced to 20-foot radius after negative sweep of surrounding grassy area." This shows diligence and protects you from claims of negligence.
Common Pitfalls to Avoid
Even experienced investigators make mistakes. Here are the top three errors regarding perimeters:
1. The "Public Eye" Compromise: Allowing family members or friends to stand near the edge of the tape to "see what happened." They inevitably drift closer, drop tissues, or shed hair. Keep them far back. Empathy is important, but science comes first.
2. Ignoring Digital Footprints: Modern crime scenes include Wi-Fi routers, smart home devices, and cell towers. While these aren't physical boundaries, they represent data zones. Ensure your team knows to preserve electronic evidence locations, which may dictate how close technicians can get to certain structures.
3. Static Thinking: Treating the perimeter as a one-time decision. Remember, the scene evolves. A new witness might mention seeing a car parked in a specific spot. A dog might bark at a bush. Stay alert and adjust the lines accordingly.
Mastering the crime scene perimeter isn't about rigid rules; it's about adaptive thinking. By starting wide, controlling access tightly, and respecting environmental factors, you protect the integrity of the investigation. The tape you lay down today determines whether justice is served tomorrow. Treat every inch of that boundary with the seriousness it deserves.
How far should I initially tape off a crime scene?
There is no fixed number, but a good rule of thumb is to double the perceived necessary distance. For indoor scenes, include the entire building and adjacent outdoor areas. For outdoor shootings, a 100-yard radius is a common starting point. Always err on the side of caution, as shrinking a perimeter is easier than expanding it after contamination occurs.
Who is allowed to cross the crime scene perimeter?
Only essential personnel with a direct role in the investigation. This includes first responders, detectives, forensic specialists, medical examiners, and approved supervisors. Everyone else, including other police officers not assigned to the case, media, and family members, must remain outside the boundary. All entries must be logged.
What happens if evidence is found outside the original perimeter?
You immediately expand the perimeter to include the new location. Document the discovery time and the reason for expansion. If the area was previously accessible to the public, note any potential contamination risks. The key is to secure the new area quickly to prevent further loss or alteration of the evidence.
Does weather affect how I set my perimeter?
Yes, significantly. In rain, expand uphill to catch runoff carrying evidence. In windy conditions, check downwind areas for light debris. Extreme heat or cold may also affect the stability of biological evidence, requiring faster processing or specialized covering techniques within the secured zone.
When is it safe to remove the crime scene tape?
The tape should remain until the lead investigator declares the scene processed and released. This usually happens after all physical evidence is collected, photographed, and documented. Premature removal can lead to public intrusion, loss of residual evidence, and legal challenges regarding scene integrity.