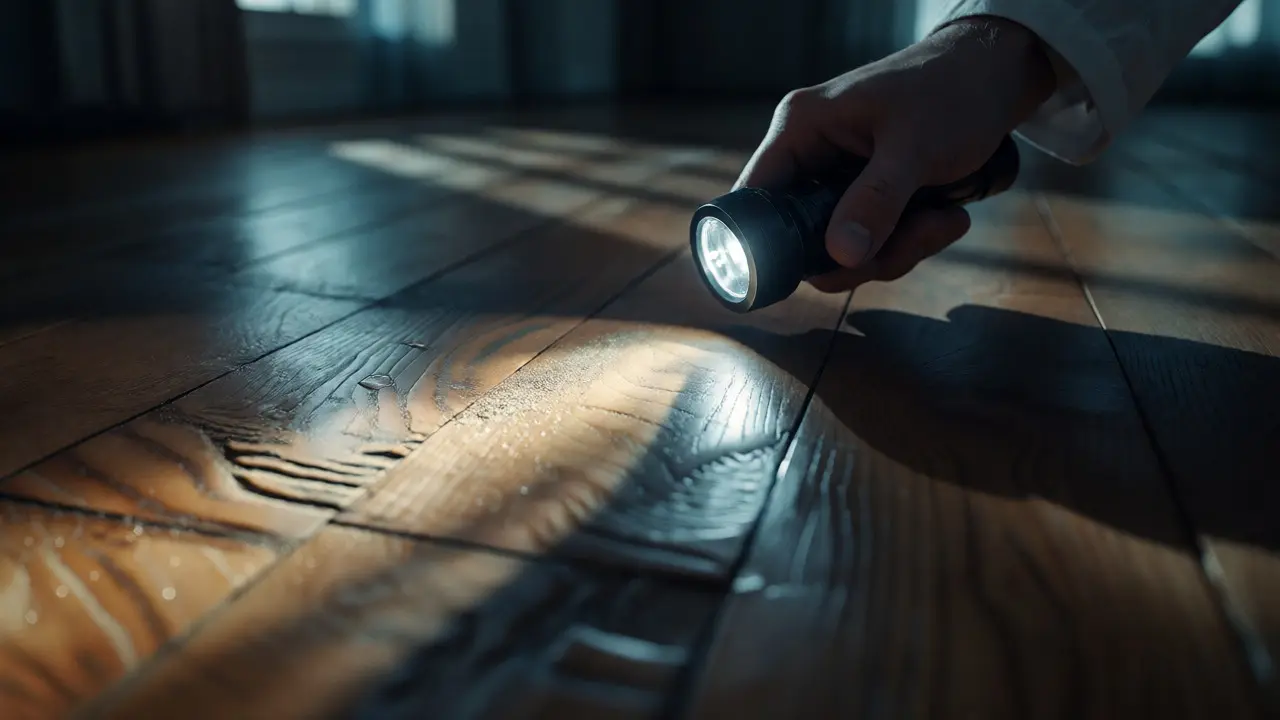
You walk into a room. The overhead lights are on. You look at the floor. It looks clean. But you know that dust, fibers, and faint shoe impressions don't show up under flat, even illumination. They hide in plain sight because the light hits them head-on, washing out the tiny shadows that give objects depth and definition.
This is where oblique lighting becomes your best friend. It’s not just a fancy term from a photography textbook; it’s a practical technique used by crime scene investigators to reveal what the naked eye misses. By shining a light source at a low angle across a surface, you create long shadows that highlight texture, elevation changes, and subtle imperfections. Whether you’re looking for a latent fingerprint on glass or a tool mark on metal, this method turns invisible evidence into visible proof.
Why Flat Light Fails
Think about how you see a coin. If you hold it flat under a ceiling light, you see the face value and maybe some shine. But if you tilt the light so it grazes the surface, suddenly you see every scratch, every bump, and the raised edge of the rim. That’s physics working for you.
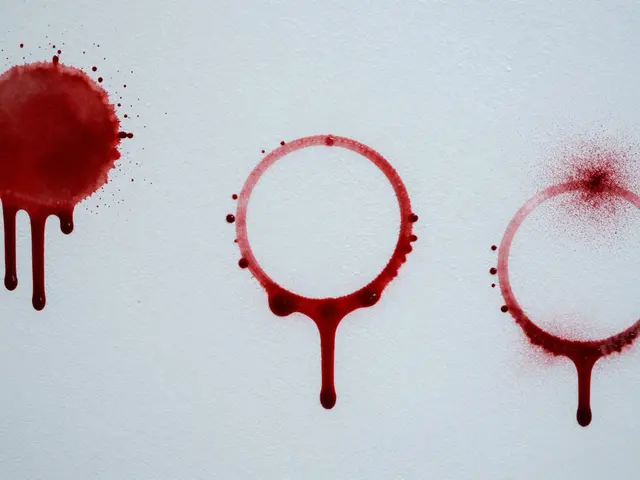
In scene imaging, standard lighting often flattens the image. Cameras capture two-dimensional data, but our brains interpret three-dimensional space through cues like shading and occlusion. When light comes from directly above or from the camera’s perspective (like a built-in flash), those cues disappear. Shadows fall directly behind objects, making them blend into the background. For forensic purposes, this is a disaster. You might miss a hair lying on a dark carpet or a smear of blood on a white wall simply because the contrast isn’t there.
Oblique lighting solves this by manipulating the direction of the light source. Instead of hitting the subject straight on, the light skims across it. This creates high-contrast shadows in any depression or highlight on any protrusion. The result is an image that pops with detail, allowing analysts to distinguish between actual evidence and background noise.
The Physics Behind the Technique
You don’t need a degree in optics to use oblique lighting, but understanding the basics helps you adjust on the fly. The core principle is simple: shadow length increases as the angle of incidence decreases. The closer your light source is to parallel with the surface, the longer the shadows cast by small irregularities.
However, there’s a sweet spot. If the angle is too shallow (almost parallel), you might get glare or lose detail in the highlights. If it’s too steep (too close to 90 degrees), you revert to flat lighting. Most experienced investigators aim for an angle between 15 and 45 degrees relative to the surface plane. This range typically provides enough shadow definition without causing excessive reflection, especially on shiny surfaces like tile or polished wood.
| Angle Relative to Surface | Shadow Length | Best Used For | Risk Factor |
|---|---|---|---|
| 0-15 Degrees | Extremely Long | Fine textures, very low relief marks | High glare, loss of color accuracy |
| 15-45 Degrees | Moderate to Long | General surface details, tool marks, dust | Low; ideal balance for most scenarios |
| 45-75 Degrees | Short | Color documentation, general overview | Shadows may obscure fine details |
| 75-90 Degrees | Minimal/None | Flat documents, color charts | Flattens 3D features completely |
Essential Gear for Oblique Imaging
You don’t need expensive studio equipment to start using this technique. In fact, many field kits already contain everything you need. The key is control over the light source’s position and intensity.
- A powerful, focused flashlight: A LED tactical flashlight with a narrow beam is perfect. It allows you to pinpoint exactly where the light hits. Avoid wide-beam lanterns unless you diffuse them heavily.
- A tripod or stabilizer: Holding a light steady while taking a photo is hard. Even slight hand tremors can blur the image. A simple tripod frees up both hands-one for the camera, one for adjusting the light.
- Diffusers: Hard light can create harsh, distracting hotspots. A small piece of tracing paper or a dedicated diffuser cap can soften the beam, spreading the light more evenly while maintaining the oblique angle.
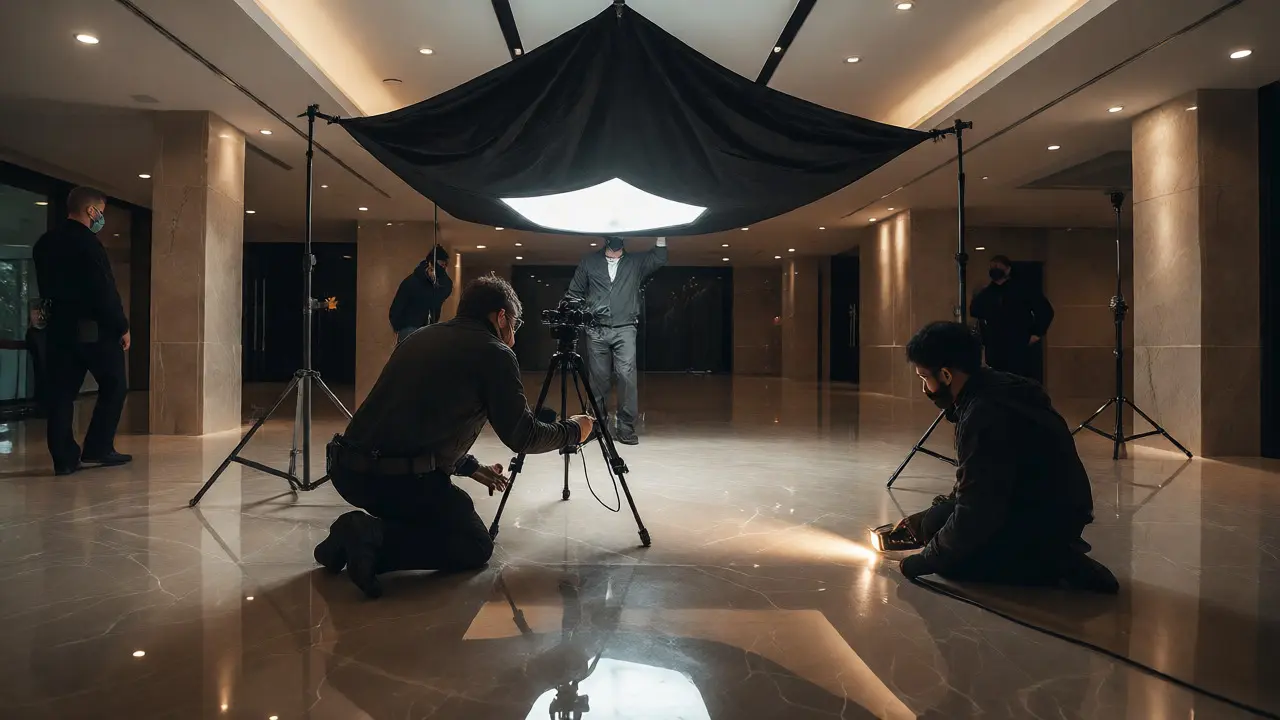
- Blackout cloth: Sometimes ambient light interferes. A black cloth draped around the area helps isolate the subject and prevents reflections from nearby windows or bright walls.
Remember, the goal isn’t to make the scene look pretty. It’s to make the evidence legible. If you have to choose between artistic composition and clear shadow definition, always pick clarity.
Step-by-Step Application in the Field
So, you’ve found a potential impression on a hardwood floor. How do you document it? Follow these steps to ensure you capture the detail correctly.
- Secure the scene: Before you touch anything, ensure no one walks over the area. Evidence preservation comes first.
- Position your camera: Set your camera on a tripod directly above or slightly angled toward the subject. Use a macro lens if available for close-ups, but a standard zoom works for wider areas.
- Turn off ambient light: If possible, kill the overhead lights. This gives you total control over the illumination. If you can’t turn them off, use a blackout cloth to block stray light.
- Place the light source: Hold your flashlight low to the ground, aiming it across the surface. Start at a 45-degree angle and move it lower until you see shadows appear in the impression.
- Adjust and observe: Look through the viewfinder or screen. Move the light slowly. Watch how the shadows change. You’re looking for the moment when the texture of the impression stands out against the background.
- Capture multiple shots: Don’t rely on one image. Take photos from different angles-left, right, front, back. Each angle reveals different aspects of the 3D structure.
- Include a scale: Always place a forensic scale next to the evidence. Without it, the size of the detail is meaningless in court.
This process might feel slow at first, but speed comes with practice. In a busy crime scene, spending two minutes getting the right shot saves hours of arguing about whether a mark was real or just a smudge.
Common Pitfalls and How to Fix Them
Even seasoned pros mess this up occasionally. Here are the most common mistakes and how to avoid them.
Over-lighting: Blasting the subject with too much power washes out the shadows. If the white parts of your image are blown out (pure white with no detail), dial back the brightness or move the light further away. Underexposure is usually better than overexposure in digital photography because you can recover shadow detail in post-processing, but you can’t recover lost highlights.
Ignoring reflections: Shiny surfaces like glass, marble, or wet floors reflect the light source itself. If you see a bright blob in your photo, that’s the reflection of your flashlight. Change the angle of the light or use a polarizing filter on your camera lens to cut through the glare.
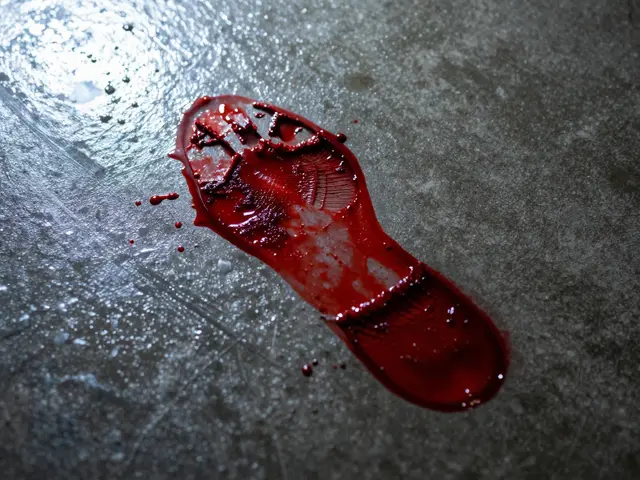
Inconsistent angles: If you’re documenting a series of footprints, try to keep the light angle consistent across all images. This makes comparison easier for analysts later. Varying the angle wildly between photos can make it hard to determine if differences are due to the print itself or the lighting setup.
Beyond Crime Scenes: Other Applications
While forensics gets the spotlight, oblique lighting has roots in other fields. Art conservators use it to examine canvas weaves and paint cracks. Archaeologists use it to read inscriptions on weathered stone. Engineers use it to detect stress fractures in metal components before they fail.
In each case, the principle remains the same: manipulate light to enhance topography. As technology advances, we see new tools emerging. Structured light scanners, for example, project patterns onto surfaces to create 3D maps. But these require expensive equipment and complex software. Oblique lighting remains accessible, immediate, and incredibly effective for quick assessments.
Consider a scenario where you’re inspecting a vehicle for hidden damage after an accident. Paint scratches might be invisible under normal garage lights. But shine a strong LED work light at a grazing angle along the door panel, and every dent and scratch jumps out. This same logic applies to suspect clothing, weapon handles, or even skin abrasions.
Integrating Technology with Tradition
Today’s smartphones have made oblique lighting easier than ever. Many phones now support manual camera controls, allowing you to lock focus and exposure. Some apps even offer “pro” modes that let you shoot in RAW format, preserving maximum dynamic range. This means you can push the limits of your lighting without worrying about losing detail in the shadows.
Moreover, computational photography algorithms are getting smarter. Features like “night mode” or “HDR” attempt to simulate good lighting conditions by combining multiple exposures. While helpful, they can sometimes introduce artifacts or smooth out texture artificially. For forensic integrity, it’s often safer to stick with manual settings and controlled external lighting rather than relying solely on automated phone processing.
If you’re serious about improving your imaging skills, invest time in learning your camera’s histogram. This graph shows the distribution of tones in your image. A healthy histogram for oblique lighting will show peaks in both the shadows and highlights, indicating good contrast without clipping. If the graph piles up on the left (shadows) or right (highlights), adjust your light accordingly.
Legal Admissibility and Documentation
Any technique used in evidence collection must withstand scrutiny in court. Judges and juries need to trust that the photo accurately represents reality. With oblique lighting, the risk is that enhanced shadows might exaggerate the depth of a feature. To mitigate this, always include a reference object of known size and shape in your frame.
Furthermore, document your methodology. Note the type of light used, the approximate angle, and any filters applied. If you edited the image, keep the original file untouched. Chain-of-custody rules apply to digital files too. Metadata embedded in the image file (EXIF data) records the date, time, and camera settings, providing a layer of authentication.
Expert witnesses often explain oblique lighting to juries by comparing it to reading braille. Just as fingers feel bumps to identify letters, eyes perceive shadows to identify shapes. It’s a natural extension of human perception, amplified by technology. When explained clearly, jurors tend to find it intuitive and convincing.
Practice Makes Perfect
The best way to master oblique lighting is to practice outside of high-pressure situations. Go home and take pictures of everyday objects under different lighting angles. Try photographing a textured rug, a scratched table, or a wrinkled shirt. Experiment with moving the light source left, right, up, and down. Notice how the appearance changes dramatically with small adjustments.
Share your results with colleagues. Critique each other’s work. Ask questions: Did the shadow help or hurt? Was the glare distracting? Could a different angle have revealed more? These conversations build a shared vocabulary and improve collective skill sets.
Ultimately, oblique lighting is about seeing more. It bridges the gap between what is physically present and what is visually apparent. In forensics, missing a detail can mean missing a lead. Mastering this simple yet powerful technique ensures that you leave no stone unturned-and no shadow unseen.
What is the difference between oblique lighting and raking light?
The terms are often used interchangeably, but there is a subtle distinction. Raking light specifically refers to light that strikes the surface at a very shallow angle, nearly parallel to the plane. Oblique lighting is a broader term that includes raking light but also covers moderate angles (up to 45 degrees). Both techniques rely on creating shadows to reveal texture, but raking light is more extreme and prone to glare.
Can I use my smartphone for oblique lighting?
Yes, absolutely. Modern smartphones have excellent cameras capable of capturing high-detail images. The challenge is holding the phone steady while positioning the light. Using a small tripod or propping the phone against a stable object helps. Additionally, using the phone's flashlight as the light source can work in a pinch, though external LEDs provide better control over intensity and focus.
Does oblique lighting affect color accuracy?
It can. Because oblique lighting emphasizes shadows and highlights, it can alter the perceived color temperature of the image. Deep shadows may appear cooler (bluer), while highlights may appear warmer. For critical color analysis, such as distinguishing between similar shades of fabric, it is recommended to take a separate photo with neutral, diffuse lighting to establish accurate color baselines.
How does oblique lighting help with latent fingerprints?
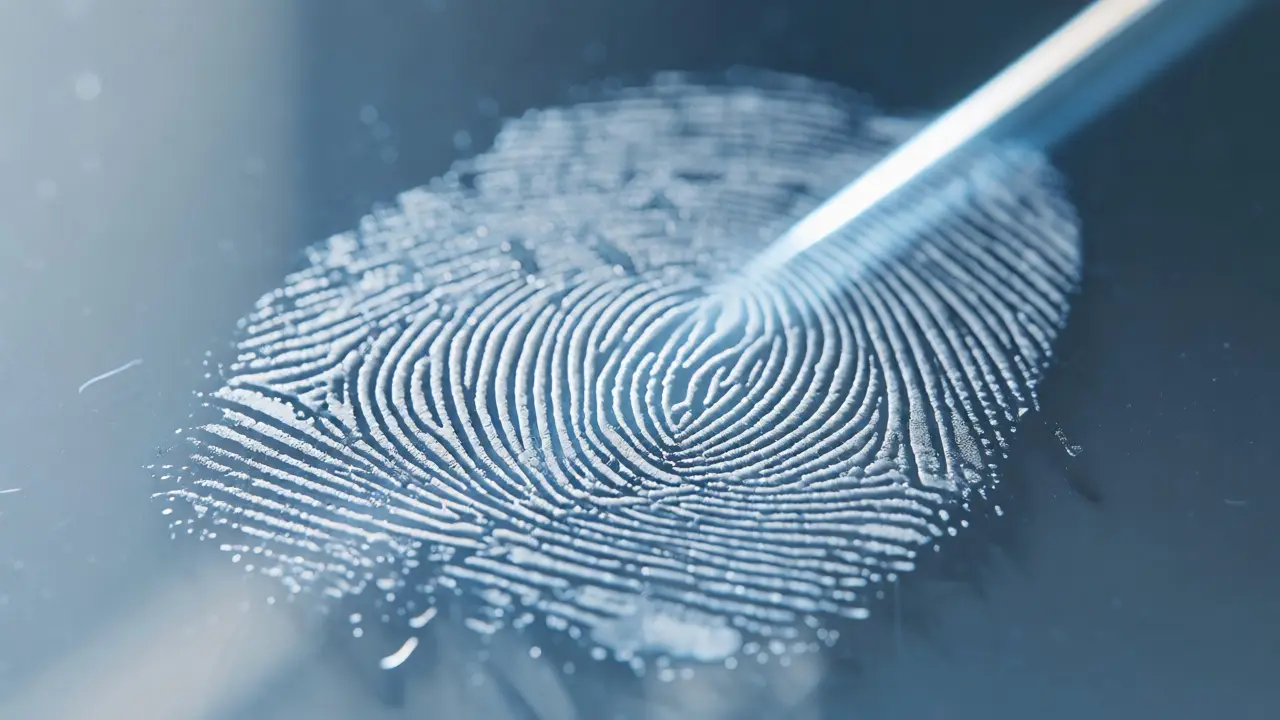
Latent prints consist of oils and residues that sit on top of a surface. Under flat light, these thin layers are transparent. Oblique lighting causes the ridges of the fingerprint to cast microscopic shadows, increasing contrast between the residue and the substrate. This makes the pattern visible without the need for chemical powders or fuming, allowing for non-destructive visualization.
Is oblique lighting suitable for outdoor scenes?
Yes, but it requires careful timing. Natural sunlight acts as a massive light source. Early morning or late afternoon sun provides natural oblique lighting, casting long shadows that reveal terrain details and footprints. At midday, the sun is high, resulting in flat lighting. Investigators often wait for optimal sun angles or use artificial supplemental lights to mimic oblique conditions during midday operations.