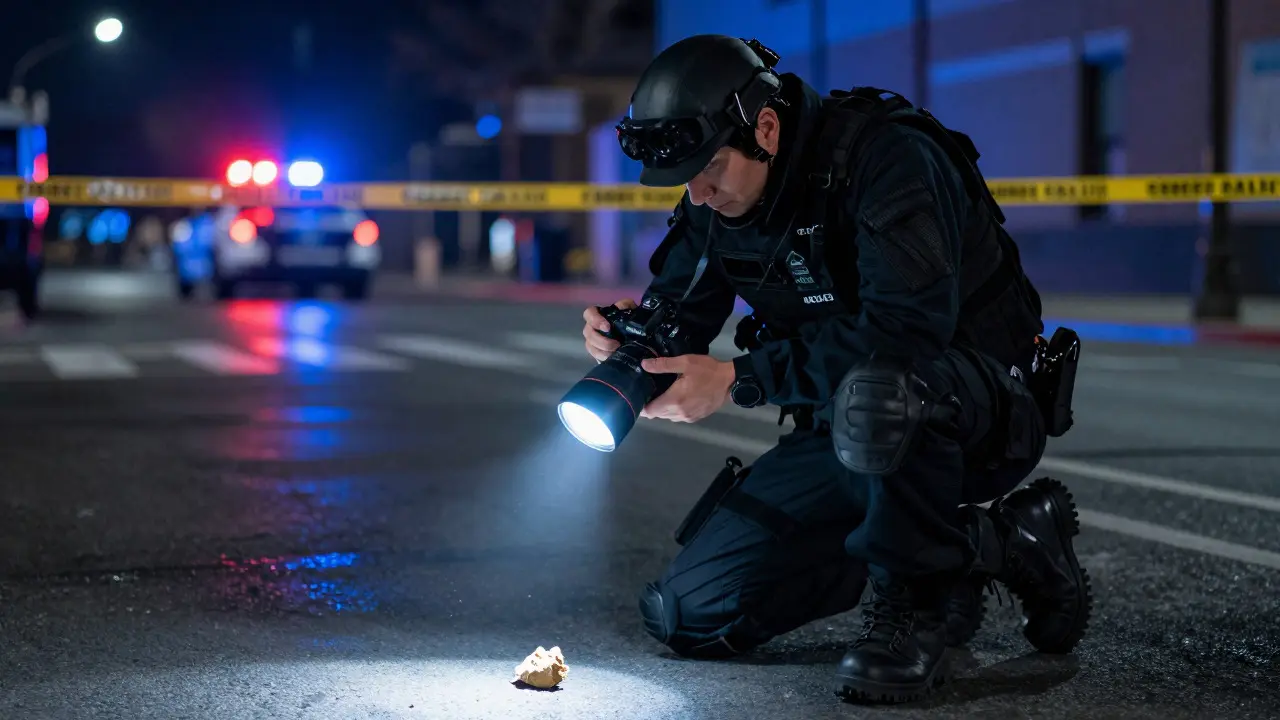
Imagine you are standing in a courtroom. The defense attorney stands up and asks to strike your video footage. Why? Because the metadata was altered, or maybe the chain of custody has a gap. It happens more often than you think. In modern investigations, Video Evidence is digital media recorded at a crime scene or during an investigation that serves as proof of facts in a legal proceeding. But recording it is only half the battle. Getting it admitted into evidence requires strict adherence to legal standards and technical precision.
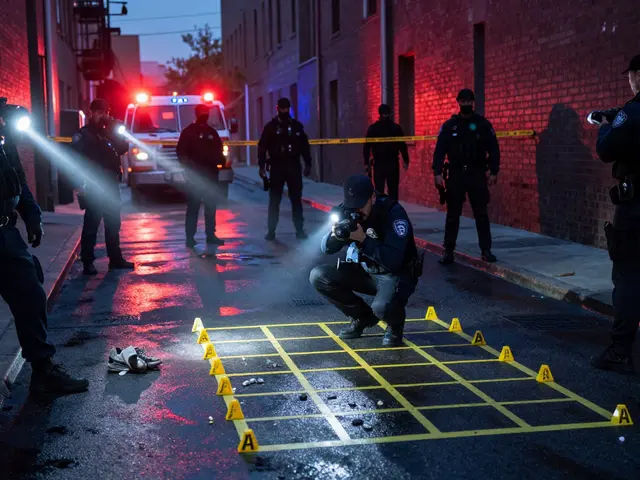
If you are a crime scene investigator, forensic photographer, or law enforcement officer, you know that Scene Imaging is the process of capturing visual data from a crime scene using cameras, drones, or 3D scanners to document spatial relationships and physical evidence. This article breaks down exactly how to ensure your footage survives cross-examination. We will look at the rules, the tech, and the presentation strategies that keep your evidence solid.
Understanding the Legal Framework for Digital Media
Before you press record, you need to understand what the judge is looking for. The core issue is authenticity. Under the Federal Rules of Evidence (FRE) and most state equivalents, any party offering video must prove it is what it purports to be. This usually falls under Rule 901. You don't just say, "This is the video." You have to show a continuous trail from the moment the camera captured the light to the moment the jury sees it on screen.
The standard for admissibility generally hinges on three pillars:
- Authenticity: Proving the video hasn't been edited or tampered with.
- Relevance: Showing the video connects to a material fact in the case.
- Prejudice vs. Value: Ensuring the emotional impact doesn't outweigh its probative value (Rule 403).
For scene imaging specifically, relevance is rarely the problem. The fight is almost always about authenticity. Did you change the white balance? Did you crop out a witness? Did you export the file in a different format? These small technical choices can become big legal problems if not documented properly.
Chain of Custody: The Lifeline of Your Footage
Chain of custody is the unbroken paper trail that tracks who had access to the evidence. For physical items like a gun or bloodstain, this is well-known. For video, it’s digital. When you save a file, you create a copy. Every copy is a potential point of failure.
To maintain a rock-solid chain of custody for digital video, follow these steps immediately after capture:
- Hash the File: Use MD5 or SHA-256 algorithms to generate a unique digital fingerprint for the raw file. Store this hash value in your case notes.
- Secure the Original: Move the original SD card or hard drive to a write-protected device or locked storage. Never edit the original.
- Create Working Copies: Make separate copies for analysis and for court presentation. Label them clearly.
- Document Transfers: Log every time the file moves from one person or device to another. Include dates, times, and names.
If the defense can show that the hash value of the file shown in court differs from the hash of the original file, they can argue the evidence was altered. Even if you didn't alter it intentionally, a mismatch destroys credibility. Tools like EnCase or FTK are industry standards for managing this, but even simple built-in operating system tools can work if used consistently.
Capturing Reliable Scene Imaging Data
The quality of your Scene Imaging starts at the scene. If the source material is shaky, dark, or poorly framed, no amount of post-production magic will save it in court. Here is how to capture footage that holds up.
Use RAW Formats When Possible RAW files contain all the data from the camera sensor without compression. They allow you to adjust exposure and color later without degrading image quality. JPEGs, by contrast, compress data and throw away information. If you adjust a JPEG, you leave artifacts that experts can detect. For stills, always shoot RAW. For video, use uncompressed or high-bitrate codecs like ProRes or DNxHR if your equipment supports it.
Control Lighting and Exposure Inconsistent lighting creates shadows that hide details. If you are using artificial light, log the type of bulbs used. If you are using flash, note the settings. Judges and juries trust consistent, clear images. Avoid auto-exposure modes that fluctuate frame-to-frame. Manual settings provide stability and repeatability.
Include Scale and Context A video of a shoe print means nothing without context. Always include a scale bar or known reference object in the frame. Pan slowly across the scene to show the relationship between objects. This helps the jury understand spatial dynamics, which is critical in accident reconstruction or homicide cases.
Metadata: The Silent Witness
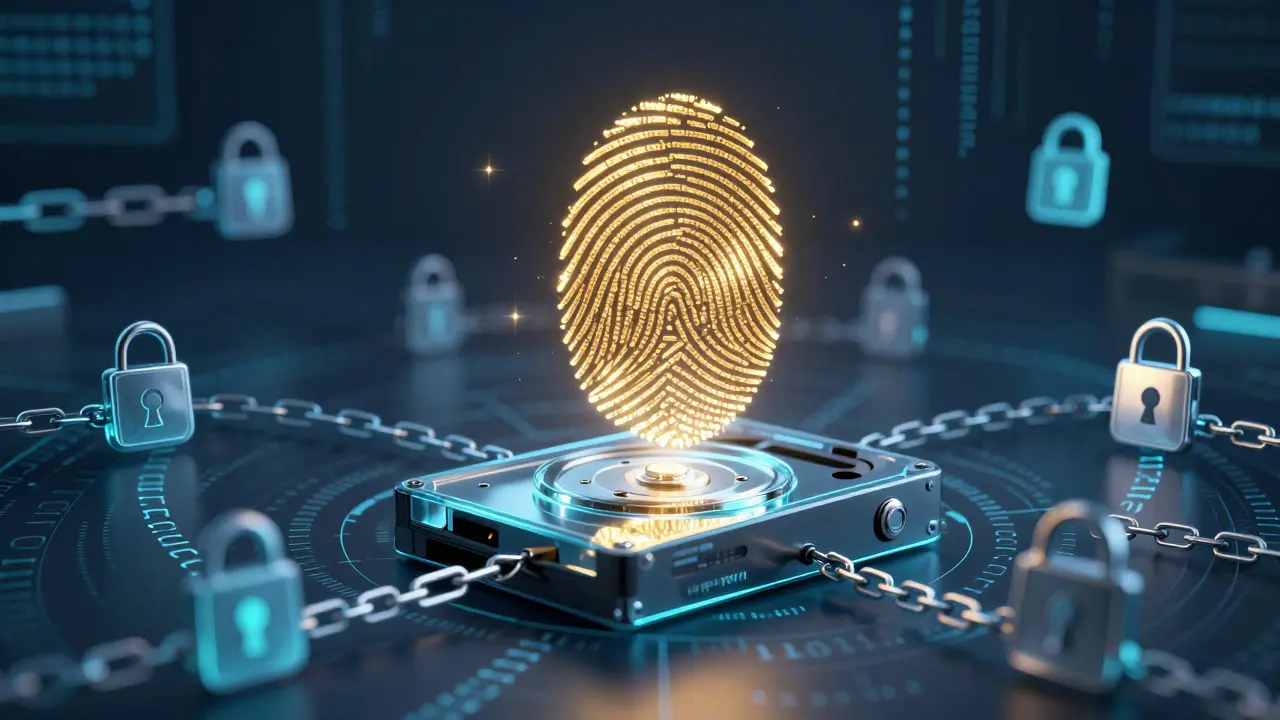
Metadata is the hidden data inside your video files. It includes creation date, camera model, GPS coordinates, and software version. Defense attorneys love to attack metadata. If the timestamp on your video says it was created in 2025 but the incident happened in 2026, you have a problem. Or worse, if the GPS location points to a park instead of the crime scene, the defense will claim you fabricated the scene.
Here is how to handle metadata correctly:
- Verify Camera Clocks: Set your camera clock to the exact local time before starting. Synchronize it with a reliable source like a smartphone connected to the internet.
- Export Metadata Logs: Most professional cameras allow you to export a sidecar file (.XMP or .CSV) containing the metadata. Save this file alongside the video.
- Be Transparent About Edits: If you trim a video, do not delete the unused parts. Keep the full master file. If you zoom in, note it. Transparency builds trust.
In many jurisdictions, expert testimony may be required to explain complex metadata structures. If your agency has a digital forensics unit, involve them early. Their report can pre-emptively answer questions about file integrity.
Presentation Strategies for the Courtroom
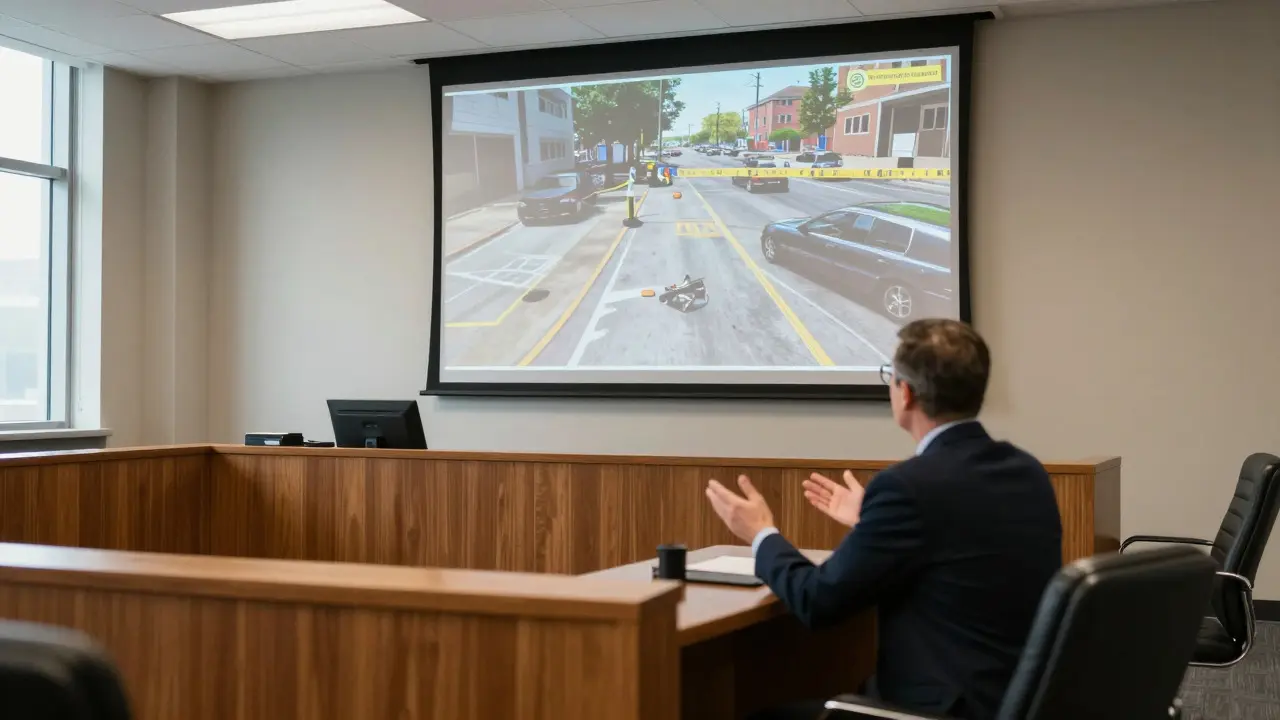
You have your admissible video. Now you have to present it. How you show the video can make or break its impact. A confusing projection or a glitchy playback can distract the jury from the facts.
Test Everything Twice Never assume the courtroom AV system works. Visit the room beforehand. Test your laptop, cable, and adapter. Bring backup cables and a second laptop. Technical failures during testimony are embarrassing and can lead to objections based on confusion.
Keep It Simple Do not over-edit. Juries are not film critics. They want to see the truth. Avoid flashy transitions, music, or dramatic zooms unless absolutely necessary for clarity. A slow, steady pan is better than a rapid cut. Let the visuals speak for themselves.
Prepare for Cross-Examination The opposing counsel will try to find flaws. They might ask, "Did you edit this?" Have a clear, concise answer ready. "Yes, I trimmed the beginning to remove unrelated background noise. The full unedited file is available for inspection." Honesty disarms skepticism.
Common Pitfalls That Get Evidence Excluded
Even experienced investigators make mistakes. Here are the top reasons video evidence gets excluded or challenged successfully:
Broken Chain of Custody If you left the SD card in your pocket and went to lunch, then moved it to your home computer without logging it, the defense has an opening. Every transfer must be documented. No exceptions.
Altered Metadata Without Disclosure If you changed the date stamp to fix a clock error but didn't mention it in your report, it looks like fabrication. Always disclose changes. Courts respect transparency far more than perfection.
Poor Audio Quality Sometimes the video is clear, but the audio is garbled. If the video contains statements (like a suspect talking), bad audio makes it unusable. Record ambient sound separately with a dedicated microphone if possible. Sync it in post-production if needed, but keep the tracks separate for integrity.
Lack of Expert Backup If the video involves complex technology, like thermal imaging or drone mapping, you need an expert to explain it. Don't assume the jury understands infrared spectrums. An expert witness bridges the gap between technical data and human understanding.
Future-Proofing Your Evidence
Technology changes fast. The codec that is standard today might be obsolete in five years. To future-proof your video evidence, store originals in open, non-proprietary formats whenever possible. While ProRes is excellent, keeping a copy in a widely supported format like MKV with a lossless codec ensures long-term accessibility. Additionally, consider cloud-based secure storage solutions that offer immutable backups. This prevents accidental deletion or corruption over time.
As AI becomes more prevalent in forensics, expect challenges regarding deepfakes. Keeping rigorous documentation of your workflow will be your best defense against claims that AI manipulated your footage. The more transparent your process, the harder it is to doubt your results.
Frequently Asked Questions
Can I edit video evidence before presenting it in court?
Yes, but only for clarification. You can trim irrelevant sections, correct minor color imbalances, or add text labels. However, you must never alter the factual content. Always keep the original file and document every edit made. If in doubt, show the unedited version first and then the clarified version.
What is the difference between video evidence and photographic evidence?
Photographic evidence consists of still images, while video evidence captures motion and sound over time. Both require similar chain of custody procedures, but video adds complexity due to duration and audio tracks. Video can show sequence of events, which stills cannot, making it powerful for reconstructing actions.
How do I prove my video hasn't been tampered with?
Use cryptographic hashing. Generate an MD5 or SHA-256 hash of the original file immediately after capture. Store this hash in a secure, separate location. At trial, regenerate the hash of the file being presented. If the hashes match, the file is identical to the original. This mathematical proof is difficult to dispute.
Is drone footage admissible in court?
Yes, provided it meets the same standards as other video evidence. You must establish chain of custody for the drone's storage card, verify metadata (GPS, timestamp), and potentially provide expert testimony on flight paths and perspective. FAA compliance records can also support the legality of the capture.
What should I do if the courtroom projector fails?
Have a backup plan. Carry a portable HDMI cable, a USB-C adapter, and a secondary laptop with the video loaded. If all else fails, request a brief recess to troubleshoot. Do not rush. A calm, prepared response to technical issues reflects professionalism and keeps the jury focused on the evidence rather than the glitch.