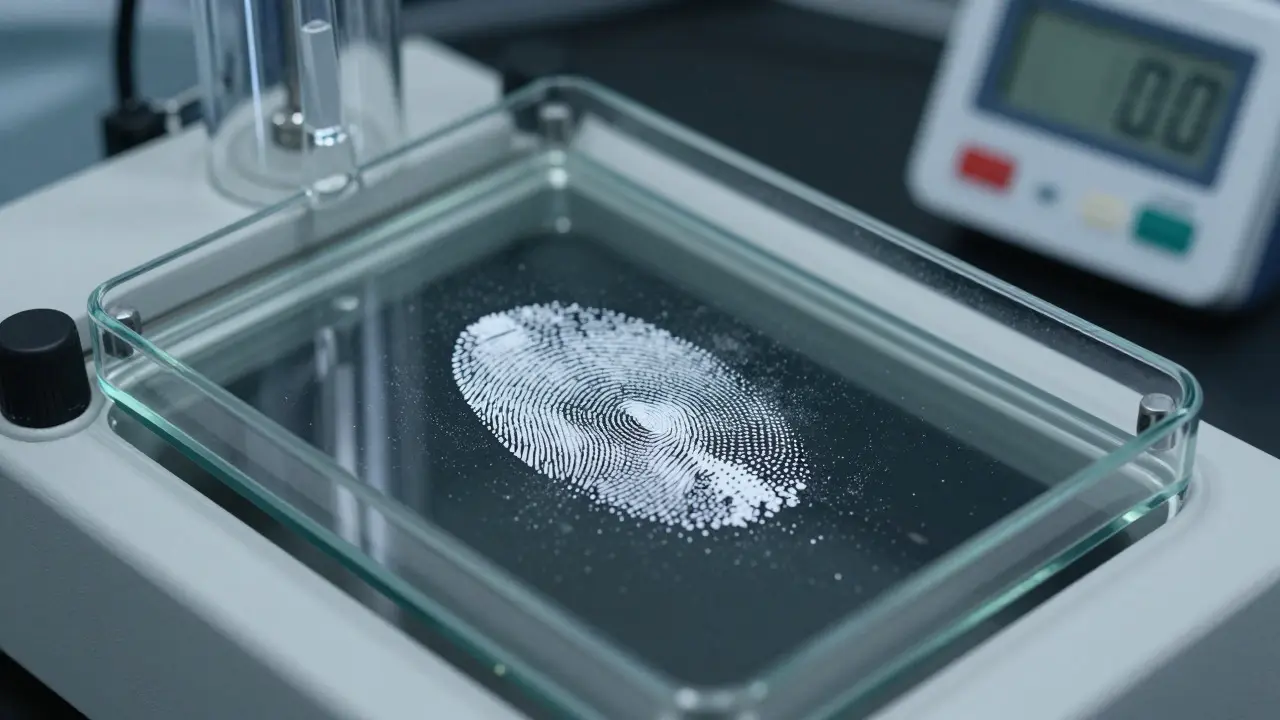
Imagine lifting a pristine, high-contrast fingerprint from a wet piece of plastic. That crisp image is the result of precise chemical engineering, not magic. In forensic science, superglue fuming is a technique using cyanoacrylate vapor to visualize latent fingerprints on non-porous surfaces. It works by reacting with the moisture and amino acids in your sweat residue. However, if you get the environment wrong, you end up with ghostly, faint prints or nothing at all. The difference between a case-closing evidence item and a wasted hour in the lab comes down to two variables: temperature and humidity.
You don't need a PhD in chemistry to optimize this process, but you do need to understand how these environmental factors interact with the gas. Most labs fail because they treat the fuming chamber like a black box. They set it and forget it. This guide breaks down exactly how to dial in those settings for consistent, publishable results.
The Chemistry Behind the Reaction
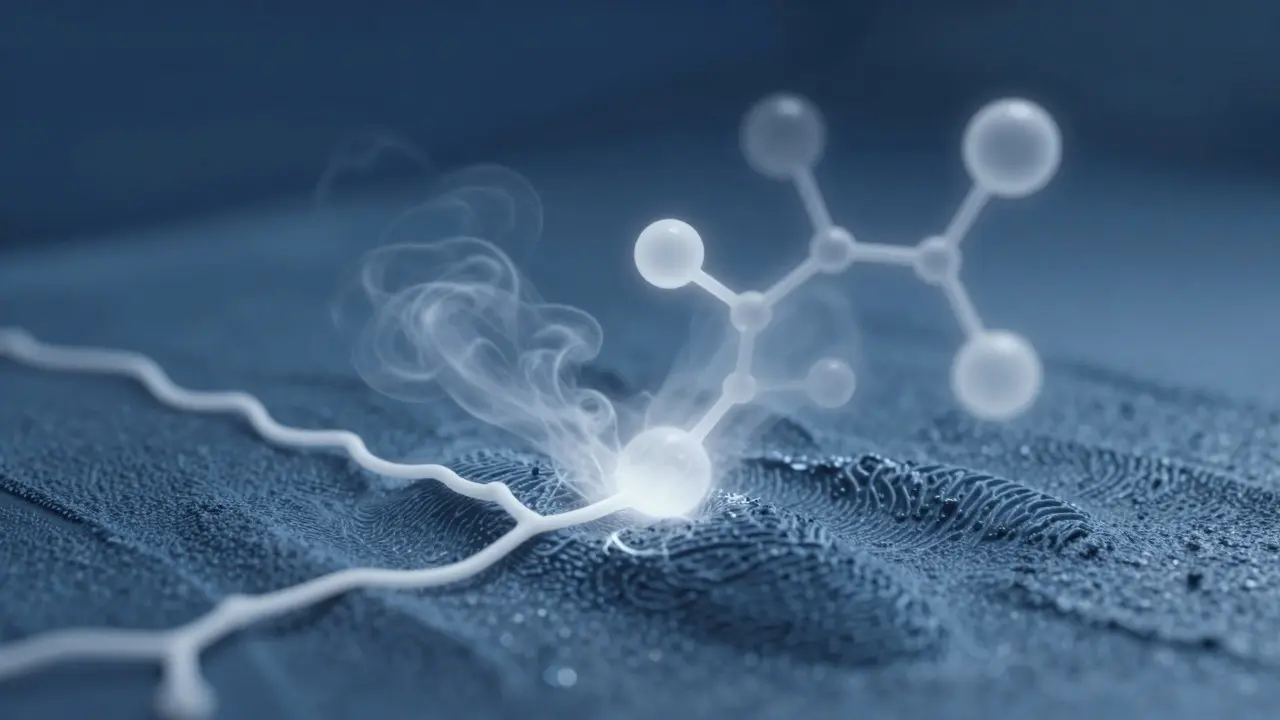
To control the outcome, you first have to respect the mechanism. Cyanoacrylate is an unstable monomer. When exposed to atmospheric moisture, it polymerizes into a solid white deposit. In the context of fingerprint development, we are essentially forcing this polymerization onto specific parts of the print ridge.
Here is where it gets tricky. The reaction isn't just about the glue; it's about the substrate. Non-porous surfaces like glass, metal, and plastic don't absorb moisture. Instead, the cyanoacrylate vapor reacts with the water molecules trapped in the fingerprint residue itself. If the ambient air is too dry, the vapor might condense on the cold surface of the object rather than reacting with the print, leading to background noise. If the air is too humid, the entire chamber walls can fog up, reducing visibility and potentially causing uneven deposition.
- Cyanoacrylate Vapor: The active agent that deposits on ridges.
- Amino Acids & Water: Components of sebum and eccrine sweat that trigger polymerization.
- Polymerization: The chemical process turning liquid/gas glue into solid white plastic.
Temperature: The Engine of Deposition
Temperature dictates the speed of the reaction and the volatility of the superglue. Most commercial fuming chambers operate within a range of 40°C to 60°C (104°F to 140°F). Why this range? Below 35°C, the vapor density drops significantly, meaning you need much longer exposure times. Above 70°C, you risk degrading the evidence or damaging heat-sensitive substrates like certain plastics or tape.
For standard casework, aim for 50°C (122°F). At this temperature, the cyanoacrylate reaches a stable vapor pressure quickly. You’ll notice that as the temperature rises, the time required to develop a print decreases exponentially. A print that takes 20 minutes at 40°C might only take 8 minutes at 55°C. However, higher temperatures also increase the rate of background deposition. If you push past 60°C, you’re fighting against a growing haze that can obscure fine detail.
Pro tip: Don’t rely solely on the thermostat display. Use a calibrated infrared thermometer to spot-check the actual surface temperature of the fuming plate. Heating elements often create hot spots. If one side of your chamber is 5 degrees hotter than the other, your prints will develop unevenly.
Humidity: The Invisible Variable
This is where most technicians struggle. We talk about controlling humidity in the chamber, but what actually matters is the relative humidity (RH) of the air inside. The ideal range for superglue fuming is typically between 40% and 60% RH.
Why not lower? If the air is extremely dry (below 30% RH), the cyanoacrylate vapor may not find enough free water molecules to initiate rapid polymerization on the print ridges. You end up waiting forever for a weak result. Why not higher? Above 70% RH, the excess moisture in the air can cause the vapor to condense prematurely on the chamber walls or the object itself before it fully reacts with the fingerprint components. This leads to "ghosting"-faint, blurry outlines that lack definition.
In a city like Portland, Oregon, where humidity fluctuates wildly with the seasons, this becomes critical. During the rainy season, you might need to run a dehumidifier in the prep room to keep the incoming air load manageable. In the dry summer months, you might need to add a small humidifier near the intake vent to prevent the vapor from being too aggressive.
Optimizing the Chamber Environment
Now that we know the targets, how do we maintain them? A passive chamber is rarely enough for high-throughput labs. You need active monitoring and control.
- Calibrate Your Sensors: Digital hygrometers drift. Check yours against a reference standard every quarter. A 5% error in RH reading can mean the difference between a clear print and a washed-out one.
- Manage Airflow: Stagnant air creates pockets of varying concentration. Ensure your fan circulation is even. If you see condensation forming on the top of the chamber, your airflow is likely poor, trapping moist air.
- Pre-condition Evidence: Before placing an item in the chamber, let it acclimate to room temperature for 15 minutes. Cold objects pull moisture out of the air, creating a local micro-climate that disrupts the uniform fuming process.
Troubleshooting Common Failures
Even with perfect settings, things go wrong. Here’s how to diagnose the issue based on the visual result.
| Visual Result | Likely Cause | Corrective Action |
|---|---|---|
| No visible print after 30 mins | Temp too low or RH too low | Increase temp to 55°C; check hygrometer calibration |
| Heavy white haze covering object | Temp too high or RH too high | Lower temp to 45°C; reduce ambient humidity |
| Faint, broken ridge details | Uneven airflow or old cyanoacrylate | Check fan function; replace expired glue bottles |
| Print appears only on one side | Hot spots in heating element | Rotate object mid-process; verify heater uniformity |
Notice the pattern? Most issues trace back to either thermal inconsistency or moisture imbalance. If you fix the environment, the chemistry does the rest.
Advanced Techniques for Difficult Substrates
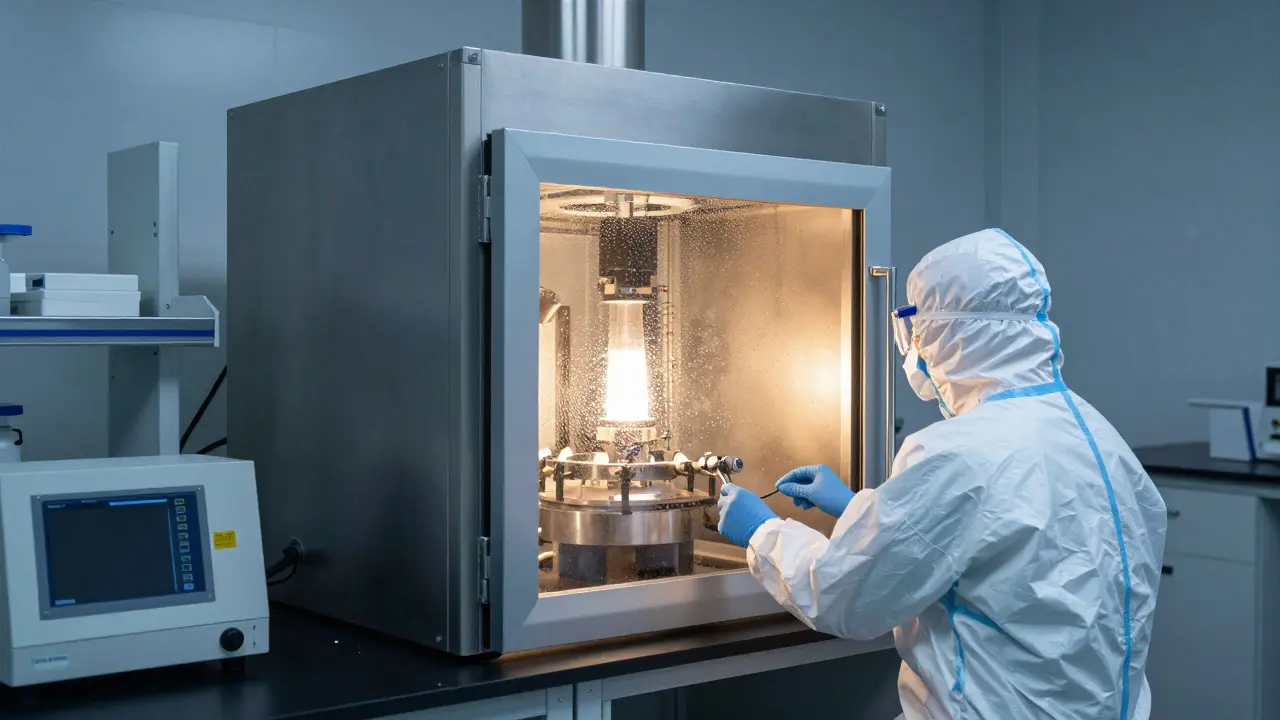
Not all surfaces behave the same way. Glass is forgiving; it doesn't absorb anything, so it responds well to standard settings. Plastics, however, can be tricky. Some polymers release their own volatile organic compounds (VOCs) when heated, which can interfere with the cyanoacrylate reaction. For these items, drop your temperature to 40°C and extend the exposure time. You’re trading speed for specificity.
Metal surfaces, particularly aluminum, can react differently due to their thermal conductivity. They cool down quickly, which can stall the reaction if the chamber isn't maintaining a strong gradient. Keep the metal items in the center of the chamber where the air flow is strongest.
Documentation and Quality Assurance
In forensics, if it isn't documented, it didn't happen. But documentation for fuming goes beyond just noting the start and end times. You need to record the environmental conditions at the start of each batch. Log the initial temperature, the final temperature, and the average humidity. This data allows you to correlate environmental changes with print quality over time. If you notice a trend of weaker prints during a specific week, look at your logs. Did the HVAC system in the building change? Did the local weather shift? Data-driven adjustments beat guesswork every time.
Also, keep a control sample. Run a known fingerprint (from a volunteer) through the same process as your evidence. If the control looks great but your evidence doesn't, the problem is likely the evidence itself (age, type of residue). If both look bad, the problem is your chamber.
Frequently Asked Questions
What is the ideal temperature for superglue fuming?
The ideal temperature range is typically between 40°C and 60°C (104°F to 140°F). For most standard non-porous items, 50°C (122°F) provides the best balance between reaction speed and background noise reduction.
How does humidity affect fingerprint development?
Humidity controls the availability of water molecules needed for polymerization. Too low (below 30% RH) slows the reaction, while too high (above 70% RH) causes premature condensation and background haze. Aim for 40-60% RH.
Can I use regular household superglue for forensic fuming?
While technically possible, it is not recommended. Household glues contain additives and fillers that can create inconsistent vapor profiles. Forensic-grade cyanoacrylate is purified to ensure predictable reactivity and minimal impurities.
How long should I fume an item?
There is no single answer, as it depends on the substrate and age of the print. Generally, monitor the item visually. Development usually occurs between 5 to 30 minutes. Stop when the ridges are clearly defined and background noise begins to appear.
What happens if the chamber is too hot?
Excessive heat accelerates polymerization, leading to heavy background deposition (haze) that obscures fine details. It can also degrade heat-sensitive materials like tape or certain plastics. Lower the temperature if you see rapid, uncontrolled whitening.