Imagine finding a single grain of sugar on a white tablecloth. You can see it, but can you prove it came from the bowl and not the air? That’s the daily reality for forensic chemists dealing with trace drug residues is microscopic amounts of controlled substances left behind after manufacturing, packaging, or use. These residues are often invisible to the naked eye, yet they carry significant legal weight in court cases involving product liability, workplace safety, and criminal investigations.
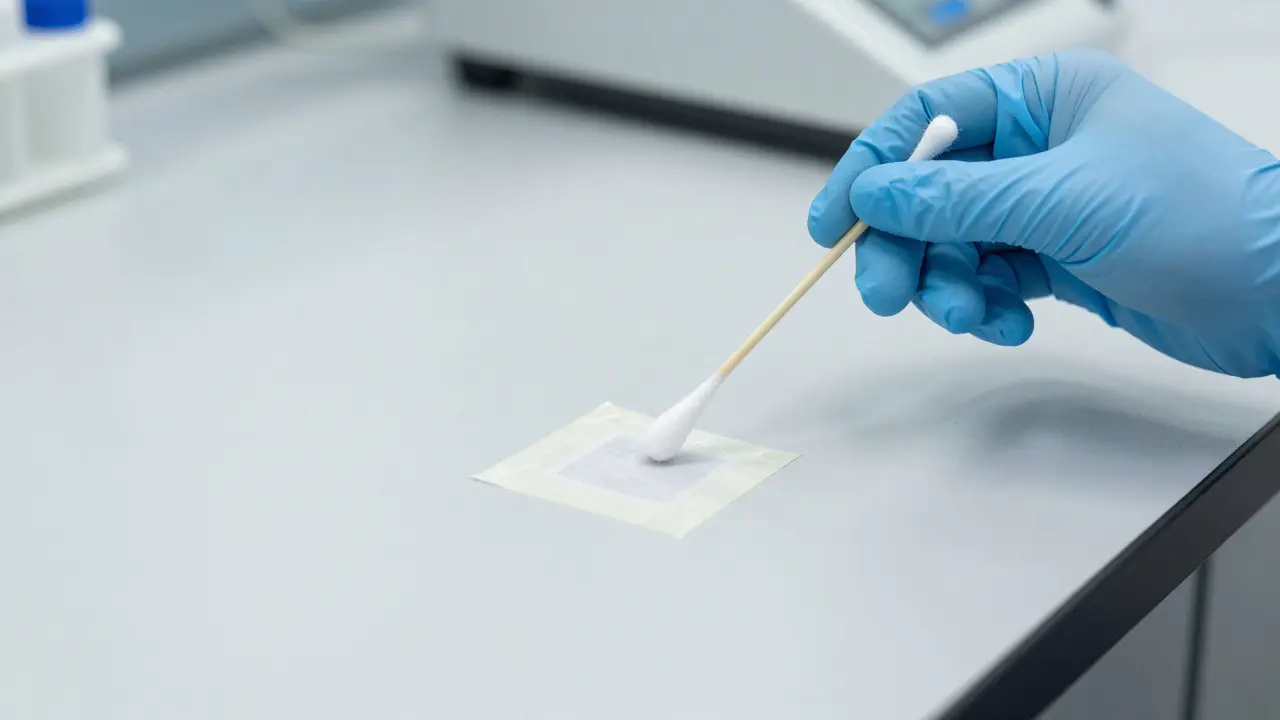
The method used to collect these samples is called wipe sampling is a non-destructive technique where a swab is dragged across a surface to collect particulate matter. It is the industry standard because it is fast, cost-effective, and preserves the scene integrity. However, doing it wrong leads to false positives or negatives that can ruin a case. This guide breaks down exactly how to execute wipe sampling protocols without letting evidence slip through your fingers.
Why Wipe Sampling Beats Other Methods for Traces
You might wonder why we don’t just scrape the surface or use a vacuum. Scraping removes too much material, potentially destroying the context of where the drug was located. Vacuuming (like using a HEPA filter) collects everything, including dust and hair, which dilutes the tiny amount of drug residue you’re looking for. Wipe sampling hits the sweet spot: it targets specific areas of interest while keeping the sample size manageable for sensitive instruments like Gas Chromatography-Mass Spectrometry (GC-MS).
The core advantage here is specificity. When a prosecutor asks, "Where exactly was the fentanyl found?" a wipe sample from a specific button on a machine provides a precise geographic answer. A bulk scrape says nothing about location. For trace levels below 10 micrograms, this precision is what separates admissible evidence from hearsay.
Preparation: Setting Up Before You Touch the Surface
Most errors happen before the swab even touches the object. If your environment isn’t clean, your sample is already contaminated. Here is the critical setup checklist:
- Swab Selection: Use cotton or polyester swabs. Avoid wool, as its fibers can shed and clog filters. The swab must be pre-moistened with a solvent if the drug is oil-based, or dry if it’s a powder. Water is rarely used unless the substance is water-soluble.
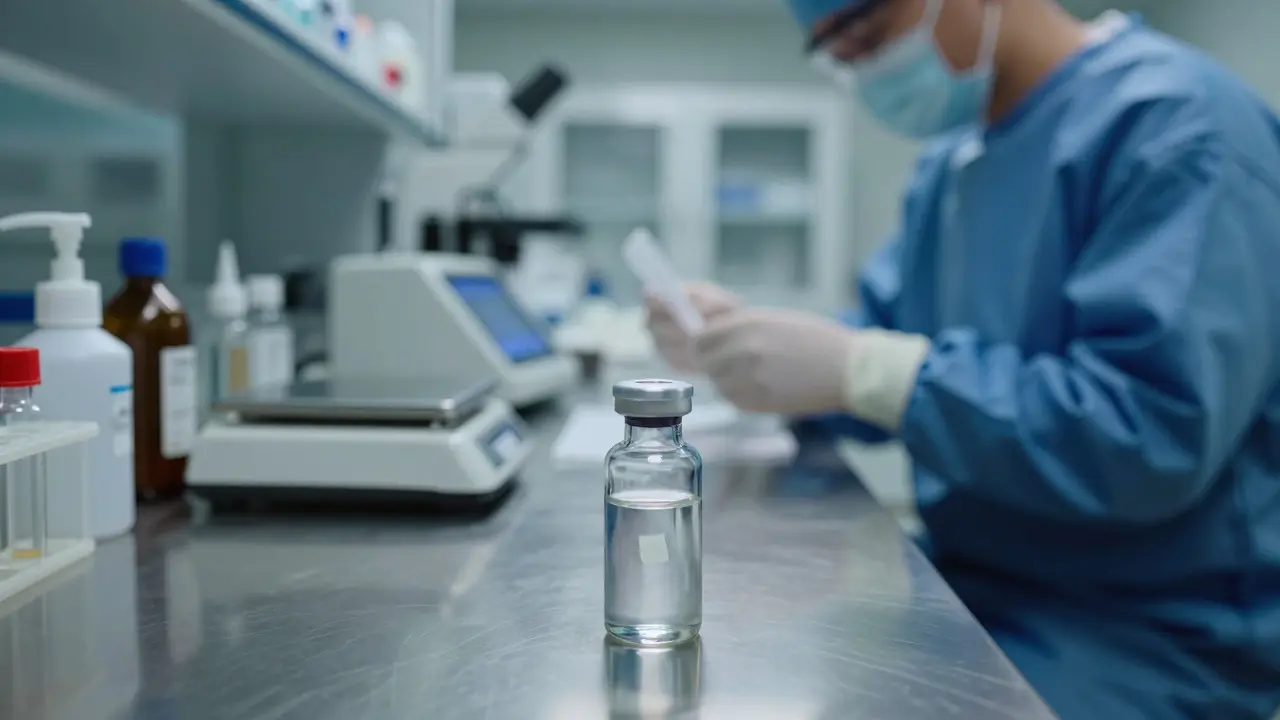
- Vial Preparation: Glass vials are preferred over plastic because certain solvents can leach chemicals from plastic, interfering with mass spectrometry readings. Ensure the vial cap has a PTFE liner to prevent leaks.
- Control Samples: Always take two blank wipes from a nearby, uncontaminated area. These serve as your baseline. If your blank shows up on the lab report, your actual sample is compromised.
In my experience, the biggest mistake teams make is skipping the blank controls. One time, a lab reported high levels of morphine on a shipping pallet. We re-tested the blanks and found that the technician had handled a previous opioid case without changing gloves. The entire shipment was cleared because the 'evidence' was actually their own glove residue. Never skip the blanks.

Step-by-Step Execution Protocol
Consistency is key. If every technician uses a different pressure or path, comparing results becomes impossible. Follow this standardized sequence:
- Define the Area: Mark the sampling zone with a marker or tape. A standard area is 10cm x 10cm (100 square centimeters). Document this dimension clearly in your notes.
- Moisten the Swab (If Required): Dip the tip into the solvent and squeeze out excess liquid. The swab should be damp, not dripping. Dripping creates puddles that spread the residue, making collection inefficient.
- The Drag Motion: Place the swab tip at one corner of the marked area. Drag it back and forth in a zigzag pattern. Apply consistent, light pressure. Do not scrub aggressively; you want to lift particles, not grind them into the surface texture.
- Cover the Entire Zone: Ensure every part of the 10x10cm area is touched by the swab. Missed spots mean missed evidence.
- Seal Immediately: Insert the swab into the glass vial and screw the cap tight. Label the vial with date, time, location, and unique ID number. Let the swab dry inside the vial if using an aqueous solvent, unless the lab requires immediate freezing.
A common pitfall is dragging the swab off the marked area. If you drag outside the zone, you’re mixing unknown contaminants into your defined sample. Keep your hand steady and stay within the lines.
Contamination Control: The Invisible Enemy
Trace drugs are everywhere. Fentanyl is in hospital air. Heroin metabolites are in urban dust. Your biggest enemy is cross-contamination between scenes or between samples.
| Source | Risk Level | Mitigation Strategy |
|---|---|---|
| Gloves | High | Change gloves between each distinct sampling zone. Use nitrile, not latex, to avoid protein interference. |
| Swab Box | Medium | Open the box away from the surface. Close immediately after taking one swab. Store boxes upright. |
| Tape/Markers | Low | Use low-tack tape. Write labels on a separate tag, not directly on the vial with permanent ink near the opening. |
| Technician Clothing | Medium | Wear disposable coveralls. Change outer layer if moving between high-risk and low-risk areas. |
Think of your hands as vectors. Every time you touch a doorknob, a phone, or your face, you transfer microscopic particles. In a cleanroom setting, this is managed with gowns. In field settings, discipline is your only shield. Wash hands thoroughly, change gloves frequently, and never eat or drink near the sampling site.
Documentation: Making the Science Legible
A perfect sample is useless if the chain of custody is vague. Your documentation must allow another scientist to replicate your exact actions. Include:
- Photographs: Take wide shots of the room and close-ups of the marked sampling area. Include a scale bar in the close-up.
- Environmental Data: Record temperature and humidity. High humidity can cause hygroscopic drugs to absorb moisture, altering their weight and concentration.
- Chain of Custody Log: Sign and date every transfer. Who picked it up? Who handed it to the courier? Time stamps must match.
Courts love details. If you wrote "Sampled blue button," specify the button’s position relative to other landmarks. "The leftmost button on the control panel, second row from the top." Specificity builds credibility.
Post-Sampling Handling and Lab Interface
Once sealed, the sample’s journey to the lab matters. Most trace drug analyses require the sample to remain stable. If you used a volatile solvent, store the vial in a cool, dark place. Avoid shaking the vial vigorously, as this can aerosolize the contents and lead to loss during uncapping at the lab.
Communicate with the lab before sending. Ask: "What is your limit of detection (LOD) for this specific analyte?" If your LOD is 1 nanogram per milliliter, but you collected only 5 nanograms total, you need a larger volume or more sensitive instrument. Matching your sampling effort to the lab’s capability prevents wasted resources.
How many wipes should I take from one surface?
Typically, one wipe per 100 square centimeters is sufficient for initial screening. If the result is positive, take a second confirmatory wipe from the same area. If the first is negative but suspicion remains, expand the area and take additional wipes from adjacent zones.
Can I reuse a swab for multiple samples?
No. Each swab must be used once and discarded. Reusing a swab transfers residue from Sample A to Sample B, creating cross-contamination that invalidates both results.
What if the surface is rough or textured?
On rough surfaces, apply slightly more pressure to ensure the swab fibers penetrate the texture. However, be careful not to break the swab stick. For very porous materials like concrete, consider taking a small chip sample in addition to the wipe for higher recovery rates.
Does the type of solvent affect the result?
Yes. Solubility determines recovery. Methamphetamine dissolves well in methanol, while heroin may require acetonitrile. Consult your lab’s SOPs to choose the correct solvent for the target analyte. Using the wrong solvent can leave the drug on the surface, leading to a false negative.
How long can a wipe sample sit before analysis?
Ideally, analyze within 48 hours. If storage is necessary, keep vials sealed in a refrigerator at 4°C. Long-term storage at room temperature can degrade unstable compounds like benzodiazepines or opioids.