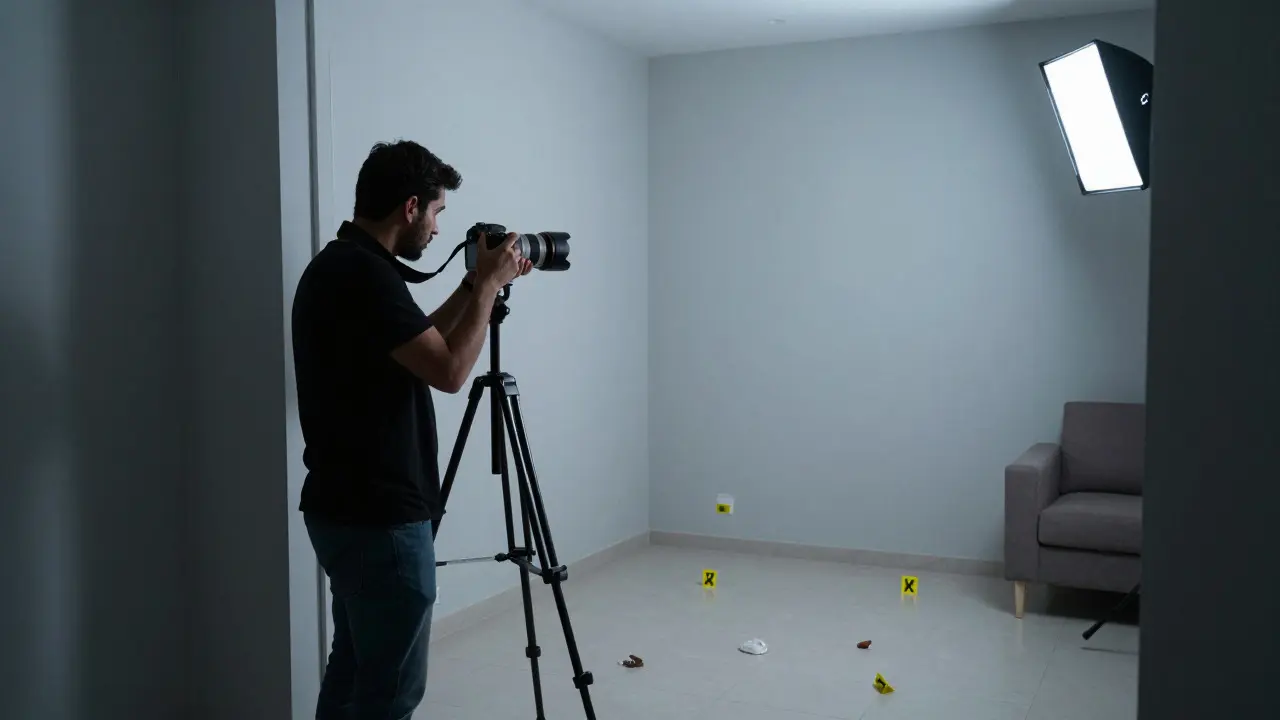
Walking into a crime scene without a plan is like trying to assemble furniture without the instructions. You might get it standing up, but it won't look right, and you’ll likely lose a piece along the way. In forensic work, that missing piece can be the context needed to prove where a body was found or how a suspect entered a room. This is why wide-angle shots are the backbone of scene documentation. They aren't just pretty pictures; they are the map that allows investigators, judges, and juries to understand the spatial relationship between evidence items.
Many first responders treat the initial photo sweep as a formality. They snap a few pictures, move on to processing, and hope for the best. But if the angle is wrong, or if the camera isn't level, the resulting image can distort distances in ways that make evidence look closer or farther than it actually is. Getting this step right sets the stage for every subsequent close-up shot. It tells the story before the details even come into focus.
The Role of Wide-Angle Lenses in Spatial Documentation
A standard lens captures what your eye sees, but a wide-angle lens captures the environment around it. In forensic photography, we use these lenses specifically to establish scene orientation. The goal is to show the location of an object within its surroundings. For example, if a shell casing is found near a door, a wide-angle shot shows the casing, the door frame, and the hallway leading out. This proves the casing wasn't planted later; it was there when the scene was sealed.
There is a common misconception that wider is always better. While true for capturing large rooms, going too wide introduces barrel distortion. This bends straight lines, making walls curve and objects appear stretched at the edges. To avoid this, most professional forensic units stick to focal lengths between 16mm and 24mm on full-frame cameras. This range provides enough field of view to capture the context without warping the geometry so badly that it becomes unusable in court.
- Field of View: Wider angles capture more of the scene, reducing the number of photos needed for an overview.
- Distortion Control: Staying above 16mm minimizes the bending of straight lines like door frames and window sills.
- Depth Perception: These shots help viewers understand the depth of the room, which is critical for reconstructing movement paths.
Establishing the Four Cardinal Directions
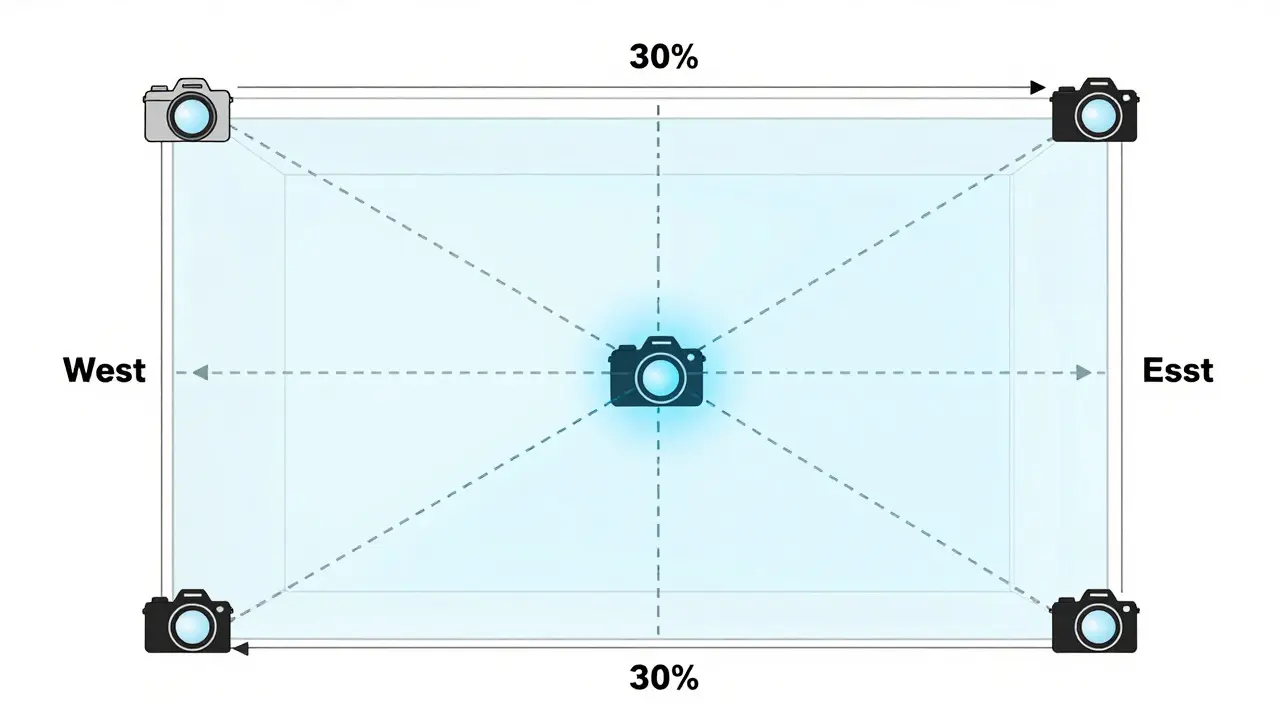
Before you lift the camera, you need to know where North is. Not necessarily magnetic north, but the primary axis of the room or building. This is often referred to as the reference point. If you take four wide-angle shots from the corners of a room, facing inward, you create a complete visual record of the space. However, if you don't note which direction you were facing, those four photos are just four random images of a room. They don't tell us where the front door is relative to the back window.
Here is a practical workflow used by many crime scene technicians:
- Identify the main entrance or the most prominent feature of the room (e.g., the headboard of a bed).
- Stand at one corner and take a wide shot facing the opposite corner.
- Move to the next corner and repeat, ensuring each shot overlaps with the previous one.
- Note the compass direction or cardinal reference (North, South, East, West) in your notes immediately after each shot.
Managing Distortion and Perspective
Perspective is tricky. When you stand close to an object, it looks huge compared to things in the background. This is called perspective exaggeration. In a wide-angle shot taken from a low corner, a body on the floor might appear massive, while a piece of evidence on a shelf in the back looks tiny. This doesn't mean the evidence is small; it means it's far away. But to a juror who doesn't understand optics, it can be misleading.
To combat this, keep your camera sensor parallel to the plane of the subject whenever possible. If you are photographing a wall, hold the camera flat against the wall's plane. If you are shooting across a room, try to keep the horizon line level. Tilting the camera up or down creates converging verticals, where walls seem to lean over. While some tilt is unavoidable in tight spaces, minimizing it preserves the integrity of the spatial data. Using a tripod helps here significantly, as hand-held shots often have slight tilts that accumulate error over time.
Incorporating Scale and Reference Objects
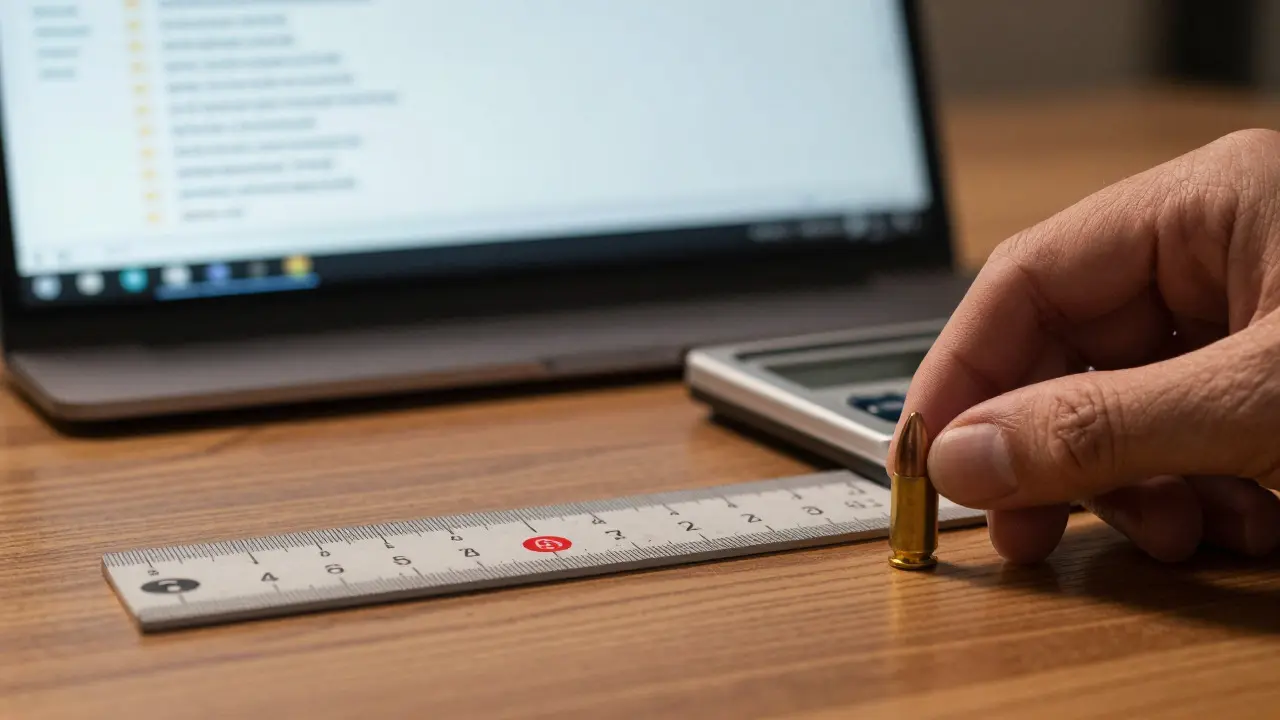
A wide-angle shot is useless if you can't gauge size. That’s why scale references are non-negotiable. You don't just place a ruler next to a bullet hole; you include a recognizable object in the wide shot that gives the viewer a sense of scale. A standard door handle, a coffee mug, or a known piece of furniture works well. The human brain is wired to recognize these objects and estimate their size instantly. By including them in the orientation shot, you anchor the entire scene in reality.
Furthermore, ensure that the lighting is consistent across all orientation shots. If one corner of the room is bright and another is dark, shadows can hide evidence or create false impressions of depth. Use fill lights or reflectors to balance the exposure. The aim is not to make the scene look beautiful, but to make it legible. Every shadow should be intentional, and every highlight should reveal detail rather than blow out the image.
Digital Workflow and Metadata Integrity
Once you’ve captured the images, the job isn't done. Digital files carry metadata that can be just as important as the pixels themselves. Make sure your camera is set to write the date, time, and GPS coordinates (if applicable) into the EXIF data. This creates an automatic audit trail. If a defense attorney questions when a photo was taken, the metadata provides an objective answer.
When transferring files to the lab, maintain the original file structure. Don't rename files arbitrarily. Use a standardized naming convention that includes the case number, date, and shot type (e.g., CASE-2026-001_ORIENT_01.jpg). This makes it easier to sort through hundreds of images during report writing. Consistency in naming reduces errors and speeds up the review process for prosecutors and expert witnesses.
Common Mistakes to Avoid
Even experienced photographers make errors in scene orientation. Here are the top three mistakes that compromise evidence integrity:
- Ignoring the Background: Focusing so much on the central evidence that you crop out the surrounding context. Always leave margin around the subject.
- Unlevel Camera: Holding the camera at an angle causes vertical lines to converge. Use the bubble level on your phone or camera screen to check alignment.
- Missing Overlaps: If your wide shots don't overlap, there will be gaps in the coverage. Ensure each new shot shares at least 30% of its frame with the previous one.
What is the ideal focal length for crime scene wide-angle shots?
For most indoor scenes, a focal length between 16mm and 24mm on a full-frame camera is ideal. This range provides sufficient field of view to capture context while minimizing barrel distortion that can warp straight lines.
How many wide-angle shots are needed to document a room?
Typically, four shots taken from each corner of the room facing inward provide complete coverage. For larger or irregularly shaped spaces, additional shots may be required to ensure overlapping views and no blind spots.
Why is it important to keep the camera level?
Keeping the camera level prevents converging verticals, where walls appear to lean. This maintains accurate geometric representation of the scene, which is crucial for distance measurements and reconstruction.
Should I use flash for orientation shots?
Use flash only if ambient light is insufficient. Harsh flash can create strong shadows that hide evidence. If using flash, consider using two lights from different angles to soften shadows and illuminate the entire scene evenly.
How do I handle scenes with high ceilings?
For high ceilings, you may need to tilt the camera upward slightly. However, be aware that this introduces perspective distortion. Consider taking separate shots of the ceiling area if relevant evidence is present up high.