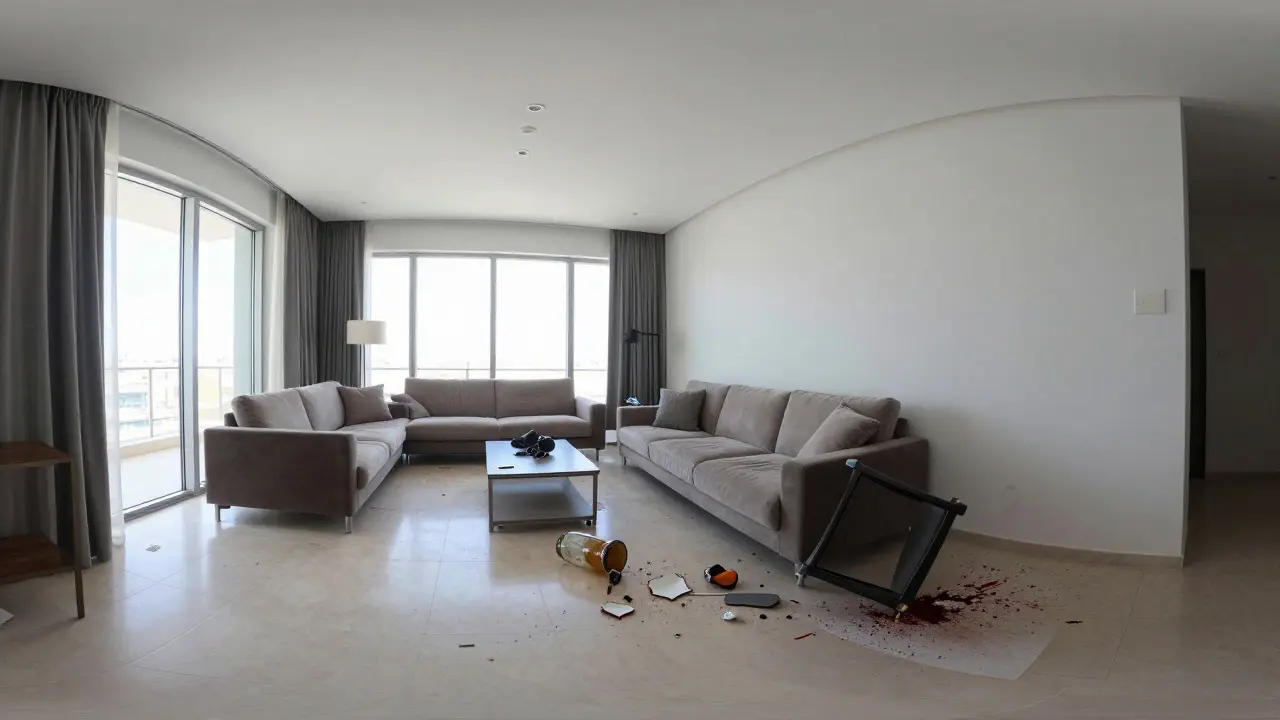
Imagine standing in the center of a chaotic room. A broken vase sits on the floor. A chair is overturned. Blood spatter arcs across the wall. If you take a photo of just the vase, you miss the story. The chair tells you about movement. The blood tells you about force. This is why wide-angle lens photography matters so much in scene imaging. It doesn't just show objects; it shows how they relate to each other in space.
For professionals documenting scenes-whether for legal evidence, insurance claims, or accident reconstruction-the goal isn't just to make a pretty picture. It's to create a visual record that stands up to scrutiny. A wide-angle lens is your primary tool for establishing that context. It captures the environment, preserves spatial relationships, and allows viewers to understand the "where" and "how" before they even look at close-ups.
Why Wide-Angle Lenses Are Essential for Context
Wide-angle lenses are optical instruments with focal lengths shorter than 50mm (on full-frame sensors). Typically ranging from 14mm to 35mm, these lenses have a field of view wider than what the human eye naturally perceives. In scene imaging, this broad perspective is critical. It allows you to fit an entire room, a street intersection, or a large outdoor area into a single frame without needing to step back too far.
The key advantage here is depth of field. When you use a wide-angle lens, especially stopped down to f/8 or f/11, almost everything from the foreground to the background stays sharp. This is vital for documentation. You don't want the viewer to wonder if the object in the background is blurry because it was out of focus or because it's actually far away. With a wide-angle shot, the spatial relationship between the evidence and its surroundings remains clear and undistorted relative to the geometry of the room.
Understanding Distortion and Perspective Control
A common misconception is that wide-angle lenses always distort images. Technically, they do introduce perspective distortion, but it’s manageable. The most noticeable effect is "barrel distortion," where straight lines near the edges of the frame bow outward. More importantly for scene work, is perspective exaggeration. Objects closer to the lens appear significantly larger than objects further away.
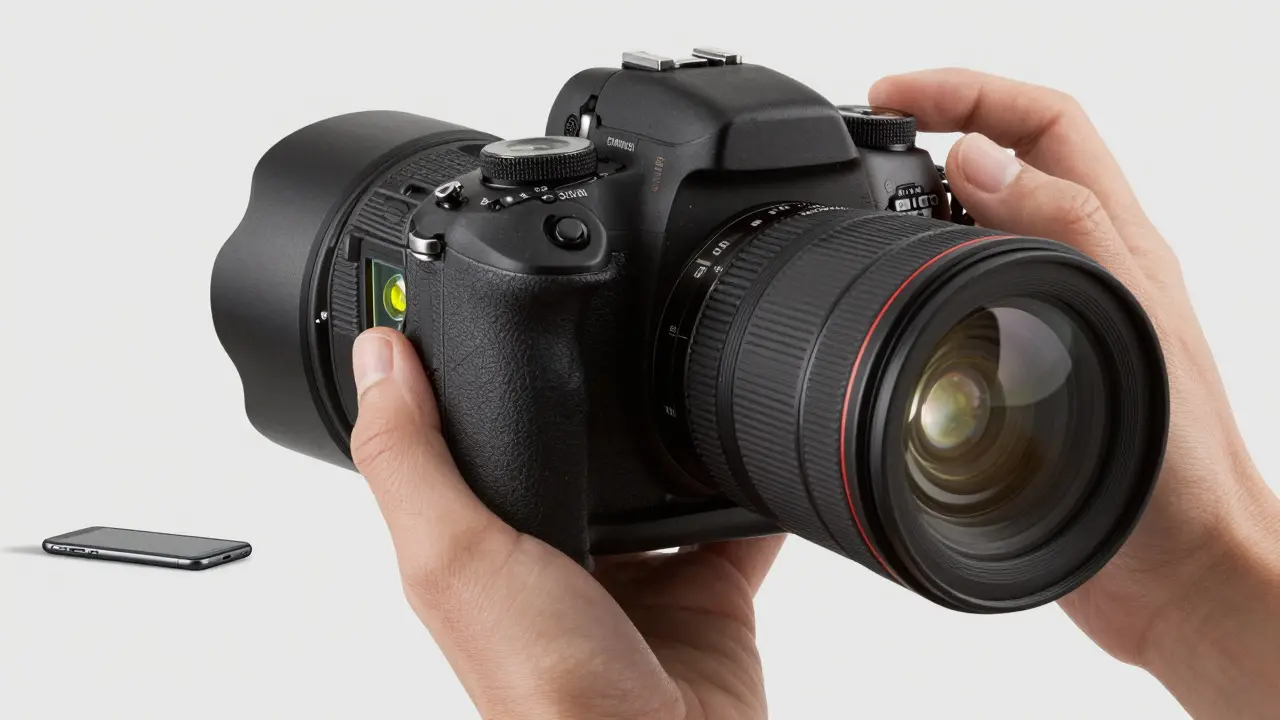
This can be a trap. If you get too close to a piece of evidence, like a dropped phone, it will look huge compared to the person standing ten feet away. To avoid misleading visuals, keep a consistent distance. A good rule of thumb is to stand at least three to five feet away from the main subject when using a 24mm or 35mm lens. For ultra-wide angles like 16mm, you might need to step back even further to keep proportions realistic.
- Keep the camera level: Tilted horizons make rooms look unstable. Use a spirit level or the grid overlay on your screen to ensure vertical lines remain parallel.
- Shoot from waist height: This mimics the average human eye level, making the scene feel natural to the viewer.
- Avoid getting too close: Maintain distance to prevent exaggerated size differences between nearby and distant objects.
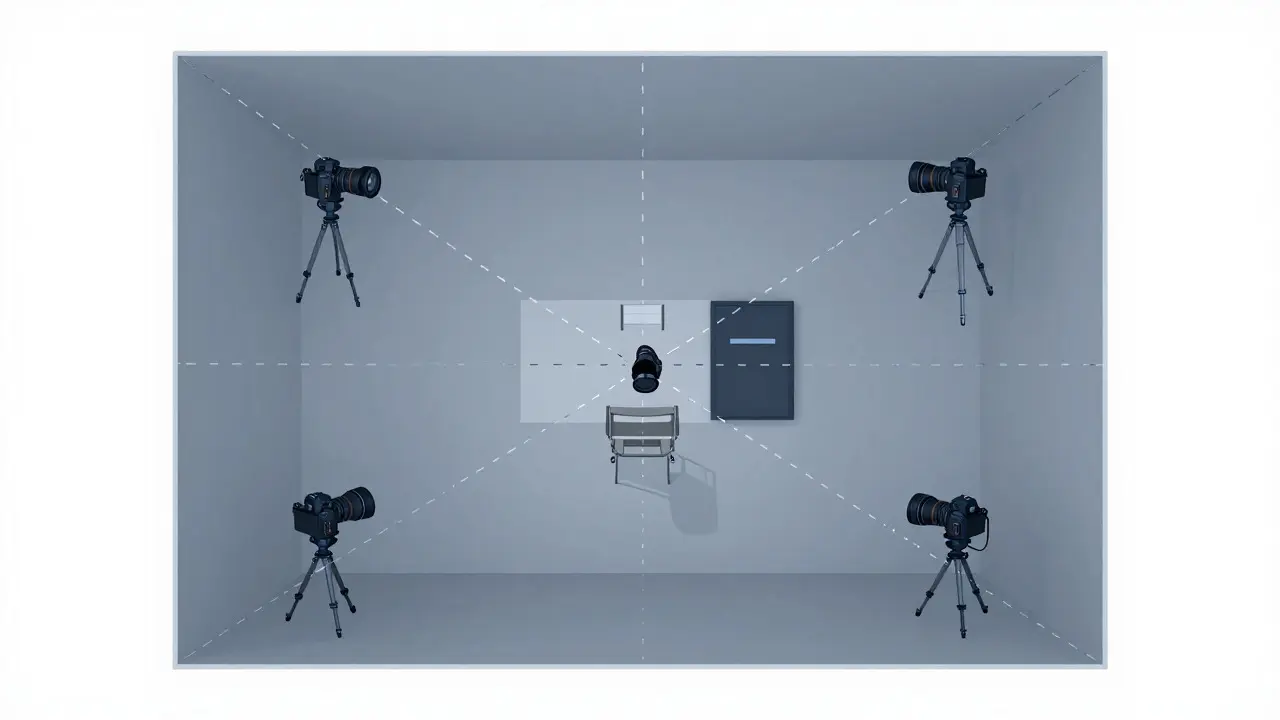
Setting Up Your Shot: The Four Corners Method
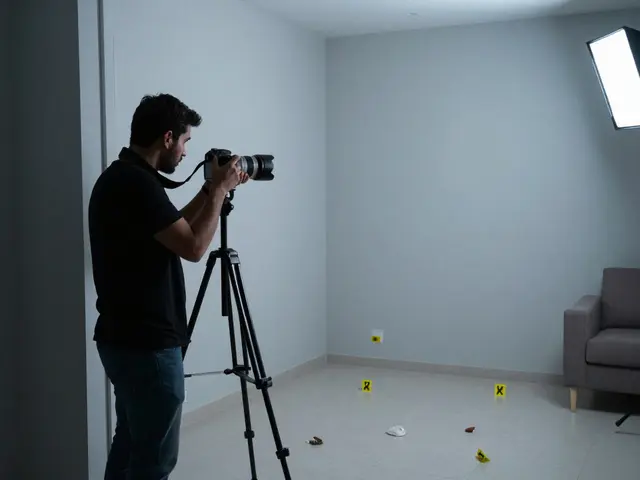
When documenting an indoor scene, such as a living room or office, the standard practice is the "four corners" method. You position yourself in one corner of the room and shoot toward the opposite corner. You then move to the next corner and repeat. This ensures that every part of the room is captured in relation to the whole.
Here is how to execute this effectively:
- Identify the boundaries: Determine the physical limits of the scene. Is it a single room? A hallway? An open field?
- Positioning: Stand in the corner diagonally opposite the main area of interest. Hold the camera at approximately 45-degree angles to the walls.
- Framing: Include the ceiling and floor if possible. This anchors the image in three-dimensional space.
- Exposure: Use manual mode. Auto-exposure can struggle with high-contrast scenes (like a bright window next to a dark corner). Lock exposure based on the mid-tones of the scene.
This technique creates a series of overlapping images that, when viewed together, provide a comprehensive 3D-like understanding of the layout. It prevents the "tunnel vision