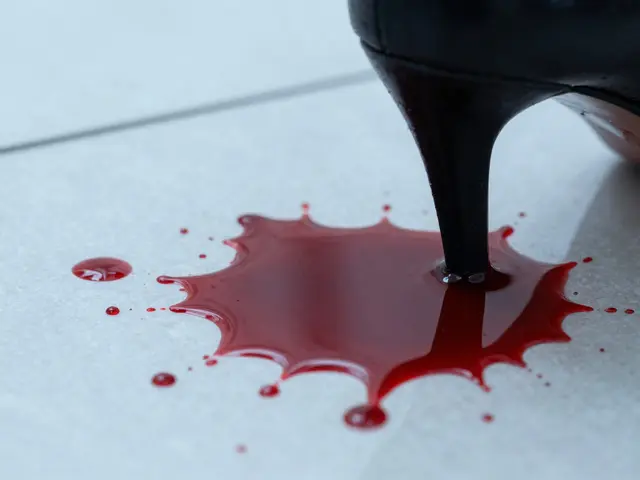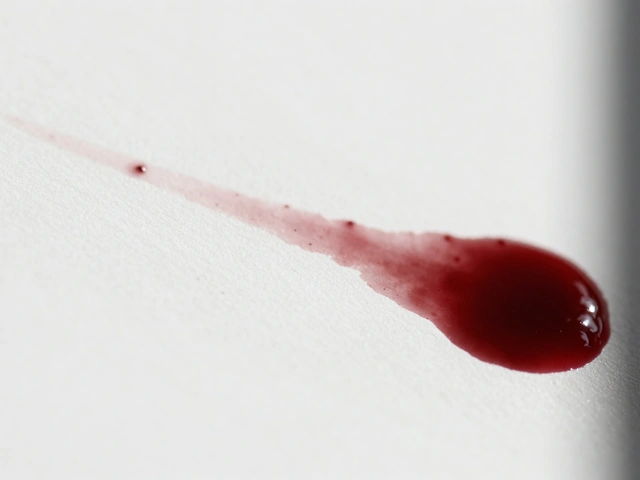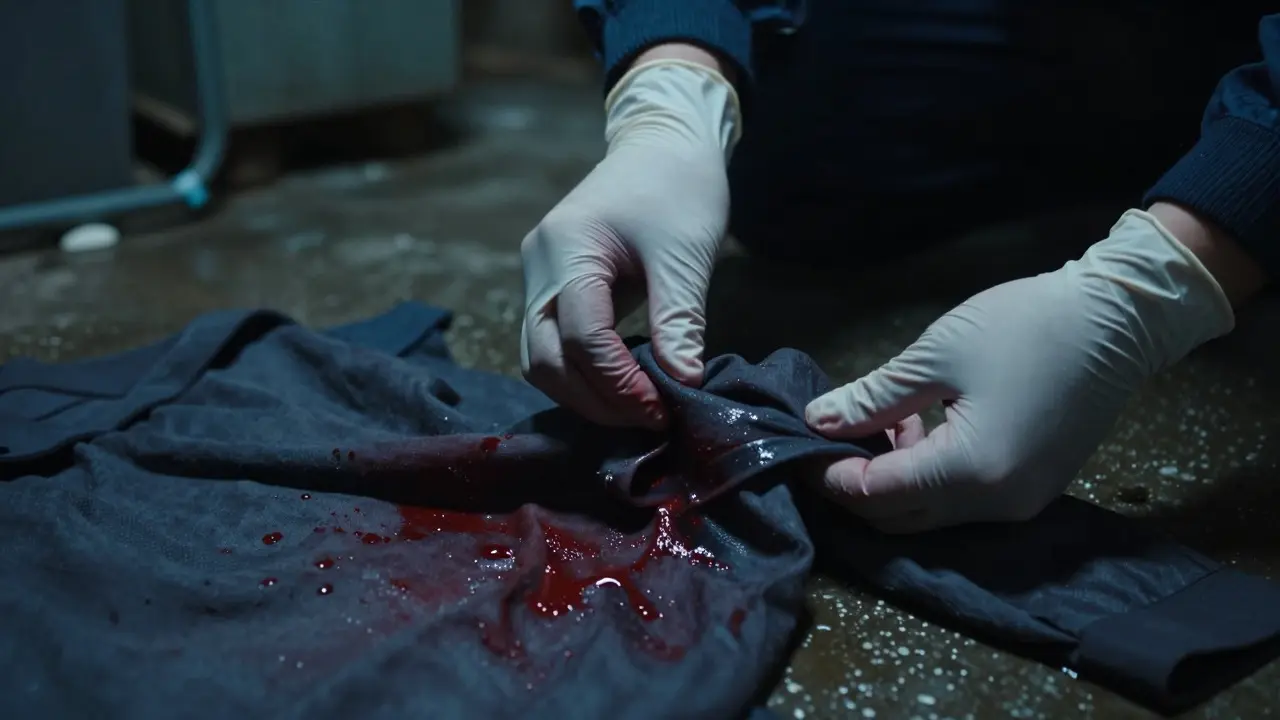
Imagine you’re standing in a damp basement at 2 AM. You’ve just secured a bloody shirt from a suspect’s car. It’s heavy, cold, and leaking onto the floor. If you toss it in a standard paper bag without thinking, you might be setting up a case for failure. Wet evidence is biological material that contains significant moisture, such as blood, tissue, or plant matter, which requires specific storage conditions to prevent degradation. Unlike dry fingerprints or bullet casings, wet items are ticking time bombs for mold, bacterial growth, and DNA breakdown if not handled correctly.
The goal here isn’t just about keeping things clean; it’s about preserving the integrity of the sample so that laboratory analysis yields reliable results. When moisture meets organic material, chemistry takes over. Enzymes start breaking down proteins, bacteria multiply rapidly, and fungi can colonize surfaces within hours. This article breaks down exactly how to handle these delicate items from the moment you find them to the moment they hit the lab bench.
Why Moisture Is the Enemy of Forensic Integrity
Water is essential for life, but in a sealed evidence bag, it’s a catalyst for decay. When you store wet biological material in an airtight container, you create a microenvironment with high humidity. This environment accelerates two main processes: hydrolysis and microbial activity. Hydrolysis is the chemical breakdown of molecules due to water, which can fragment DNA strands before they even reach the sequencing machine. Meanwhile, microbes like Bacteria and Fungi consume the very cells you need to analyze. A single colony of mold can produce spores that contaminate other samples nearby, leading to cross-contamination issues that can ruin an entire case file.
Temperature plays a huge role here too. If your evidence locker sits at room temperature (around 70°F or 21°C), enzymatic reactions speed up significantly. The rule of thumb in forensic science is simple: lower the temperature to slow down the clock. But cooling alone isn’t enough if the moisture remains trapped. You need a strategy that addresses both the liquid content and the environmental conditions simultaneously.
Step-by-Step Protocol for On-Scene Collection
How you collect wet evidence determines how much work the lab has to do later. Here is the practical workflow that experienced crime scene investigators use to minimize risk:
- Assess the Item: Determine if the item is porous (like clothing) or non-porous (like glass). Porous items absorb moisture deeply, making them harder to dry safely.
- Select the Right Container: Avoid plastic bags for anything still dripping. Plastic traps heat and moisture, creating a sauna effect. Instead, use breathable materials or specialized containers.
- Stabilize Immediately: If the item is soaking wet, consider partial drying on-site if conditions allow, using airflow rather than direct heat.
- Label Thoroughly: Note the state of the item (wet, damp, dried) and the time of collection. This context helps the lab interpret potential degradation levels.
- Prioritize Transport: Wet evidence should move to the lab faster than dry evidence. Aim for delivery within 24 hours if possible.
A common mistake is assuming that “air-drying” means leaving a wet shirt on a radiator. Direct heat denatures proteins and can crack fragile biological traces. Passive air circulation in a cool, shaded area is far safer. If you must transport the item while it’s still wet, wrap it in sterile gauze or cheesecloth to wick away excess liquid before placing it in a larger, ventilated container.
Choosing the Right Storage Containers
The container is the first line of defense against degradation. Not all bags are created equal, and using the wrong one is a classic rookie error. Here’s how different materials compare when dealing with moisture:
| Container Type | Moisture Permeability | Best For | Risk Factor |
|---|---|---|---|
| Standard Paper Bag | High | Dried blood stains, hair | Tears if soaked; not for liquids |
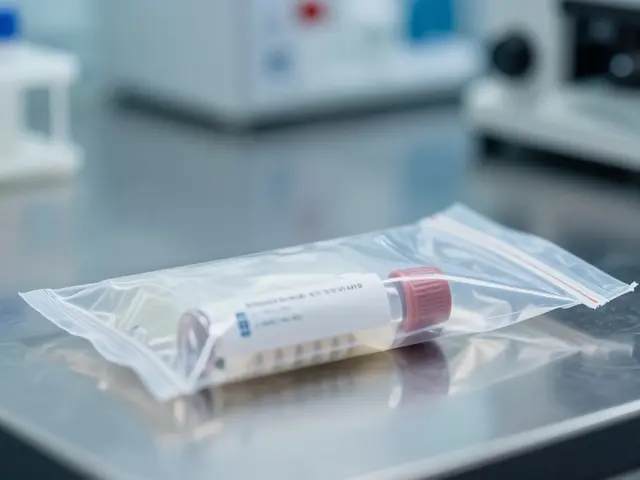
| Plastic Zip-Top Bag | Low | Dry items only | Mold growth, bacterial bloom |
| Ventilated Cardboard Box | Medium-High | Larger wet garments, plants | Requires desiccant packets |
| Cooler with Ice Packs | N/A (Controlled) | Immediate transport of fresh tissue | Condensation inside box |
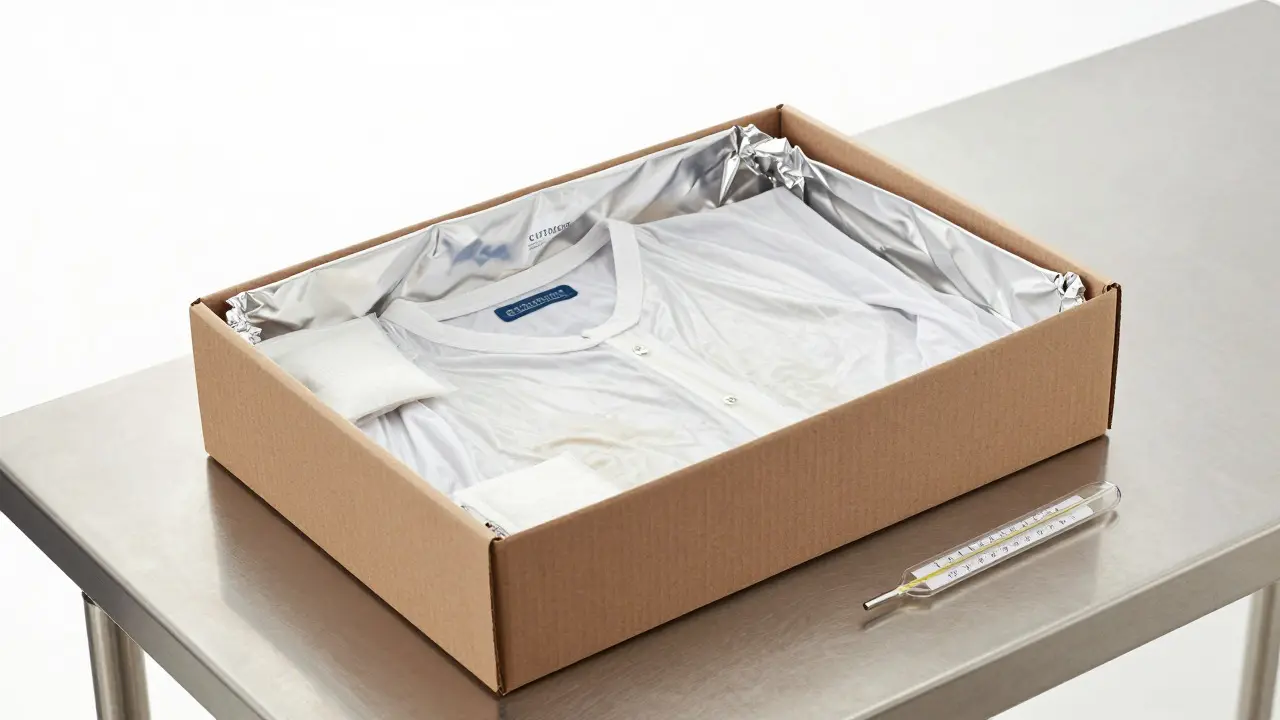
For large wet items like jackets or blankets, a cardboard box lined with aluminum foil works well. The foil prevents the cardboard from disintegrating if there’s a leak, while the box allows air exchange. Place silica gel desiccant packets in the corners to absorb ambient humidity. Never seal the box tightly; leave it slightly ajar or use a lidded box with ventilation holes.
The Role of Temperature and Humidity Control
Once the evidence is out of the field, the battle shifts to environmental control. The ideal storage temperature for most biological evidence is between 35°F and 40°F (2°C to 4°C). This range slows down enzymatic activity without freezing the sample, which could rupture cell membranes. Freezing is generally reserved for long-term storage of certain types of evidence, like semen stains, but it requires careful thawing procedures to avoid damage.
Humidity control is equally critical. Even in a refrigerator, relative humidity can fluctuate. If you store multiple wet items together, condensation can form on cooler surfaces and drip onto other evidence. To mitigate this, keep items separated by sterile barriers. Use dedicated shelves for wet evidence to prevent cross-contamination from drips. Regularly check the refrigerator’s thermostat; a malfunctioning unit that drifts above 45°F (7°C) creates a breeding ground for spoilage organisms.
Special Considerations for Different Evidence Types
Not all wet evidence behaves the same way. The approach needs to adapt based on what you’re holding:
- Blood Stains on Fabric: These are the most common. Allow them to air-dry completely before storing in a paper bag. If they remain wet, place the fabric in a ventilated box with desiccants. Do not fold the wet area; lay it flat to ensure even drying.
- Semen Stains: Highly sensitive to heat and moisture. Keep them cool and dry. If found on underwear, separate the stained area from the rest of the garment if possible, or store the whole item in a breathable bag in a fridge.
- Plant Material: Leaves and stems rot quickly. Pressing and drying is often required before long-term storage. Store pressed specimens in acid-free folders to prevent chemical degradation.
- Soil Samples: If saturated, sieving and drying may be necessary to extract insects or seeds. Store in airtight containers only after ensuring the moisture content is low enough to prevent fungal growth.
Each type has its own vulnerability profile. Blood degrades through oxidation and bacterial consumption, while plant material suffers from cellular collapse. Understanding these differences allows you to tailor your handling protocol effectively.

Common Pitfalls and How to Avoid Them
Even seasoned investigators make mistakes under pressure. Here are the top three errors that lead to evidence rejection:
- The “Quick Dry” Trap: Using a hair dryer or heater to speed up drying. This causes uneven drying, cracks the surface, and destroys volatile compounds. Always use passive air flow.
- Over-Packing: Stuffing multiple wet items into one small bag. This increases internal humidity and limits air circulation. Give each item space to breathe.
- Ignoring Chain of Custody Notes: Failing to document the initial wet state. If the lab finds mold, they need to know if it was present at collection or developed during storage. Accurate notes protect your credibility.
Prevention is cheaper than remediation. A few minutes of proper packaging on-scene saves weeks of lab re-testing and potential case delays. Train your team on these basics regularly, because muscle memory beats memorized protocols when the adrenaline is pumping.
Transitioning to Laboratory Analysis
When the evidence arrives at the lab, the handoff process is critical. The receiving technician should inspect the packaging immediately. Look for signs of condensation, odor, or visible mold. If the item is still wet, the lab will likely initiate a stabilization protocol, which may include controlled drying or immediate extraction of the target analyte (like DNA).
Communication between the field investigator and the lab analyst is key. Tell them exactly what you did: Did you air-dry it? Did you use desiccants? Was it stored in a fridge? This context helps the lab choose the right extraction method. For instance, if a sample was frozen, they’ll need to thaw it slowly at 4°C to preserve cell integrity. If it was air-dried, they can proceed directly to extraction.
Ultimately, wet evidence handling is about respecting the fragility of biological material. By controlling moisture, temperature, and contamination risks, you ensure that the science behind the case holds up under scrutiny. It’s not just about catching the culprit; it’s about proving it with data that stands the test of time.
Can I put wet blood-stained clothes in a plastic bag?
Generally, no. Plastic bags trap moisture and heat, creating an ideal environment for mold and bacterial growth. Unless the item is fully dried, use a breathable paper bag, a ventilated cardboard box, or wrap it in sterile gauze first. If transport is delayed, keep the item in a cooler with ice packs to maintain a low temperature until it can be properly packaged.
How long can wet evidence stay in a refrigerator?
Ideally, wet evidence should be processed or dried within 24 to 48 hours. Refrigeration at 35°F-40°F (2°C-4°C) slows degradation but does not stop it entirely. Prolonged storage in a fridge can lead to condensation issues if packaging is not breathable. Aim to move the evidence to a stable, dry state as soon as logistically possible.
What is the best way to dry wet forensic evidence?
Use passive air drying in a cool, shaded, and well-ventilated area. Lay the item flat to ensure even drying. Avoid direct sunlight, radiators, or hair dryers, as heat can denature proteins and destroy DNA. Desiccant packets can be placed near (not touching) the item to reduce ambient humidity during the drying process.
Does mold on evidence mean the case is ruined?
Not necessarily. While mold indicates improper storage, it doesn’t always destroy all usable DNA. Labs have techniques to filter out fungal DNA or focus on specific human genetic markers. However, severe mold growth can complicate analysis and increase costs. Documenting the presence of mold upon arrival helps the lab adjust their extraction strategy accordingly.
Should I freeze wet evidence instead of refrigerating it?
Freezing is typically reserved for long-term storage or specific sample types like semen. For general wet evidence like blood on clothing, refrigeration is usually preferred because it avoids the risk of cell membrane rupture caused by ice crystal formation. If you must freeze, ensure the item is sealed in a waterproof bag to prevent freezer burn and dehydration.