Imagine a jury questioning the integrity of a fingerprint because the label on the card was smudged. Or worse, a case dismissed not because the suspect was innocent, but because the detective couldn't prove who held the weapon between the crime scene and the lab. These aren't hypotheticals; they are the daily realities of Evidence Marking and Labeling is the standardized process of identifying, documenting, and preserving physical proof to ensure its admissibility in court. It serves as the bridge between raw physical objects and legal testimony. The core problem isn't just about writing down what you found. It's about creating an unbreakable audit trail. If the documentation fails, the evidence often becomes worthless, regardless of how conclusive the scientific analysis might be. This guide breaks down the exact standards, common pitfalls, and practical methods used by professionals to keep cases intact.
The Core Components of Proper Evidence Identification
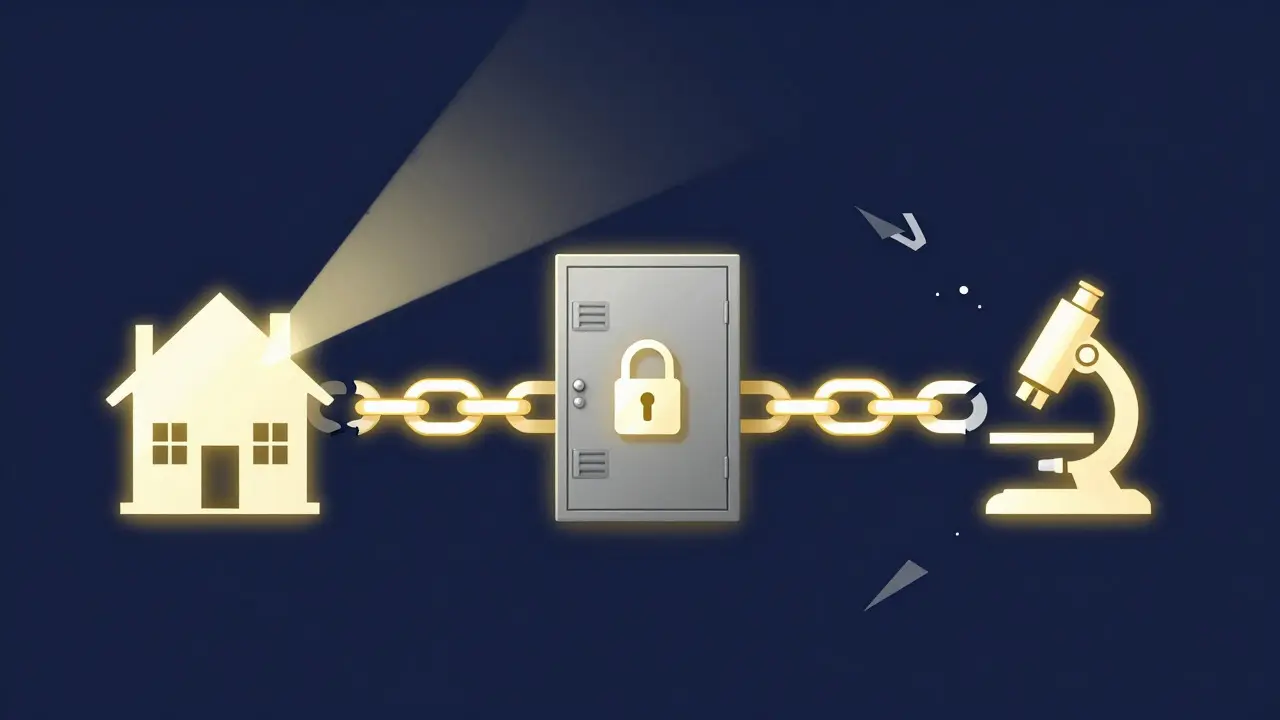
Before you even pick up a marker, you need to understand what constitutes valid identification. A standard evidence label or tag must contain specific data points that leave no room for ambiguity. Missing one field can create a gap in the Chain of Custody is a chronological record documenting the seizure, handling, storage, and disposition of evidence. Here are the non-negotiable fields for any primary evidence item:
- Case Number: The unique identifier assigned by the agency. Always include the year (e.g., 2026-0451) to avoid confusion with prior years.
- Evidence Item Number: A sequential number (1, 2, 3...) or alphanumeric code assigned within that specific case. Never reuse numbers across different cases without a clear sub-case designation.
- Date and Time of Collection: Use 24-hour format (HH:MM) to eliminate AM/PM errors. Include the time zone if working across jurisdictions.
- Collector’s Name and Badge ID: Full name plus badge number. Initials alone are rarely sufficient for court scrutiny.
- Description: Specific, objective, and concise. "Blue shirt" is weak. "Medium blue cotton t-shirt with white logo on left chest" is strong.
- Location Found: Exact coordinates or relative position (e.g., "North wall, 3 feet above floor").
Choosing the Right Marking Method for Different Materials
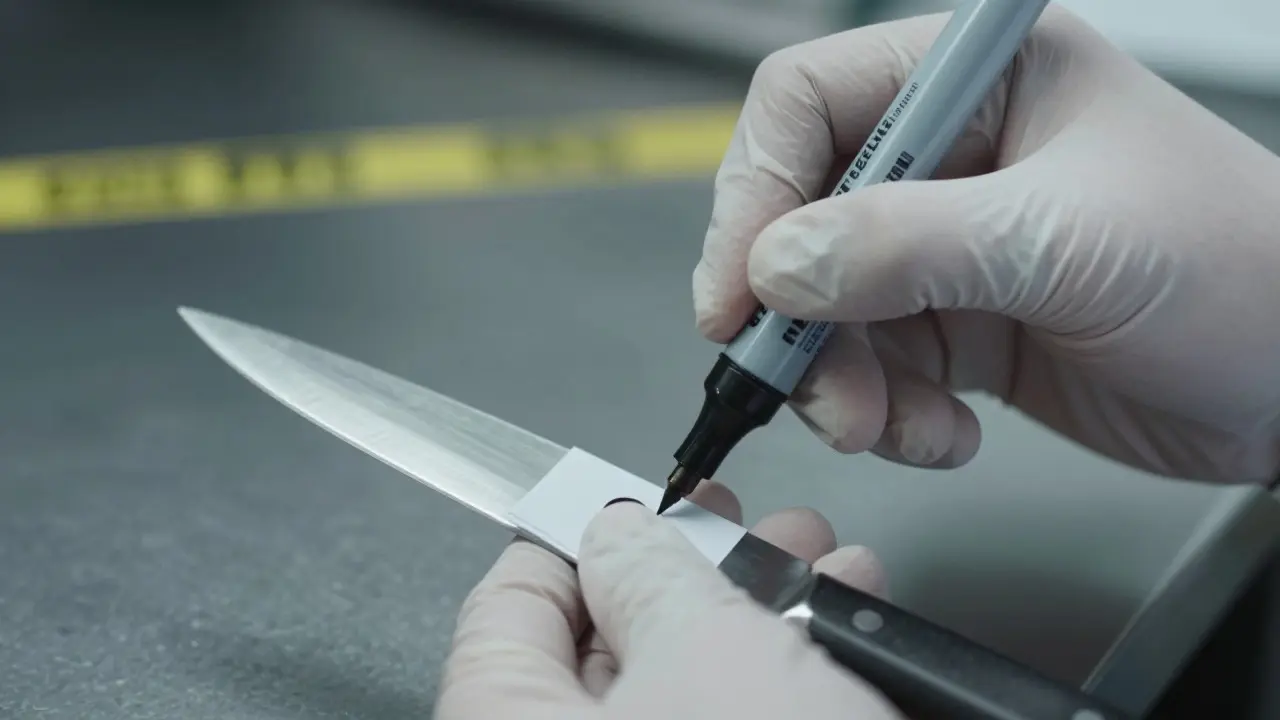
Not all evidence tolerates the same treatment. Using the wrong tool can destroy the very thing you're trying to preserve. The material dictates the method. Paper and Cardboard Use archival-quality pencil or indelible ink pens designed for paper. Avoid ballpoint pens that can bleed or fade over time. If the item is fragile, attach a tag with a string or thread rather than writing directly on the surface. Ensure the tag does not obscure critical features like tears or stains. Metals and Glass For sturdy metal objects like tools or weapons, use a fine-point permanent marker or engraving pen. On glass, such as windows or bottles, use a grease pencil or specialized glass markers. Be careful not to scratch surfaces where latent prints might exist. Biological and Organic Matter Never write directly on wet blood or tissue. Place the item in a breathable container (like a paper bag) and attach the label to the outside of the container. This prevents mold growth and allows DNA extraction later. Plastic bags trap moisture and should be avoided for fresh biological evidence unless the item is fully dried. Digital Media Write the case and item number on the side of the device using a dry-erase marker or a removable sticker. Do not remove batteries from phones if possible, as this can erase volatile memory. Note the power state (on/off) at the time of collection.
Common Pitfalls That Compromise Admissibility
Even experienced investigators make mistakes that lead to suppression hearings. Here are the top three errors we see most often.
- Inconsistent Numbering: Mixing up item numbers between the scene log and the evidence locker. If the scene report says "Item 4 is the knife" but the evidence bag says "Item 5," jurors will notice. Double-check every single entry against the physical item before sealing the bag.
- Vague Descriptions: Writing "clothing" instead of "red hoodie." In cross-examination, a defense attorney can argue that "clothing" could mean anything, making it impossible to verify the item matches the scene photos. Specificity is your best defense.
- Missing Chain of Custody Links: Forgetting to sign the transfer form when handing evidence to a transport officer. Every hand-off requires a signature, date, and time. A missing signature creates a gap that suggests tampering, even if nothing happened.
Standardized Labeling Formats and Templates
Consistency beats creativity. Your agency should adopt a standardized template that looks the same whether it's a burglary in District 1 or a homicide in District 9. This reduces cognitive load for investigators under stress. A robust digital or paper label template should include:
| Field | Example Value | Why It Matters |
|---|---|---|
| Case # | 2026-8821 | Links evidence to the specific incident file. |
| Item # | 003 | Unique identifier within the case. |
| Collected By | J. Doe (Badge 452) | Accountability for initial handling. |
| Time/Date | 14:30 / Aug 17, 2026 | Establishes timeline accuracy. |
| Description | Stainless steel kitchen knife, 8-inch blade | Allows visual verification without opening package. |
Maintaining Integrity During Storage and Transport
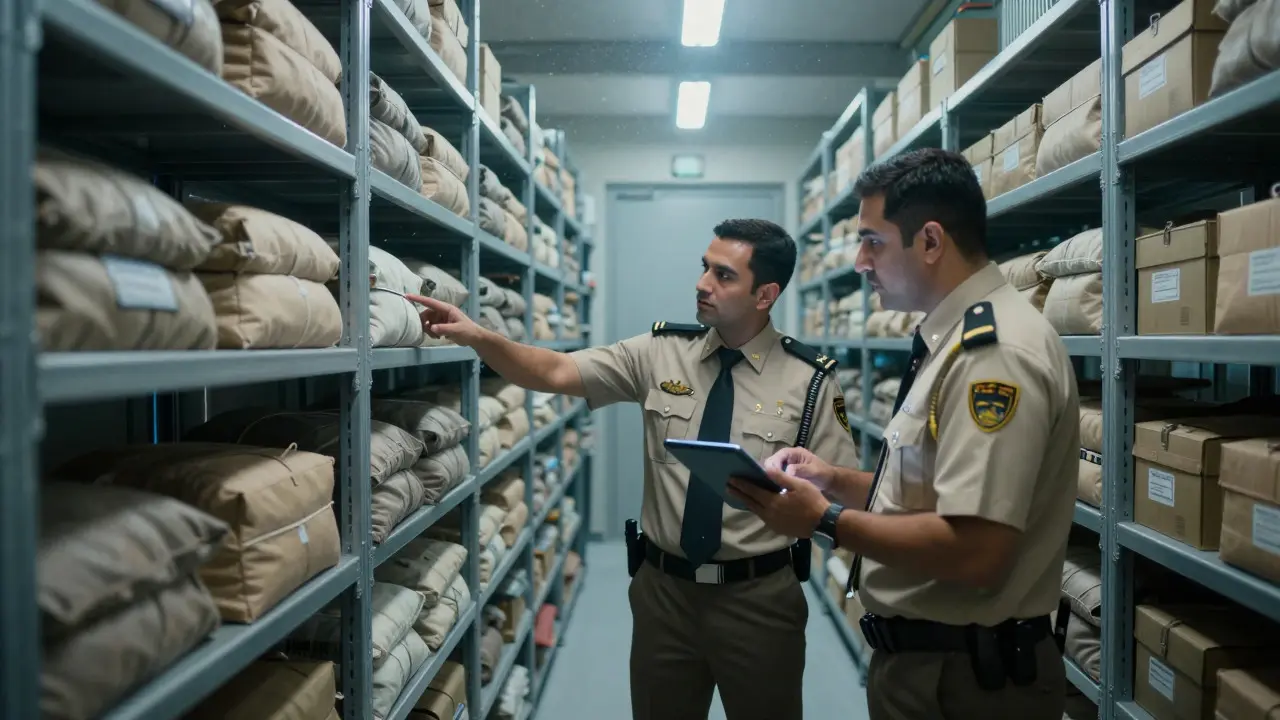
Marking is only the first step. The label must remain legible and attached throughout the life of the evidence. Use waterproof, tear-resistant tags for outdoor scenes. Seal evidence bags with tamper-evident tape and sign across the seal. This proves the bag hasn't been opened since collection. In the evidence locker, store items according to their type. Biological evidence goes in refrigerated units. Firearms go in locked cabinets. Digital devices go in Faraday bags to prevent signal interference. Each storage location change must be logged in the chain of custody system. Regular audits are essential. Quarterly reviews check that labels match database entries and that seals are intact. If a discrepancy is found, document it immediately. An unexplained error discovered during trial is far more damaging than one corrected during an internal audit.
Frequently Asked Questions
What is the difference between evidence marking and labeling?
Marking refers to the physical act of applying an identifier to the item or its container (e.g., writing a number on a tag). Labeling is the broader process of creating the documentation that describes the item, including the case number, description, and collector details. You mark the object, but you label the record.
Can I use a highlighter to mark evidence?
Generally, no. Highlighters tend to bleed, fade, and can stain porous materials. They are also easily smudged. Use indelible ink, pencil (for paper), or engraved markers depending on the material. If you must use a highlighter for temporary scene organization, ensure it is removed or covered before final packaging.
How long should evidence labels be kept?
Labels should be kept for the duration of the case plus the statutory retention period for records in your jurisdiction. Typically, this means keeping them until the case is closed and all appeals are exhausted. Many agencies retain physical labels for 5-10 years after case closure.
What if the evidence is too small to fit a standard tag?
Place the small item in a vial or micro-tube. Attach the standard tag to the cap of the vial using a string or adhesive loop. Alternatively, use a custom mini-tag designed for trace evidence. The key is ensuring the identifier is visible without opening the container.
Does the order of writing matter on the label?
Yes. Write the Case Number first, then the Item Number. This hierarchy ensures that if the label is partially obscured, the case context remains visible. Consistent ordering helps lab technicians sort items quickly and reduces filing errors.