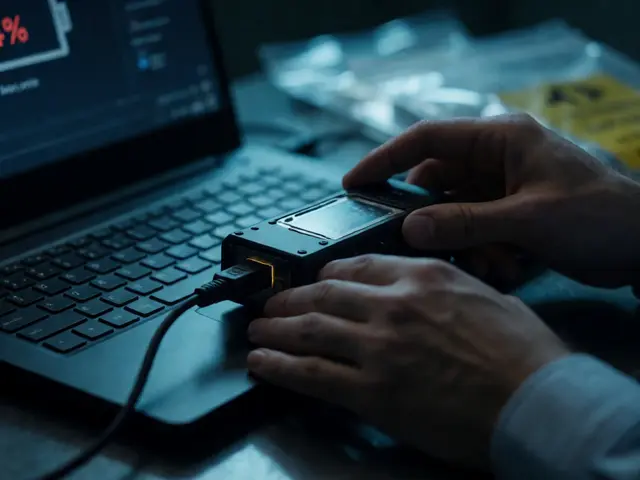
You pull up the surveillance footage. It’s shaky. The subject is blurry. You know what you saw in person, but the pixels don’t agree. This is the nightmare scenario for anyone handling digital evidence. If you stabilize it too aggressively, defense attorneys claim you’ve fabricated reality. If you leave it raw, the jury sees a blur. The sweet spot? Video stabilization that clarifies without altering.
Here’s the truth most software manuals won’t tell you: stabilization isn’t just about making things look pretty. In a legal or investigative context, it’s about preserving the chain of custody while enhancing perceptual clarity. You’re not creating new data; you’re compensating for camera movement to reveal existing data. But how do you prove that your "enhancement" didn't change the facts?
The Physics of Shaky Footage
Before we talk about fixing it, let’s understand why it breaks. Most low-light surveillance cameras suffer from two main issues: slow shutter speeds and mechanical vibration. When the shutter stays open longer to gather light, any movement during that exposure window smears the image across multiple pixels. This is motion blur, not just focus blur. Then there’s the shake itself-vibrations from HVAC units, wind, or even foot traffic nearby.
When you try to stabilize this, you are essentially trying to reverse-engineer the camera’s path through space. Modern algorithms track feature points-corners, edges, high-contrast spots-and calculate how they move frame-to-frame. If those points shift uniformly, the algorithm assumes the camera moved, not the object. It then applies an inverse transformation to lock the background. Simple, right? Not quite. That assumption fails constantly in real-world scenarios.
Digital vs. Optical: Choosing Your Weapon
You have two broad categories of tools at your disposal: hardware-based (optical/mechanical) and software-based (digital). For archived footage, you’re stuck with digital. But understanding the difference matters when you’re assessing the source quality.
| Method | Mechanism | Risk to Integrity | Best Use Case |
|---|---|---|---|
| Optical Image Stabilization (OIS) | Physical lens/sensor movement counteracts shake | Low (captures original scene) | New installations; live capture |
| Crop-and-Scale Digital | Enlarges image and shifts crop window | Medium (loses peripheral detail) | Minor jitter; high-res sources |
| Mesh Warping | Deforms parts of the image independently | High (can distort geometry) | Severe shake; non-evidence contexts |
| Rolling Shutter Correction | Compensates for sensor readout skew | Low-Medium (complex math) | Fast-moving subjects; CMOS sensors |
Notice the risk column. Crop-and-scale is the safest bet for court because it doesn’t invent pixels-it just discards them. Mesh warping, popular in consumer apps like Instagram filters, stretches pixels to fill gaps. This can make a straight doorframe look curved. A defense expert will tear that apart in seconds. Stick to rigid transformations (translation, rotation) whenever possible.
The "Alteration" Trap in Court
Juries trust what they see. If you hand them a stabilized clip where the suspect’s face suddenly becomes sharp after being a smear, they might think you enhanced it beyond recognition. They won’t care about the algorithm; they’ll care about the result. This is where the concept of "alteration concerns" bites hardest.
To mitigate this, you need a transparent workflow. First, always work on a copy. Never touch the master file. Second, document every parameter change. Did you use a global stabilizer or a localized one? What was the smoothing factor? These details matter. If you used Adobe Premiere Pro’s Warp Stabilizer, note whether you selected "No Motion," "Smoothness," or "Subspace Warp." Each option processes pixels differently.
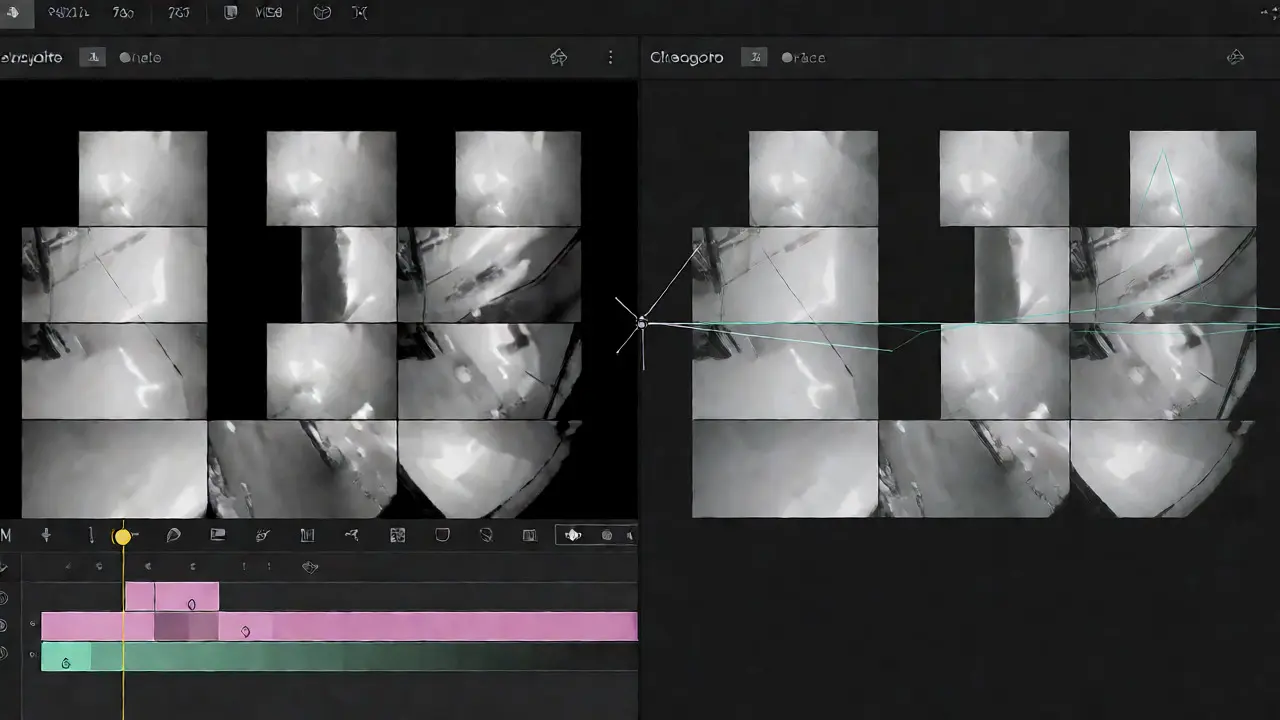
Here’s a pro tip: present both versions side-by-side. Show the raw, shaky footage next to the stabilized version. Let the jury decide if the improvement helps their understanding. Don’t hide the process. Transparency builds credibility. If you hide the stabilization, you invite suspicion. If you show it, you demonstrate competence.
Step-by-Step: Stabilizing Without Breaking Evidence
Ready to fix that clip? Follow this protocol to keep your evidence admissible and clear.
- Ingest and Hash: Import the video into your editing suite. Immediately generate a checksum (MD5/SHA-1) of the source file. Save this log.
- Analyze Motion Type: Play the clip. Is it a smooth pan? Or is it jittery handheld shake? Pans usually need less correction than shakes.
- Select Rigid Stabilization: Choose a method that only translates or rotates the frame. Avoid methods that scale or warp unless absolutely necessary. In DaVinci Resolve, this means using the "Stabilizer" node with "Perspective" disabled initially.
- Set Smoothing Radius: Start small. A radius of 0.5-1.0 seconds is often enough to remove micro-jitter without introducing "wobble" artifacts where the background seems to swim.
- Inspect Edges: Look at the borders. Are black bars appearing? If so, either accept them (they prove cropping) or use edge-reflection padding. Do NOT use content-aware fill that generates fake textures.
- Export and Re-hash: Export the processed clip. Generate a new checksum. Document the software version and settings used.
Why avoid content-aware fill? Because it uses AI to guess what should be in the missing corners. It might invent a pattern on a wall that wasn’t there. In a criminal case, inventing a pattern could mean inventing a clue. Keep it honest.
Common Pitfalls: When Stabilization Lies
Not all stabilization is created equal. Some scenes actively fight against the algorithms. Here’s what to watch out for.
- Parallax Errors: If a foreground object moves relative to the background, the algorithm might mistake the object’s movement for camera shake. This causes the background to drift strangely. Solution: Use tracking masks to isolate static backgrounds.
- Low Contrast Scenes: Feature detection relies on contrast. In foggy or overexposed footage, there are few distinct points to track. The stabilizer may fail or produce erratic jumps. Solution: Apply mild contrast enhancement *before* stabilization, but document it as a separate step.
- Rolling Shutter Skew: On fast pans, vertical lines tilt. Standard stabilizers ignore this. If you see "jello effect," you need rolling shutter correction. This is complex and often requires specialized plugins like ReelSteady GO or built-in features in newer NLEs.
A common mistake is over-stabilizing. You want the camera to feel steady, not glued to a tripod. Real humans breathe. Real cars vibrate. If you remove all natural motion, the footage looks artificial. Juries notice unnatural things. Aim for "stable enough to see," not "perfectly still."
Verifying Your Work: The Expert Testimony Angle
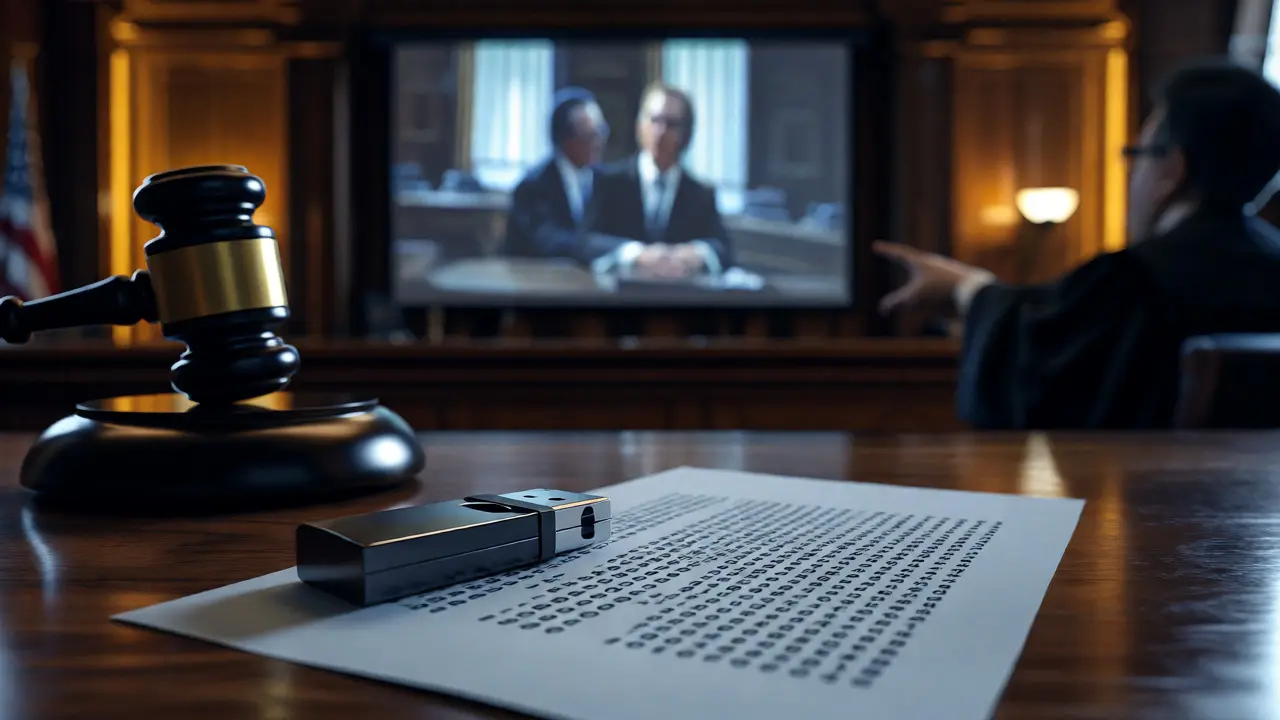
If you’re testifying, expect questions about your methodology. "How do we know you didn’t manipulate the video to make my client look guilty?" You need answers backed by science, not opinion.
Explain that stabilization is a geometric transformation, not a semantic one. You didn’t change the color of the shirt. You didn’t add a gun. You simply aligned the frames based on fixed reference points. Use analogies. Compare it to holding a map steady while walking. The map doesn’t change; your view does.
Furthermore, cite standards. The Scientific Working Group on Digital Evidence (SWGDE) provides guidelines for video enhancement. While not law, these guidelines carry weight. Mentioning SWGDE shows you follow industry best practices. It signals professionalism.
Practical Tools for Forensic Stabilization
What software should you actually use? Consumer tools are cheap but risky. Professional forensic suites are expensive but defensible.
- Amped FIVE: Industry standard for law enforcement. It logs every action automatically. Great for court.
- DaVinci Resolve Studio: Powerful free/studio hybrid. Good manual controls. Requires careful documentation since it doesn’t auto-log forensic metadata.
- Adobe Premiere Pro: Ubiquitous. Easy to learn. Riskier due to aggressive default settings (like Subspace Warp). Disable automatic fixes.
- VirtualDub: Old school, lightweight. Uses plugins like Deshaker. Excellent for batch processing large archives. Harder interface, but very transparent.
Choose based on your budget and litigation needs. If you go to trial often, invest in Amped or similar dedicated forensic tools. The auto-generated reports save hours of prep time.
Final Checklist Before Submission
Before you hand over that DVD or USB drive, run through this list.
- Did I preserve the original file unaltered?
- Is the stabilized version clearly labeled as "Enhanced"?
- Do I have a written log of all software versions and settings?
- Did I check for artifacts like swimming backgrounds or warped geometry?
- Can I explain the stabilization process in plain English to a layperson?
Clarity without alteration isn’t just a technical goal. It’s an ethical obligation. Your job is to help the truth emerge, not to polish it until it shines unnaturally. Keep it simple, keep it documented, and keep it honest.
Does video stabilization reduce image quality?
Yes, typically. Most digital stabilization methods involve cropping the image edges to create room for movement adjustments. This results in a loss of resolution and peripheral detail. However, techniques like mesh warping can maintain full frame size but may introduce geometric distortion. For forensic purposes, the trade-off between lost detail and improved legibility must be carefully evaluated and documented.
Can stabilized video be admitted in court?
Yes, provided the enhancement process is reproducible and does not alter the substantive content of the evidence. Courts generally require that the original footage remains available and that the examiner can testify to the specific algorithms and parameters used. Admissibility hinges on demonstrating that the stabilization aids perception without fabricating visual information.
What is the difference between stabilization and deblurring?
Stabilization corrects for camera motion between frames, aligning images to remove shake. Deblurring attempts to reverse the smearing effect within a single frame caused by long exposure times or rapid subject movement. Stabilization addresses temporal inconsistency, while deblurring addresses spatial frequency loss. Both are often needed together but require different algorithms.
Why does my stabilized video look like it's swimming?
This artifact, known as "jello effect" or rolling shutter skew, occurs when the camera sensor reads rows of pixels sequentially rather than simultaneously. During rapid motion, different parts of the image are captured at slightly different times. Standard stabilizers assume a global transformation, failing to account for this internal distortion. Specialized rolling shutter correction is required to fix this.
Should I stabilize before or after color correction?
Generally, stabilize first. Color correction alters pixel intensity, which can confuse motion estimation algorithms that rely on contrast and texture features. By stabilizing the raw footage, you ensure the motion vectors are calculated based on the original sensor data. Afterward, apply color grading to the stabilized output.