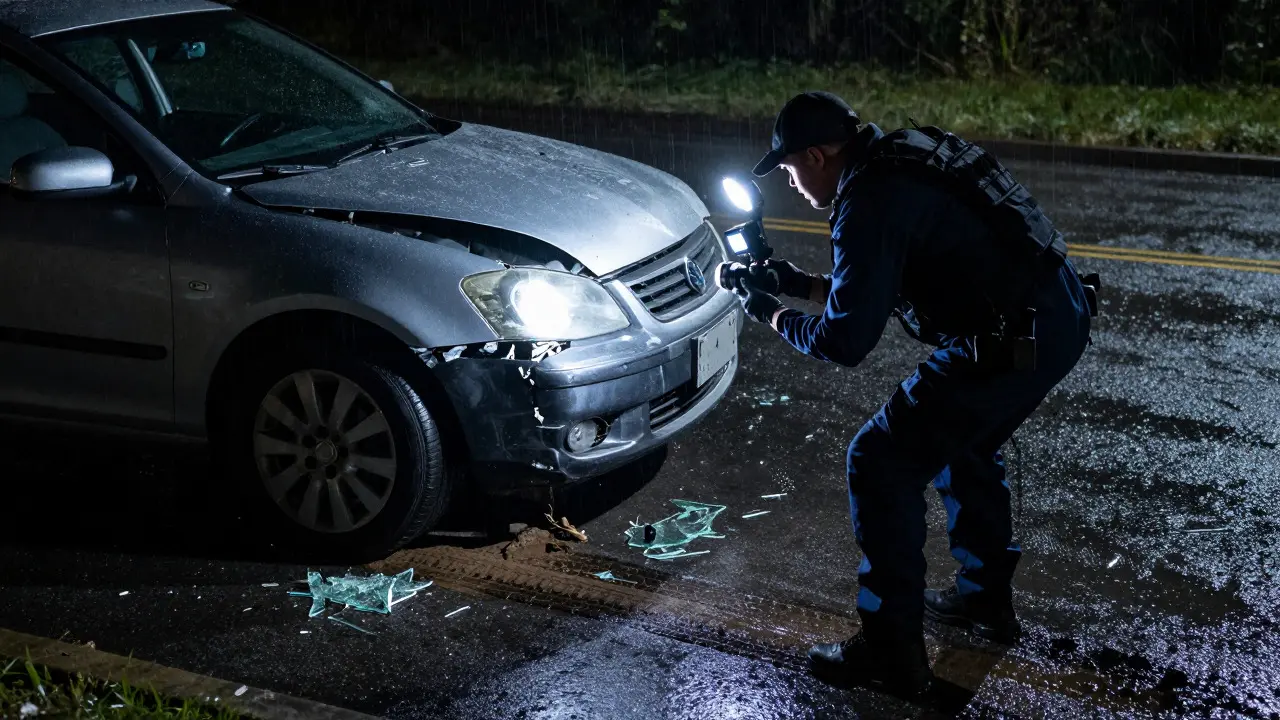
Walking up to a crashed car at 2 AM in the rain, you have one job: make sure nothing disappears. Whether it’s a tire mark, a bloodstain on the steering wheel, or the data stored in the engine control unit, vehicle evidence is physical and digital material recovered from motor vehicles that requires specific preservation techniques to maintain admissibility in court. Most teams know the basics-photograph everything, bag the blood-but they often miss the subtle details that turn a strong case into a dismissed one. This guide breaks down exactly what to look for, how to handle it, and where things usually go wrong.
Why Vehicle Scenes Are Different
A vehicle isn’t just an object; it’s a complex system. Unlike a knife found in a park, a car contains thousands of components that can hold traces of a crime. The Engine Control Unit (ECU) is a microprocessor embedded in modern vehicles that records diagnostic data, speed, and throttle position over time. If you don’t extract this data within 48 hours, some systems may overwrite older logs. Then there’s the physical aspect. Glass shards, hair fibers, and skin cells are everywhere. But because cars move, evidence gets scattered. A single fender bender can spread debris across 50 feet of road. Your first task is to define the boundaries of that scatter pattern before anyone drives through it again.
The Pre-Arrival Protocol
Before your boots hit the pavement, you need to know what you’re dealing with. Check the dispatch report for vehicle type, color, and any reported injuries. If it’s a high-speed collision, expect significant deformation. If it’s a hit-and-run, focus on paint transfer and glass. Call ahead to traffic control if possible. You want the area cordoned off before you arrive. If that’s not possible, send someone to manage the perimeter immediately upon arrival. Do not let bystanders walk around the vehicle. Their shoes can crush trace evidence like soil samples or small fiber fragments.
Step-by-Step Physical Collection Checklist
This is the core of the operation. Follow this order to minimize cross-contamination.
- Document First: Take wide-angle photos of the entire scene. Then take mid-range shots of the vehicle’s exterior. Finally, close-ups of points of impact. Use a scale in every close-up photo. Never touch the point of impact until it’s photographed.
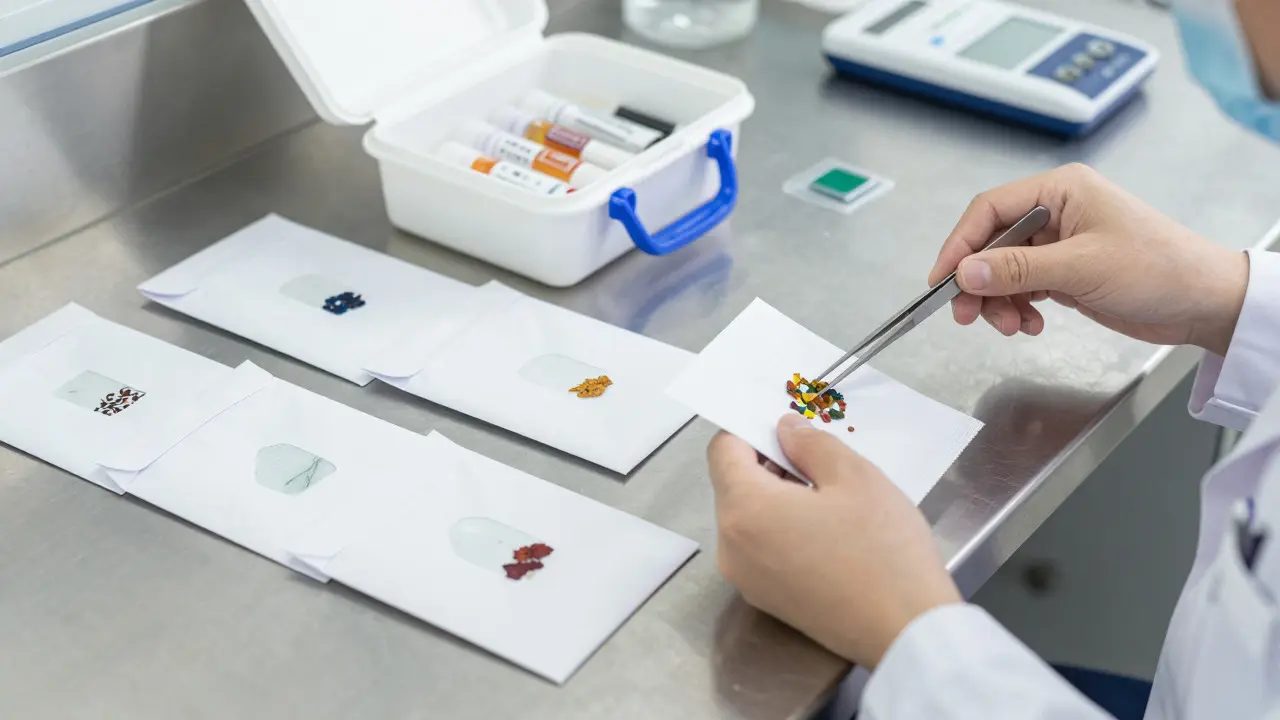
- Exterior Surface Analysis: Look for paint transfer, glass fragments, and vegetation. Paint chips are critical. They can link a suspect’s car to the victim. Collect them using sterile tweezers and place them in paper envelopes, not plastic bags, to prevent moisture damage.
- Tire Track Impression: If the car left marks in mud or gravel, photograph them with a scale. Cast them with dental stone if they’re deep enough. If they’re shallow, use a magnifying loupe to identify tread patterns. Compare these against the suspect vehicle’s tires later.
- Interior Inspection: Open doors carefully. Look for blood, hair, or foreign objects. Check under seats. Use a UV light to find bodily fluids that aren’t visible to the naked eye. Bag any biological samples separately. Label them clearly with date, time, location, and collector’s name.
- Glass Fragment Recovery: Broken windshields and side windows are gold mines. Collect large pieces for fracture analysis and small shards for elemental composition testing. Use a vacuum with a fine mesh filter to avoid losing tiny particles.
Digital Forensics: The Hidden Layer
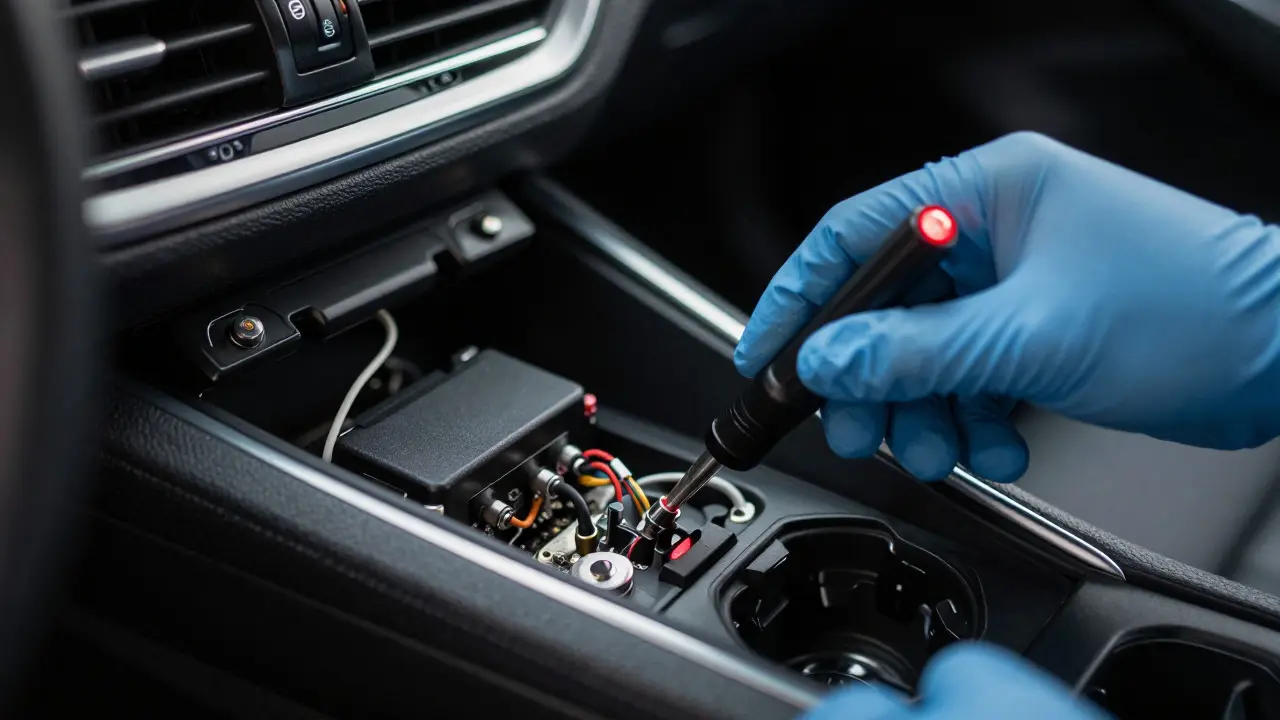
Modern cars are computers on wheels. Ignoring the digital side means missing half the story. The ECU stores crash data modules (CDM) that record events leading up to an accident. Other systems include the Telematics Control Unit (TCU), which is a device that manages cellular connectivity and sends real-time data about vehicle status and location to manufacturers or emergency services. You need specialized software to read these files. Don’t just unplug the battery; that can wipe volatile memory. Use a write-blocker to ensure the data isn’t altered during extraction. Also, check the infotainment system. It might store GPS history, Bluetooth connections, or even audio recordings from dashcams integrated into the car’s display.
Chain of Custody: Keeping It Legal
You can collect perfect evidence, but if the paperwork is sloppy, it’s useless in court. Every item must have a continuous trail from collection to trial. Here’s how to do it right:
- Use pre-numbered evidence tags.
- Sign and date each tag when you pick up the item.
- Note the exact location on the vehicle (e.g., "left front bumper").
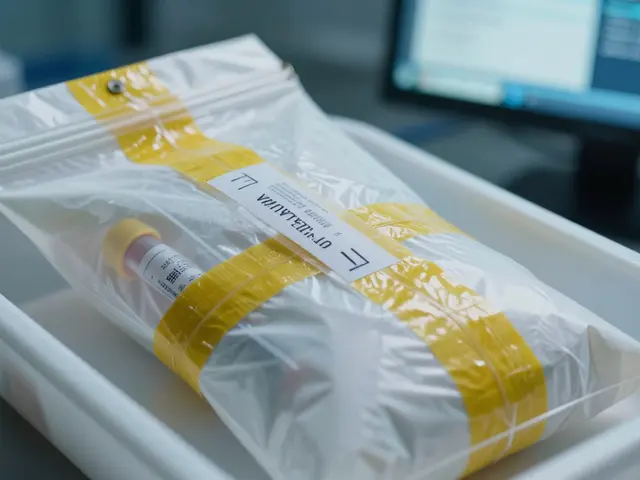
- Seal the container immediately after sealing the tag inside.
- Store biological samples in a cooler with ice packs, but never freeze them directly.
- Log every handoff. If you pass the bag to a detective, both of you sign the log.
Common Pitfalls to Avoid
Even experienced investigators make mistakes. Here are the big ones:
- Contamination: Wearing gloves that touched another piece of evidence. Change gloves between tasks.
- Poor Lighting: Using only flashlights creates harsh shadows. Bring portable LED panels for consistent lighting.
- Ignoring Weather: Rain washes away blood and soil. Cover the scene if possible, or document wet conditions thoroughly.
- Assuming the Car is Clean: Always check the trunk. Suspects hide weapons or drugs there.
- Forgetting the Keys: The ignition key cylinder can hold DNA. Swab it gently.
Comparison Table: Physical vs. Digital Evidence Handling
| Evidence Type | Primary Container | Storage Condition | Critical Risk |
|---|---|---|---|
| Blood Stains | Paper Envelope | Refrigerated (36°F - 41°F) | Drying too fast or freezing |
| Paint Chips | Paper Envelope | Dry, Room Temp | Mixing with other colors |
| ECU Data | Anti-static Bag | Dry, Cool | Data Overwrite |
| Glass Shards | Paper Packet | Dry, Room Temp | Loss of small fragments |
Final Verification Before Leaving
Before you pack up, do a final sweep. Walk around the vehicle one last time. Check under the chassis. Look at the license plate frame. Sometimes, a witness sees something you missed because you were focused on the obvious damage. Photograph the empty spot where you collected items. This shows the jury exactly where the evidence came from. And remember, your notes should be written in ink, not pencil. Pencil smudges. Ink lasts. Your work is done when the file is complete, the chain is unbroken, and the lab has everything they need to tell the truth.
How long does vehicle evidence stay valid?
Physical evidence like blood and paint remains valid indefinitely if stored correctly. However, digital data in ECUs can be overwritten by new driving events within days. Prioritize digital extraction within 48 hours of the incident.
Should I use plastic bags for vehicle evidence?
Avoid plastic for organic materials like blood or hair, as trapped moisture promotes mold growth. Use paper envelopes or breathable containers. Plastic is acceptable for dry items like paint chips or glass, provided they are sealed properly.
What if the vehicle is still warm from the engine?
Wait for the engine to cool before touching metal surfaces to avoid burns and potential alteration of heat-sensitive evidence. For digital extraction, wait until the system powers down completely to prevent data corruption.
Do I need to collect the entire seat if there is blood on it?
Usually, no. Cut out the stained fabric section with scissors and seal it in a paper envelope. This reduces weight and shipping costs while preserving the relevant DNA. Only remove the whole seat if the stain is pervasive or the seat structure itself is damaged.
How do I handle a vehicle with a broken windshield?
Photograph the crack pattern first. Then, carefully remove large shards using gloves and tongs. Vacuum the remaining dust and small fragments into a labeled container. Keep all glass from the same window together to allow for fracture matching analysis.