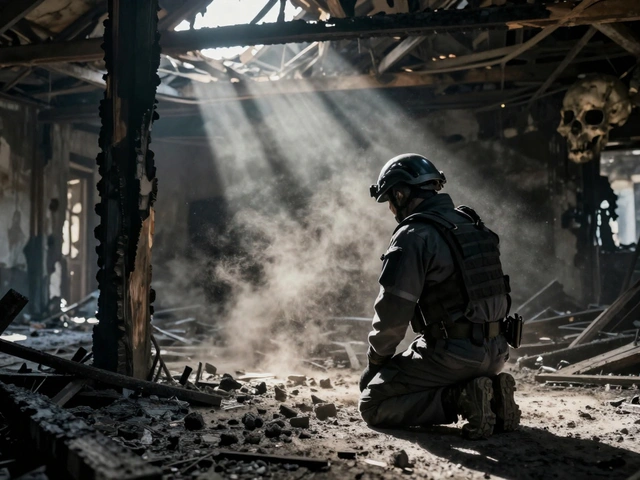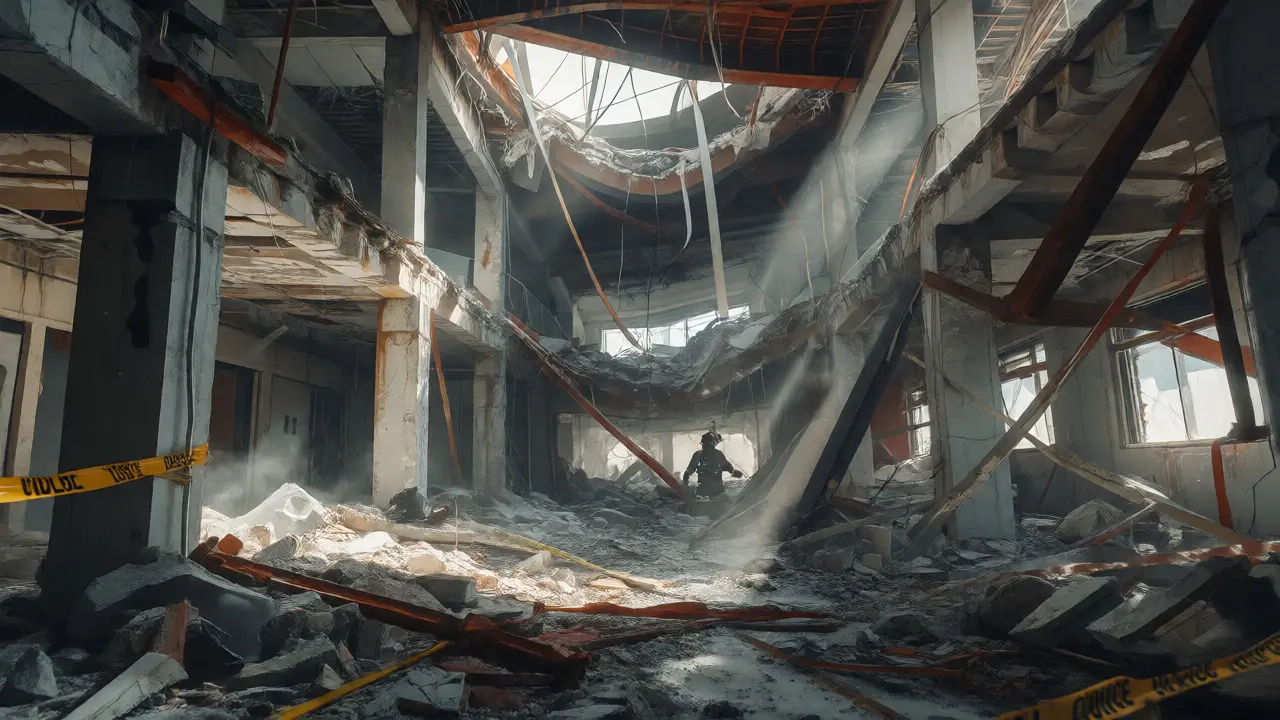
You walk into a building that used to have a roof. Now it is just rubble, twisted metal, and a smell that hits you in the back of the throat-sulfur, burnt plastic, and wet concrete. This is not just a mess; it is a crime scene where time is your enemy and gravity is trying to erase the evidence. If you are new to blast scene investigation, the chaos can feel overwhelming. But here is the secret: explosions follow physics. They don't break rules randomly. Once you understand how energy moves through matter, you can read the damage like a map.
This guide breaks down the basics of handling an explosion site. We will cover safety first, because nothing matters if you get hurt or contaminate the scene. Then we will look at how to find the point of origin, identify the explosive residue, and preserve fragile evidence before the rain washes it away. Whether you are a junior investigator, a police officer, or a student, these steps will help you turn chaos into clarity.
Safety First: The Invisible Threats
Before you step over the yellow tape, ask yourself one question: Is this place safe? In a burglary, the danger is usually gone when the suspect flees. In an explosion is a rapid expansion of gases that creates a shock wave, the danger often lingers. Secondary devices are a real threat. Terrorists and criminals often plant a second bomb designed to go off when responders arrive. Always assume there could be another device until a bomb squad clears the area.
Even after the all-clear, physical hazards remain. Structural instability is common. Walls might look standing but have no internal support. Floors may be weakened by heat or water from firefighting efforts. Wear appropriate Personal Protective Equipment (PPE). This isn't optional. You need hard hats, steel-toed boots, eye protection, and gloves. Explosive residues can be toxic. Some precursors, like ammonium nitrate or certain peroxides, cause skin irritation or respiratory issues. Do not touch anything with bare hands. Do not eat or drink on the scene. Your health comes before collecting every single fragment.
Understanding the Blast Pattern
To find out what happened, you need to understand how an explosion damages its surroundings. An IED is an improvised explosive device constructed from materials readily available for military or civilian use releases energy in three main ways: the blast wave, fragmentation, and thermal effects. Each leaves a distinct signature.
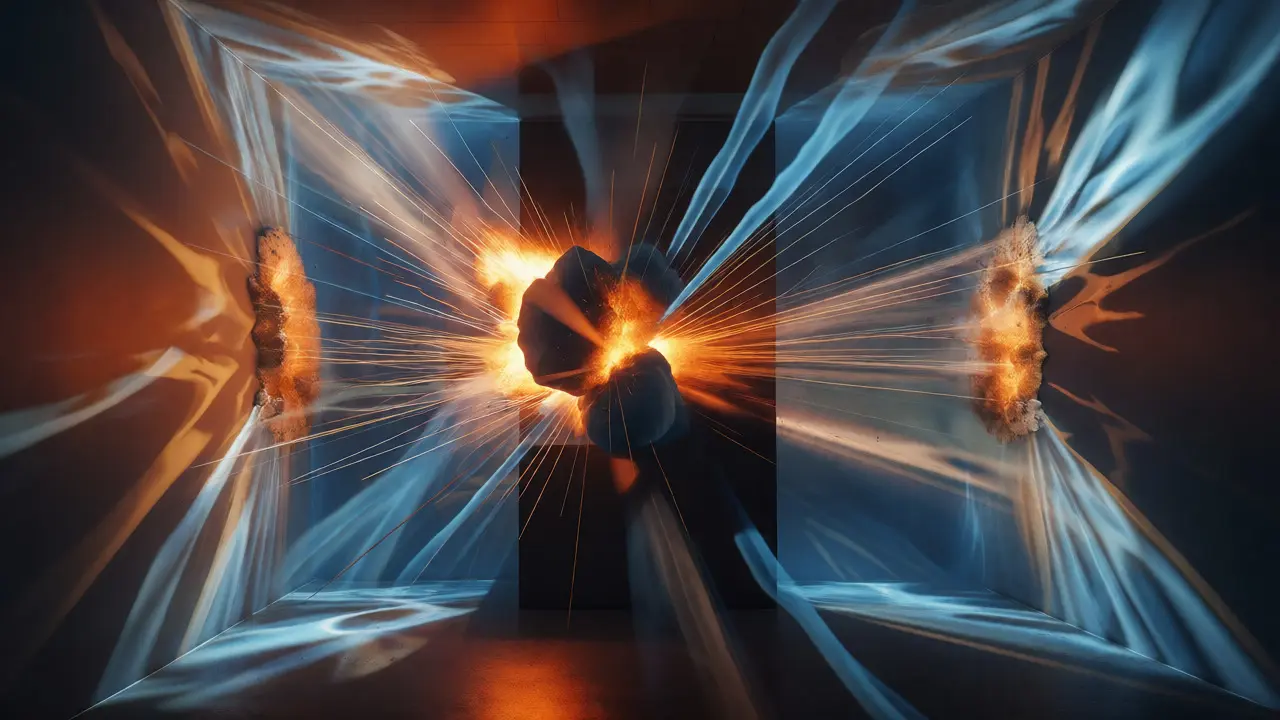
The blast wave travels outward in a sphere. It pushes air and objects away from the center. When this wave hits a wall, it reflects and amplifies. This causes windows to blow out, not in. Look for "spalling" on concrete or brick walls. Spalling is when chunks of material break off the surface facing the blast. The direction of the spall points back toward the source. If the spall is on the east side of a room, the explosion likely happened to the west.
Fragmentation involves shrapnel. If the device was in a pipe or container, pieces of that container fly outward at high speed. These fragments embed themselves in soft surfaces like drywall, wood, or clothing. Finding these fragments helps confirm the type of container used. Thermal effects burn nearby materials. However, unlike a fire that starts small and grows, an explosion burns everything near the center instantly. The burn pattern is radial, spreading out from the origin point.
Finding the Point of Origin
Every investigator’s primary goal is locating the point of origin is the specific location where the explosive charge detonated. This is where you will find the most concentrated evidence. Start by looking for the epicenter of damage. The area with the most severe destruction-the deepest crater, the most shattered glass, or the largest hole-is usually close to the origin.
Use the "inverse square law" as a mental model. Damage decreases rapidly as you move away from the source. If a window five feet away is completely blown out, but a window ten feet away is only cracked, the origin is closer to the first window. Map the damage patterns. Draw lines along the direction of debris flow. Where those lines converge is your target zone.
Look for ground disturbance. If the explosion happened on the floor, you might see a depression or crater. If it was suspended, like hanging from a ceiling, the floor below might show impact marks from falling debris, while the ceiling shows scorching or missing tiles. Check for "shadowing." Objects that blocked the blast wave cast shadows. Behind a heavy table, the wall might be less damaged than the rest of the room. That shadow points directly back to the explosion.
Collecting Residue Evidence
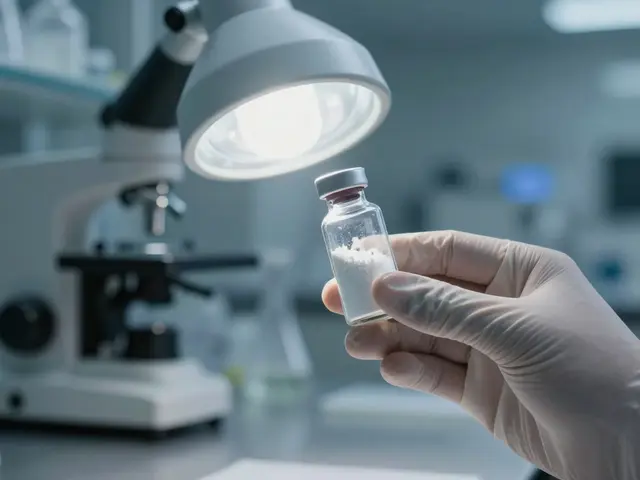
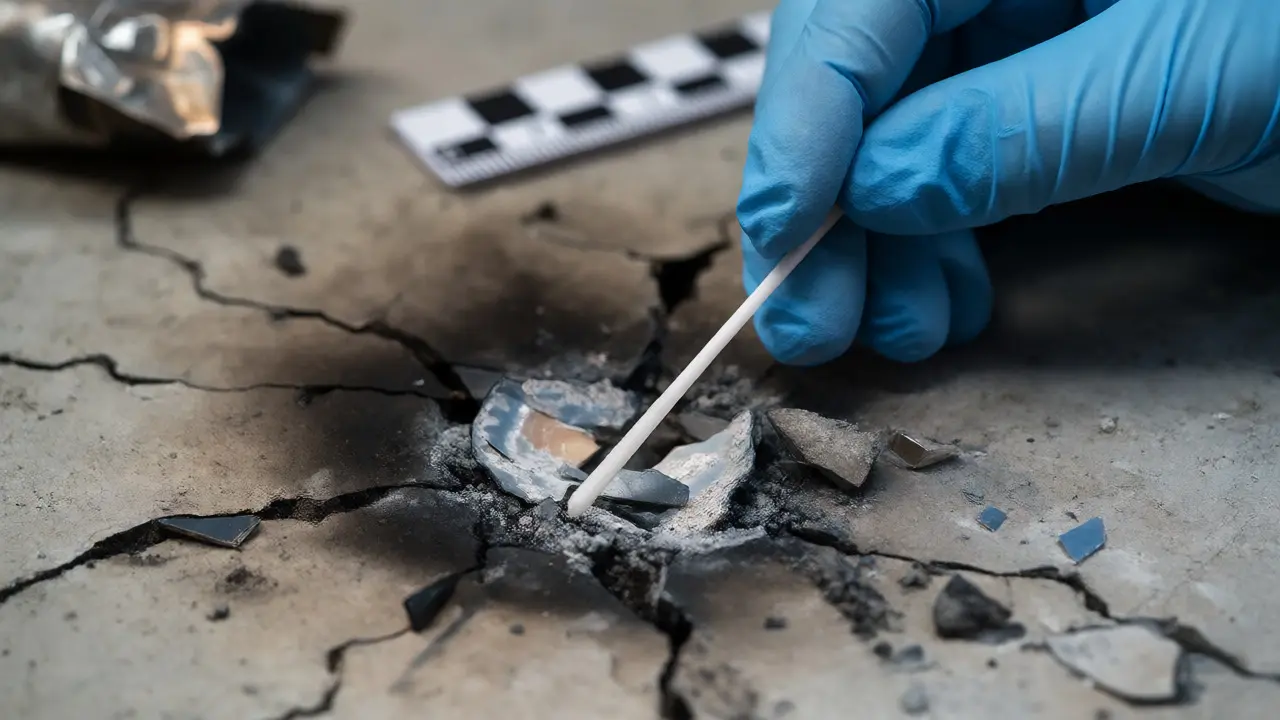
Once you know where to look, you need to collect proof of what exploded. Most explosives leave chemical traces. These residues can survive weeks if protected from weather. The key is careful collection. Never sweep up dust indiscriminately. You want targeted samples.
Start with swabs. Use cotton or foam swabs dampened with distilled water or acetone, depending on the suspected explosive type. Swab areas around the point of origin, especially on non-porous surfaces like metal, glass, or tile. Focus on crevices and cracks where particles settle. For porous surfaces like carpet or concrete, vacuuming is often better. Use a dedicated vacuum with a fresh filter for each sample to avoid cross-contamination.
Bagging matters. Place swabs in sterile glass vials or paper envelopes. Avoid plastic bags for initial storage if possible, as volatile compounds can stick to plastic or evaporate. Label everything clearly: date, time, collector's name, and exact location. Chain of custody is critical. If you cannot prove who touched the evidence and when, it becomes useless in court.
| Explosive Type | Primary Residue Indicator | Typical Container | Visual Clue |
|---|---|---|---|
| Ammonium Nitrate | Nitrate ions, white powder | Bags, sacks, vehicles | Yellowish smoke, strong ammonia smell |
| TNT | Trinitrotoluene crystals | Metal casings, blocks | Dark soot, minimal smoke |
| Black Powder | Sulfur, potassium nitrate | Pipes, drums | Thick white/grey smoke, sulfur smell |
| Plastic Explosives | RDX, PETN | Sheet forms, putty-like | Clean cut, little residue |
Documenting the Scene
If it isn't documented, it didn't happen. Photography is your best friend. Take photos before you move anything. Start wide, showing the entire structure and its context. Then move to medium shots, capturing specific rooms or sections. Finally, take close-ups of individual pieces of evidence, like a piece of wire or a fragment of casing. Include a scale ruler in every close-up photo. Without a reference object, a jury won't know if that shard of metal is two inches or two feet long.
Create a rough sketch of the scene. Note the location of the suspected origin, major debris fields, and access points. Mark where you collected samples. This visual aid helps reconstruct the event later. Remember, the scene changes once you start working. Debris gets moved, samples disappear. Your documentation must capture the pristine state as much as possible.
Preserving Fragile Evidence
Some evidence is incredibly delicate. Paper documents burned in an explosion can disintegrate if touched. Charred fabrics might fall apart in the wind. Use consolidants if necessary. These are sprays that harden fragile materials without destroying their chemical composition. Consult with a forensic lab before applying anything, though.
Weather is another enemy. Rain can wash away soluble residues like nitrates. If the forecast predicts precipitation, cover sensitive areas with clean plastic sheeting. Secure the edges so wind doesn't blow the cover away. Do not let the plastic touch the evidence directly if possible; create a tent-like structure. Also, watch out for scavengers. Animals or curious bystanders can disturb the scene. Maintain perimeter security strictly.
Related Concepts and Next Steps
Understanding blast scenes overlaps heavily with fire investigation is the process of determining the origin and cause of fires. Many explosions start with a fire, or cause a secondary fire. Learn to distinguish between fire damage and blast damage. Fire rises; blast expands radially. Fire chars from top down in vertical structures; blast affects all sides equally near the source.
After the field work, the laboratory does the heavy lifting. Techniques like Gas Chromatography-Mass Spectrometry (GC-MS) identify trace chemicals. But the lab relies on you bringing them clean, well-documented samples. Garbage in, garbage out. If you mix samples from different locations, the lab results become meaningless.
Practice makes perfect. Visit controlled demolition sites if you can. Watch how professionals set up grids and document progress. Read case studies of historical bombings. Notice how investigators pieced together clues from tiny fragments. Every explosion tells a story. Your job is to listen carefully.
What is the first thing an investigator should do at a blast scene?
Ensure the scene is safe. Check for secondary devices and structural stability. Only proceed once the bomb squad has cleared the area and PPE is worn.
How do you determine the point of origin in an explosion?
Look for the area of maximum damage. Identify spalling on walls, which points back to the source. Map debris trajectories and look for shadowing behind objects. The convergence of these clues indicates the origin.
Why is chain of custody important in blast investigations?
It proves that the evidence collected at the scene is the same evidence tested in the lab and presented in court. Any break in the chain can lead to evidence being dismissed due to potential contamination or tampering.
Can rain destroy explosive evidence?
Yes. Rain can wash away water-soluble residues like ammonium nitrate. Investigators should cover sensitive areas with plastic sheeting immediately if precipitation is expected.
What tools are essential for collecting blast residue?
Sterile swabs, distilled water or acetone, paper envelopes or glass vials, a dedicated vacuum with filters, and gloves. Avoid using standard household vacuums that may contain previous contaminants.