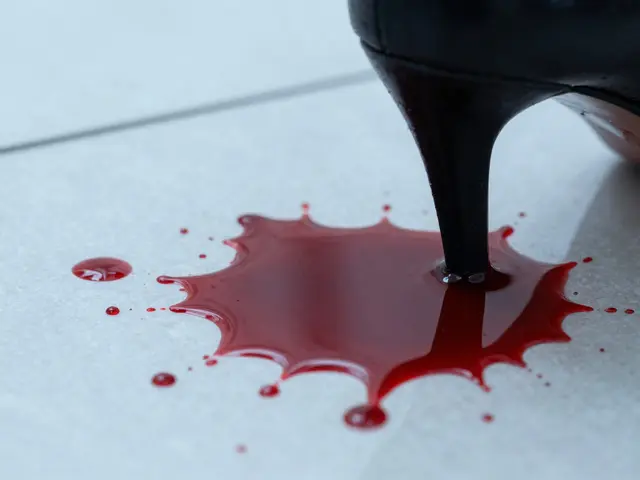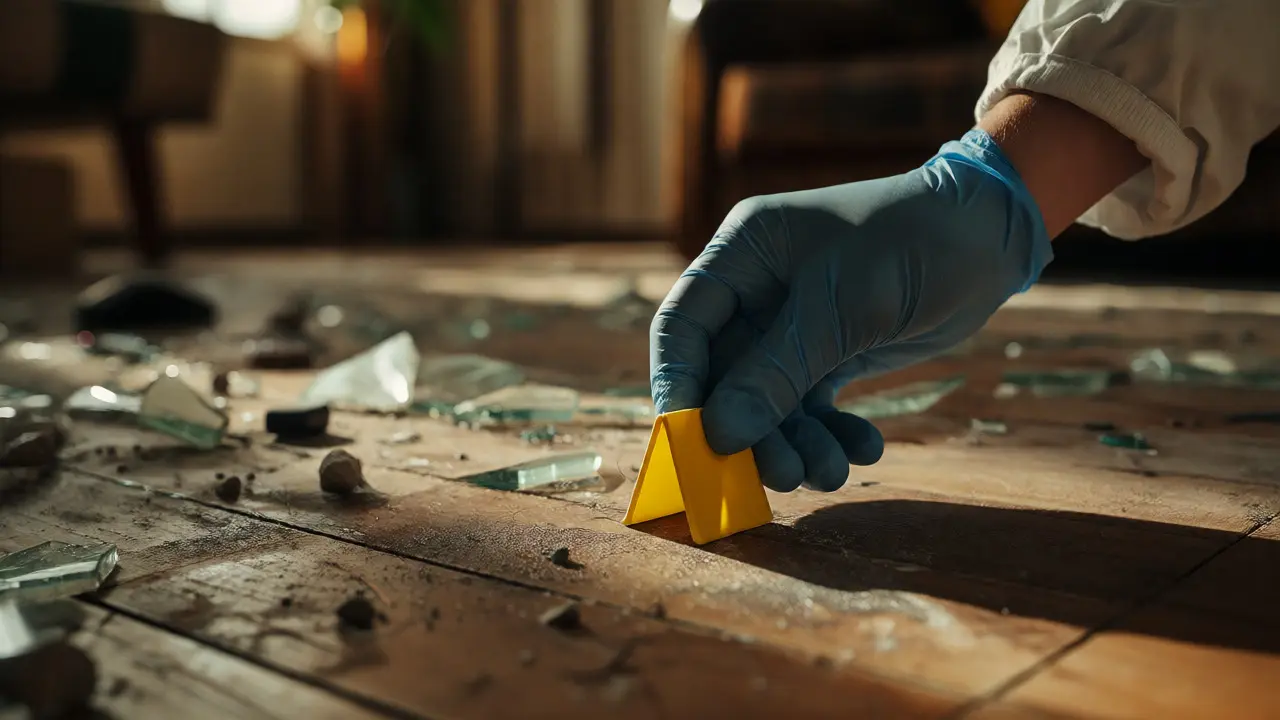
You walk into a chaotic living room. Broken glass everywhere. A blood spatter pattern on the wall that looks like it tells a story. Your job is to document this mess without destroying the very clues you’re trying to save. It sounds simple: put down a flag, take a picture. But here’s the trap-most rookie investigators contaminate scenes just by placing their markers. They step in blood before they see it. They touch a latent print with gloved fingers that were already dirty. They use flags that bleed dye onto porous surfaces. If you want your evidence to hold up in court, you need to master the art of non-intrusive documentation.
Why Standard Marking Fails
Most people think marking a crime scene is about visibility. You stick a numbered tent card next to a bullet casing so the photographer knows what is what. That’s true, but it’s incomplete. The real challenge is preserving the integrity of the evidence. When you place a marker, you are interacting with the environment. Every interaction carries risk. Did your glove brush against a hair? Did the plastic of your flag scratch a dusty surface? Did the adhesive from a sticker leave residue on a window pane?
In my years working scenes in Portland, I’ve seen cases fall apart because a well-meaning officer used a permanent marker to write directly on a piece of fabric. The ink bled through, mixing with the suspect’s DNA. Or worse, they placed a heavy metal flag on a delicate trace evidence area, crushing microscopic fibers beyond recovery. The goal isn’t just to label; it’s to label without leaving a footprint of your own process behind.
The Hierarchy of Marker Types
Not all markers are created equal. Choosing the wrong one for the specific substrate can ruin an analysis. You need to match the tool to the terrain. Here is how you should categorize your kit based on the environment you are entering.
| Marker Type | Best Use Case | Contamination Risk | Cleanup Required |
|---|---|---|---|
| Tent Cards (Plastic) | Floors, large open areas, dry surfaces | Low (if clean) | None |
| Adhesive Numbered Dots | Smooth surfaces (glass, tile, metal) | Medium (residue left behind) | Solvent wipe needed |
| Chalk/Soapstone | Rough concrete, asphalt, outdoor scenes | High (particulate dust) | Vacuuming required |
| Laser Pointers | Delicate trace evidence, high-value items | Zero (non-contact) | None |
| Flagging Tape | Blood trails, footprints, perimeter definition | Medium (adhesive transfer) | Peeling carefully |
The Non-Contact Protocol
If you have the budget and the gear, go non-contact. This is the gold standard for high-profile cases or when dealing with fragile trace evidence. Instead of physically placing a object near the item, you use light or remote indicators.
Modern digital photography apps allow you to overlay numbers onto images in real-time. You point your camera at a shell casing, tap the screen, and the app records the location relative to a fixed datum point. No physical object touches the floor. No dust gets kicked up. No gloves get dirty. This method, often called "virtual marking," is becoming standard in advanced jurisdictions. However, it requires perfect lighting and stable footing. If you slip while looking at your phone, you’ve traded contamination for injury.
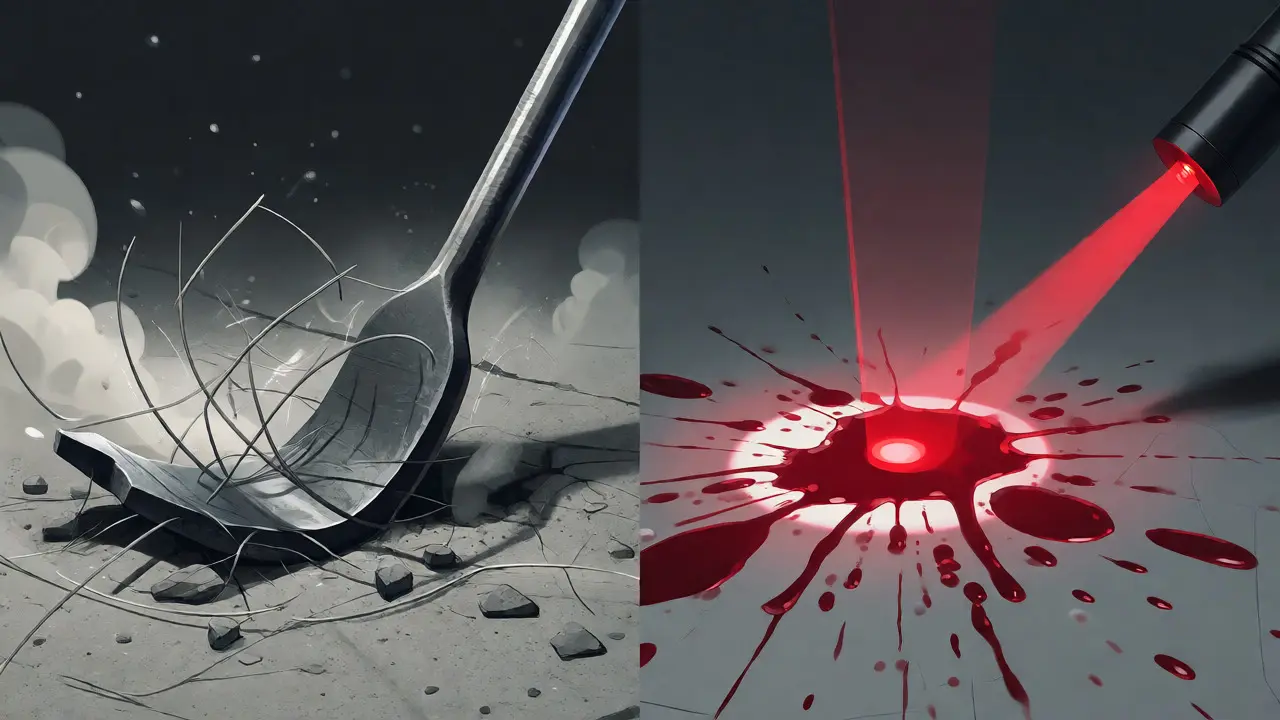
For those without fancy apps, laser pointers are a solid middle ground. You shine a red dot on the item and photograph it. Later, in the lab or courtroom, you explain that the red dot indicates Item #4. It keeps your hands free and your feet away from the evidence zone. Just be careful not to blind your partner or cast shadows that obscure the detail you’re trying to highlight.
Physical Placement: The Art of Proximity
When physical markers are necessary-and they usually are-you must follow strict placement rules. The biggest mistake I see is placing the marker too close to the evidence. Investigators want the photo to clearly show which number belongs to which item. So, they shove the tent card right next to the bloody knife. Now, if that knife moves even an inch during collection, the association is ambiguous. Worse, if the knife has wet blood, touching the tent card transfers that blood to the card, creating a secondary source of contamination.
- The One-Inch Rule: Keep physical markers at least one inch away from any biological fluid or loose debris. If the item is smaller than a coin, place the marker two inches away.
- Orientation Matters: Always face the number toward the primary camera position. If the photographer has to crouch at an awkward angle to read "3," they might shift their weight and disturb nearby dust.
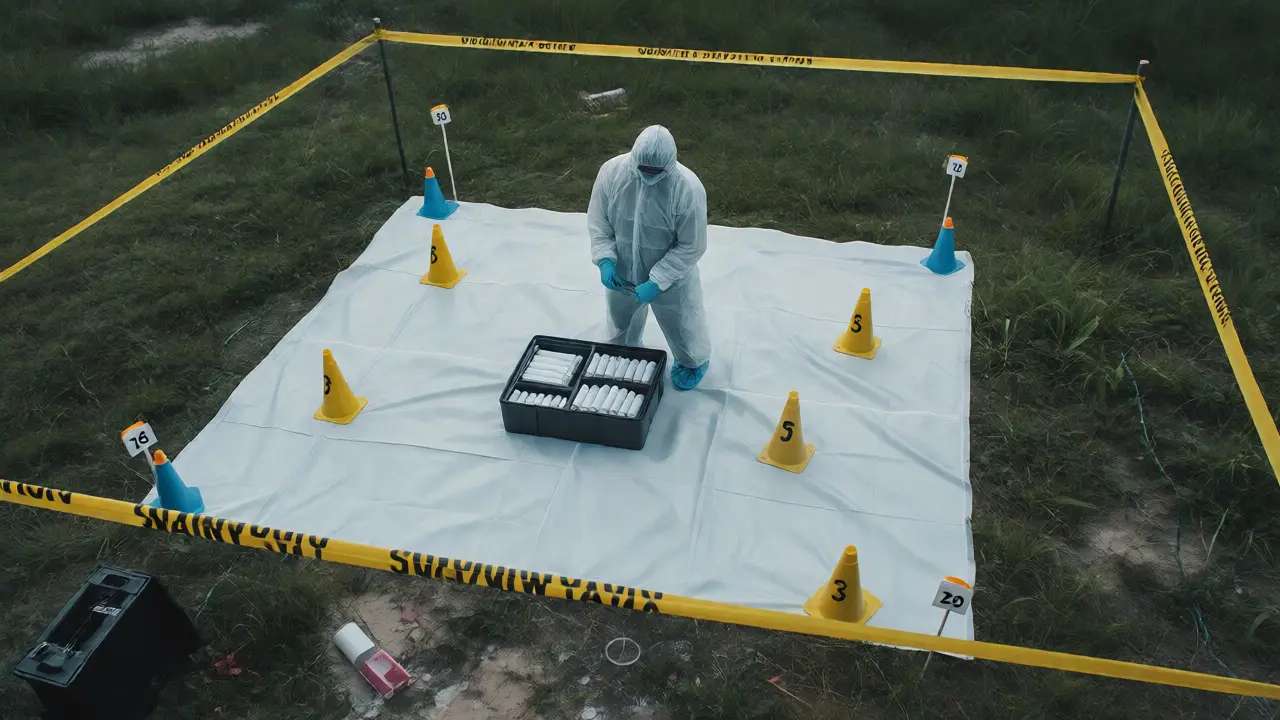
- Stability Check: On uneven surfaces like grass or gravel, tent cards tip over. Use small sandbags or weighted bases designed for field work. Do not weigh them down with random rocks from the scene; those rocks might carry foreign pollen or soil samples.
Glove Hygiene and Tool Sterilization
Your gloves are your barrier, but they are also your vector. If you pick up a marker from your pocket, your gloves now have whatever was in your pocket on them. Then you set the marker down. Now the marker has pocket lint on it. Next time you touch a piece of evidence, you might transfer that lint.
Here is a practical workflow I use. Before entering the inner perimeter, I lay out my markers on a sterile sheet. I change my outer gloves immediately after handling the marker box. Once inside, I only touch the markers themselves, never the base where they sit on the floor. If a marker falls, do not pick it up with the same gloves you used to touch the evidence. Change gloves first. Yes, it takes longer. Yes, it saves the case.
Also, consider the material of your markers. Plastic is easy to wipe down. Metal can rust or oxidize, potentially reacting with chemical reagents later used on the scene. Wood absorbs moisture and bacteria. For most indoor scenes, durable, washable plastic is the safest bet. If you are working outdoors in rain, avoid paper-based labels unless they are laminated. Wet paper disintegrates, leaving pulp mixed with mud and blood.
Documenting the Marker System
A common failure in court is the inability to prove who placed what marker. If you use a system where every investigator places their own markers, you create chaos. Did Officer Smith place Marker 1, or did Detective Jones move it? To prevent this, establish a single person responsible for marking-the Scribe or the Lead Investigator. Everyone else reports locations, but only one person places the flags.
This creates a clear chain of custody for the documentation itself. In your notes, record exactly when each marker was placed. "14:05 hours: Tent Card #7 placed adjacent to suspected firearm, north side." This timestamp helps reconstruct the timeline. If a defense attorney argues that the gun was moved after the police arrived, your precise log shows the marker was placed before the weapon was collected.
Common Pitfalls to Avoid
Even experienced pros make these errors. Watch out for them.
- Over-marking: Putting a flag on every speck of dust clutters the photo. Photographers hate it. Jurors get confused. Only mark items you intend to collect or analyze specifically. General background clutter doesn’t need a number.
- Color Confusion: Don’t use red flags for blood and blue flags for fingerprints if your camera struggles with color balance under fluorescent lights. Stick to high-contrast colors like yellow or white. Ensure the number is black or dark blue for maximum readability.
- Ignoring Wind: Outdoors, lightweight flags blow around. A flag marked "Item 5" might end up next to "Item 6" if a gust hits. Use weighted stakes or heavier materials for outdoor scenes. Anchor them securely.
- Leaving Markers Behind: Unless the scene is being preserved for long-term study, remove your markers after photography and collection. Leaving trash behind looks unprofessional and can confuse subsequent responders. Clean up your footprint.
Special Considerations for Biohazards
If you are dealing with a biohazardous scene, such as a meth lab or a body decomposition site, standard markers might not suffice. Porous materials absorb chemicals. If you place a plastic tent card on a carpet soaked in bodily fluids, the card becomes biohazard waste. You cannot reuse it. Plan for disposal.
In these scenarios, disposable markers are key. Use cheap, mass-produced paper tents that you can bag and incinerate afterward. Do not try to save expensive reusable kits in gross environments. The cost of replacing a $5 pack of tents is negligible compared to the cost of cross-contaminating a new case with pathogens from the previous one. Always treat the marker as contaminated once it touches the scene floor.
Final Thoughts on Integrity
Scene flags and markers are more than just labels; they are part of the evidentiary chain. Treat them with the same respect you give the evidence itself. Clean tools, deliberate placement, and rigorous documentation separate amateur hour from professional forensics. Remember, the best marker is the one that leaves no trace except its number.
Can I use regular office tape to mark evidence?
Generally, no. Regular office tape often contains adhesives that can react with certain chemical tests or leave residues that interfere with fingerprint lifting. Use specialized forensic adhesive dots or low-tack painter's tape designed for sensitive surfaces. If you must use generic tape, test it on an inconspicuous area first to ensure it peels off cleanly without pulling fibers or leaving sticky residue.
What is the best way to mark evidence on grass or dirt?
For soft ground like grass or dirt, use weighted tent cards or stake-down markers. Lightweight flags will blow away. Chalk is risky because wind can scatter the powder, contaminating nearby samples. If using chalk, apply it lightly and photograph it immediately before weather disturbs it. Better yet, use small, heavy-duty plastic cones or dedicated outdoor scene markers with spikes for stability.
How many markers should I use per scene?
There is no hard limit, but less is often more. Mark only items that require individual identification for collection or analysis. Over-marking creates visual noise in photographs and complicates the inventory list. Focus on significant items: weapons, biological stains, distinct trace evidence, and points of entry/exit. Background clutter usually does not need a unique identifier unless it shows unusual disturbance.
Do I need to sterilize markers between uses?
Yes, absolutely. Reusable markers must be cleaned according to your agency's decontamination protocol. Typically, this involves wiping them down with a disinfectant solution compatible with the marker material (e.g., bleach solution for plastics, alcohol wipes for metals). Failure to sterilize can lead to cross-contamination between different crime scenes, potentially transferring DNA or chemical traces from one case to another.
What if a marker falls on top of evidence?
If a marker falls on evidence, do not simply pick it up and move it. Document the accident in your notes and take a photo showing the marker covering the item. Then, carefully remove the marker without dragging it across the evidence. If the marker touched the evidence, note this potential contamination in your report. Depending on the sensitivity of the evidence, you may need to change gloves and sanitize the marker before continuing.