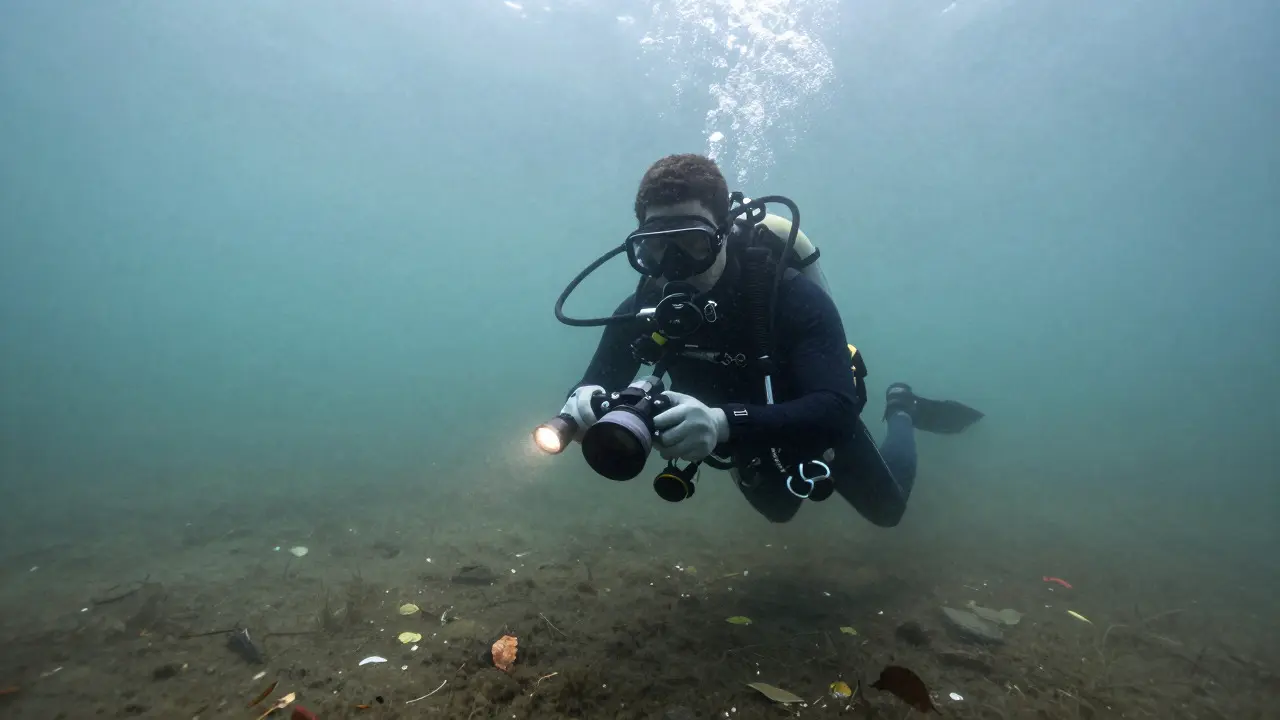
Imagine pulling a body from a lake. The water is murky, the light fades quickly with depth, and every second counts. In this environment, standard crime scene photography rules fall apart. Water distorts images, hides details, and destroys evidence if you aren’t careful. This guide breaks down the specific technical and procedural challenges of underwater forensics so you can capture admissible, high-quality images without losing critical data.
Quick Summary / Key Takeaways
- Refraction causes significant distortion in macro shots; use a dome port to correct it.
- Water absorbs red light first, shifting color balance rapidly with depth.
- Preservation of trace evidence (like glass or fibers) requires immediate drying and sealing before detailed photo documentation.
- Use wide-angle lenses for context and dedicated macro setups for close-ups, but never rely on a single lens type.
- Documentation must include scale references that remain visible despite water movement and low light.
The Physics Problem: Refraction and Distortion
When light moves from air into water, it bends. This bending, known as the change in direction of light rays when passing from one medium to another, creates optical illusions that are deadly for forensic accuracy. If you shoot through a flat porthole, objects appear closer than they actually are, and their shape is warped. For general scene overview shots, this is manageable. But for measuring a bullet fragment or identifying a fingerprint on a submerged surface, distortion ruins the data.
The solution is a dome port. A dome port keeps an air space between the camera sensor and the water, allowing the lens to focus naturally without the refractive index of water interfering directly with the front element. However, domes introduce their own issues. They require precise focusing because there is no room for error, and they can create internal reflections if not cleaned properly. Always test your dome setup in a controlled tank before heading to the actual scene.
Lighting Challenges and Color Management
Water acts as a filter. As you go deeper, it strips away colors starting with red, then orange, yellow, and finally blue. At just 10 feet (3 meters) in clear seawater, most reds are gone. In freshwater lakes, turbidity (muddiness) makes this worse, scattering light and reducing contrast. Relying on ambient light is a recipe for failure.
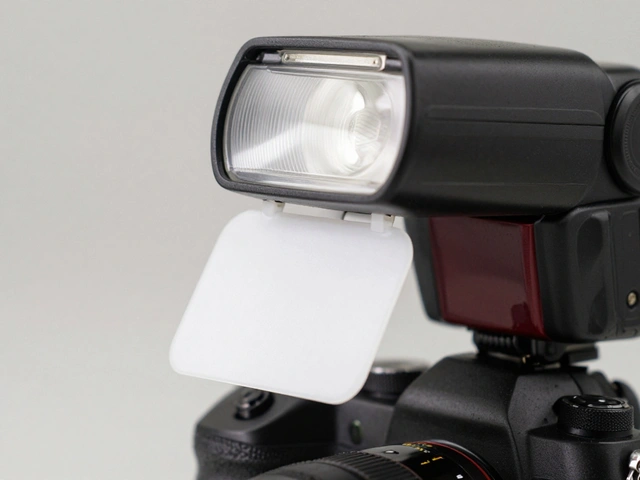
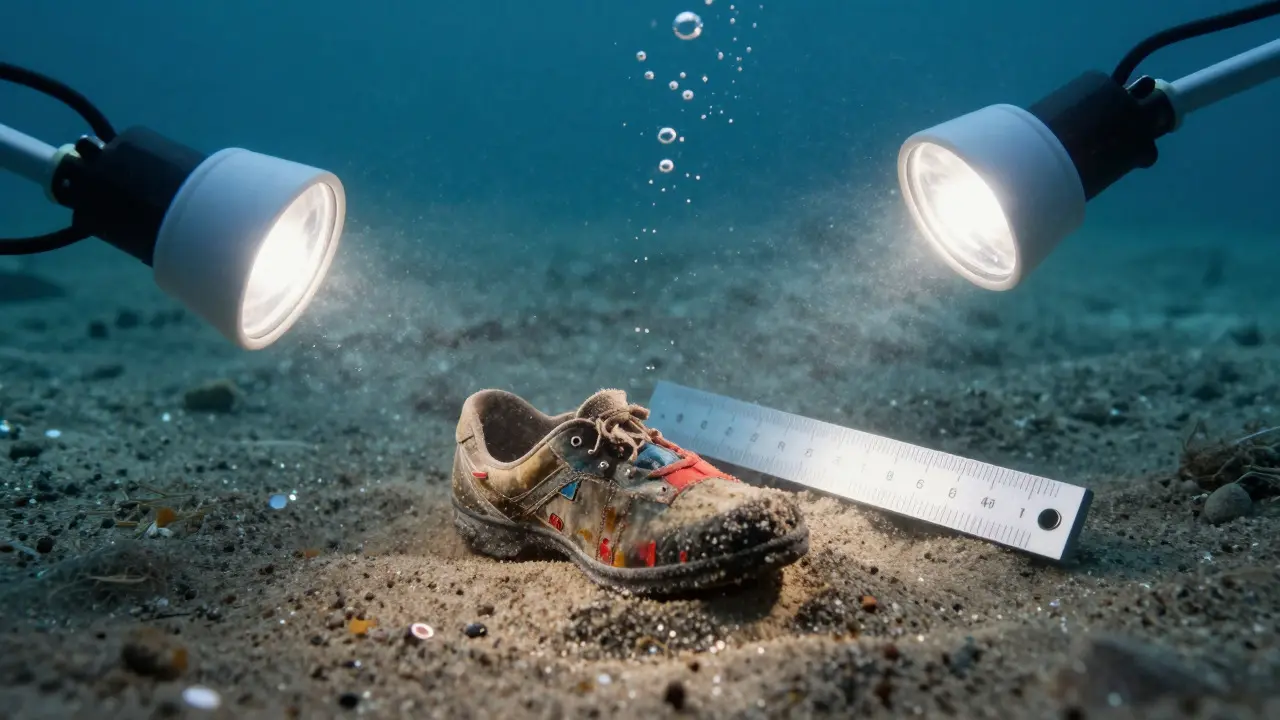
You need artificial lighting. Strobe lights are the industry standard for underwater forensics because they provide short, intense bursts of white light that freeze motion and restore color. Unlike continuous video lights, which can wash out details or cause heat buildup, strobes offer consistent output. When setting up your lighting, aim for a 45-degree angle relative to the subject to minimize shadows while maximizing texture visibility. If you’re shooting at night or in deep water, consider using a diffuser panel to soften the harshness of the strobe, ensuring that small details like tool marks on a weapon don’t get lost in glare.
Evidence Preservation Before Documentation
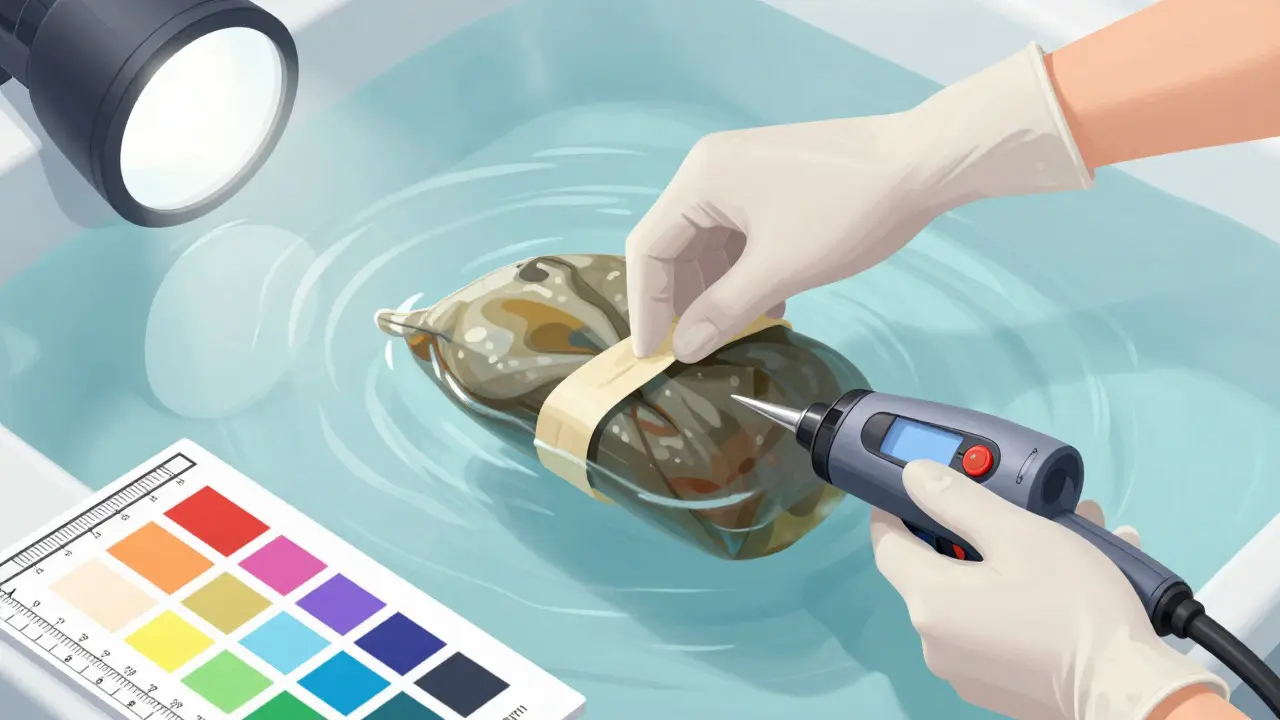
A common mistake is trying to photograph wet evidence in place without securing it first. Water can wash away DNA, dissolve powder residues, or displace loose particles. Before you even think about taking the final forensic photos, you must stabilize the scene.
- Remove large debris: Clear away leaves, silt, or rocks that obscure the evidence.
- Dry the area: Use absorbent cloths or gentle air streams (if safe) to dry the immediate vicinity of the object.
- Stabilize position: If the object is floating or moving, secure it with non-marking straps or nets.
- Apply markers: Place scale bars and color charts only after the surface is stable enough to hold them without slipping.
This sequence ensures that what you photograph is exactly what was found, minus the environmental interference. Skipping these steps means your photos might show a distorted or incomplete version of the evidence.
Lens Selection and Focal Length Strategy
There is no single "best" lens for underwater crime scenes. You need a strategy based on the distance to the subject. Wide-angle lenses (16-35mm equivalent) are essential for establishing context. They show where the body or vehicle lies in relation to the shoreline, other objects, and landmarks. Because wide angles exaggerate perspective, keep the camera parallel to the plane of the scene to avoid making near objects look disproportionately large.
For mid-range shots, a standard zoom (24-70mm equivalent) works well. It offers flexibility without extreme distortion. For close-ups, you need a macro capability. Many underwater housings come with a +10 diopter close-up lens. This allows you to get within a few inches of the subject without changing the housing’s working distance. Be aware that close-up lenses reduce your depth of field significantly. You may need to stop down your aperture (use a higher f-stop) to ensure the entire piece of evidence is in focus, but this will also dim the image, requiring more powerful strobes.
Scale References and Measurement Accuracy
In land-based forensics, you place a ruler next to the evidence. Underwater, this is trickier. A flexible tape measure can float away or bend, giving false readings. Instead, use rigid, calibrated scale bars designed for underwater use. These are often made of aluminum or stainless steel with high-contrast markings.
Place the scale bar perpendicular to the long axis of the object for optimal measurement readability. Ensure the scale bar is fully visible and not obscured by bubbles or shadows. If the object is three-dimensional, like a shoe or a bag, take photos from multiple angles (top, side, front) with the scale bar included in each frame. This allows investigators to reconstruct the object’s dimensions later if needed. Never assume that a photo taken from one angle provides complete dimensional data.
Common Pitfalls to Avoid
- Bubbles on the lens: Even a single bubble can ruin a shot. Rinse the dome port thoroughly before entering the water and check it frequently during the dive.
- Motion blur: Water currents move constantly. Use a fast shutter speed (1/125th or faster) and rely on strobes to freeze the action. Holding your breath helps steady your hands, but a monopod or support pole can help too.
- Ignoring the background: Cluttered backgrounds distract from the evidence. Try to position yourself so the background is clean or neutral. If possible, use a backdrop card to block distracting elements behind the subject.
- Overlooking metadata: Ensure your camera’s date/time settings are correct. Underwater, it’s easy to lose track of time, and accurate timestamps are crucial for chain of custody.
Comparison: Land vs. Underwater Photography Requirements
| Factor | Land-Based Scene | Underwater Scene |
|---|---|---|
| Light Source | Natural daylight or portable lamps | Artificial strobes required due to absorption |
| Optical Distortion | Minimal, unless using extreme wide angles | High due to refraction; dome ports needed for accuracy |
| Evidence Stability | Generally static | Subject to currents, floating, and sediment disturbance |
| Color Fidelity | Accurate with white balance | Requires correction for missing red/orange wavelengths |
| Scale Reference | Standard rulers/tape measures | Rigid, waterproof scale bars required |
Next Steps for Field Teams
Before your next underwater call, run a simulation. Fill a bathtub or pool with dirty water, add some gravel, and practice placing scale bars and adjusting strobes. Test your dome port for leaks and clarity. Verify that your camera’s memory cards have enough space for high-resolution RAW files, which are essential for post-processing color corrections. Finally, coordinate with the diving team to establish a communication protocol. You need to know when the current is calmest and when the best light angles are available. Preparation isn’t optional in underwater forensics; it’s the difference between admissible evidence and a case dismissed on technicalities.
Do I need a special camera for underwater crime scene photography?
You need a DSLR or mirrorless camera housed in a professional-grade underwater housing. Point-and-shoot cameras often lack the manual controls and dynamic range needed for forensic detail. The housing must be rated for the depth of the scene and compatible with your chosen lens system.
How deep can you effectively photograph evidence?
While technology allows shooting at great depths, practical limits depend on light availability and diver endurance. Beyond 30 meters (100 feet), natural light is negligible, and pressure affects equipment reliability. Most forensic dives occur in shallower waters, but deep-water photography requires robust strobe systems and specialized lighting rigs.
Can I use a GoPro for forensic documentation?
Action cameras like GoPros are useful for video overviews and quick snapshots, but they are generally insufficient for primary forensic evidence photos. They lack the resolution, manual control, and macro capabilities needed for detailed analysis. Use them as supplementary tools, not replacements for dedicated forensic setups.
What is the best way to handle wet fingerprints?
Wet fingerprints are extremely fragile. Avoid touching them. Document them in situ with oblique lighting to enhance ridge detail. If possible, lift them using specialized wet print lifting techniques developed by forensic labs. Photograph the lifting process to maintain chain of custody integrity.
How do I correct color casts in post-production?
Shoot in RAW format to retain maximum color information. In post-processing, use a color checker chart photographed at the scene to set a custom white balance. Then, adjust channels individually to restore reds and oranges lost to water absorption. Consistency across all photos in a series is critical for court presentation.