You have the authority to take prints. You have the subject in front of you. But if you rush this step, you risk getting a rejected transaction, a delayed background check, or worse-a match that fails in court because the ridge detail is smeared beyond recognition.
Fingerprinting known individuals isn't just about smearing ink on paper or waving hands over a scanner. It is a precise technical procedure governed by legal standards, equipment limitations, and human error. Whether you are booking an arrestee, processing a security clearance applicant, or running a civil background check, the goal remains the same: capture high-quality, reproducible friction ridge impressions that can be reliably searched against databases like the FBI's Next Generation Identification (NGI) system.
This guide breaks down exactly how to do it right, covering everything from legal prerequisites to the physical mechanics of rolling fingers and troubleshooting common errors.
Before You Start: Legal Authority and Identity Verification
Never touch a person’s biometrics without first confirming your legal standing. In criminal contexts, the Fourth Amendment protects against unreasonable searches, but Supreme Court precedents like Davis v. Mississippi (1969) establish that fingerprinting a properly seized person does not require a separate warrant. However, if you transport someone solely for fingerprinting without probable cause, you risk violating their rights under Hayes v. Florida (1985). For civil applicants-those seeking jobs, licenses, or security clearances-you must have written consent and statutory authorization. Always verify the specific statute or policy requiring the check before proceeding.
Once authority is established, verify identity. Ask for a valid government-issued photo ID, such as a driver’s license or passport. In federal security vetting managed by the Defense Counterintelligence and Security Agency (DCSA), you must also confirm the correct investigation case number. Misattributing prints to the wrong file is a critical error that can derail investigations or employment processes. Ensure the Originating Agency Identifier (ORI) number is correct; this code routes results to the right destination. If the ORI is wrong, the data goes nowhere.
Preparing the Subject: Hygiene and Hand Care
The quality of your print depends heavily on the condition of the subject’s skin. Sweat, oil, dirt, and excessive dryness are the enemies of clear ridge detail. Before any capture method, instruct the subject to wash their hands thoroughly with soap and water. Have them dry their hands completely-damp fingers will blur ink and confuse optical sensors.
- Avoid lotions immediately before printing: While moisturizers help dry skin, applying them right before an appointment creates a slippery surface that ruins impressions. Advise subjects to moisturize earlier in the day if needed.
- Check for injuries: Cuts, bandages, or recent burns can make certain fingers unprintable. Document these issues clearly so they don’t look like missing data later.
- Remove jewelry: Rings and bracelets can interfere with hand positioning and hygiene.
If a subject has extremely dry or cracked skin, ask them to wait a few minutes after washing to allow natural oils to replenish slightly, or use a specialized prep wipe designed for biometric capture. The goal is clean, dry, and pliable skin.
Inked Fingerprinting: The Traditional Method
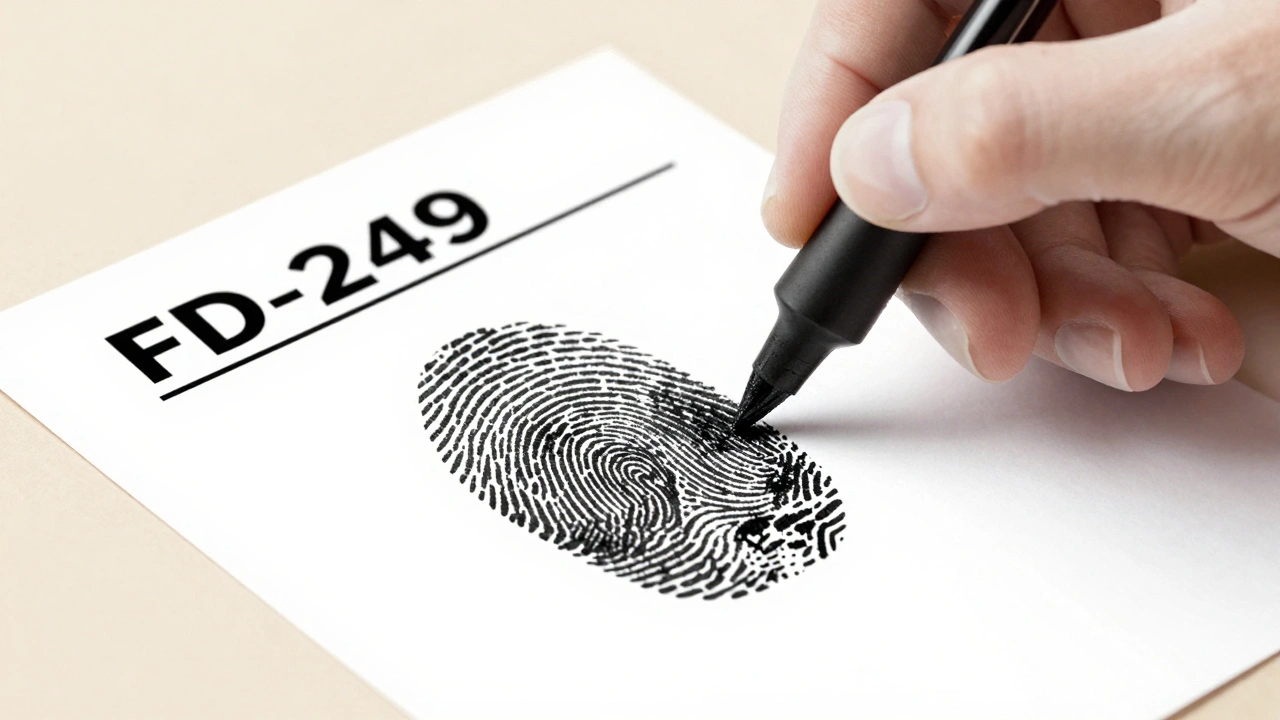
While electronic scanning is dominant, inked cards remain essential for remote areas, power outages, or specific legal requirements. The standard form is the FBI FD-249 (or older FD-258). This process requires precision to avoid the "smear" effect that renders prints useless.
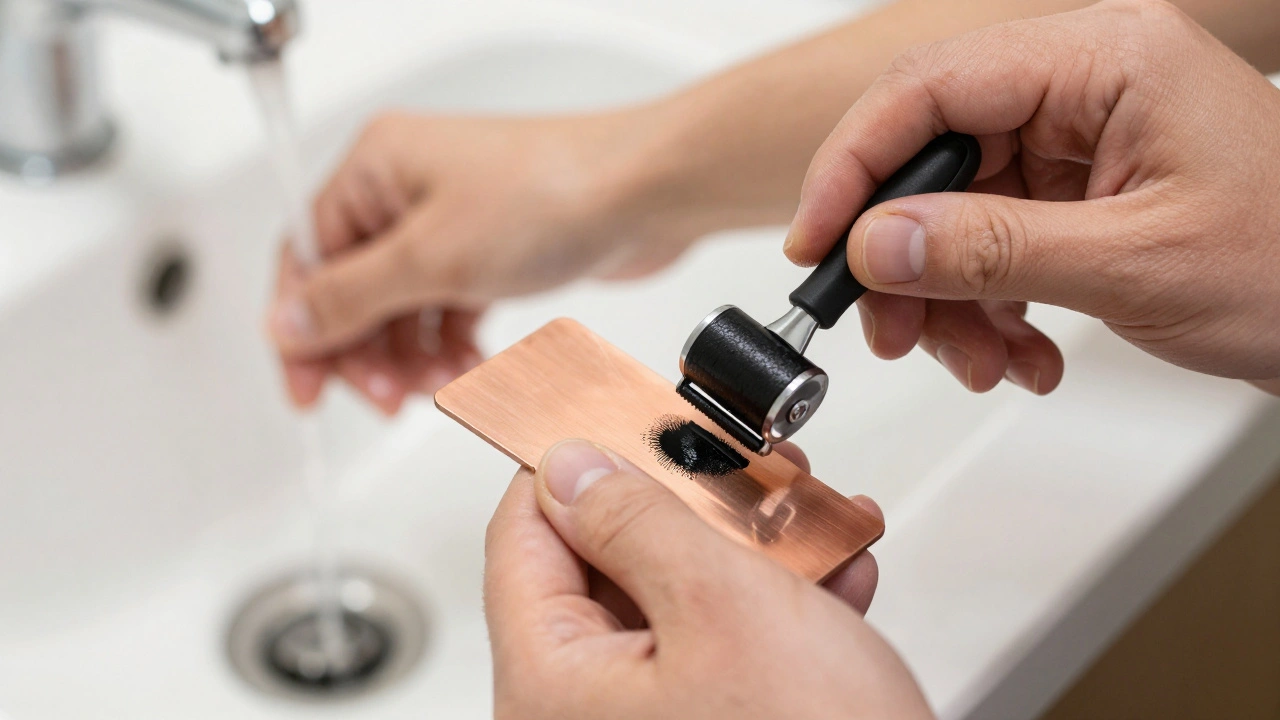
- Prepare the ink: Use a copper inking plate and roller. Apply several drops of high-quality black fingerprint ink to the plate. Roll the ink until it spreads evenly. The key indicator? The metallic background of the copper should just barely show through the ink layer. Too much ink causes blurring; too little misses ridge details.
- Test the roller: Roll on a piece of scrap paper. The impression should be dark but sharp, with no pooling of ink.
- Roll the fingers: Stand to the side of the subject. Hold their finger with two hands-one at the tip, one at the base. Roll from one side of the nail to the other in a single, smooth motion. Do not press down hard; let the weight of the finger do the work. Capture the entire friction ridge area from side to side.
- Sequence matters: Complete the right hand (thumb to little finger), then the left hand. Follow this with plain (slap) impressions: four fingers of each hand pressed flat simultaneously, then both thumbs together. This sequence allows examiners to verify which finger is which.
- Palm prints: Flip the card. Ink the palms, including the wrist area and the space between the thumb and index finger. Roll the palm onto the designated area using a dedicated roller to ensure full coverage.
Label the card immediately with the subject’s name, date of birth, ID numbers, and the operator’s name. An unlabeled card is often discarded by receiving agencies.
Electronic Live Scan: The Modern Standard
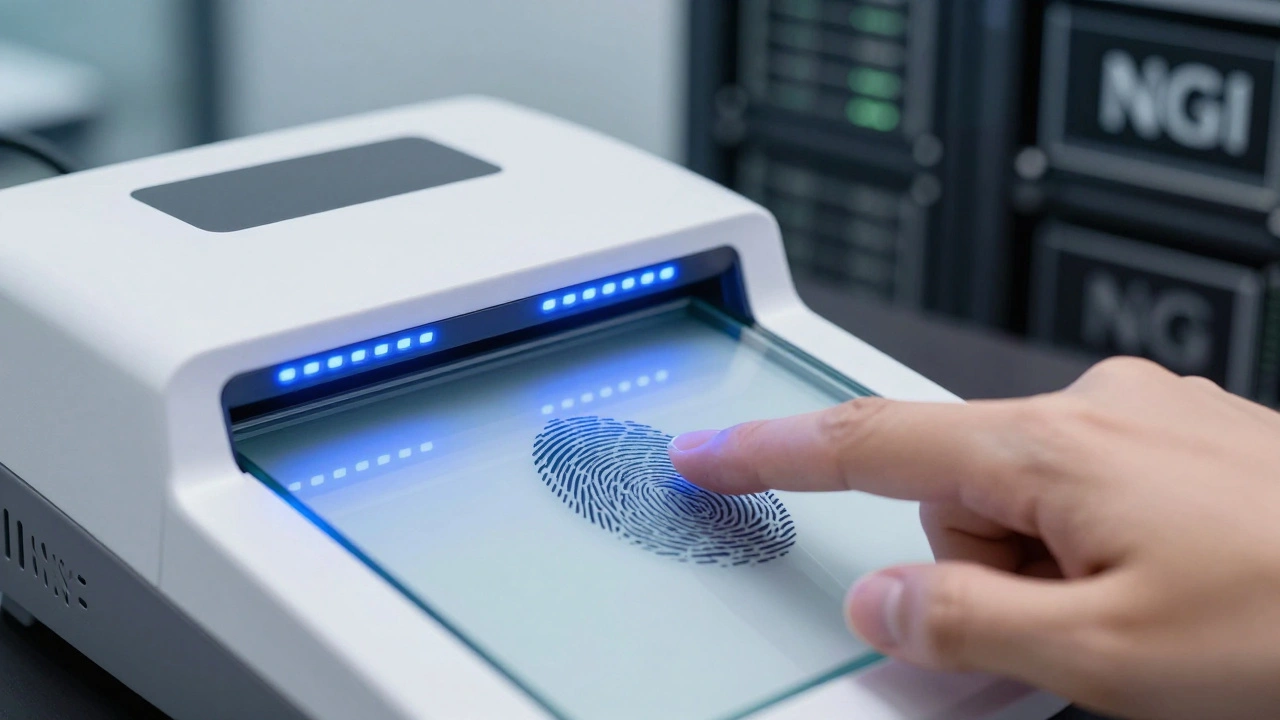
Live scan devices capture digital images directly, encrypting them for transmission to state repositories or the FBI. This method is faster and reduces manual errors, but it requires strict adherence to software prompts and hardware limits.
| Feature | Inked Card (FD-249) | Electronic Live Scan |
|---|---|---|
| Equipment Cost | Low (ink, plates, cards) | High (scanner, network, software) |
| Processing Time | Days to weeks (mailing/scanning required) | 24-72 hours (electronic transmission) |
| Quality Control | Visual inspection by operator | Automated software feedback + visual review |
| Common Errors | Excess ink, uneven rolling | Pressure issues, movement, sensor dirt |
| Best For | Remote locations, low-tech environments | Civil checks, federal vetting, high-volume centers |
To perform a live scan correctly:
- Log in securely: Enter your credentials and the subject’s demographic data into the device. Double-check the ORI number and routing codes.
- Position the subject: Have them sit comfortably with elbows supported. Tension in the arms leads to shaky hands and blurred images.
- Follow the prompts: Most systems guide you through rolled impressions (right thumb to left little finger) followed by flat slaps. Place the finger on the glass platen only when instructed.
- Control pressure: This is the most common mistake. Too much pressure squashes the ridges; too little leaves gaps. Guide the subject to apply gentle, firm contact. Watch the screen for real-time quality indicators.
- Review immediately: Do not assume the machine knows best. Look at each image. Is it focused? Are the edges cut off? If the software flags a poor quality score, re-capture that finger immediately. Do not submit a batch with known defects.
Once all ten fingers and palms are captured and verified, the system encrypts and transmits the data. You should receive a confirmation receipt with a transaction ID. Keep this for your records.
Troubleshooting Common Rejections
Even experienced operators face rejections. Knowing why helps you fix the problem on the spot.
- Smudged Images: Usually caused by sweat or excess ink. Solution: Wipe the finger with a dry cloth or alcohol pad, wait for it to dry, and re-scan.
- Broken Ridges: Often due to insufficient pressure or moving during capture. Solution: Coach the subject to keep their hand still and apply consistent downward force.
- Dark/Light Images: Sensor calibration issues or dirty glass. Solution: Clean the platen with a microfiber cloth and adjust exposure settings if the device allows.
- Missing Corners: Incorrect finger placement. Solution: Ensure the finger covers the entire sensor area, extending past the edges if necessary.
If a subject has permanent conditions like amputations or severe scarring, document these clearly in the system using reason codes. Do not attempt to fake complete prints; instead, note the limitation and proceed with available digits.
Data Submission and Privacy Rights
Your job doesn’t end when the prints are sent. Proper procedure includes ensuring secure transmission and respecting privacy laws. Under regulations like the GDPR in Europe or state-level biometric privacy acts in the U.S., you must handle this sensitive data responsibly.
For civil checks, inform the subject of their right to challenge inaccurate records. If a background check returns a false positive, they need to know how to contact the relevant repository to correct it. Agencies must restrict access to stored fingerprint files, encrypt data in transit and at rest, and follow retention schedules. Never reuse prints outside their authorized purpose-for example, using prints taken for a job application for unrelated law enforcement inquiries without proper legal basis.
How long does live scan fingerprinting take?
The actual capture process typically takes 10 to 15 minutes per person. However, the time to receive results varies by jurisdiction. State-level checks may return within 24 hours, while FBI background checks often take 3 to 5 business days, though some expedited services report turnaround times of 24 to 72 hours.
Can I use lotion before getting my fingerprints taken?
It is recommended to avoid applying lotion immediately before your appointment. Lotion creates a barrier that prevents clear ridge detail. If you have very dry skin, moisturize earlier in the day and wash your hands thoroughly right before the scan to remove residue.
What happens if my fingerprints are rejected?
If prints are rejected due to poor quality, you will need to be reprinted. This delays the process and may incur additional fees. To avoid this, ensure your hands are clean and dry, and follow the operator’s instructions carefully regarding pressure and positioning.
Is inked fingerprinting still used?
Yes, inked fingerprinting is still used, particularly in rural areas, during power outages, or for specific international travel documents. However, live scan is the preferred method for most domestic criminal and civil background checks due to speed and accuracy.
Do I need a lawyer to get fingerprinted?
No. Fingerprinting is an administrative or investigative procedure. For criminal arrests, it is done by law enforcement. For civil purposes, you can go to authorized collection sites, which include private vendors, police stations, or government offices. No legal representation is required for the act of fingerprinting itself.