When a crime scene is wet-whether from rain, blood, or a flooded room-the evidence doesn’t just sit there waiting to be collected. It’s already changing. Moisture turns blood into a breeding ground for bacteria. Soil clumps and washes away. Hair and fibers slip loose. And if you don’t act fast, the smallest clue could vanish before it even reaches the lab.
Same thing happens in a burned scene. Fire doesn’t just destroy-it transforms. DNA breaks down. Ash buries fibers. Metal melts and shifts. What looks like a charred mess to an untrained eye is actually a complex puzzle where every speck of residue matters. But here’s the hard truth: most crime scene guides focus on wet evidence. Few talk about what happens when fire and water collide. And that gap costs cases.
Why Moisture Destroys Evidence
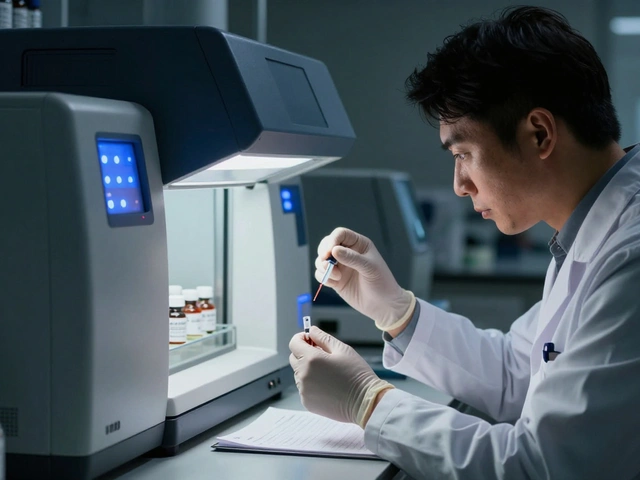
Think about a bloodstain on a shirt. It looks clear. But under a microscope, it’s full of cells, proteins, and DNA. Now add moisture. Bacteria start feeding on it. Within hours, those cells break apart. The DNA degrades. By the time it gets to the lab, there’s nothing left to test. That’s not theory. It’s what happened in thousands of cases before proper protocols were adopted.
One case that changed everything was Ronald Cotton. He spent 11 years in prison for rape because the semen sample from the crime scene was never properly dried. When it was finally retested years later-after being stored in a sealed plastic bag-the DNA had degraded so badly, it nearly missed the match. But because a small portion had been air-dried and stored correctly, they found the real perpetrator. That one decision saved a man’s life.
The rule is simple: wet evidence must never sit in plastic or sealed containers for more than two hours. Plastic traps moisture. Paper doesn’t breathe. Both lead to mold, rot, and contamination. The only safe option? Get it to a drying chamber fast.
Drying Chambers: The Invisible Shield
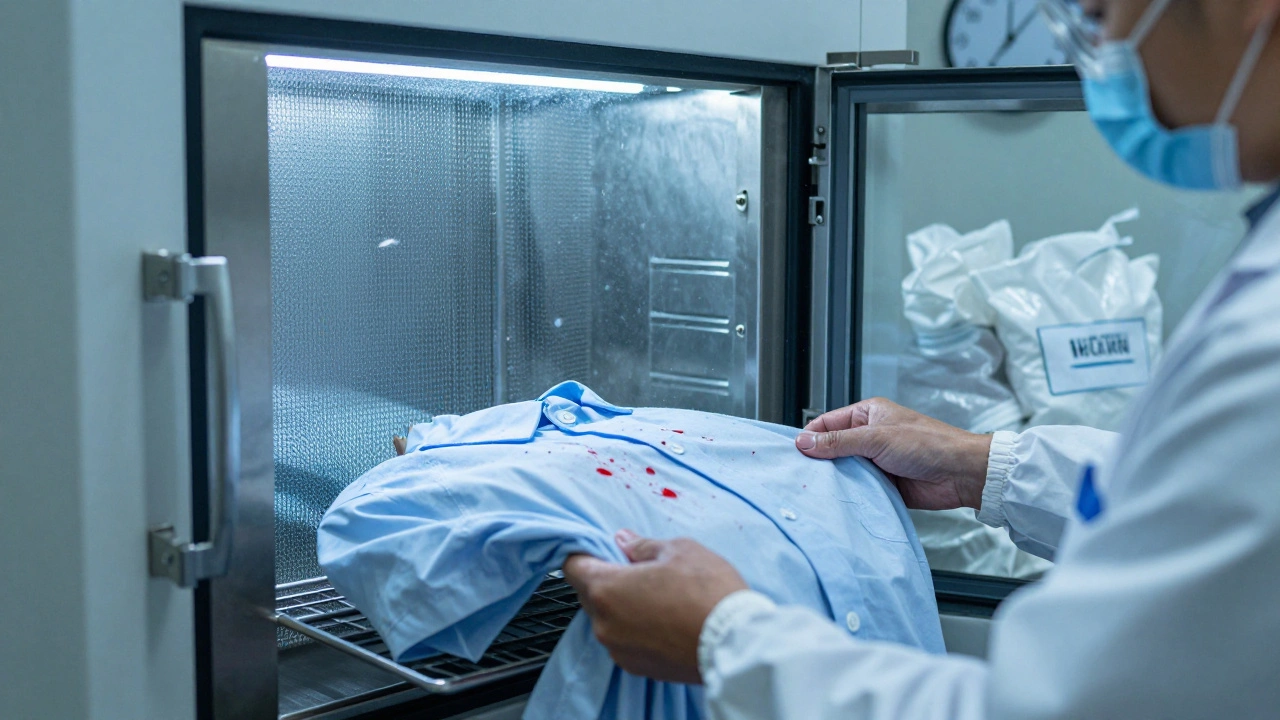
Modern forensic labs use drying chambers that look like walk-in closets made of steel. But inside, they’re precision machines. The first layer is a powder-coated door that seals out outside air. The second is a Trace Evidence Filter-fine enough to catch hair, fibers, and microscopic particles that might fly loose during drying.
Here’s the kicker: that filter gets changed after every single case. Not because it’s dirty. Because it’s evidence. That filter might hold the only remaining trace of a suspect’s glove fiber, or a piece of carpet from the crime scene. Labs keep those filters in sealed bags, labeled, and logged. Later, if a defense attorney questions the chain of custody, they can pull that filter and prove nothing was lost.
And it’s not just for blood. Wet clothing, shoes, even wet paper documents go in here. A soaked letter from a suspect? Don’t try to open it. Don’t flatten it. Just put the whole thing in the chamber. The air flow dries it slowly, without tearing the paper or washing away ink.
What to Do With Wet Soil
Soil is one of the most overlooked types of trace evidence. But it’s also one of the most telling. Different soils have unique mineral mixes. A patch of red clay from a driveway. A mix of sand and organic matter from a riverbank. These can link a suspect to a location.
But if you collect wet soil, mold grows. Organic material breaks down. The soil’s chemical signature changes. That’s why every SOP-from San Bernardino to Portland-says the same thing: dry it before you bag it.
How? Use a clean, labeled plastic container with a tight lid. Don’t pack it full. One to eight ounces per sample is enough. Label it with the exact location: “Left front tire well, 2 feet from curb.” Take photos before you move it. If you can’t dry it on scene, keep it cool. Never freeze soil. That alters its structure. Just refrigerate it. Get it to the lab within 24 hours.
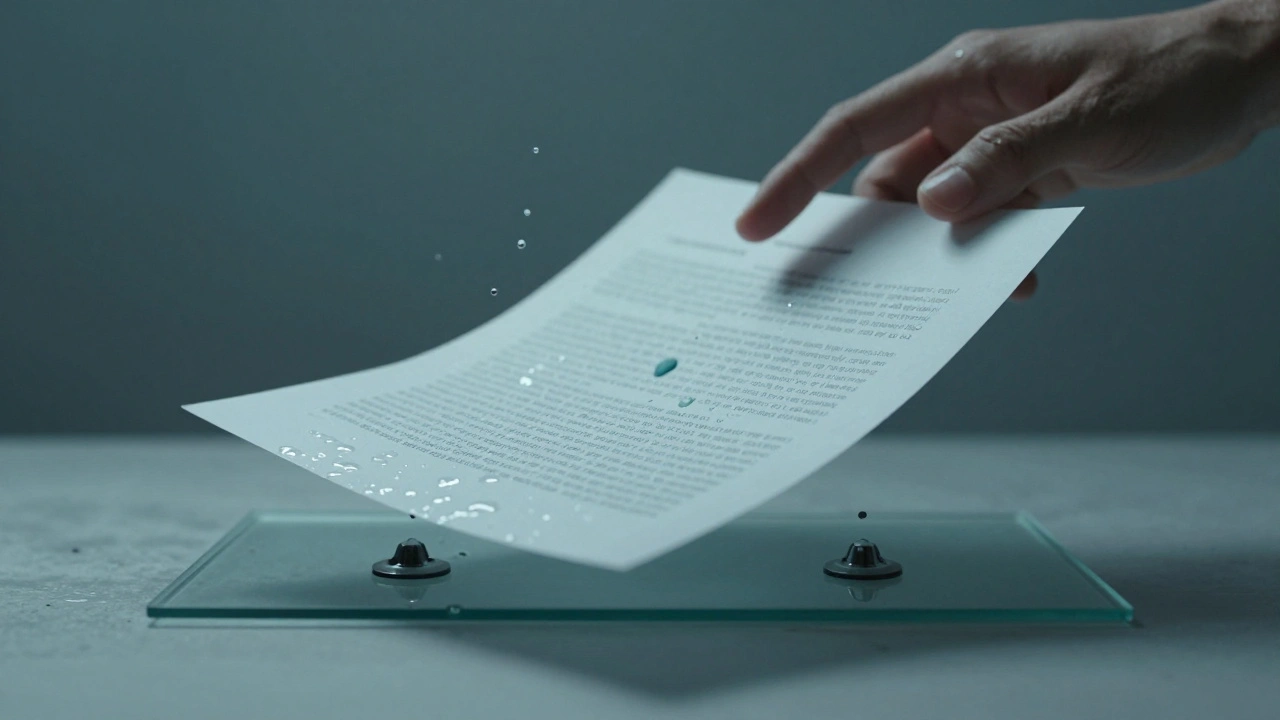
Documents in Water: Don’t Touch Them
Wet documents are fragile. Ink runs. Paper tears. Pages stick together. And if you try to peel them apart, you lose fingerprints, handwriting layers, even embedded fibers.
The NIST 2022-N-0035 standard says this: Photograph the document in place. Do not move it until you’ve documented its position. Never attempt to separate or flatten it at the scene.
What you do next depends on the material. If it’s a printed letter, you might slide it into a plastic sleeve and freeze it-yes, freeze-to stop ink bleeding. If it’s handwritten, you might use a vacuum suction device to lift it gently onto a glass slide. The lab will use infrared imaging to recover faded ink. But none of that works if you ruin the document before it gets there.
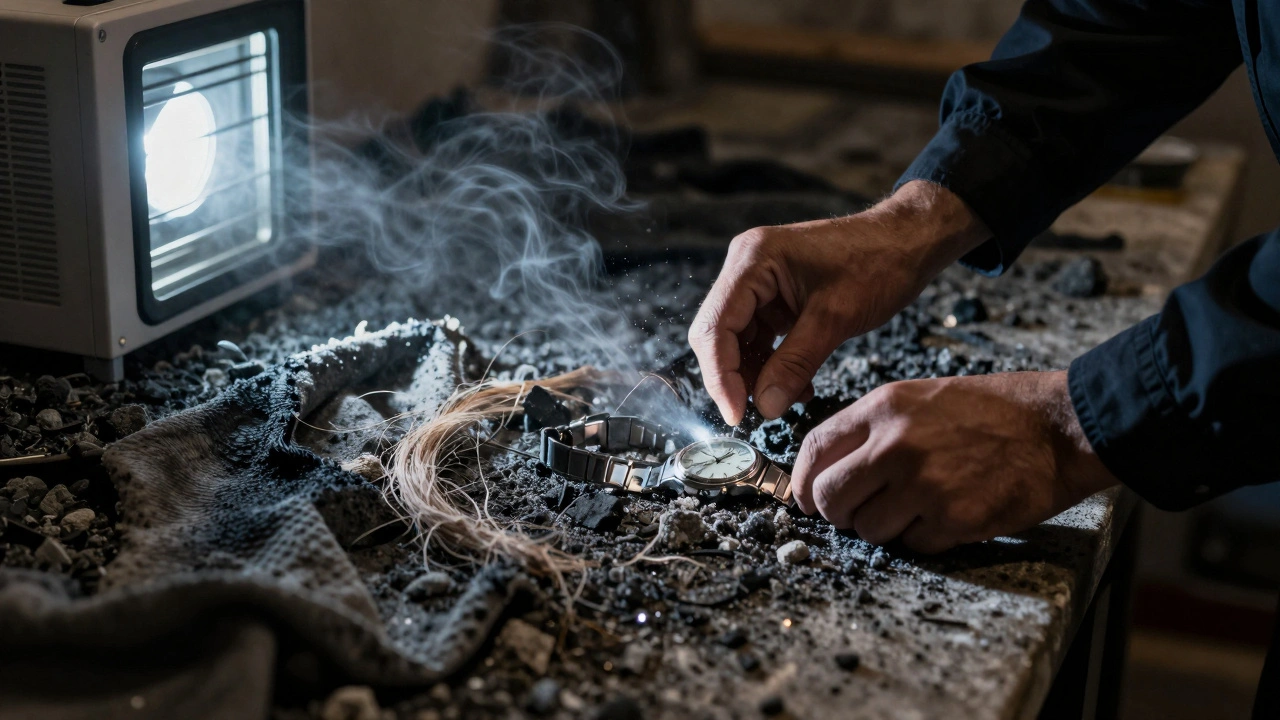
Burned Scenes: The Missing Manual
Here’s where most guides stop. They talk about wet evidence. They don’t talk about fire.
In a burned scene, DNA doesn’t just degrade-it vaporizes. A drop of blood on a floorboard? If the fire hit 400°F, the DNA is gone. But not all of it. Sometimes, the edges of the burn preserve tiny fragments. That’s why investigators don’t just sweep ash. They scrape it in layers. They collect ash from under nails. From under fingernails. From inside a melted watch.
And what about clothing? A shirt that was on a victim? It might look like charcoal. But under a microscope, you can still find fibers from the suspect’s carpet. Or a single strand of synthetic hair from a wig. These don’t burn. They char. And they stick.
The key is temperature. If you try to dry burned items in a standard drying chamber, the residual heat can trigger chemical reactions. That’s why some labs use cold drying units-chambers that maintain 40°F while circulating air. Slow, controlled, and safe.
Collection Rules That Save Cases
Here’s the checklist that separates good evidence from lost evidence:
- Never package wet items together. Blood-soaked shirt? Separate from the shoe with the soil. Each goes in its own container.
- Use paper bags for drying. Only if the item will be dried within two hours. Otherwise, use plastic for transport, then air-dry immediately.
- For dried stains, use fingerprint tape or thread lifts. Don’t scrape unless you have to. Tape preserves the pattern better.
- Freeze biological samples with root sheaths. Hair with follicles? Freeze it. Don’t air-dry. The root contains DNA.
- Always photograph before moving. Even if it’s a puddle. The shape, the depth, the reflection-it all matters.
- Label everything with location, time, collector initials. No exceptions. One missing label can throw out a whole case.
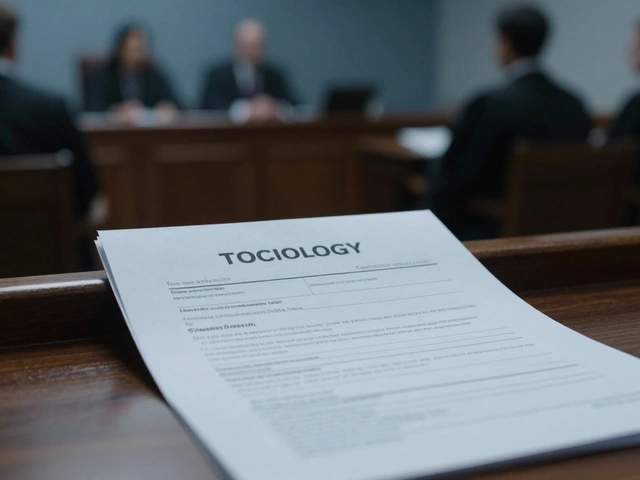
What Happens When You Skip the Steps
There’s a reason this matters. In 2023, a homicide case in Oregon was dropped because the victim’s jacket was sealed in a plastic bag for 36 hours. Mold grew. The fibers fused. The lab couldn’t tell if the foreign hair came from the suspect or from the bag itself. The case collapsed.
Another case in Texas had a shoe print in wet mud. The officer tried to dry it with a hairdryer. The heat warped the impression. The lab couldn’t match it to any suspect’s shoe. The killer walked.
These aren’t rare mistakes. They’re routine. And they happen because people assume evidence is static. It’s not. It’s alive. It decays. It shifts. It disappears.
Final Rule: Treat Every Particle Like a Witness
A single fiber. A speck of paint. A drop of sweat. These aren’t just clues. They’re the only voices left from a crime scene. If you handle them carelessly, you silence them forever.
The science is clear. The protocols are proven. The consequences of failure are irreversible. Whether it’s rain-soaked evidence or a charred room, the rules don’t change: preserve fast, dry right, separate everything, and never assume.
Because in forensics, the smallest thing you miss is the one that might have set the innocent free-or locked the guilty away.
Can wet evidence be stored in plastic bags long-term?
No. Wet evidence should never be stored long-term in plastic. Plastic traps moisture, leading to mold, bacterial growth, and DNA degradation. Wet items must be air-dried first-usually in a controlled drying chamber-before being repackaged in paper bags for long-term storage.
How long do you have to dry wet evidence before it’s ruined?
You have a two-hour window from the time evidence is collected to the time it’s dried. After that, microbial activity begins to destroy biological material. Even if the evidence looks fine, DNA and protein structures can degrade beyond recovery. That’s why rapid transport to a drying chamber is critical.
Should burned evidence be dried the same way as wet evidence?
No. Burned evidence often contains residual heat and unstable chemical compounds. Standard drying chambers can trigger further degradation. Instead, cold drying units-maintained at around 40°F-are used to slowly remove moisture without triggering chemical reactions. This preserves fragile trace materials like charred fibers or ash-embedded DNA fragments.
Why are soil samples dried before packaging?
Wet soil encourages mold growth and decomposition of organic material, which alters its chemical and mineral composition. This can make it impossible to match the sample to a specific location. Drying soil before packaging preserves its unique signature, allowing forensic geologists to compare it accurately to reference samples from suspect locations.
Can you freeze wet documents to preserve them?
Yes-but only if the document is already wet and at risk of ink running or paper disintegration. Freezing halts degradation and prevents further damage. However, documents should never be frozen if they’re still dry. Once frozen, they must be transported and handled with extreme care to avoid cracking or tearing upon thawing. Always photograph before freezing.
What’s the biggest mistake in trace evidence collection?
The biggest mistake is combining multiple items in one container. A blood-soaked shirt and a pair of shoes with soil don’t belong together. Cross-contamination can make evidence useless in court. Each item, no matter how small, must be packaged separately with clear labeling. One mistake like this can destroy an entire case.