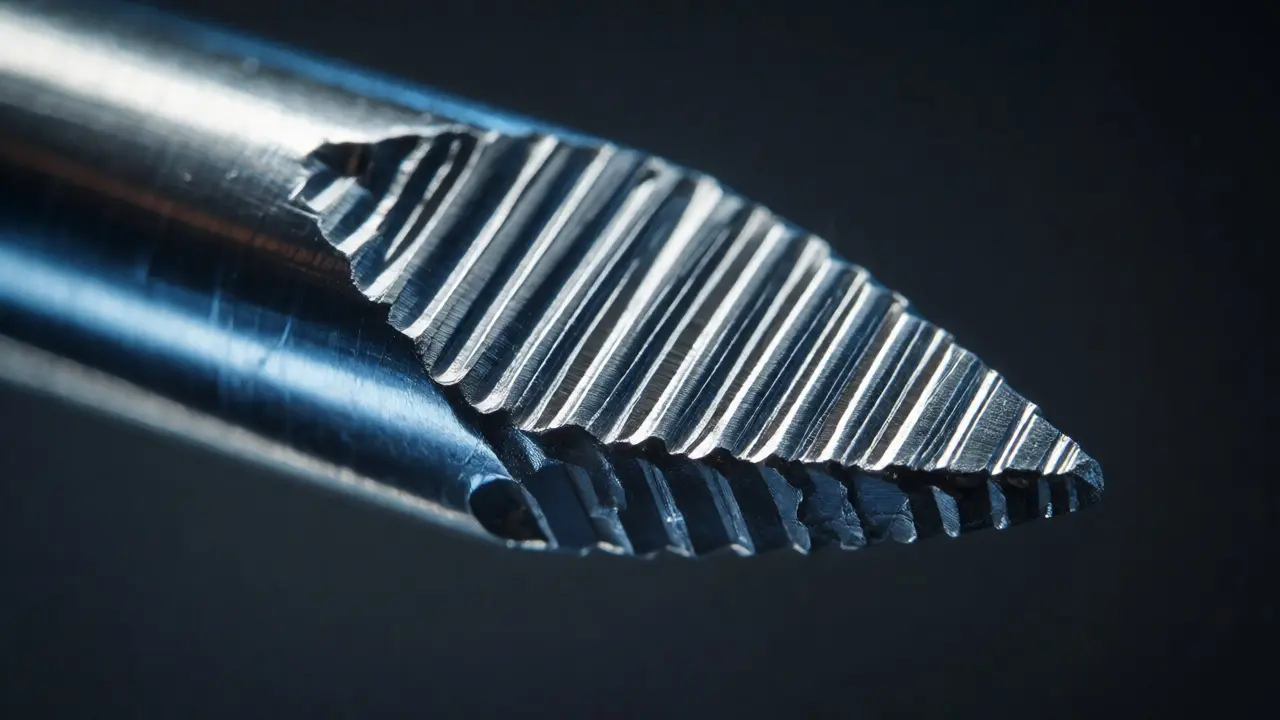
You spent hours photographing those microscopic scratches on a screwdriver tip. You documented every ridge and valley with high-magnification imaging. Then you tossed it into a plastic bag for the drive to the lab. Big mistake. That simple act might have erased the very data that identifies your suspect.
Toolmark evidence is fragile. Unlike DNA, which can survive some rough handling, striations are physical deformities on metal surfaces created by contact between two harder objects. They don't regenerate. Once a scratch is smoothed over or contaminated with dust, it's gone forever. The journey from crime scene to laboratory bench is where most toolmarks die. Let’s fix that.
Why Standard Packaging Fails Toolmarks
Most investigators default to paper bags or plastic envelopes because they’re convenient. For biological samples, this works fine. For toolmarks? It’s a disaster waiting to happen. When you place a screwdriver or a pry bar into a standard container, it shifts during transport. Every bump in the road causes metal-on-metal contact. If another tool is in the same box, you’ve just created new, random striations that confuse the analysis.
Consider the physics. A typical steel tool has a surface hardness ranging from 40 to 60 HRC (Rockwell Hardness Scale). Dust particles, particularly quartz-based grit found in soil, often exceed 70 on the Mohs scale. This means ordinary dirt acts like sandpaper against your evidence. If you don’t isolate the mark-bearing surface, environmental debris will abrade the delicate topography before an examiner ever sees it under the comparison microscope.
The Golden Rule: Isolate and Immobilize
Your primary goal in transit is to prevent relative motion between the toolmark surface and any other object. This requires two steps: isolation and immobilization.
Isolation means keeping the marked area away from everything else. You cannot simply lay a wrench flat in a tray. You need to suspend the tool so the working end doesn’t touch anything. Use inert materials that won’t react with the metal or leave residues. Acid-free tissue paper is common, but it can shed fibers. For critical cases, use clean, lint-free cotton cloth or specialized foam pads designed for firearms and tool storage.
Immobilization ensures the tool doesn’t slide around inside its container. If the tool moves, friction occurs. Friction creates marks. You want the only marks on the tool to be the ones made at the crime scene. Secure the handle firmly. The business end-the part with the striations-should float freely or rest on a non-abrasive cushion that supports the entire length without pressure points.
Selecting the Right Container Materials
Not all packaging is created equal. Here is what you should use and what you must avoid when preparing toolmark evidence for shipment.
| Material | Pros | Cons | Best For |
|---|---|---|---|
| Acid-Free Tissue Paper | Inexpensive, widely available, prevents oxidation. | Sheds fibers, tears easily, offers little cushioning. | Short-term storage, wrapping handles. |
| Polyethylene Foam | Excellent shock absorption, chemically inert, customizable cuts. | Bulky, requires specific sizing, static charge risk. | Long-distance shipping, fragile tools. |
| Rigid Plastic Cases | Durable, stackable, protects against crushing. | Hard interior surfaces cause damage if not padded. | Transporting multiple tools in one kit. |
| Styrofoam Blocks | Lightweight, easy to carve custom slots. | Brittle, sheds beads, poor long-term stability. | Immediate field stabilization. |
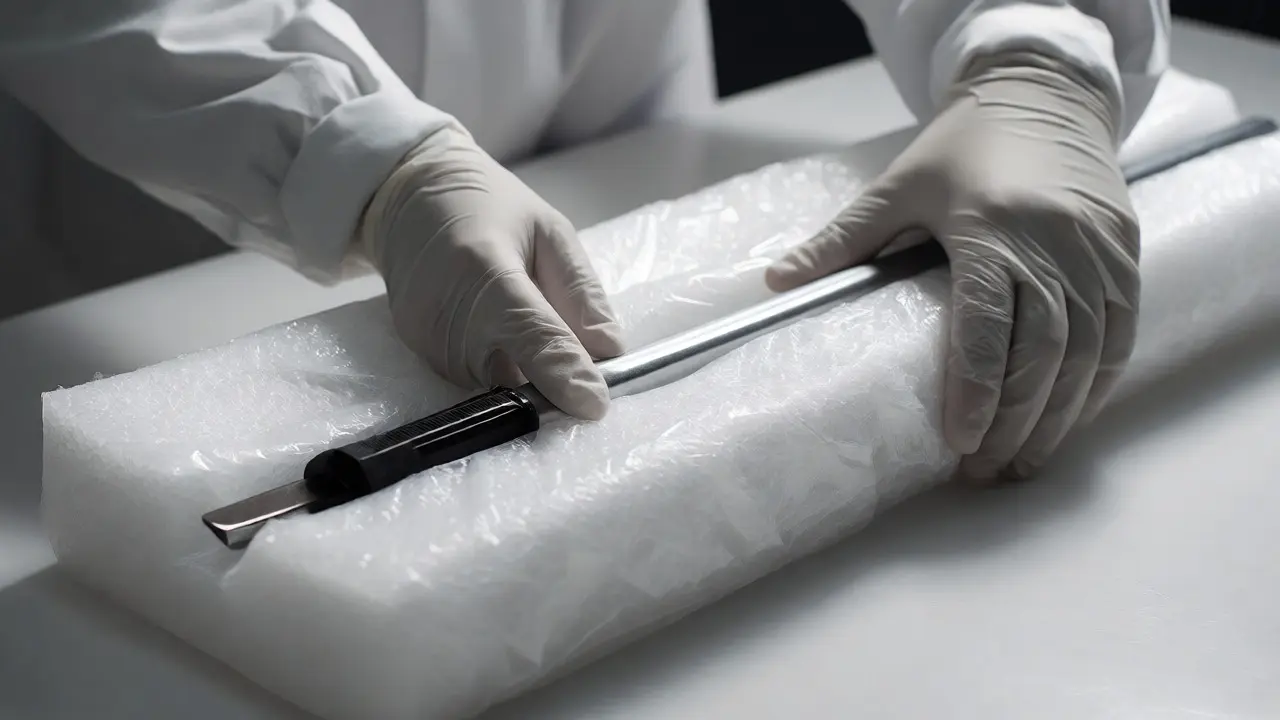
Notice the pattern? Soft, inert materials protect the surface; rigid structures protect the shape. You usually need both. Wrap the tool in polyethylene foam, then place it in a rigid case. Never wrap a wet tool in foam directly; moisture promotes rust, which pits the surface and obscures striations. Dry the tool first using compressed air or allow it to air dry completely.
Handling Contaminants Before Packing
Before you pack, look closely at the tool. Is there mud? Blood? Grease? These contaminants obscure striations. But do not scrub them off. Scrubbing introduces artificial marks. Instead, let liquid contaminants dry naturally if possible. For solid debris like dried mud, use a soft-bristled brush to gently remove loose particles. Do not dig into the grooves. If the tool is heavily corroded, document this state thoroughly with photos before packing. Corrosion changes the topography, and examiners need to know if a lack of clarity is due to transport damage or pre-existing decay.
One common error is cleaning the tool to make it "look better" for the lab. Resist this urge. Cleaning removes trace evidence-microscopic fragments of the victim material (like paint chips or wood splinters) lodged in the striations. Those fragments provide corroboration. Keep the tool exactly as found, minus loose dirt that threatens to grind into the metal.
Documentation and Chain of Custody Integrity
Packaging is physical protection; documentation is legal protection. Your notes must reflect the condition of the toolmark before it enters the package. Write down the orientation. Which side had the visible marks? How did you position it in the foam? Attach a small label to the outside of the container indicating "FRAGILE SURFACE." This alerts handlers to treat the box with care.
When transferring custody, ensure the seal remains intact. If you must open the package later, note the time and who opened it. Any change in the environment-temperature swings, humidity spikes-can affect certain metals. Aluminum, for instance, oxidizes quickly in humid conditions, creating a white powder that fills in striations. In Portland’s damp climate, consider adding a desiccant packet to the sealed container to control moisture levels during transit.
Shipping Considerations for Long Distances
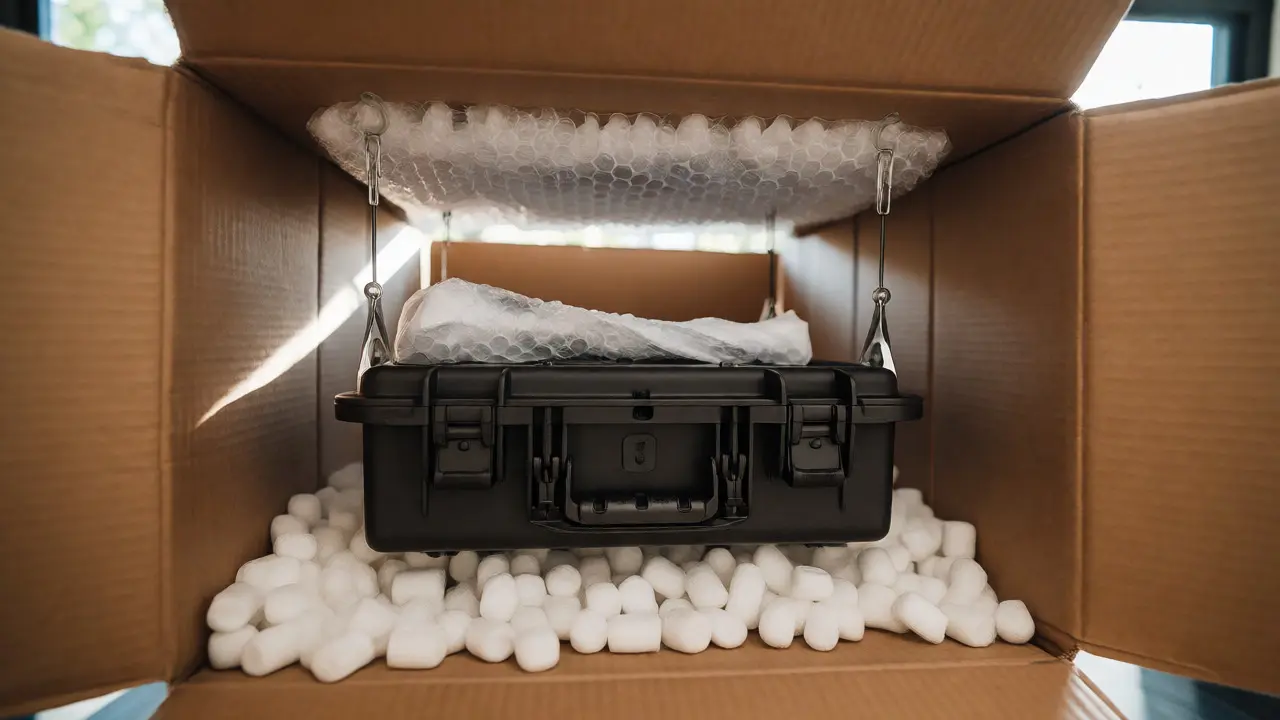
If the evidence is traveling more than a few miles, vibration becomes a major enemy. Trucks vibrate. Planes vibrate. Even walking across a gravel lot vibrates your hands. To mitigate this, use double-boxing. Place the inner container holding the wrapped tool inside a larger box filled with packing peanuts or bubble wrap. Ensure the inner box does not touch the walls of the outer box. This creates a suspension system that absorbs shocks from drops or sudden stops.
Avoid using newspaper or loose cardboard scraps as filler. Ink can transfer onto the tool, and cardboard edges can cut through thin foam. Stick to professional archival-quality materials. It costs pennies per tool but saves the integrity of a multi-million dollar investigation.
Common Pitfalls to Avoid
- Stacking Tools: Never put two tools in the same bag unless separated by thick, rigid dividers. Metal-to-metal contact is the fastest way to destroy evidence.
- Using Tape Directly on Marks: Adhesive residue can fill striations. If you must tape, apply it to the handle, far from the working end.
- Ignoring Temperature: Extreme heat can soften certain plastics used in packaging, causing them to stick to the tool. Extreme cold makes foams brittle. Store in moderate conditions.
- Assuming "Clean" Means "Safe": A visibly clean tool may still harbor microscopic abrasive particles. Always assume contamination until proven otherwise.
Protecting striation surfaces isn’t about fancy equipment. It’s about mindfulness. Treat the tool like a witness who needs protection from intimidation. If you keep the surface untouched, unscratched, and uncontaminated, the examiner can read the story written in the metal. If you fail, that story ends before it begins.
Can I wash a tool before packaging it?
Generally, no. Washing can remove trace evidence lodged in the striations, such as paint chips or glass fragments. It also risks introducing new abrasions if scrubbed. Only wash if the tool is covered in substances that actively degrade the metal (like strong acids), and document the action extensively.
What is the best material to wrap a screwdriver for transit?
Polyethylene foam is ideal because it is chemically inert and provides cushioning. Acid-free tissue paper is acceptable for short distances but offers minimal protection against impact. Avoid cotton wool, as fibers can get stuck in the grooves.
Does humidity affect toolmark evidence?
Yes. High humidity accelerates corrosion and oxidation, particularly on iron and aluminum tools. Rust formation can fill in shallow striations, making them indistinguishable. Using desiccants in sealed containers helps maintain a stable environment.
How do I package a large crowbar?
Wrap the striking end in multiple layers of polyethylene foam. Secure it with tape on the shaft, away from the head. Place it in a rigid wooden crate or heavy-duty plastic tube. Ensure it cannot slide longitudinally by using foam blocks at both ends of the crate.
Why shouldn't I use regular plastic bags?
Regular plastic bags trap moisture, leading to condensation and rust. They also offer no structural support, allowing the tool to bang against itself or other items in the evidence locker. This movement creates new, confusing striations.