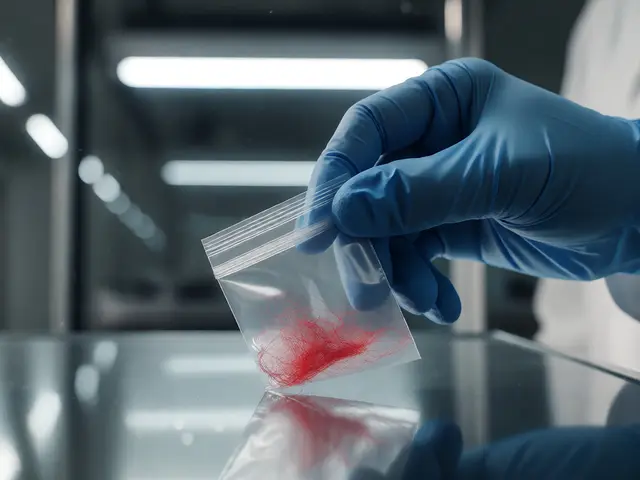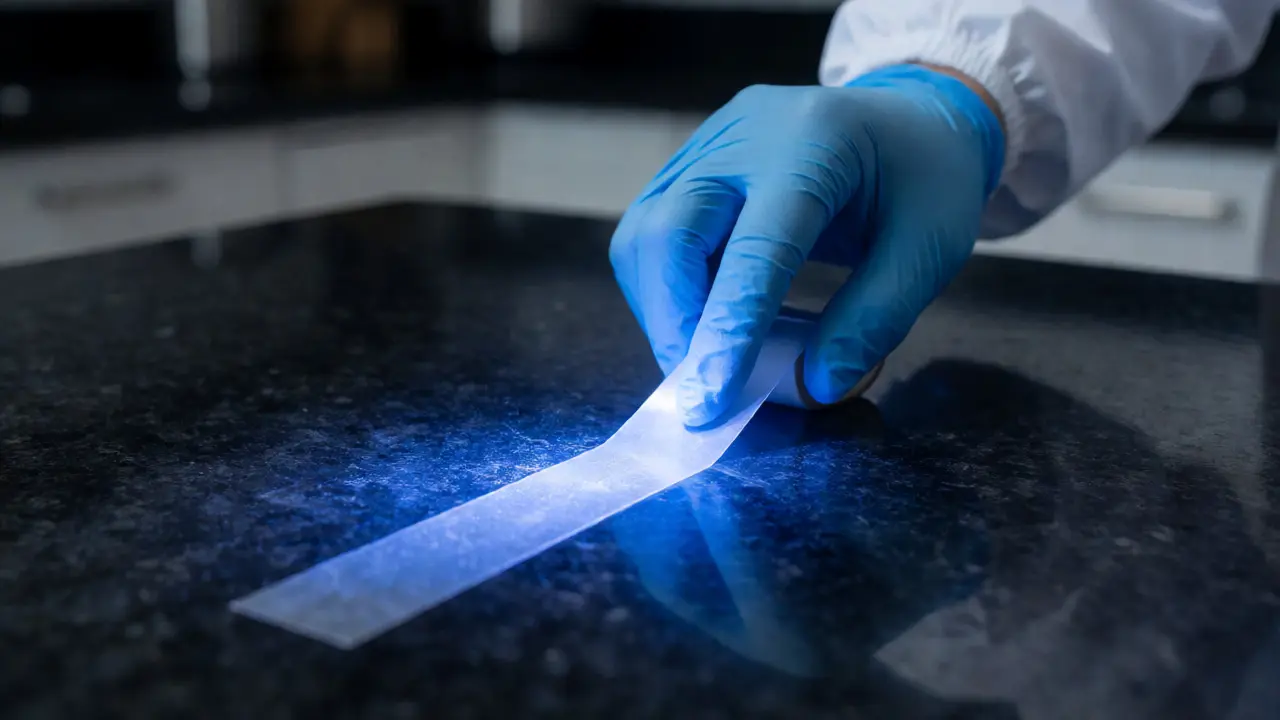
You walk into a room. It looks clean. But under the right light, that countertop is screaming with information. Fibers from a suspect's jacket. Microscopic soil particles from their shoe tread. The invisible fingerprint of a struggle. How do you get those tiny clues off the surface and into a lab without losing them forever? You use tape.
Tape lifting is a standard forensic technique used to collect trace evidence, such as fibers, hair, glass fragments, and dust, from smooth or semi-smooth surfaces. It’s simple in concept but requires precision in execution. If you pull too hard, you crush the evidence. If you don’t press enough, you miss it entirely. This guide breaks down exactly how to do it right, what tools you need, and where most beginners go wrong.
Why Tape Works When Vacuuming Fails
Think about trying to pick up a single grain of sand from a rough concrete floor with tweezers. Nearly impossible. Now try vacuuming it. You might suck it up, but you’ll also suck up ten thousand other grains, making analysis a nightmare. Tape solves this by sticking specifically to loose particles on relatively flat surfaces.
The magic lies in the adhesive. Unlike generic packing tape, forensic lifting tape uses a pressure-sensitive adhesive that grabs onto particulate matter without dissolving it or altering its chemical structure. This preserves the integrity of the sample for later analysis under a microscope or via mass spectrometry. For investigators, this means faster processing times and higher recovery rates for specific types of evidence like paint chips or textile fibers.
However, tape isn't a universal fix. It struggles with heavy debris, wet surfaces, or highly textured materials like shag carpet. Knowing when not to use tape is just as important as knowing when to use it. Save the vacuum for deep pile rugs; save the tape for car dashboards, window sills, and countertops.
The Toolkit: What You Actually Need
You don’t need a million-dollar lab to start collecting good samples. But you do need the right supplies. Using the wrong type of tape can ruin a case before it even begins.
| Item | Purpose | Pro Tip |
|---|---|---|
| Forensic Lifting Tape | Primary collection medium. Usually clear or black. | Use black tape for dark surfaces to increase contrast during photography. |
| Evidence Cards | Backing material to mount the lifted tape. | Ensure cards are acid-free to prevent yellowing over time. |
| Nitrile Gloves | Prevents contamination from investigator DNA/sweat. | Change gloves between every distinct area sampled. |
| Forceps | Handling small pieces of tape or delicate evidence. | Plastic forceps reduce the risk of scratching glass slides. |
A common mistake I see in field kits is using "duct tape" or office Scotch tape. These often contain plasticizers that migrate into the evidence, potentially interfering with chemical tests. Always stick to certified forensic-grade lifting tape. It costs more, sure, but it saves you from explaining why your fiber analysis came back inconclusive because the adhesive dissolved the dye.
Step-by-Step Collection Protocol
Here is the workflow that keeps evidence chain-of-custody intact and samples viable. Follow these steps precisely.
- Document Before Touching: Photograph the surface in situ. Use an alternate light source (ALS) if available to highlight potential trace deposits. Mark the area with evidence markers so you know exactly where you lifted.
- Cut the Tape: Cut a strip of tape slightly larger than the area you intend to sample. Do not touch the sticky side with your fingers. Hold it by the non-adhesive backing or use forceps.
- Apply Even Pressure: Place the tape over the target area. Roll it out gently with a sterile roller or your gloved finger. Avoid sliding motion, which can smear particles. You want vertical pressure, not lateral friction.
- Lift Vertically: Peel the tape straight up. Do not yank it sideways. This minimizes disturbance to any remaining evidence on the surface.
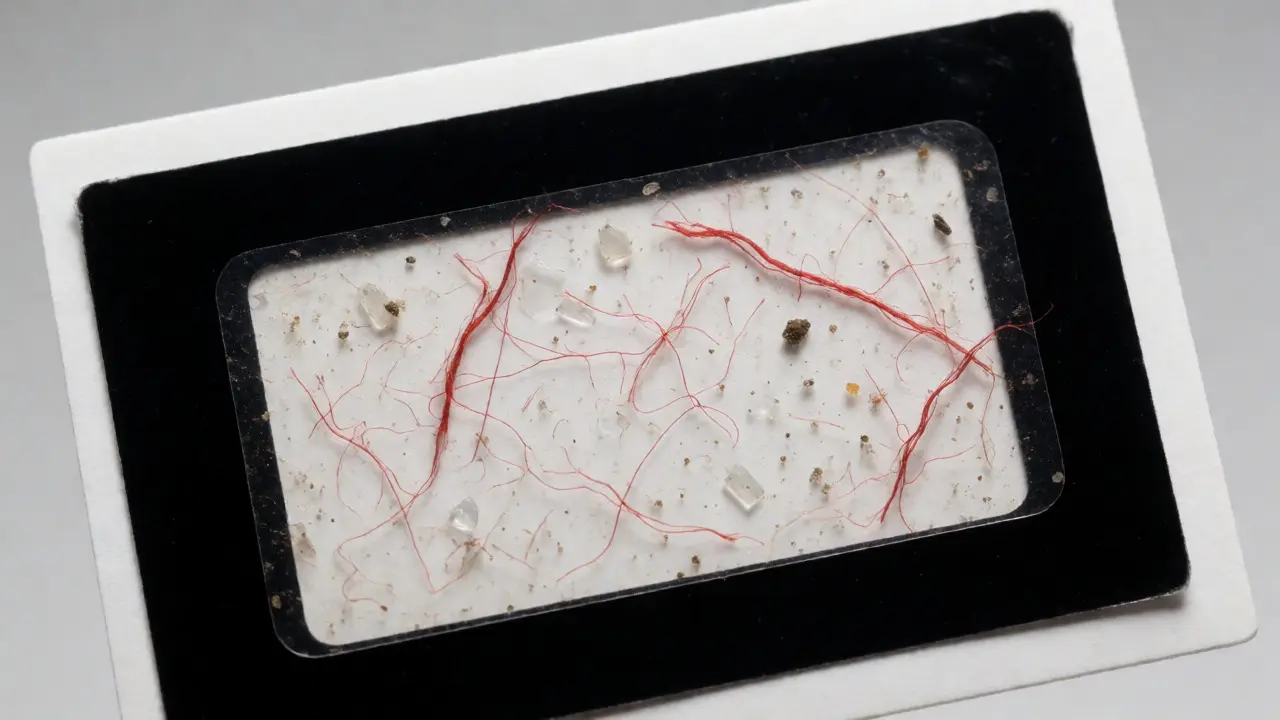
- Mount Immediately: Press the sticky side of the tape onto an evidence card. Smooth out air bubbles, which can trap moisture and degrade organic samples.
- Label and Seal: Write the date, time, location, collector’s name, and item number directly on the card or label attached to it. Place the card in a paper envelope-never plastic, which traps humidity.
One critical nuance: sequence matters. If you’re sampling a large area, work from one end to the other systematically. Overlapping lifts slightly ensures you don’t miss spots, but avoid excessive overlap which wastes tape and creates redundant data.
Surface-Specific Challenges
Not all surfaces play nice with tape. Here’s how to handle the tricky ones.
Glass and Windows: These are prime candidates for tape lifting, especially for footprints or blood spatter patterns. However, glass is slippery. Ensure the surface is dry. If there’s condensation, wait or use a gentle airflow to dry it first. Wet tape won’t stick properly, and water droplets can distort microscopic features.
Furniture Upholstery: Leather works well with tape. Fabric is harder. For tight-weave fabrics like denim or canvas, tape can lift surface fibers effectively. For loose weaves or nap-heavy materials like velvet, tape often pulls up the fabric itself rather than the foreign trace evidence. In these cases, consider combing the surface first to dislodge particles, then lift from the comb.
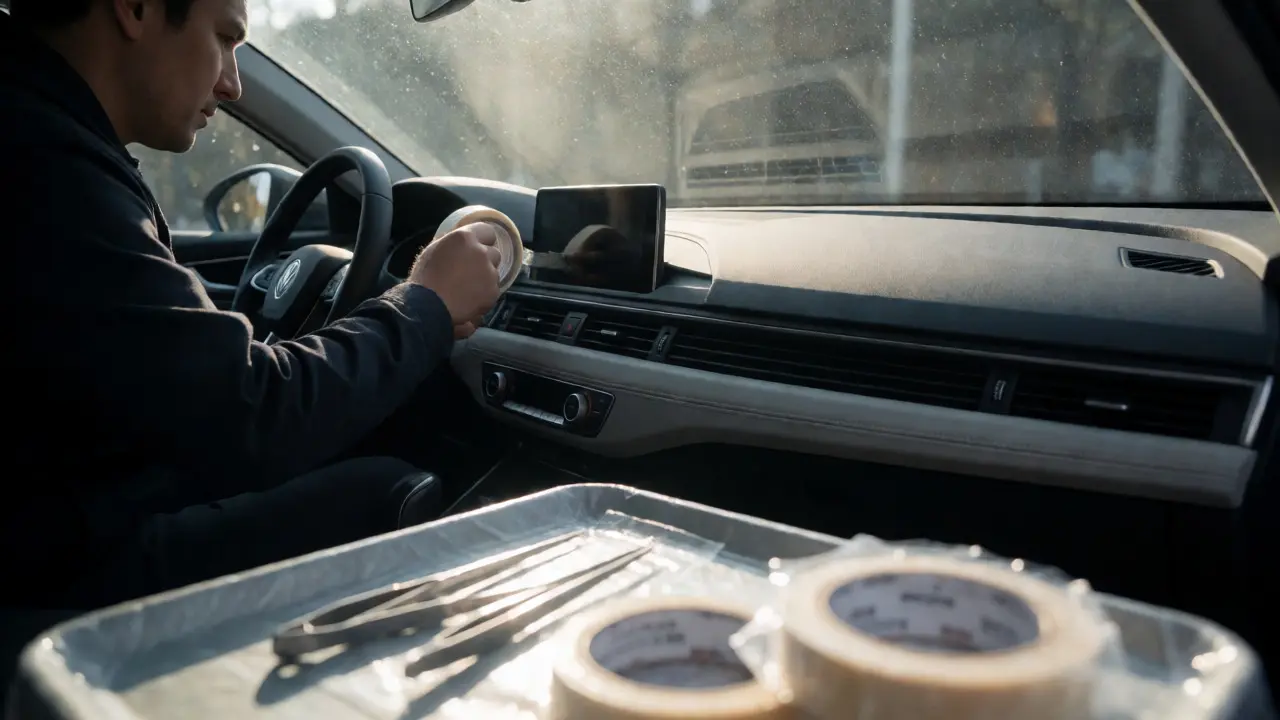
Car Interiors: Dashboards and steering wheels accumulate skin oils, dirt, and transferred fibers. Use low-tack tape here to avoid removing the original finish of the dashboard. High-tack tape might leave residue or peel off protective coatings, complicating the analysis.
Common Pitfalls and How to Avoid Them
Even experienced technicians make errors. The most frequent issue is contamination. Every time you open a roll of tape, airborne dust settles on the adhesive. Keep rolls sealed until the moment of use. Never lay the sticky side down on a table while preparing your next move.
Another big one is over-lifting. Some investigators think more tape equals better coverage. They slap multiple strips over the same spot. This doesn’t necessarily yield more unique evidence; it just creates a messier sample. One careful, high-quality lift is worth five haphazard ones.
Finally, watch out for static cling. In dry environments, like our winters here in Portland, synthetic fibers cling to everything due to static electricity. Sometimes tape picks up fibers from the investigator’s own clothing. Wear natural fibers like cotton when possible, or use anti-static sprays on your gear if working in arid conditions.
When to Choose Alternatives
Tape is powerful, but it has limits. Recognize when to switch tactics.
- Heavy Debris: If you have wood chips, gravel, or large rocks, use tweezers or a scoop. Tape will fail to lift weighty objects.
- Deep Pile Carpets: Vacuuming with a filter cassette is superior here. Tape only gets the top layer.
- Biological Fluids: Blood or semen stains need swabbing, not taping. Taping a wet stain smears it and destroys pattern evidence.
- Latent Prints: While tape can lift some visible residues, traditional powder-and-lift methods or cyanoacrylate fuming are better for developing latent fingerprints.
Choosing the right method depends on the substrate and the suspected evidence type. A quick visual inspection and knowledge of the scene context will guide your decision faster than any rulebook.
Can regular packing tape be used for forensic evidence?
It is generally discouraged. Regular packing tapes often contain plasticizers and solvents that can leach into the evidence, potentially interfering with chemical analyses like gas chromatography-mass spectrometry (GC-MS). Forensic-grade tape is designed to be inert and stable, ensuring the integrity of the collected samples.
How long does tape-lifted evidence last?
If stored correctly in a cool, dry place away from direct sunlight, tape-lifted evidence can remain viable for years. Organic materials like hair or skin cells may degrade faster if exposed to humidity, so proper sealing in paper envelopes and controlled storage conditions are critical for long-term preservation.
Does tape lifting destroy the original surface?
No, tape lifting is considered a non-destructive technique for the surface itself, though it removes the trace evidence. The surface remains intact, allowing for further examination if needed. However, aggressive lifting on delicate finishes (like aged varnish) could potentially remove microscopic layers of the coating, so caution is advised on valuable artifacts.
What is the best way to photograph tape lifts?
Photograph the mounted tape lift against a neutral background with a scale bar included. Use oblique lighting to enhance the visibility of three-dimensional particles like glass shards or fibers. Ensure the camera is perpendicular to the evidence card to minimize distortion.
Can tape lifting recover DNA?
Yes, tape lifting can recover touch DNA, particularly from skin cells left behind on handled objects. However, success rates vary based on the amount of biological material present and the age of the deposit. Swabbing is often preferred for targeted DNA collection, but tape lifts are excellent for broad-area screening.