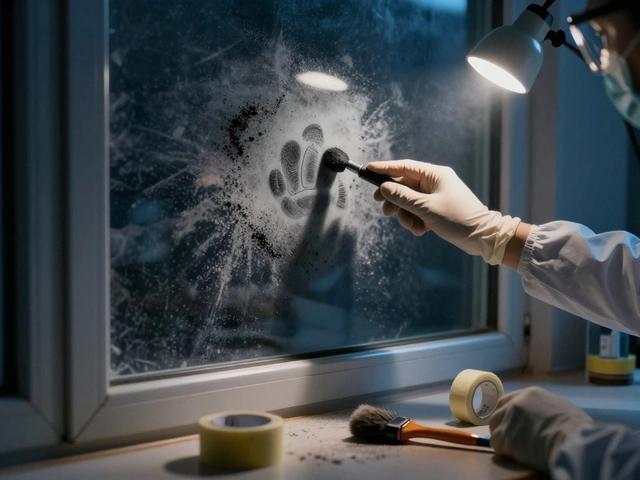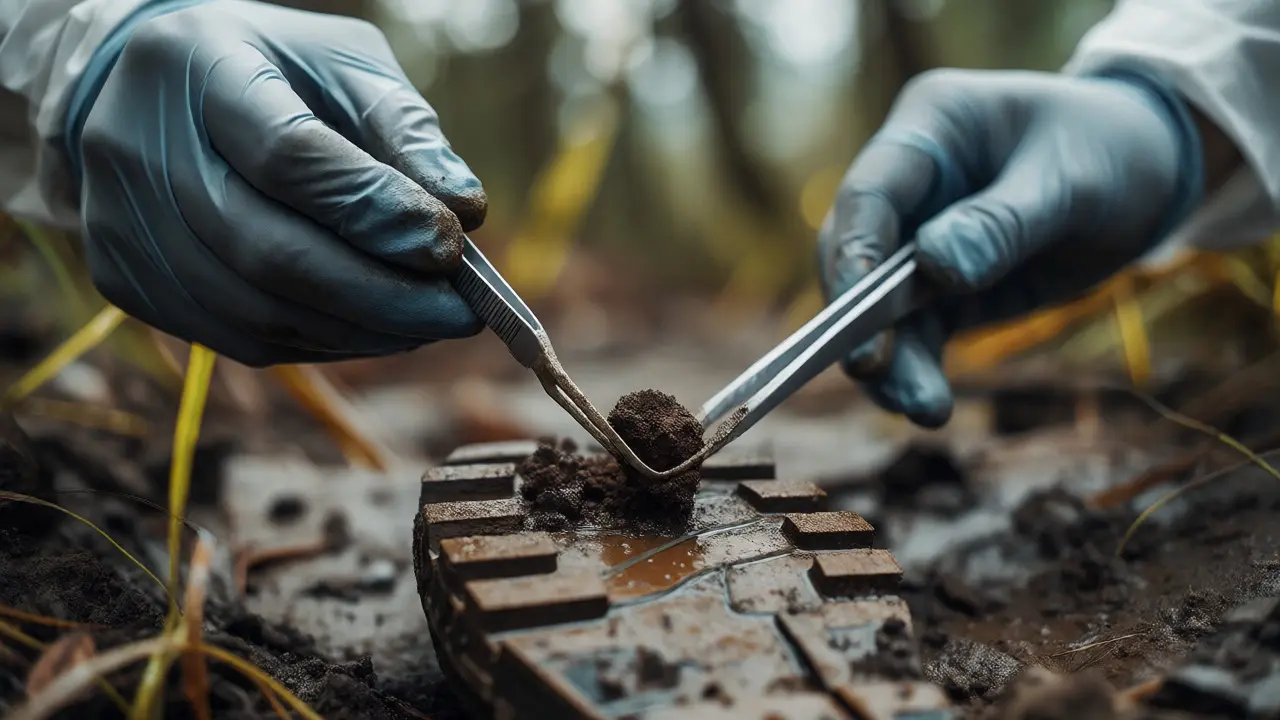
You’re standing at a crime scene. The rain has stopped, but the mud is still fresh. You see what looks like soil clinging to a suspect’s shoe sole. It’s a tiny clump, maybe half a gram. If you handle it wrong, that half-gram of dirt becomes worthless. Worse, if you transfer soil from your own boot onto the evidence bag, you’ve just introduced noise into a signal that needs to be crystal clear.
Soil and plant evidence are deceptively simple. They’re everywhere. But because they’re ubiquitous, they are incredibly easy to contaminate. Cross-sample transfer is the silent killer in trace evidence analysis. It happens when material moves from one source to another unintentionally, creating false links or obscuring true ones. Getting this right isn’t just about being careful; it’s about following a strict protocol that respects the uniqueness of every sample.
Why Soil and Plant Matter More Than You Think
People often overlook soil and botanical traces because they seem mundane. But think about it: soil is a fingerprint of location. It contains minerals, pollen, seeds, and microbial life specific to a geographic area. Plants tell time-seasonal growth stages can pinpoint when an event occurred. When you combine them, you get a powerful narrative.
However, their power is also their weakness. A grain of pollen from a pine tree could come from the forest behind the house, the suspect’s jacket, or the technician’s lab coat. If you don’t control the environment, you lose the ability to distinguish between these sources. This is where proper evidence handling becomes critical. One slip-up in collection can render months of laboratory work useless.
The Mechanics of Cross-Sample Transfer
Transfer happens through three main vectors: direct contact, airborne movement, and tool contamination.
- Direct Contact: This is the most common. Your gloved hand touches a contaminated surface, then grabs a sterile swab. Or, two evidence bags rub against each other in a transport cooler, exchanging microscopic particles.
- Airborne Movement: Dust and spores travel. If you open a bag of dry soil near a window, wind might blow new particles in. Conversely, shaking out a rug indoors sends fibers and dust into the air, potentially settling on nearby exhibits.
- Tool Contamination: Using the same tweezers for multiple samples without cleaning them is a rookie mistake. Even a quick wipe with alcohol might not remove embedded clay or organic matter.
Consider a real-world scenario. A detective collects soil from a victim’s car mat and a suspect’s garden. If both are collected with the same trowel, cleaned only superficially, the lab might find identical mineral compositions. Was it shared? Or did the trowel carry over residue? Without rigorous controls, you can’t answer that question confidently.
Field Collection Protocols That Actually Work
Prevention starts before you even step onto the scene. Here’s how to keep your samples clean.
Gear Up Correctly
Wear fresh gloves for every single sample. Not every ten minutes. Every. Single. Sample. Change them immediately after touching anything non-evidentiary-your face, your notebook, your phone. Better yet, use double-gloving. Remove the outer layer when moving between distinct areas or items. This creates a physical barrier against accidental transfer.
Isolate Your Workspace
Don’t lay all your evidence bags on the ground. Use a clean, disposable sheet or a dedicated table covered with fresh paper. Keep opened bags closed until the moment of insertion. Once a sample goes in, seal it immediately. Do not leave bags open while you photograph or sketch. Air currents are sneaky.
Control Your Tools
If you must reuse tools, sterilize them properly. Alcohol wipes aren’t enough for soil. You need to physically scrape off debris, then wash with detergent, rinse, and dry. For high-stakes cases, bring multiple sets of tools-one for each major zone or suspect item. Label them clearly so you know which set touched what.
| Method | Best For | Risk of Transfer | Mitigation Strategy |
|---|---|---|---|
| Scraping (Trowel/Spatula) | Loose soil, mud on surfaces | High (tool retention) | Use disposable spatulas or sterilize thoroughly between uses |
| Taping (Adhesive Lifts) | Fibers, pollen, light dust | Medium (airborne exposure) | Apply tape gently; avoid pressing hard which embeds contaminants |
| Vacuuming | Carpets, upholstery, clothing | Very High (bag cross-contamination) | Change filter bag between every item; never vacuum adjacent zones simultaneously |
| Excavation | Buried objects, root systems | Low (if stratified correctly) | Collect layers separately; mark depth precisely |
Plant Evidence: Specific Challenges
Plants add a biological layer to the problem. Fresh cuttings bleed sap. Dried leaves crumble. Pollen grains are microscopic and sticky. Handling them requires extra care.
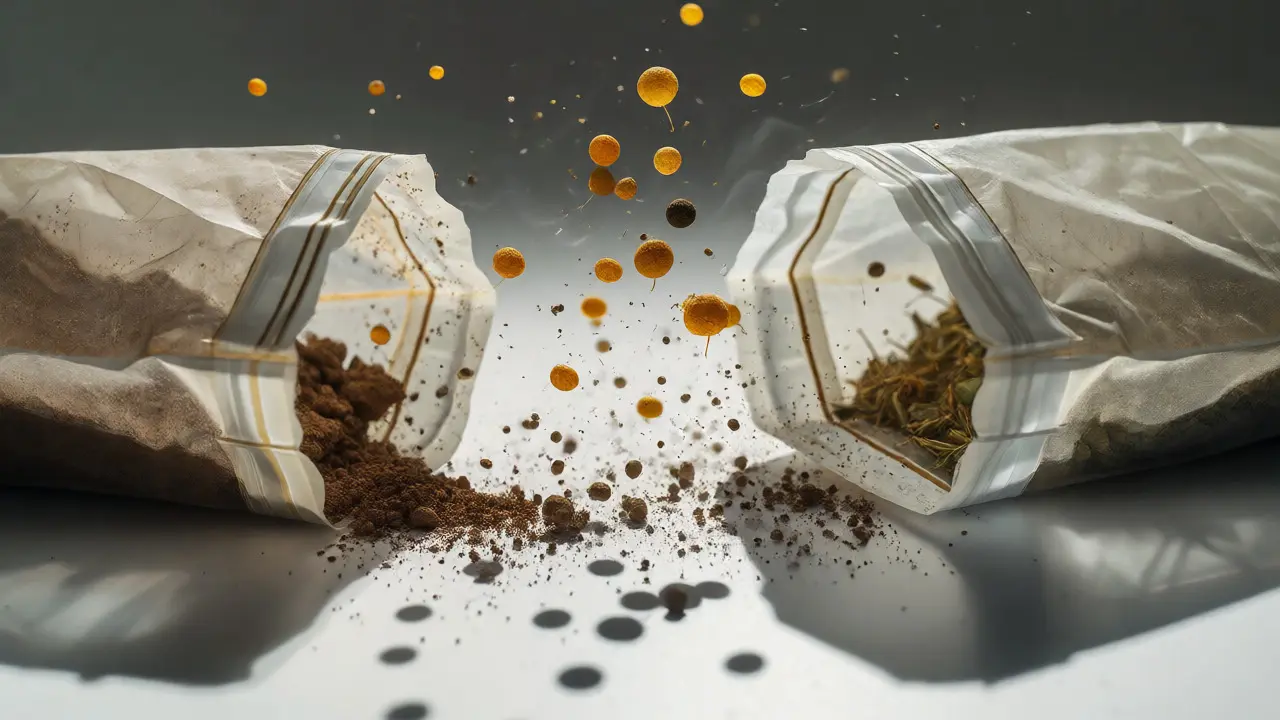
When collecting vegetation, avoid crushing the samples. Crushing releases volatile compounds and spreads pollen across the specimen. Instead, place whole plants or branches directly into breathable containers like paper bags. Plastic traps moisture, leading to mold growth within hours, especially in humid climates like Portland. Mold changes the chemical profile of the plant, confusing DNA analysis later on.
Also, consider the season. In October, deciduous trees drop leaves. Pine trees shed needles. If you collect a pine needle from a suspect’s jacket in autumn, is it from the current year’s shedding or old accumulation? Document the state of the plant carefully. Note whether it’s fresh, dried, or decomposed. These attributes help experts interpret the timeline.
Lab Reception and Storage
Your job doesn’t end at the scene. How you package and store evidence determines its survival.
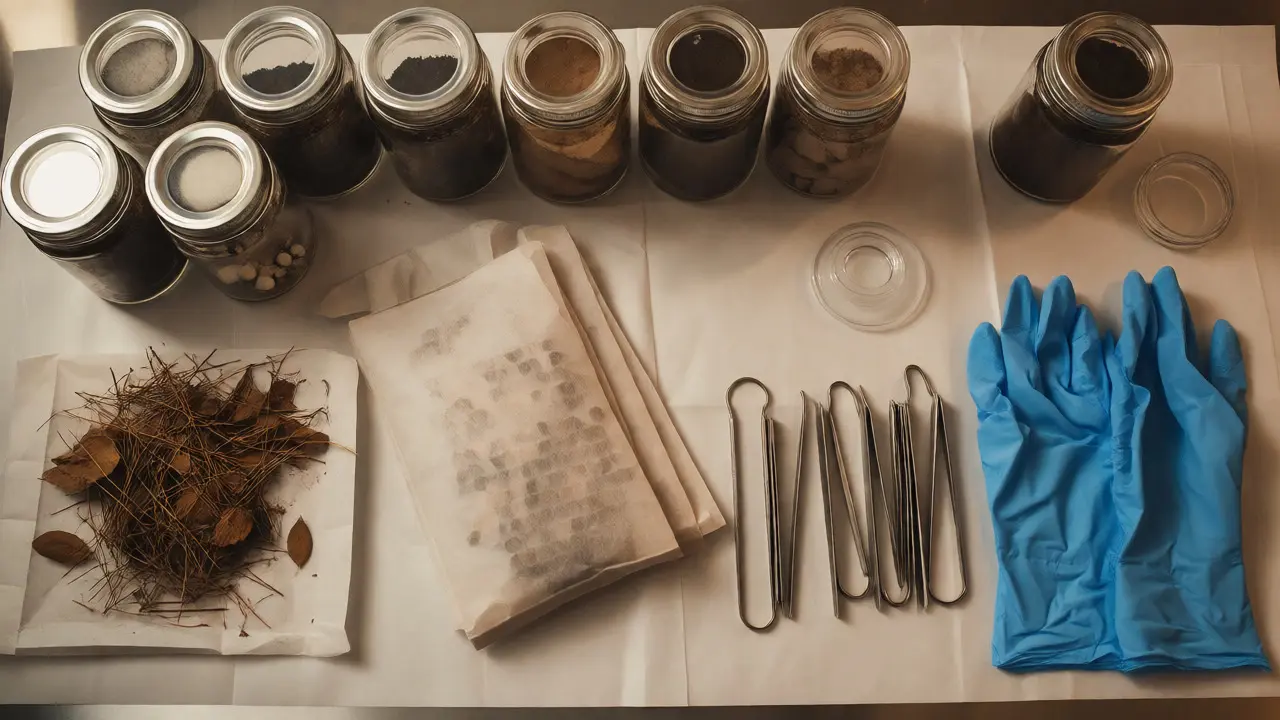
Use rigid containers for soil to prevent crushing. Paper envelopes work well for small amounts, allowing air circulation. For larger quantities, use clean glass jars or plastic tubs lined with foil. Never mix different types of evidence in one container unless necessary. Soil should stay separate from textiles. Why? Because soil can abrade fabric, releasing fibers that look like they came from elsewhere.
Label everything clearly. Include date, time, collector’s name, and exact location description. Ambiguity breeds error. If two officers collect soil from “the backyard,” but one means the north side and the other the south, the lab can’t distinguish them without detailed notes. Precision saves headaches.
Store samples in a cool, dry place away from sunlight. UV light degrades chlorophyll in plants and alters some soil chemistry. If you have refrigerated storage, ensure it’s dedicated to evidence. Food odors and spills can contaminate sensitive botanical samples.
Common Pitfalls to Avoid
Even experienced professionals make mistakes. Here are the big ones I see in training scenarios.
- The "One Glove" Habit: Wearing the same pair of gloves for an entire shift. By hour three, your gloves are loaded with DNA, pollen, and dust from every surface you’ve touched.
- Bag Confusion: Placing a wet shoe next to a dry shirt in the same box. Moisture transfers. The shirt gets damp, mold starts growing, and now you’re analyzing fungal contamination instead of original trace evidence.
- Ignoring Background Samples: Collecting soil from a suspect’s shoe but forgetting to take a control sample from the immediate surrounding ground. Without a baseline, you can’t prove the shoe soil matches the crime scene specifically rather than just general local dirt.
Always collect control samples. Take soil from the path leading to the body, from the suspect’s vehicle tires, and from their home garden. These references allow the lab to differentiate between incidental contact and significant transfer.
Documentation Is Part of the Evidence
Your notes are as important as the sample itself. Write down exactly what you did. Did you change gloves? Did you clean the trowel? Was there wind? Rain? Nearby construction?
Photograph the scene before and after collection. Show the relationship between the evidence and its surroundings. If you lifted a footprint, show the scale and orientation. Later, when the defense attorney asks, “How do we know this wasn’t contaminated?” your photos and notes provide the answers.
Chain of custody forms must be accurate. Sign and date every transfer. If you pass the sample to another officer, get their signature. Gaps in custody raise doubts about integrity. A missing signature can lead to exclusion of evidence in court, regardless of how pristine the sample was.
Next Steps for Investigators
Preventing cross-sample transfer isn’t rocket science, but it demands discipline. Start by auditing your current kit. Are your tools truly clean? Do you have enough disposable supplies? Next, review your team’s protocols. Are you changing gloves per sample? Are you taking control samples?
If you’re new to this, practice on mock scenes. Set up stations with known contaminants. Try collecting samples without transferring them. It’s harder than it looks. Build muscle memory for cleanliness.
Remember, soil and plants are fragile witnesses. They speak softly. Your job is to listen without shouting over them with your own noise. Handle with care, document with precision, and let the evidence stand on its own merits.
Can soil evidence be reused if contaminated?
Generally, no. Once cross-contamination occurs, it is nearly impossible to isolate the original source from the introduced material. Chemical and microscopic analyses will show mixed profiles, making interpretation ambiguous. It is better to discard and recollect if possible, though this may not always be feasible at active scenes.
Why is paper preferred over plastic for plant evidence?
Paper allows breathability, preventing moisture buildup that leads to mold growth. Mold introduces foreign DNA and alters chemical signatures, complicating analysis. Plastic traps humidity, accelerating decomposition and potential contamination by fungi or bacteria.
How do I prevent airborne contamination during collection?
Work upwind of potential sources of dust or pollen. Minimize movement around open evidence bags. Close bags immediately after placing samples inside. Avoid talking or coughing over open containers, as respiratory droplets can carry biological material.
Do I need to sterilize equipment between every sample?
Yes, ideally. If using reusable tools, full sterilization (washing, rinsing, drying) is required between distinct samples. For efficiency, many teams use disposable tools or maintain multiple sterile kits labeled for specific zones to eliminate the risk of carryover.
What is a control sample and why is it critical?
A control sample is taken from a background area unrelated to the primary point of interest but similar in environment. It provides a baseline to distinguish unique trace evidence from ubiquitous local materials, ensuring that findings are significant rather than coincidental.