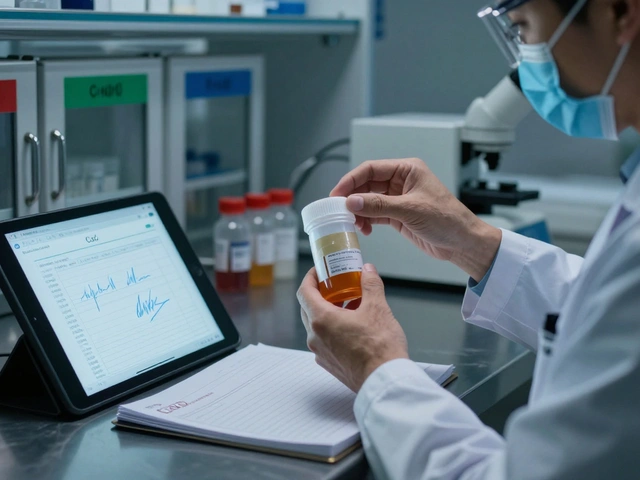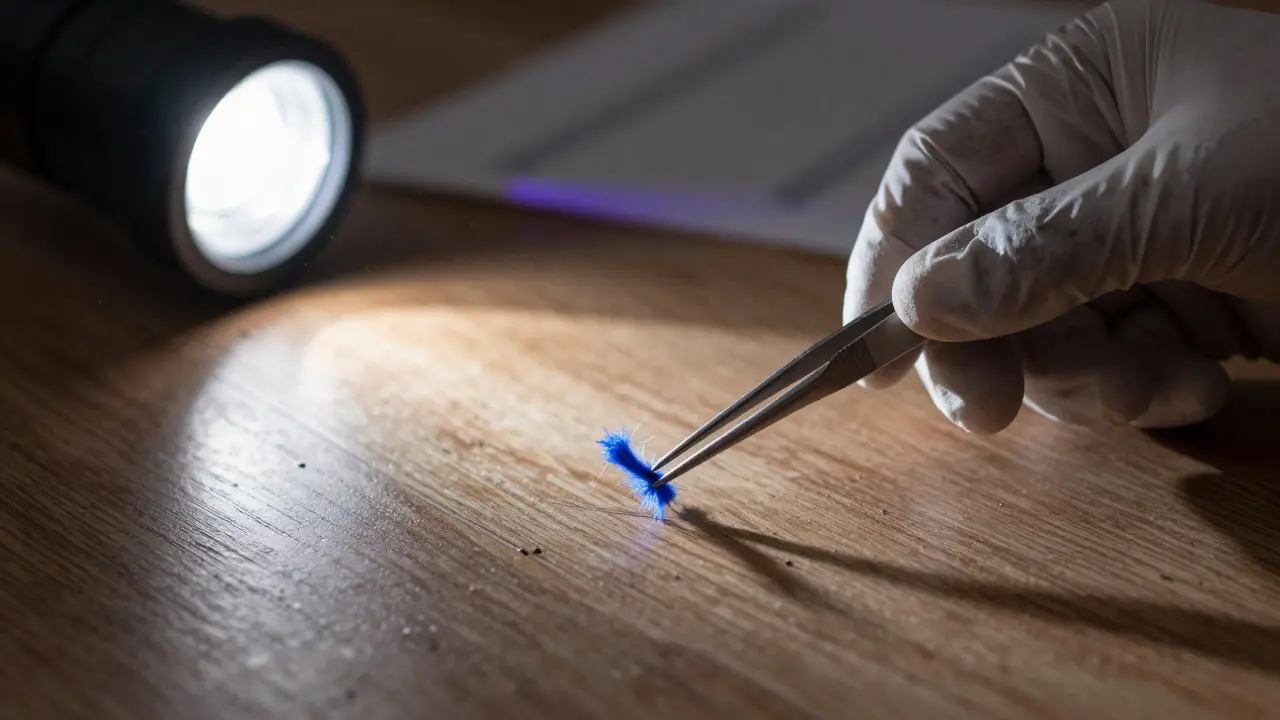
Most crime scenes don't look like the dramatic busts you see on TV. They are messy, chaotic, and often filled with things so tiny you’d step over them without a second thought. Yet, it is usually these small item evidence pieces-fibers, hair, glass shards, or paint chips-that crack a case wide open. If you handle them wrong, they vanish. If you handle them right, they become the most powerful witness in the room.
The difference between a conviction and a dismissal often comes down to how you treat the invisible. This guide breaks down exactly how to spot, collect, and preserve microscopic findings so they hold up under both laboratory analysis and courtroom scrutiny.
Why Micro-Evidence Changes Everything
Trace evidence is physical material transferred between objects or people during contact, including fibers, hairs, soil, glass, and paint. Unlike a fingerprint, which might be smudged by one careless touch, trace evidence is fragile. It can be blown away by a draft, crushed by a boot, or contaminated by your own clothes if you aren’t careful.
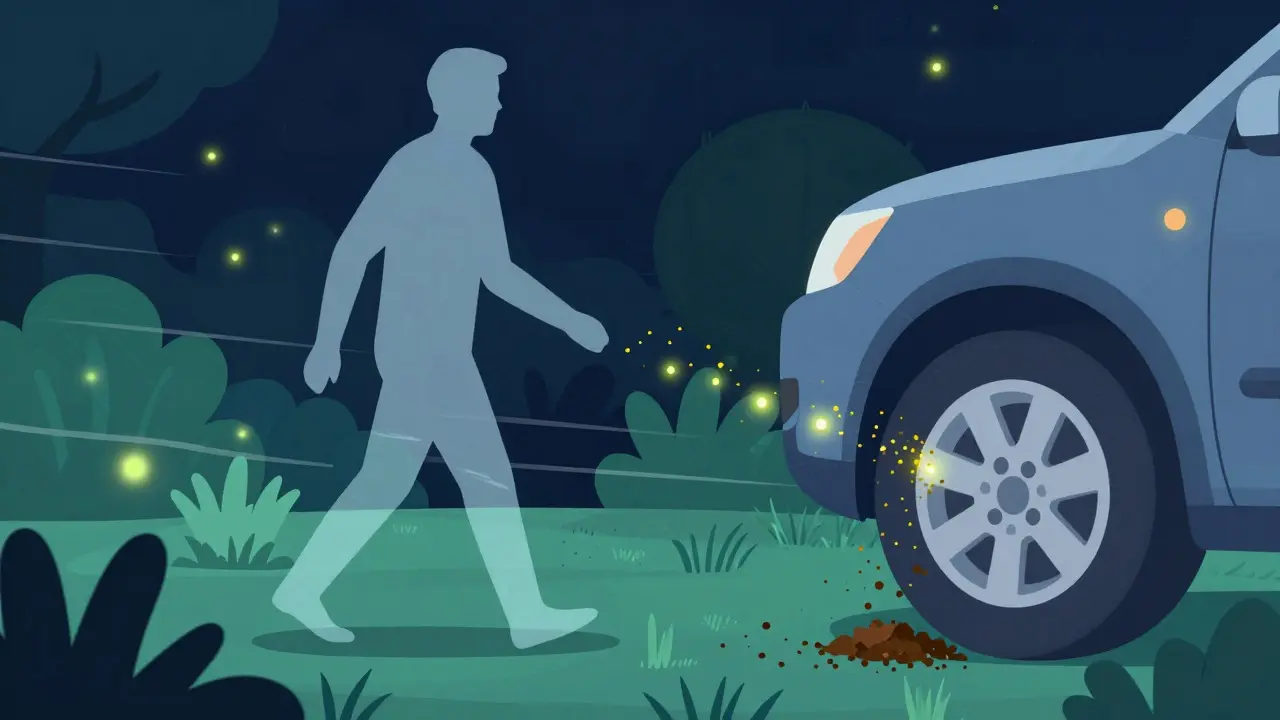
The power of micro-evidence lies in its transferability. When two surfaces touch, something always moves from one to the other. This is known as Locard’s Exchange Principle. In practical terms, if a suspect walked through a garden, they likely carried pollen back to their car. If they sat on a couch, they left behind fabric fibers. Your job isn't just to find these items; it's to prove they got there legitimately and weren't planted or degraded after the fact.
Spotting What Others Miss
You cannot collect what you cannot see. Before you even think about picking up tools, you need to change how you look at a scene. Most investigators rely too heavily on natural light and standard magnification. That’s where cases slip through the cracks.
- Alternate Light Sources (ALS): UV and green light reveal biological fluids, semen stains, and certain dyes that are invisible to the naked eye. Always scan floors, carpets, and clothing with ALS before doing anything else.
- Oblique Lighting: Shine a flashlight at a low angle across surfaces. This highlights texture differences, revealing footprints in dust, tool marks on metal, or embedded debris in wood.
- Magnification Lenses: A simple 10x loupe helps you spot individual fibers or small particles. For detailed work, a portable microscope is essential for identifying specific types of debris before collection.
Don't forget the environment. Air currents move dust. Water moves sediment. Check areas where wind or rain would have deposited materials. A window sill, a door frame, or a vehicle tire track are prime spots for accumulating external trace evidence.
Tools of the Trade for Small Items
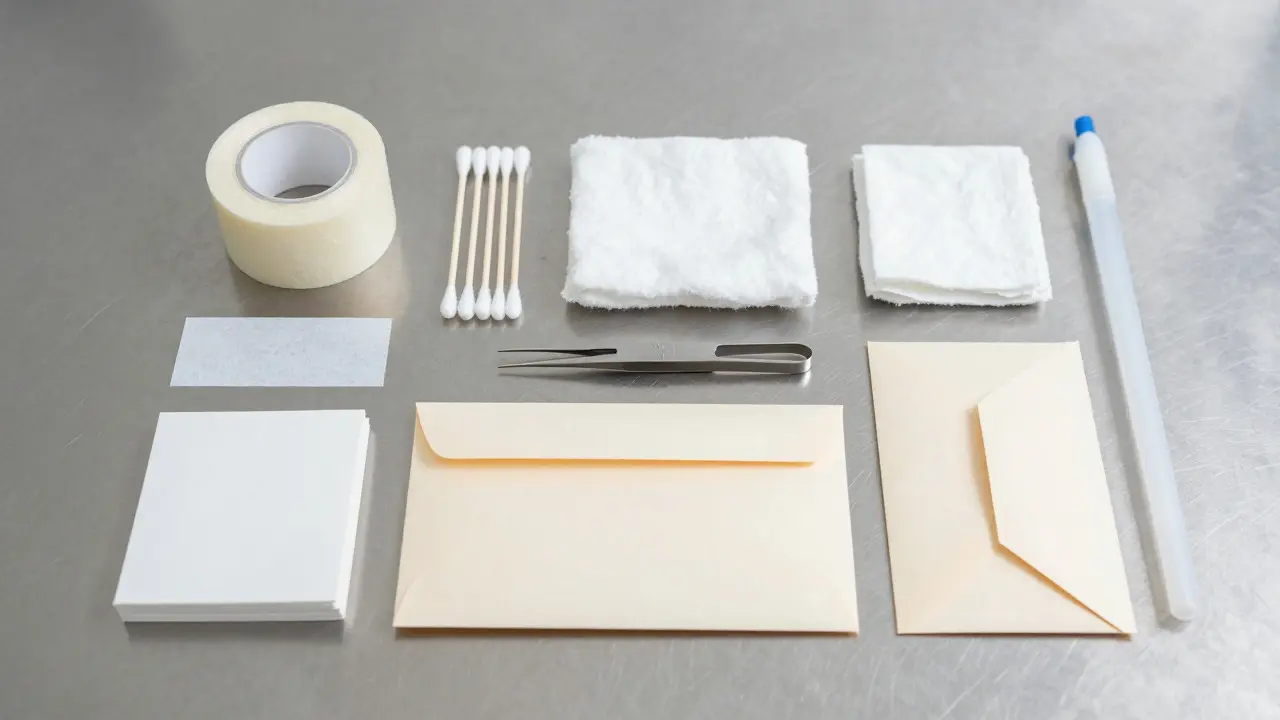
Using the wrong tool is the fastest way to destroy evidence. You don't need a fancy lab setup, but you do need the right basics. Here is the kit every field investigator should keep within arm's reach.
| Tool | Primary Use | Critical Tip |
|---|---|---|
| Scotch Tape Lifters | Fibers, hair, dust | Use fresh tape; old tape loses adhesion and leaves residue. |
| Swabs (Dry & Wet) | Biological traces, powders | Moisten only when necessary; dry swabs prevent dilution. |
| Tweezers (Fine Point) | Glass, bullets, large fibers | Keep tips clean; wipe with alcohol before each use. |
| Paper Envelopes | Dry solid items | Never use plastic bags for biological samples. |
| Vacuum Cleaner (HEPA) | Carpets, large surface areas | Collect into a dedicated bag; label immediately. |
A common mistake is using plastic bags for everything. Plastic traps moisture, creating a breeding ground for mold that can degrade DNA and make fibers unidentifiable. Stick to paper envelopes for dry solids. If you must use plastic, ensure the item is completely dry and consider adding silica gel packets to absorb humidity.
The Step-by-Step Collection Process
Consistency is key. If you follow the same routine every time, you reduce the chance of error. Here is a reliable workflow for collecting small items from a surface.
- Document First: Take photos of the item in place with a scale ruler next to it. Then, take a close-up photo showing the context. Do this before touching anything.
- Isolate the Area: Clear away loose debris around the target area if possible, but be gentle. You want to minimize background noise in your sample.
- Select the Tool: Choose the least invasive method. If you can lift fibers with tape, do that. If you need to scrape, use a scalpel or spatula. Avoid brushing unless you are confident you won't scatter the evidence.
- Collect the Sample: Apply pressure evenly. For tape lifts, press firmly and peel slowly. For swabs, rub gently in a consistent direction to avoid smearing.
- Package Immediately: Place the collected item directly into its container. Don't let it sit on a tray or table where it can get contaminated.
- Label On-Site: Write the date, time, location, and collector's initials on the package while you are still at the scene. Memory fades fast; ink doesn't.
If you are collecting from clothing, remember that the outside of the garment is more likely to have foreign evidence than the inside. Bag each garment separately to prevent cross-contamination between suspects or victims.
Preserving Integrity: Chain of Custody
Collecting the evidence is only half the battle. Proving it hasn't been tampered with is the other half. The Chain of Custody is a documented record tracking the movement and handling of physical evidence from collection to court presentation. If there is a gap in this record, defense attorneys will pounce on it.
Every time the evidence changes hands, it must be signed out and signed in. This includes moving it from your car to the lab, or from the lab bench to the archive. Use tamper-evident seals on all packages. If a seal is broken, note it in the log immediately. A broken seal doesn't mean the evidence is useless, but it requires an explanation.
Store small items in climate-controlled environments. Extreme heat can melt tape adhesives, and extreme cold can shatter glass fragments. Humidity is the enemy of biological samples. Keep your storage area cool, dry, and secure.
Common Pitfalls to Avoid
Even experienced investigators make mistakes. Here are the top three errors that compromise micro-evidence.
- Cross-Contamination: Using the same tweezers on multiple suspects' shoes without cleaning them. Always sterilize tools between uses or use disposable ones.
- Over-Packing: Stuffing a delicate fiber sample into a crumpled envelope. The friction destroys the structure of the fibers, making them impossible to match against a source.
- Ignoring Background Samples: Collecting only the suspect's shoe print but not a control sample from the same floor area. Without a background sample, you can't prove the debris came from the suspect and not the environment.
Always collect control samples. If you find blue carpet fibers on a suspect's shoe, also collect a sample of the carpet from the scene. This allows the lab to compare the unknown fibers against the known source and determine if they match.
From Lab to Courtroom
Your collection methods dictate how well the evidence performs in the lab. If you use proper techniques, the forensic analyst can perform advanced tests like Spectroscopy is a technique used to analyze the chemical composition of materials by measuring how they interact with light. This can identify the exact manufacturer of a paint chip or the mineral content of soil particles.
In court, the expert will testify about the results. But they will also talk about how the evidence was handled. If your notes are sloppy or your packaging was improper, the expert has to spend time explaining why the result is still valid. Clean, clear documentation makes their job easier and strengthens your case.
Frequently Asked Questions
What is the best way to store hair evidence?
Hair should be stored in a paper envelope or a sealed plastic bag if wet. If dry, paper is preferred to prevent static electricity from causing the hair to stick to the sides of the bag. Label the envelope clearly with the source and date.
Can I use my phone camera to document small evidence?
Yes, but only as a supplement. Phone cameras lack the macro capabilities needed for true microscopic detail. Use a dedicated digital camera with a macro lens for official documentation. However, taking quick reference photos with your phone is acceptable for initial assessment.
How long does trace evidence last?
It depends on the type. Fibers and glass can last indefinitely if protected from environmental factors. Biological evidence like DNA degrades over time due to heat and moisture. Proper storage can extend the viability of DNA for years, but prompt collection is always best.
Do I need to wear gloves when collecting micro-evidence?
Yes, nitrile gloves are mandatory. They protect the evidence from your skin oils and sweat, which can contaminate samples. Change gloves frequently, especially when moving between different parts of the scene or different individuals.
What is the difference between primary and secondary evidence?
Primary evidence is found directly at the scene or on the victim/suspect. Secondary evidence is found elsewhere but is linked to the scene, such as a suspect's home or vehicle. Both are valuable, but secondary evidence often provides crucial context and corroboration.