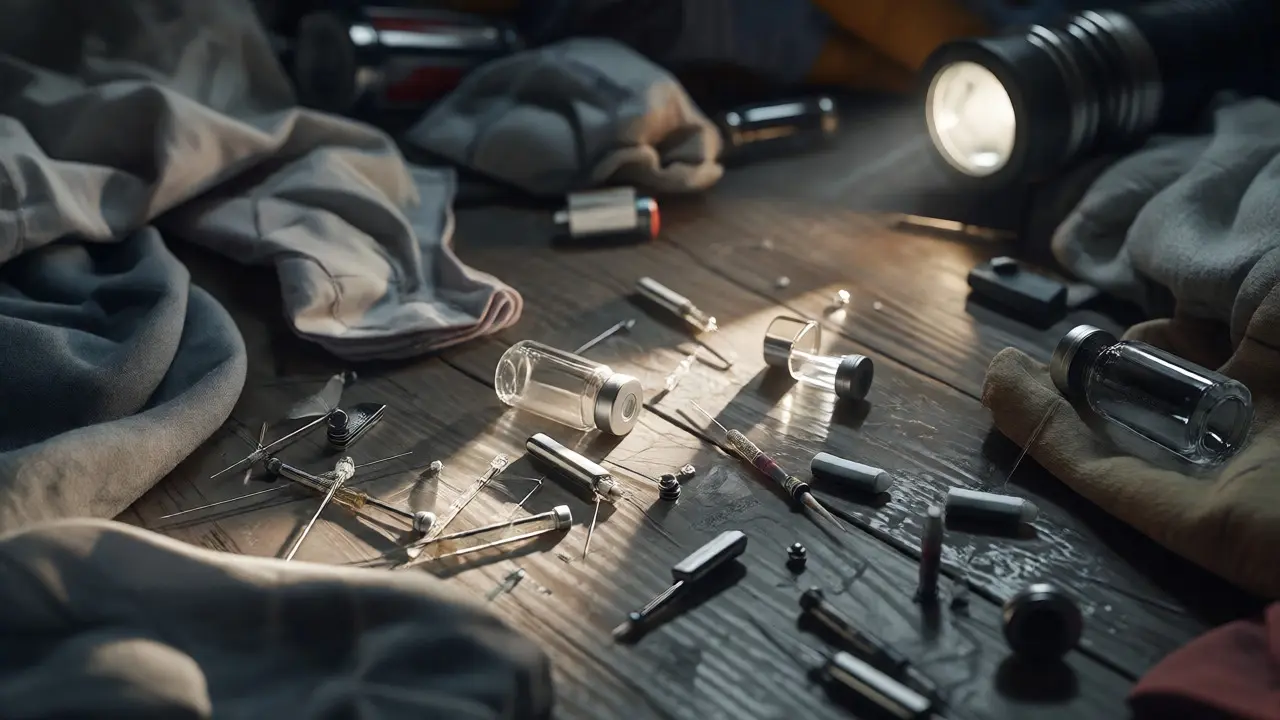
You’re cleaning up a scene. Maybe it’s a hoarder’s home, an abandoned clinic, or just a messy garage after a DIY medical project. You see them scattered on the floor: needles, lancets, broken glass from vials. Your first instinct might be to grab them with your bare hands or toss them in the regular trash. That is exactly how you end up with a tetanus shot, a hepatitis scare, or worse, HIV exposure.
Handling sharps isn't just about being careful; it's about following a strict protocol that protects you, your team, and the environment. In biohazard cleanup, sharps are the most immediate physical danger, but they also carry the highest biological risk if mishandled. This guide breaks down exactly how to identify, handle, and dispose of sharps correctly, keeping you compliant with safety standards and safe from infection.
What Counts as a Sharp in Cleanup Scenarios?
Before you put on gloves, you need to know what you’re dealing with. The term "sharp" covers more than just hypodermic needles. In a cleanup context, a sharp is any object capable of cutting, puncturing, or lacerating skin. If it can break the skin barrier, it’s a hazard.
Common sharps found in residential and commercial cleanup jobs include:
- Hypodermic needles and syringes: Often left behind by diabetics, drug users, or unlicensed practitioners.
- Lancets and insulin pen tips: Small, easy to miss, but highly prone to causing accidental pricks.
- Razor blades and scalpels: Frequently found in bathrooms or kitchen drawers during estate cleanouts.
- Glass vials and ampoules: Broken glass from medication bottles counts as a sharp because the edges are razor-sharp.
- Broken thermometers: Especially older ones containing mercury, which adds a chemical hazard to the physical one.
Here’s the tricky part: sometimes a sharp is hidden. It could be inside a pile of laundry, under a rug, or mixed in with general debris. Never assume an area is clear until you’ve visually inspected it with proper lighting and PPE (Personal Protective Equipment).
The Golden Rule: Never Recap, Never Bend, Never Break
If you take only one rule away from this article, make it this: do not manipulate the sharp unless absolutely necessary for containment. The moment you try to recap a used needle, bend it, or break off the tip, you increase your risk of injury exponentially. Statistics from the CDC show that recapping needles is one of the leading causes of needlestick injuries among healthcare workers and cleanup crews.
Instead, follow the "pick-up-and-place" method. Use mechanical tools whenever possible. Your fingers are for gripping handles, not touching points. If you must handle a sharp directly, use heavy-duty, puncture-resistant gloves-latex alone won’t cut it here. Nitrile gloves offer better chemical resistance, but for sharps, you want Kevlar-lined or steel-mesh gloves for true protection against punctures.
| Glove Type | Puncture Resistance | Dexterity | Best For |
|---|---|---|---|
| Latex/Nitrile | Low | High | General contamination control |
| Kevlar-lined | High | Moderate | Direct sharps handling |
| Steel Mesh | Very High | Low | Heavy industrial sharps |
| Double Gloving | Moderate | Moderate | Biohazard + Light Sharps |
Choosing the Right Container
You cannot throw sharps into a plastic bag. They will pierce through, exposing whoever lifts the bag next. You need a rigid, puncture-proof container. This is where the OSHA sharps container comes in. These containers are designed to meet specific regulatory standards for durability and leak-proofing.
When selecting a container, look for these features:
- Rigid construction: Usually made of high-density polyethylene (HDPE). It should not crush when stepped on.
- Leak-proof lid: Must seal tightly to prevent fluids from leaking out during transport.
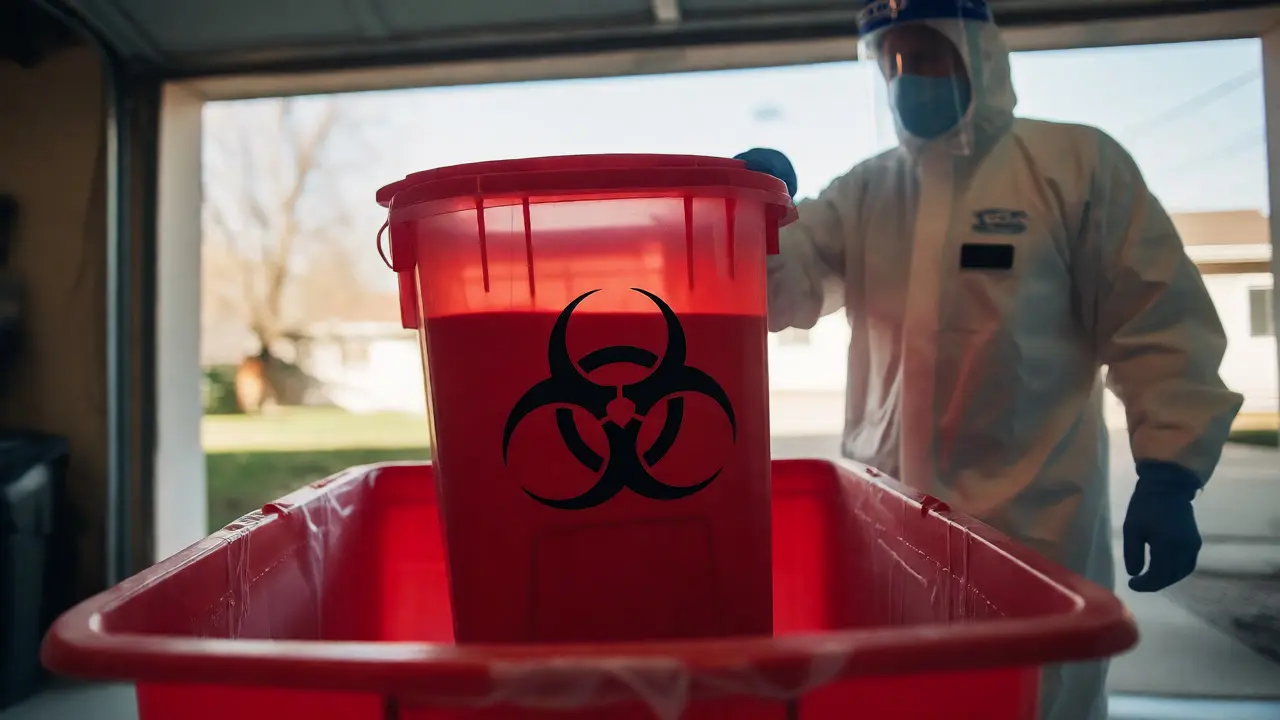
- Color coding: Red is standard for biohazardous sharps. Yellow often indicates radioactive or chemically contaminated materials, though local regulations vary.
- Labeling: Must display the universal biohazard symbol and the word "SHARPS." Do not write "Trash" or "Recycling" on it.
For small-scale home cleanups, you might be tempted to use a coffee can or a thick plastic detergent bottle. While some local health departments allow this for household-generated sharps (like diabetic needles), professional cleanup operations generally require certified containers. Always check your local municipal guidelines. In Portland, Oregon, for example, household sharps have different drop-off protocols than commercial medical waste.
Step-by-Step Disposal Protocol
Once you’ve identified the sharps and grabbed your container, here’s the workflow to ensure safety and compliance.
- Secure the Area: Restrict access to the room. Put up tape or signs so no one walks in unaware.
- Don Proper PPE: Wear eye protection, mask, long sleeves, pants, closed-toe shoes, and appropriate gloves. Face shields are recommended if there’s splashing risk.
- Locate and Isolate: Scan the floor carefully. Use a flashlight to catch glints from glass or metal. Mark the location of sharps with cones or flags if you’re working in a large space.
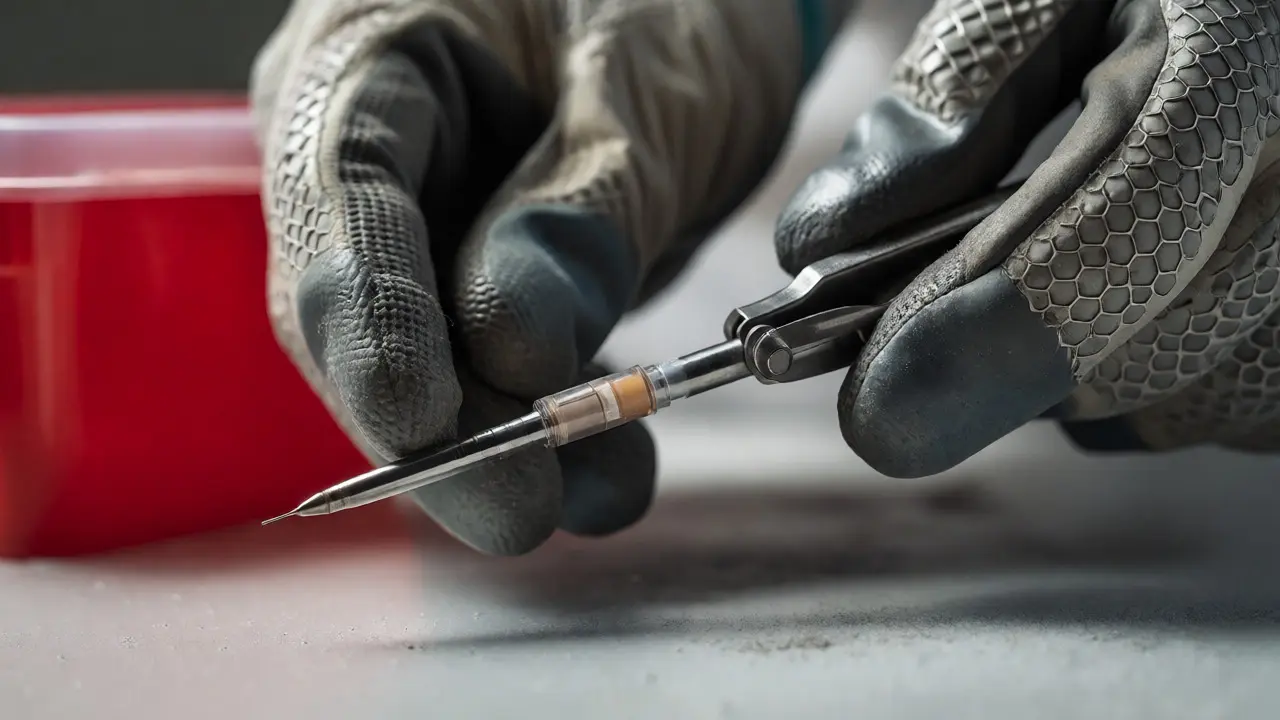
- Pick Up Safely: Use tongs, forceps, or a mechanical grabber tool. Never reach blindly into piles of debris. Pick up the sharp by its non-pointed end.
- Deposit Immediately: Place the sharp directly into the sharps container. Hold the container close to the opening to minimize the distance the sharp travels through the air. Do not shake the container to settle contents.
- Do Not Overfill: Stop filling when the container reaches the fill line (usually 3/4 full). An overfilled container is dangerous because sharps can protrude from the top, injuring handlers during transport.
- Seal and Label: Once full, snap the lid shut. It should lock permanently. Write the date of closure and your initials on the label.
What about loose glass? If you find broken glass that isn’t obviously contaminated with blood or bodily fluids, it still needs special handling. Wrap it in several layers of newspaper or paper towels, tape it securely, and place it in a cardboard box labeled "Broken Glass." If it’s contaminated, treat it as a sharp and put it in the sharps container.
Transportation and Final Disposal
Getting the sharps out of the house is half the battle. Getting them to the right facility is the other half. You cannot mix sharps containers with regular garbage trucks. Most municipalities require licensed medical waste haulers.
When transporting the container:
- Carry upright: Never lay the container on its side. Fluids may leak from the seal if tipped.
- Avoid heat: Don’t leave the container in a hot car trunk for extended periods. Heat can warp the plastic and compromise the seal.
- Secondary containment: For large volumes, place the sharps container inside a larger, sealed plastic bin or tote. This provides a second layer of protection if the primary container fails.
Final disposal depends on who generated the waste. If you are a homeowner cleaning up your own medical waste, you might be able to drop the sealed container at a designated pharmacy or hospital drop-off point. Check resources like SafeNeedleDisposal.org for locations near you. If you are running a business or performing professional cleanup, you must contract with a certified medical waste disposal company. They provide manifests-legal documents tracking the waste from your door to the incinerator-which protect you from liability.
Common Mistakes to Avoid
Even experienced cleaners make errors. Here are the most frequent pitfalls in sharps handling:
- Using the wrong bag: Putting sharps in red biohazard bags instead of rigid containers. Bags tear; containers don’t.
- Ignoring hidden sharps: Assuming a pile of clothes is safe without shaking it out or checking pockets. Needles love hiding in sock cuffs.
- Overfilling: Trying to squeeze one more needle in. This leads to spills during sealing.
- Touching the outside: After placing a sharp in the container, don’t wipe the rim with your gloved hand. Assume the outside is contaminated too.
- DIY mixing: Throwing expired medications into the sharps container. Pills go in pharmaceutical waste streams, not sharps boxes, unless specified by local rules.
Remember, the goal is zero contact between skin and potential contaminants. Every step you skip increases the probability of an accident. And accidents in biohazard cleanup aren’t just painful-they’re expensive and legally complex.
Post-Cleanup Hygiene and Reporting
Once the sharps are gone, your job isn’t done. Decontaminate your tools. Tongs and grabbers should be wiped down with an EPA-registered disinfectant effective against bloodborne pathogens. Wash your hands thoroughly with soap and water for at least 20 seconds, even if you wore gloves.
If you did sustain a needlestick or cut, act fast:
- Wash the wound with soap and water immediately. Do not scrub hard.
- Do not squeeze the wound to make it bleed; this can push pathogens deeper.
- Report the incident to your supervisor or occupational health provider within hours, not days.
- Seek medical evaluation promptly. Post-exposure prophylaxis (PEP) for HIV is most effective when started within 72 hours, but sooner is always better.
Document everything. Note the time, location, type of sharp, and circumstances. This record is crucial for insurance claims and workers' compensation if applicable.
Can I recycle sharps containers?
Generally, no. Once a sharps container has held biohazardous material, it is considered regulated medical waste. It must be incinerated or treated via autoclaving before disposal. Some manufacturers offer recycling programs for empty, unused containers, but filled ones go to medical waste facilities.
What happens if I throw sharps in the regular trash?
You risk injuring sanitation workers who sort trash manually. Many cities now fine homeowners or businesses for improper sharps disposal. Additionally, if a needle punctures a landfill liner, it can contaminate groundwater.
Are all needles considered biohazards?
In a cleanup context, yes. Even if a needle looks dry, it may harbor viruses like Hepatitis B, which can survive outside the body for up to seven days. Treat every found needle as potentially infectious.
How often should I replace my sharps container?
Replace it when it reaches the fill line, typically marked at three-quarters capacity. Do not wait until it is completely full. Also, replace damaged containers immediately if they crack or the lid doesn't seal.
Can I use a milk jug for sharps disposal?
For household-generated sharps, many local health departments accept sturdy plastic containers with screw-on lids, such as laundry detergent jugs, provided they are labeled "SHARPS" and not transparent. However, professional cleanup services usually require OSHA-compliant rigid containers regardless of volume.