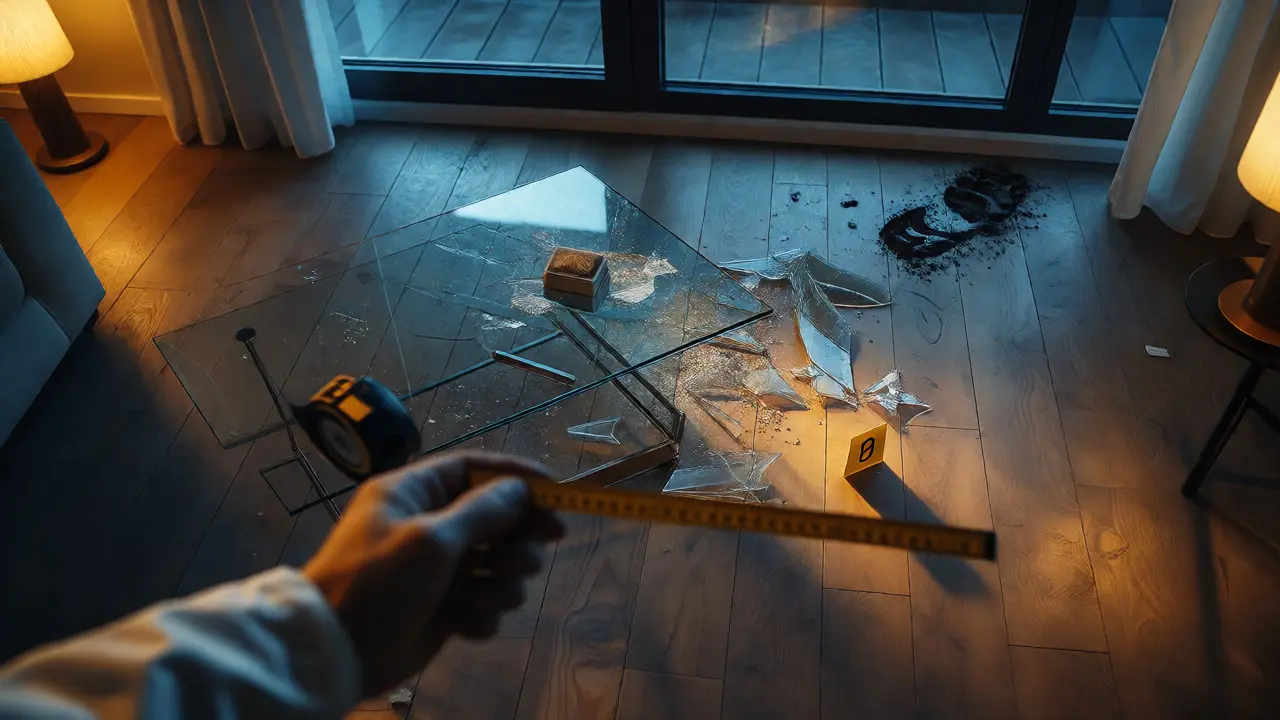
You walk into a room. The air is thick with tension and the smell of old coffee. There’s a body on the floor, a shattered glass table, and a single muddy footprint near the window. If you only take photos, you capture what it looked like. But if you only draw a sketch, you capture how it fit together. The real magic happens when you integrate scene sketches with photographic documentation. This combination doesn’t just record a moment; it reconstructs reality for a jury, a judge, or your future self trying to remember where exactly that shell casing landed relative to the doorframe.
Most investigators know they need both. But knowing isn’t enough. You have to make them talk to each other. When done right, the photo provides the texture and detail, while the sketch provides the spatial truth. They are two halves of the same whole. If one is missing, the story feels incomplete. Let’s break down how to merge these two critical tools so your case file holds up under cross-examination.
Why Photos Alone Aren’t Enough
Photography is incredible at capturing detail. It shows you the blood spatter pattern, the torn fabric, the expression on a face. But cameras lie about distance. A wide-angle lens makes rooms look bigger than they are. A telephoto lens compresses space, making objects appear closer than they actually are. Worse, photos lack scale unless you place a ruler in every single shot, which clutters the image and slows down the workflow.
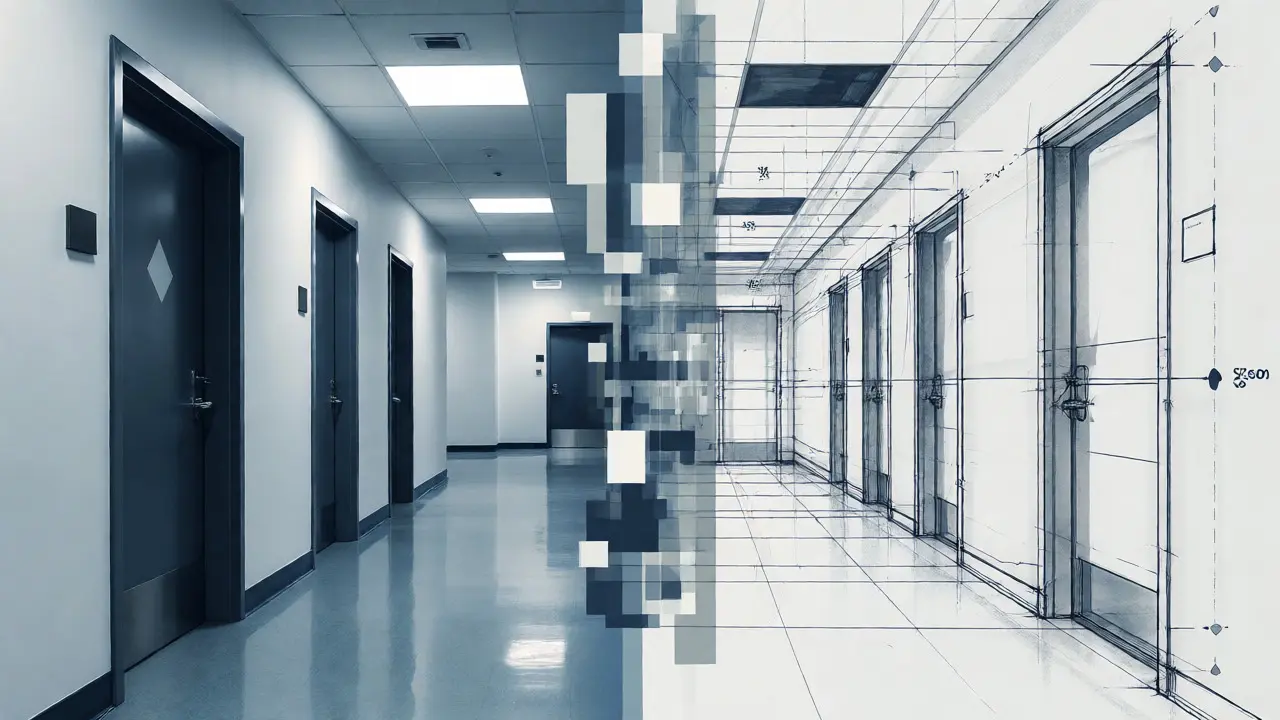
Think about a hallway. In a photo, you might see three doors. But which door was open? Which one had the scratch marks? How far apart were they really? A crime scene sketch solves this by stripping away the noise. It uses orthographic projection-flat, accurate lines-to show exact measurements. When you combine the raw visual data of the photo with the geometric precision of the sketch, you eliminate ambiguity. The sketch answers "where," while the photo answers "what."
The Two Types of Scene Sketches You Need
Before you pick up your pencil, you need to decide which type of sketch serves your purpose. Most professionals use two main types, and understanding the difference saves you hours of rework later.
- Rough Sketch: This is your field document. You draw it on-site, usually on grid paper or a dedicated sketch pad. It’s messy, but it’s accurate. You measure distances using tape measures or laser distance meters and write those numbers directly on the drawing. This sketch is never meant to be shown to a jury as-is. It’s the blueprint for the final product.
- Finished Sketch: This is the polished version created after you leave the scene. Using software like AutoCAD or specialized forensic apps, you redraw the rough sketch to scale. It’s clean, labeled, and visually appealing. This is what goes into the report and what gets projected on the screen during trial.
Here’s the trap many beginners fall into: they try to make the rough sketch perfect. Don’t. Your rough sketch needs to be fast and factual. Speed matters because scenes change. Evidence gets moved. Lighting shifts. Get the measurements down first, worry about the aesthetics later.
Step-by-Step Workflow for Integration
So, how do you actually link the two? It’s not just about putting them next to each other in a binder. You need a systematic approach that ensures every photo corresponds to a specific point on the sketch.
- Establish Fixed Reference Points: Before you measure anything, pick two permanent features in the room-a corner of a wall, a light switch, a door hinge. These are your anchors. All measurements should stem from these points. Why? Because furniture moves. Walls don’t.
- Systematic Photography: Take your overall, mid-range, and close-up photos as usual. But here’s the twist: as you photograph an item, note its location number. Use small numbered placards (evidence markers) that match the numbers you’ll use on your sketch.
- The Rough Sketch Draft: Start drawing the room layout. Mark your reference points. Then, plot the evidence markers. Measure the distance from the marker to the reference points using the triangulation method (measuring from two different fixed points to locate a third). Write these numbers clearly on the sketch.
- Cross-Referencing: This is the crucial step. On your log sheet, list Photo #10 as showing "Evidence Marker 3." On your sketch, ensure Marker 3 is drawn exactly where the photo implies it should be. If the photo shows the marker near the baseboard, but your sketch puts it in the middle of the room, you have a problem. Fix it now, before you pack up.
Tools That Bridge the Gap
Gone are the days when you had to rely solely on graph paper and a ballpoint pen. While traditional methods still work, technology has made integration seamless. Several tools can help you create digital sketches that automatically align with your photos.
| Tool Type | Best For | Integration Capability | Cost |
|---|---|---|---|
| Traditional Graph Paper | Quick, low-tech environments | Manual matching via numbering | $0 - $5 |
| Digital Tablets (iPad/Android) | On-site digital sketches | High - Can overlay photos directly | $300+ (device + app) |
| Laser Scanners (LiDAR) | Complex, large-scale scenes | Automatic - Creates 3D model linked to photos | $10,000+ |
| Total Stations | Survey-grade accuracy | High - Precise coordinate mapping | $5,000+ |
If you’re working on a budget, a tablet with a stylus and an app like MagicPlan or SketchUp can be a game-changer. You can take a photo, import it as a background layer, and trace over it to create your sketch. This guarantees that your drawing matches the perspective of the photo, reducing errors in measurement interpretation.
Common Pitfalls to Avoid
Even experienced investigators mess this up. Here are the most frequent mistakes that get cases challenged in court.
Inconsistent Scaling: If your sketch says 1 inch equals 1 foot, but your measurements are written in inches while the sketch is drawn to feet, you’ve lost the jury. Always label your scale explicitly on the finished sketch. And stick to one unit of measurement throughout the entire document set.
Missing North Arrow: Orientation matters. Was the body facing north or south? Did the suspect enter from the east? Without a north arrow on your sketch, direction becomes subjective. Always include a compass bearing or a clear directional indicator.
Ignoring Vertical Dimensions: Most sketches are top-down plans. But what if the evidence was on a shelf five feet high? Or hanging from the ceiling? Standard floor plans miss vertical context. Consider adding elevation sketches or side-view diagrams for complex scenes involving multi-level evidence placement.
Making It Courtroom Ready
Your job isn’t done when you finish the report. You have to defend your documentation. When a defense attorney asks, "How do we know this sketch is accurate?" you need a solid answer.
The key is transparency. Explain your methodology. Show the rough sketch alongside the finished one. Demonstrate how the measurements were taken. If you used a laser scanner, explain the margin of error. If you used a tape measure, acknowledge human error. Jurors appreciate honesty. They distrust perfection.
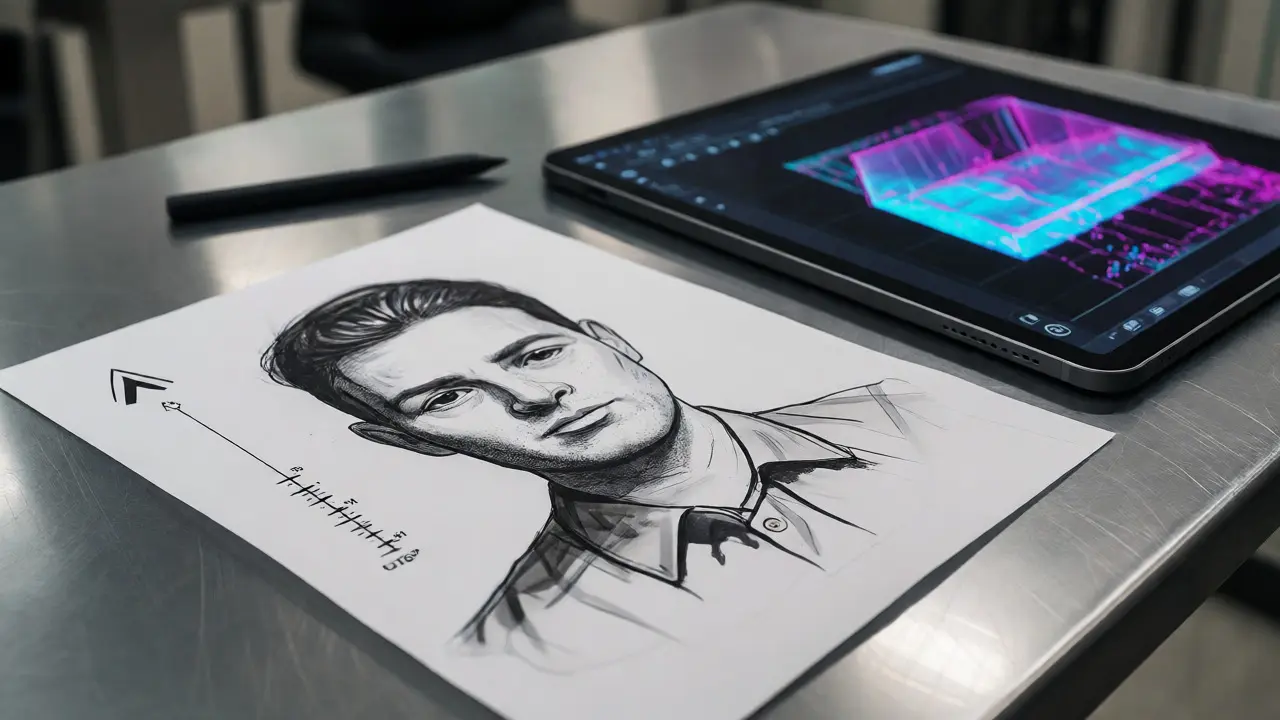
Also, practice explaining the connection between the photo and the sketch. Don’t just say, "Here is Photo 5." Say, "Photo 5 shows the weapon found at Location B. As you can see on the sketch, Location B is 4 feet from the north wall and 6 feet from the east wall. The photo confirms the object’s appearance, while the sketch confirms its position." This simple sentence structure ties the two media together logically.
Final Thoughts on Precision
Integrating scene sketches with photographic documentation isn’t about making things pretty. It’s about creating a foolproof record. Photos capture the emotion and detail of the scene. Sketches capture the geometry and logic. Together, they tell the complete story. Whether you’re using a pencil or a LiDAR scanner, the principle remains the same: accuracy builds credibility. And in forensics, credibility is everything.
Do I need a lawyer present when taking measurements?
Generally, no. Taking measurements and documenting the scene is considered a ministerial act, not an interrogation. However, always follow your local jurisdiction's rules regarding chain of custody and witness presence during collection.
What is the best software for creating finished sketches?
AutoCAD is the industry standard for precision. However, user-friendly options like MagicPlan, RoomSketcher, or even Microsoft Visio are often sufficient for smaller agencies and provide good results without a steep learning curve.
How many photos should correspond to one sketch element?
There is no hard rule, but generally, each major piece of evidence on the sketch should have at least one overall photo, one mid-range photo showing its relation to surroundings, and one close-up photo showing detail. This "three-photo" rule ensures comprehensive coverage.
Can I edit my rough sketch after leaving the scene?
You can clarify handwriting or add notes, but avoid changing measurements or moving evidence positions significantly. Significant changes suggest the initial observation was flawed. If you must correct a major error, note the date and reason for the correction on the document itself.
Is 3D scanning better than traditional sketches?
3D scanning offers superior data density and allows for virtual walkthroughs. However, it requires expensive equipment and training. Traditional sketches remain highly effective, cost-efficient, and easier to produce quickly in chaotic environments. Many departments use a hybrid approach.