Walking into a structure after a fire is rarely about what you see first. It’s about what’s missing, what’s moved, and what the smoke did to everything it touched. For investigators, restoration crews, and property owners, scene assessment isn’t just a box to check; it’s the critical bridge between chaos and clarity. Get this step wrong, and you risk destroying evidence, misjudging structural safety, or overlooking secondary hazards like hidden water damage or electrical faults.
The goal here is simple but demanding: accurately map the extent of damage while preserving the integrity of the scene for forensic analysis. Whether you’re a first responder, an insurance adjuster, or a fire investigator, your initial observations dictate how the rest of the process unfolds. This guide breaks down exactly how to evaluate fire damage effectively, from the moment you secure the perimeter to the final documentation of loss.
Why Scene Assessment Matters More Than You Think
Many people assume that once the fire is out, the job is done. But in reality, the fire has only revealed its footprint. The true story lies in the patterns of destruction. A hasty walkthrough can miss subtle cues-like the direction of flame spread or the presence of accelerants-that are vital for determining cause and origin. Furthermore, without a proper assessment, you might enter a building that looks stable on the outside but has compromised load-bearing walls inside.
For insurers, accurate assessment prevents fraud and ensures fair payouts. For investigators, it preserves the chain of custody for physical evidence. And for homeowners, it provides a clear roadmap for recovery. Think of scene assessment as creating a frozen snapshot of time. Once you start moving debris or cleaning up, that snapshot is gone forever. So, the priority is always observation before action.
Securing the Perimeter: The First Critical Step
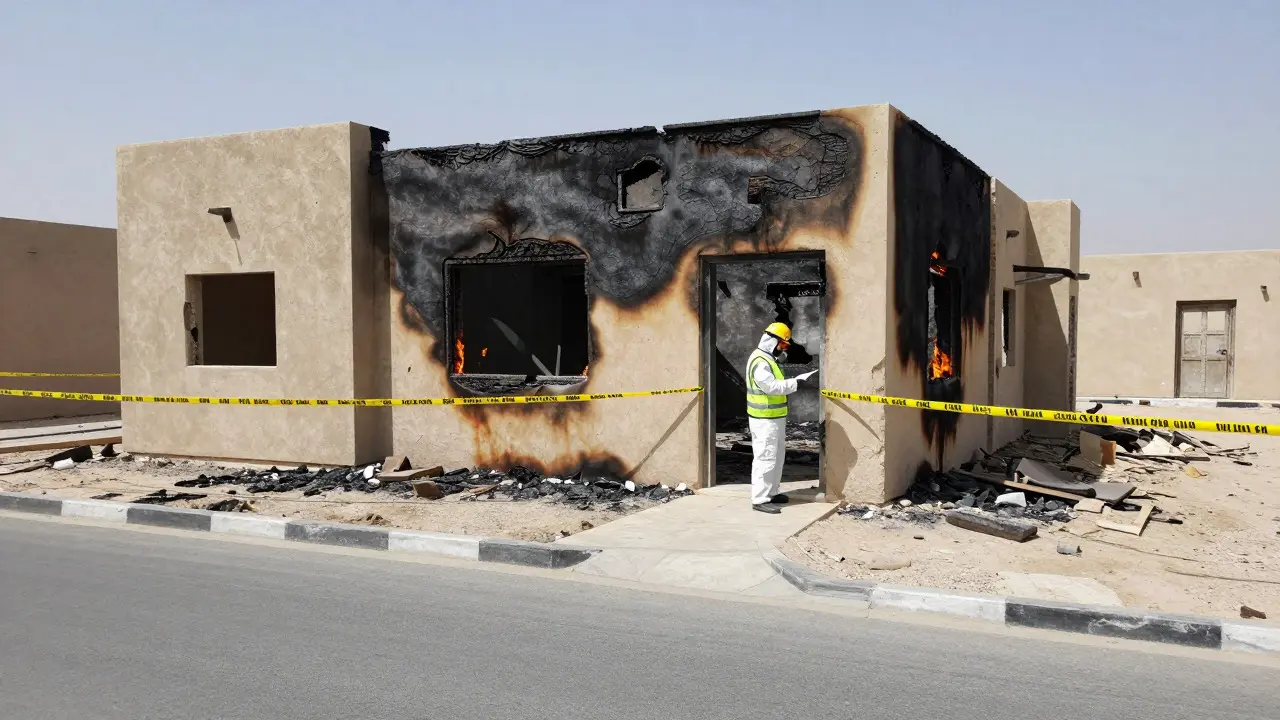
Before you even think about evaluating damage, you need to control access. An unsecured scene is a contaminated scene. Unauthorized entry can disturb footprints, shift debris, or introduce new contaminants that muddy the forensic picture. Start by establishing a clear boundary that includes not just the immediate structure, but also any adjacent areas where debris or runoff might have traveled.
- Establish Boundaries: Use caution tape or barriers to mark the outer limit of the affected area. Remember, fire debris can travel far via wind or water runoff.
- Control Access: Assign a specific point of entry/exit. Log everyone who enters and exits with timestamps. This creates a reliable audit trail.
- Preserve Conditions: If possible, keep the scene in its post-fire state until initial documentation is complete. Avoid opening windows or turning on fans unless necessary for safety.
In Portland, Oregon, where weather can shift rapidly, securing the perimeter also means protecting the scene from rain. Water can wash away trace evidence or alter chemical residues, so temporary shelters or tarps (placed carefully) may be needed if the delay is expected to be long.
Evaluating Structural Integrity and Hazards
Once the perimeter is set, the next question is: Can we safely go inside? Fire weakens materials in ways that aren’t always visible. Steel loses strength at high temperatures, wood chars and splinters, and drywall can collapse under its own weight if soaked by firefighting efforts. Never assume a wall is safe just because it looks intact from the hallway.
Look for these red flags during your initial visual sweep:
- Sagging Ceilings: Often indicates water saturation or loss of support beams.
- Cracked Foundations: Heat expansion followed by rapid cooling can crack concrete slabs.
- Loose Debris: Charring can make wood brittle. What looks like solid flooring might crumble underfoot.
- Electrical Hazards: Exposed wiring or damaged panels pose shock risks, especially if the site is still wet.
If you’re working with a team, designate one person as the “safety spotter” whose only job is to watch for shifting structures or falling debris. This role is non-negotiable in heavily damaged buildings.
Mapping the Path of Flame Spread
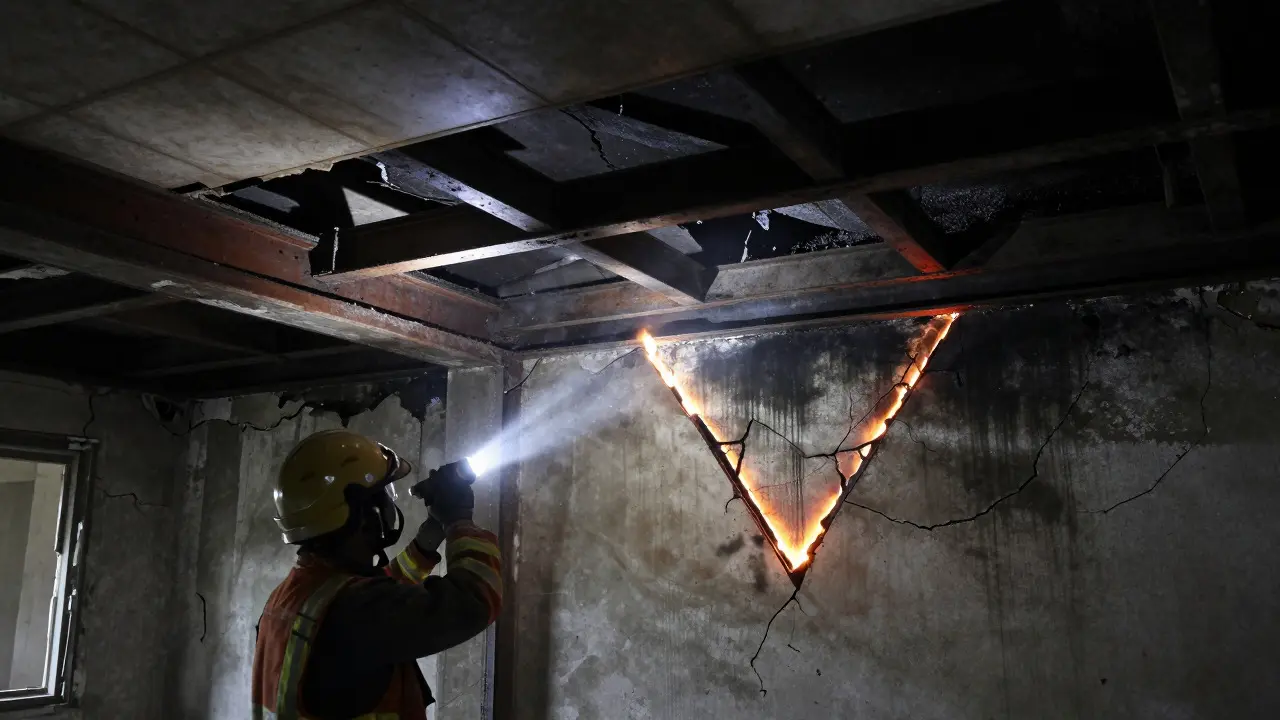
This is where the real detective work begins. Fire doesn’t move randomly; it follows physics. By understanding how heat, fuel, and oxygen interacted, you can reconstruct the timeline of the event. Look for V-patterns on walls, which indicate the path of flame rise. The tip of the V usually points toward the origin, while the base widens as the fire spreads upward.
Pay close attention to the “point of origin” versus the “area of heaviest damage.” These are often different. The origin might be a small, contained area that burned completely, leaving little behind, while the area of heaviest damage might be further away, where the fire had more time to grow and consume larger objects. Distinguishing between these two zones is crucial for both insurance claims and cause determination.
Also, note the level of charring. Deep, black char suggests prolonged exposure to high heat, while light, gray discoloration might indicate brief contact or radiant heat alone. This distinction helps separate direct flame contact from secondary heat effects.
Documenting Evidence Without Contamination
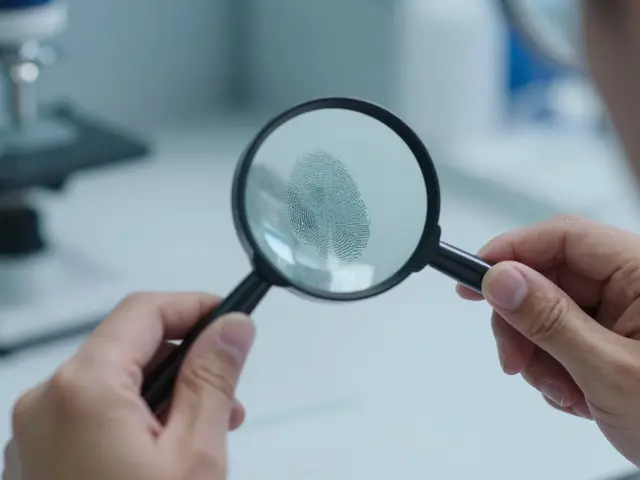
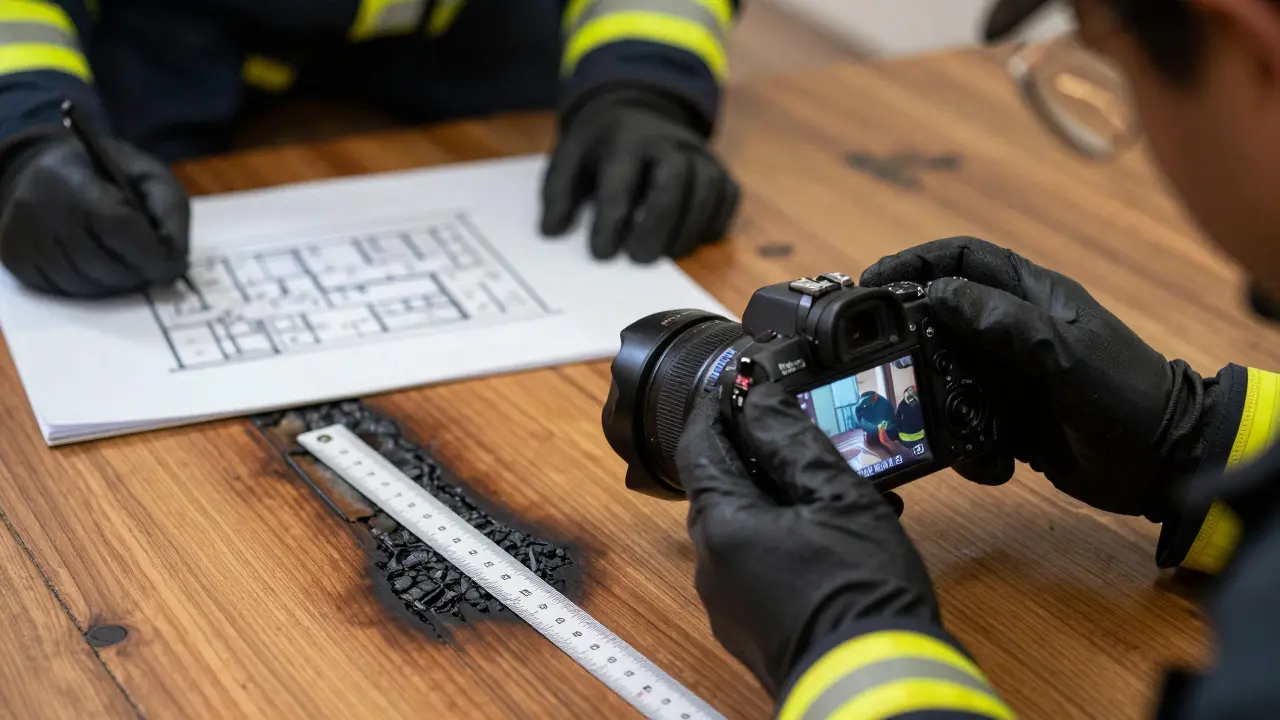
Documentation is your lifeline. Photos, sketches, and notes must tell the story clearly enough that someone who wasn’t there can understand exactly what happened. Start with wide-angle shots to establish context, then move to medium shots for room layouts, and finally, close-ups for specific details like burn patterns or debris locations.
When taking photos, include scale references for close-ups. A ruler or a standard object (like a coin or a matchbox) helps viewers gauge size. Label every photo with a unique ID number and a brief description. Don’t rely on memory; write down what you see immediately.
- Photograph the Perimeter: Show the relationship between the structure and the surrounding environment.
- Capture Room-by-Room Views: Stand in the center of each room and take photos in all four directions.
- Detail Specific Items: Focus on items near the suspected origin point, including their position relative to walls and other objects.
- Note Environmental Factors: Record temperature, humidity, and weather conditions at the time of assessment.
Avoid touching anything unless necessary. If you must move an item to get a better view, photograph it first, move it gently, and photograph it again. Keep a log of every item moved and why. This transparency builds credibility and protects against later disputes.
Identifying Secondary Damage and Hidden Issues
Fire damage is rarely just about the flames. Water from firefighting efforts, smoke residue, and soot create a complex web of secondary issues. Smoke particles are acidic and can etch into glass, metal, and fabrics if left untreated. They also carry odors that permeate porous materials like drywall and insulation.
Don’t ignore the roof. Even if the interior looks manageable, the roof deck may have suffered significant heat stress or water intrusion. Check for warped shingles, exposed decking, or signs of structural weakness. Similarly, inspect the foundation for cracks caused by thermal shock. In older homes, lath and plaster walls can become unstable when wet, posing a dust hazard that requires special handling.
Also, consider the contents. Electronics, documents, and personal items need specific triage. Some items can be saved with professional cleaning, while others are total losses. Documenting the condition of contents separately from the structure helps streamline the insurance claim process.
Common Mistakes to Avoid During Assessment
Even experienced professionals make errors. Here are the most common pitfalls that compromise scene assessments:
- Rushing the Documentation: Trying to finish quickly leads to missed details. Take your time; accuracy beats speed.
- Ignoring the Unseen: Focusing only on visible damage and overlooking hidden water lines, electrical panels, or attic spaces.
- Contaminating the Scene: Walking through wet areas in dirty boots, touching evidence without gloves, or allowing unauthorized personnel to wander in.
- Failing to Note Weather: Rain or wind can alter the scene significantly. Always record environmental conditions.
- Assuming Origin Equals Damage: As mentioned, the origin point is often less damaged than the surrounding area. Don’t let the biggest hole fool you.
Staying methodical and patient pays off. A thorough assessment now saves weeks of headaches later.
Next Steps After Initial Assessment
Once you’ve completed the initial scene assessment, the next phase involves deeper investigation or remediation planning. For investigators, this might mean collecting samples for laboratory analysis. For restoration teams, it means developing a detailed scope of work based on your findings. For property owners, it’s time to gather estimates and coordinate with insurance providers.
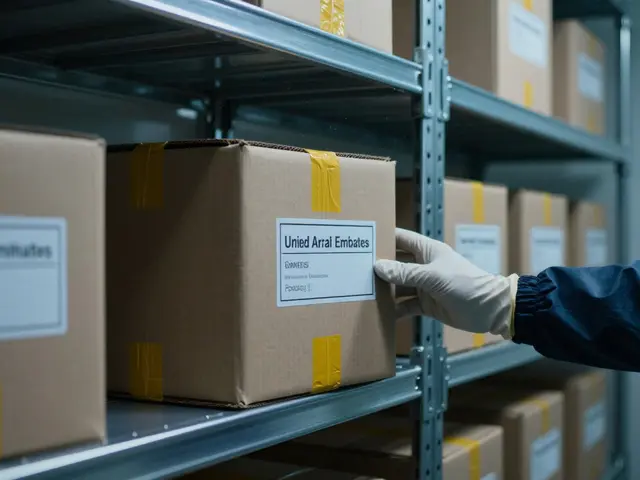
Keep all your documentation organized and accessible. Digital files should be backed up in multiple locations. Physical logs should be stored securely. The more complete your record, the smoother the transition to the next stage will be.
How long does a typical fire scene assessment take?
It varies widely depending on the size of the structure and complexity of the damage. A small residential fire might take 4-6 hours for a thorough initial assessment, while a large commercial incident could require several days. The key is completeness, not speed.
What tools are essential for fire damage assessment?
Essential tools include a high-resolution camera, measuring tapes, laser levels, PPE (gloves, masks, boots), flashlights, and a notebook. Thermal imaging cameras are highly recommended for detecting hidden hot spots or moisture, though they are not strictly mandatory for basic visual assessments.
Should I clean up the scene immediately after the fire?
No. Cleaning should wait until documentation and evidence collection are complete. Premature cleanup can destroy critical clues about the fire's origin and spread. Only begin remediation after receiving clearance from investigators or insurers.
How do I distinguish between accidental and intentional fire damage?
Visual assessment alone rarely proves intent. However, certain indicators like multiple points of origin, unusual fuel sources, or lack of natural ignition sources can raise suspicions. Definitive determination usually requires laboratory analysis of accelerant residues and expert testimony.
Is it safe to re-enter a fire-damaged home right away?
Only if cleared by a structural engineer or fire marshal. Hidden structural weaknesses, electrical hazards, and toxic residues make immediate re-entry risky. Always wait for official clearance before returning to the property.