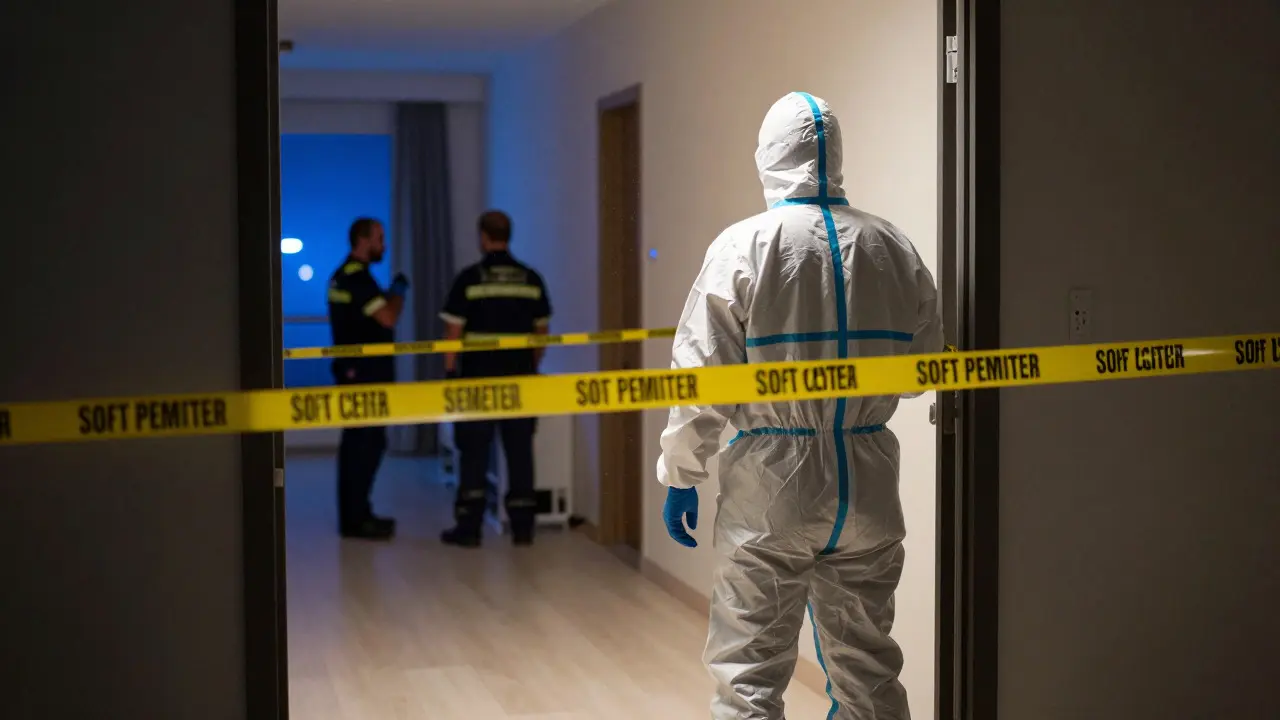
Walking into a chaotic room with flashing lights and anxious onlookers is stressful enough. But the real pressure hits when you have to decide, in the first ten minutes, what actually matters. This is where preliminary scene assessment comes in. It’s not just about looking around; it’s a structured process to define the boundaries of your investigation before the scene gets contaminated by well-meaning but untrained people.
If you get this wrong, you might miss a key piece of evidence or waste hours processing an area that turns out to be irrelevant. The goal isn’t to solve the case at the door. It’s to create a logical map of where to look and what to protect. Here is how professionals break down the chaos into a manageable plan.
The First Five Minutes: Securing the Perimeter
Before you touch a single fingerprint or photograph a shell casing, you need control. The immediate priority is establishing a perimeter that keeps the public out but allows emergency services to function. In urban environments like Portland, this often means dealing with narrow streets and curious neighbors who think they can help by pointing out "suspicious" items.
- Hard Perimeter: The absolute outer limit. No one enters without authorization. Use crime scene tape, cones, or officers.
- Soft Perimeter: A buffer zone inside the hard line for command staff, photographers, and initial responders. This area remains restricted but allows for operational movement.
- Core Area: The specific location of the incident (e.g., the victim’s body, the point of impact). Only essential personnel enter here during the preliminary phase.
This layered approach prevents cross-contamination. If a paramedic walks through the blood spatter to reach the patient, they’ve already altered the evidence. By defining these zones early, you preserve the integrity of the scene while still allowing medical treatment to happen safely.
Reading the Environment: Context Clues
Once the area is secure, you start observing without interacting. You are looking for anomalies. What doesn’t fit? A window open on a hot day? A light switch flipped off when it should be on? These small details often tell you more about the sequence of events than any physical evidence found later.
Consider the environmental factors. Was it raining? If so, wet footprints near the entrance become critical time markers. Is the heating system on? That tells you someone was there recently. These contextual clues help you determine the scope of the search. If the weather suggests the perpetrator stayed indoors, your search radius shrinks significantly. If they fled outside, you expand it to include the vehicle access points and nearby alleys.
| Factor | Why It Matters | Action Item |
|---|---|---|
| Weather Conditions | Affects evidence degradation and movement paths | Note temperature, precipitation, wind direction |
| Time of Day | Influences visibility and witness availability | Check lighting conditions and street activity levels |
| Access Points | Determines entry/exit routes | Identify all doors, windows, vents, and breaks in walls |
| Scene Disturbance | Indicates prior activity or interference | Document footprints, disturbed debris, moved furniture |
Triage: Deciding What to Process First
You won’t process everything at once. You don’t have the time, and you don’t have the resources. Triage is the art of prioritization. You categorize potential evidence based on its volatility and importance.
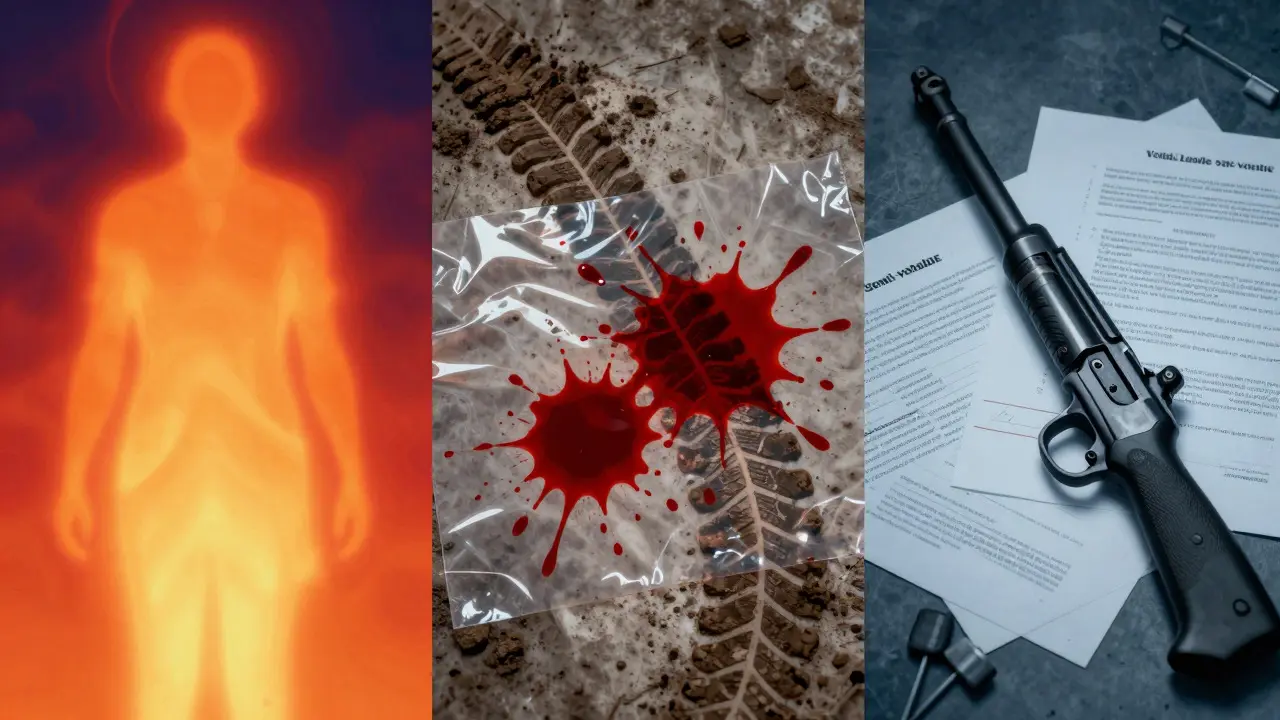
- Volatile Evidence: Things that disappear quickly. Body heat, evaporating liquids, fading scents. Document these immediately with photos and notes.
- Semi-Volatile Evidence: Items that degrade over hours or days. Blood stains, tire tracks in mud, insect activity. Protect these from elements.
- Stable Evidence: Physical objects that remain unchanged. Weapons, documents, clothing. These can wait for a systematic search later.
For example, if you find a puddle of liquid on the floor, don’t assume it’s water. Take a photo, note its size and shape, and check if it’s spreading. If it’s volatile, you need to act now. If it’s stable, mark the spot and move on. This decision-making process defines your investigation scope by telling you where to focus your limited energy right now.
Coordinating with Other Agencies
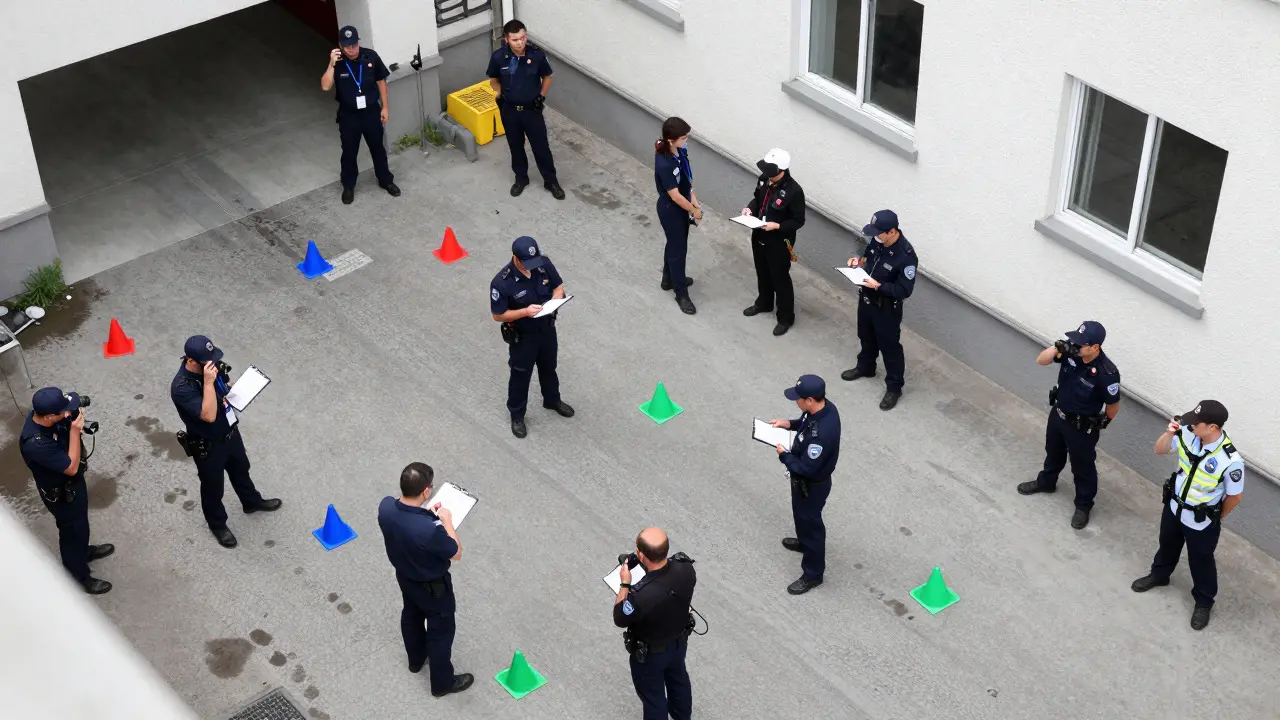
Rarely does a crime scene involve only police. Fire departments, EMS, utility companies, and even private security might be present. Each group has their own agenda. The fire crew wants to check for accelerants. EMS wants to treat the injured. Security wants to know if their cameras were tampered with.
Your job as the lead investigator is to harmonize these efforts. Hold a quick briefing. Explain the current understanding of the scene. Ask each agency to identify their critical needs. Then, assign specific areas to each team to minimize overlap. If the fire department is checking the kitchen, you don’t need to process the kitchen counters yet. This coordination prevents redundant work and reduces the chance of accidental destruction.
Communication is key. Use clear, non-technical language. Avoid jargon that confuses non-law enforcement partners. Keep everyone informed of changes in the scene status. If a new suspect is identified, update the perimeter restrictions accordingly. This dynamic adjustment is part of managing the investigation scope effectively.
Documentation: The Foundation of Scope
Nothing you do in the preliminary phase counts if you don’t document it. Your notes and photos form the baseline against which all future changes are measured. If you forget to photograph the original position of a chair, you lose the ability to prove it was moved later.
Start with wide-angle shots showing the entire room or area. Then, zoom in on specific points of interest. Use a scale in close-up shots. Write down every observation, no matter how trivial it seems. "A broken glass on the table" is less useful than "A tumbler with a chip on the rim, located 3 feet from the window, containing residue." Specificity creates clarity. Clarity defines scope.
Remember, the preliminary assessment is a snapshot in time. As you gather more information, your understanding will evolve. But your initial documentation anchors that evolution. It provides the context needed to interpret later findings accurately.
Common Pitfalls to Avoid
Even experienced investigators make mistakes. Here are the most common ones and how to prevent them:
- Assuming the Obvious: Don’t skip the boring parts. A clean floor might mean someone mopped it. A closed door might mean it was forced shut. Question everything.
- Over-Processing: Spending three hours lifting fingerprints from a wall that shows no signs of contact is wasted time. Focus on high-probability areas first.
- Ignoring Digital Evidence: Phones, laptops, and smart home devices are part of the scene. Note their locations and power states. They hold data that complements physical evidence.
- Poor Communication: Misunderstandings between teams lead to errors. Regular briefings keep everyone aligned.
Avoiding these pitfalls ensures that your preliminary assessment leads to a focused, efficient investigation rather than a scattered, reactive one.
Final Thoughts on Scope Determination
Determining investigation scope isn’t a one-time event. It’s a continuous process that refines itself as you learn more. But the foundation is laid in those first few minutes. Secure the area, read the environment, triage the evidence, coordinate with partners, and document everything. Do this well, and you set the stage for a successful investigation. Do it poorly, and you’re fighting uphill from the start. The difference between a solved case and a cold one often lies in how well you managed the scene before the heavy lifting began.
How long should a preliminary scene assessment take?
Ideally, the core assessment should be completed within 15 to 30 minutes of arrival. This includes securing the perimeter, initial observation, and basic documentation. However, complex scenes may require longer, but the goal is to establish a working scope quickly to guide subsequent detailed processing.
Who is responsible for the preliminary scene assessment?
Usually, the first responding officer or the Crime Scene Investigator (CSI) arrives on site takes the lead. In larger incidents, a designated Incident Commander oversees the process. The key is that one person must be accountable for the initial decisions regarding scope and preservation.
What is the difference between a hard and soft perimeter?
The hard perimeter is the outermost boundary where no unauthorized entry is allowed. The soft perimeter is an inner zone reserved for command staff and essential responders. This two-layer system helps manage traffic and reduce contamination risk in the core area.
How do I handle digital devices found at the scene?
Do not turn them off or on unless necessary for safety. Note their location, screen state, and connection status (e.g., charging). Photograph them in place. If possible, use Faraday bags to prevent remote wiping or signal transmission. Coordinate with a digital forensics specialist for extraction.
Can the investigation scope change after the preliminary phase?
Yes, absolutely. New evidence, witness statements, or lab results can expand or contract the scope. For example, finding a second weapon might require re-examining previously cleared areas. Flexibility is crucial, but the initial assessment provides the baseline for these adjustments.