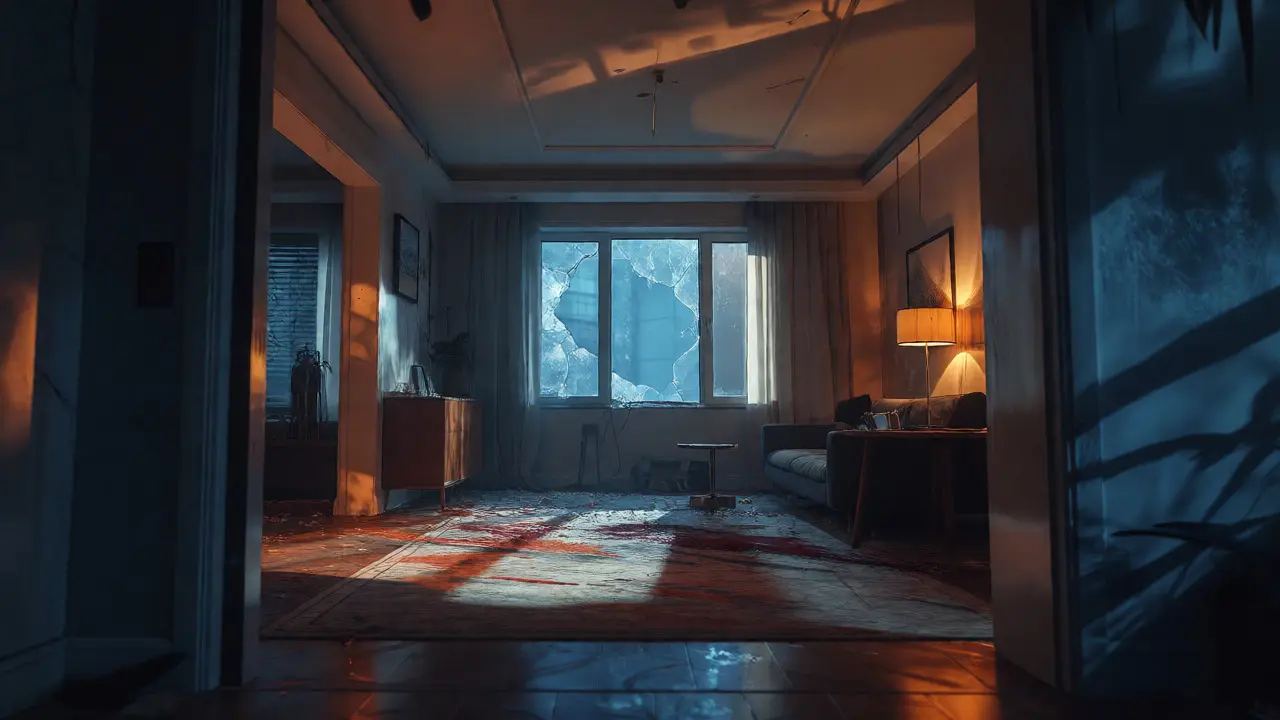
You walk into a room. The lighting is terrible. There’s blood on the carpet, a shattered window, and three different types of debris scattered across the floor. You take your photos. But when you open your report two weeks later, half the images are blurry, one is overexposed, and you can’t remember which angle showed the entry point versus the exit wound. Sound familiar?
Here’s the hard truth: photographic documentation isn’t just about taking pictures; it’s about creating a visual narrative that holds up in court. If your images don’t tell the story clearly, your written report has to do all the heavy lifting-and juries hate reading walls of text. They want to see what you saw.
| Attribute | Requirement | Common Pitfall |
|---|---|---|
| Resolution | High enough to zoom without pixelation (min 12MP) | Using phone cameras with low dynamic range |
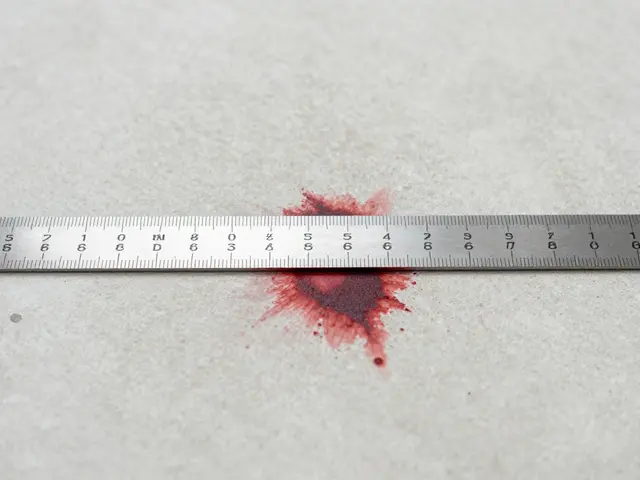
| Scale Reference | Visible ruler or scale card in close-ups | Forgetting the scale until post-processing |
| Lighting | Even illumination, no harsh shadows hiding details | Relying solely on flash, causing glare |
| Context | Wide shots showing location relative to landmarks | Taking only close-ups with no orientation |
The Three-Tier Approach to Scene Coverage
Most rookie mistakes happen because photographers jump straight to the cool stuff-the bloody footprint or the unique tool mark. But if you skip the context, those details lose their meaning. You need a systematic approach. Think of it like a funnel: wide, medium, tight.
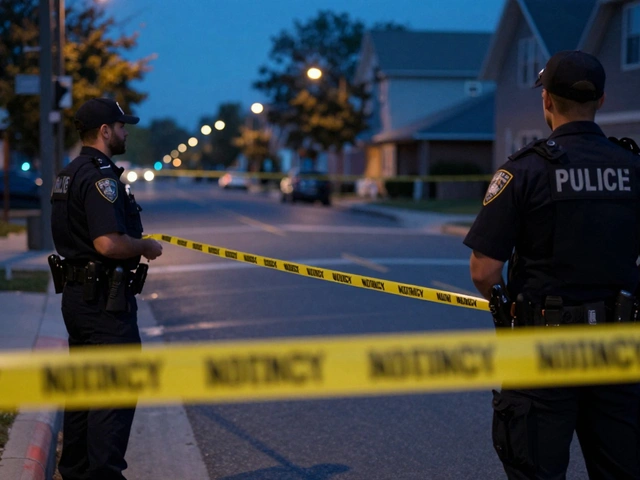
Start with overall views. These are your establishing shots. You’re capturing the entire scene from multiple corners. If it’s an indoor crime scene, shoot from each doorway looking inward. For outdoor scenes, capture the perimeter from cardinal directions (North, South, East, West). Why? Because if a defense attorney claims the witness couldn’t have seen the suspect from the kitchen, your overall view proves sightlines.
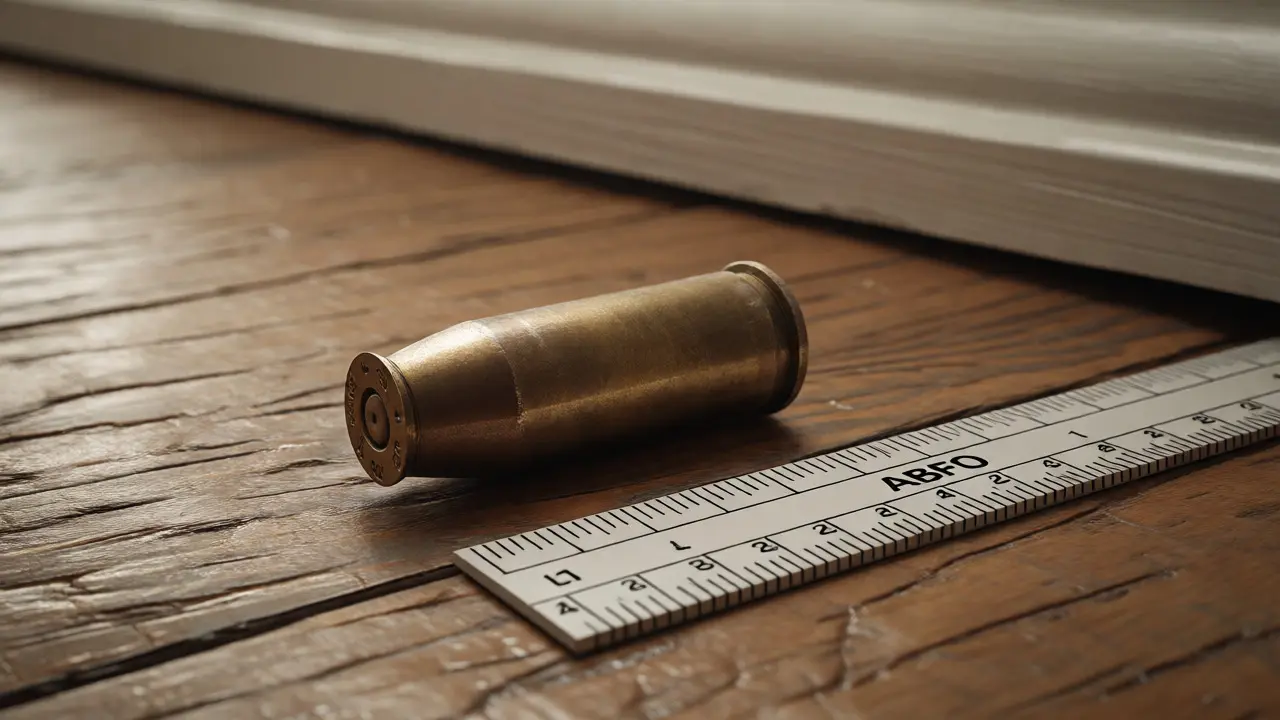
Next, move to mid-range shots. This is where you connect the dots. Show how evidence relates to fixed objects. A shell casing isn’t just a brass cylinder; it’s a shell casing three feet from the baseboard near the north wall. Use landmarks like doorframes, furniture legs, or street signs as anchors in these frames. This builds spatial logic into your report.
Finally, go tight. This is where evidence photography gets technical. Every single piece of collected evidence needs a dedicated shot before it’s moved. Always include a scale reference-like an L-scale or ABFO scale-next to the item. Make sure the scale is parallel to the surface being photographed. If you’re shooting a footprint in mud, the scale should lie flat on the mud, not tilted toward the camera lens. Distortion kills credibility.
Lighting and Equipment: What Actually Matters
You don’t need a $5,000 DSLR to take good forensic photos, but you do need control over light. Flash is often your enemy if used poorly. Direct flash flattens textures, making a bruise look like a shadow or a scratch disappear entirely. Instead, try off-camera flash or bounce the light off a white ceiling or wall to soften the shadows.
Consider the environment. Night scenes require long exposures or powerful external lights. Daytime scenes might need polarizing filters to cut through glare on wet surfaces or glass. And yes, your smartphone can work in a pinch, but check the resolution settings. Many phones default to compressed JPEGs that lose detail when zoomed in. Switch to RAW format if possible-it gives you more data to recover highlights and shadows during editing.
Don’t forget about color accuracy. White balance matters. If your photos have a yellow tint from incandescent bulbs, a blue shirt might look green in court. Use a gray card to set custom white balance before you start shooting. It takes ten seconds and saves hours of debate about whether the car was actually red or orange.
Integrating Images into Your Report
Taking the photos is only half the battle. How you present them determines whether they help or hurt your case. Dumping fifty unorganized thumbnails at the end of a PDF is lazy. Juries won’t scroll through them. They’ll skim and miss critical details.
Instead, embed relevant images directly within the narrative. When you describe the position of the body, place the photo right next to the text. Use captions effectively. Don’t just write "Photo 1." Write "Photo 1: Victim’s left hand showing defensive wounds, taken at 14:30 hours." Specificity builds trust.
Use arrows and annotations sparingly. Pointing out a bullet hole is helpful. Covering the entire image with red circles and lines makes it look like a conspiracy theory board. Keep edits minimal. Adjust brightness and contrast if needed, but never crop out context unless absolutely necessary. If you crop, state that in the caption.
Chain of Custody and Digital Integrity
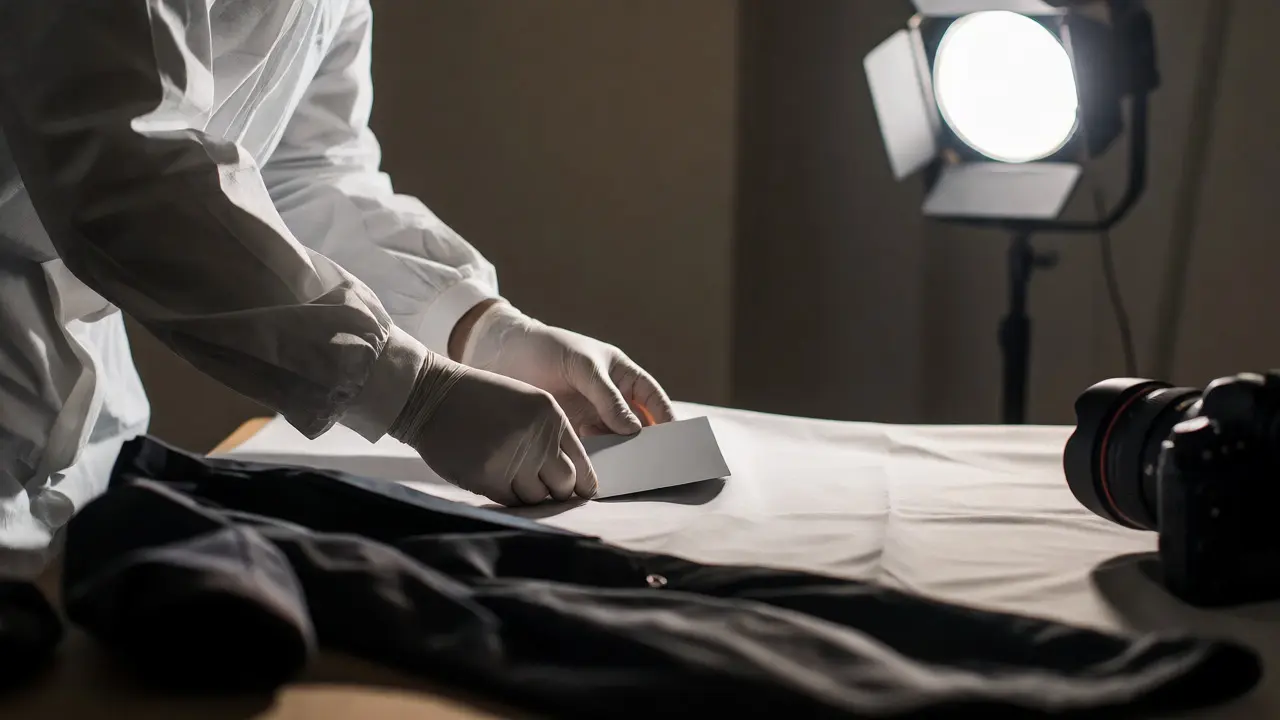
In the digital age, metadata is part of the evidence. Your camera embeds EXIF data-date, time, GPS coordinates, shutter speed-into every file. Do not strip this data out carelessly. Defense experts will ask for the original files to verify when and where the photo was taken. If you edit the image, save a copy of the original untouched version.
Log every image in your evidence log. Assign unique identifiers. If you take 200 photos, label them sequentially (e.g., SCENE-001 to SCENE-200) rather than using generic names like IMG_001.jpg. This prevents confusion when multiple investigators are working the same case. Consistency here shows professionalism and attention to detail.
Back up your images immediately after leaving the scene. Hard drives fail. Cloud storage glitches. Have two copies: one on a portable drive and one uploaded to a secure server. Losing a photo means losing a piece of the puzzle, and sometimes, that puzzle piece is the alibi breaker.
Common Mistakes That Undermine Credibility
We’ve all seen reports where the photographer forgot to turn off the flash, resulting in a blown-out white spot on a dark jacket. Or worse, they included personal items in the frame-a coffee cup on the table, a modern smartphone charging nearby. These small distractions remind the jury that this is a staged reconstruction, not a raw capture of reality.
Another frequent error is inconsistent perspective. If you shoot a fingerprint from above in one photo and from a side angle in another, comparing them becomes difficult. Stick to perpendicular angles for measurements and consistent heights for comparisons. If you’re documenting a series of similar injuries, keep the camera height and distance constant so the viewer can compare size and shape accurately.
Finally, don’t ignore the background. A cluttered background distracts from the subject. If possible, clear minor debris or use a backdrop sheet for close-ups of small items. If you can’t clean the area, note it in your report. Transparency beats perfection.
Do I need professional equipment for forensic photography?
Not necessarily. Modern smartphones with high-resolution cameras (12MP+) can produce acceptable results for initial documentation. However, dedicated DSLRs or mirrorless cameras offer better control over depth of field, lighting, and RAW file formats, which are crucial for detailed analysis and courtroom presentations.
How many photos should I take of a single piece of evidence?
Aim for at least three angles: overall context, mid-range relationship to surroundings, and a close-up with a scale reference. If the evidence has complex features, such as textured patterns or multiple dimensions, take additional shots from different perspectives to ensure complete documentation.
Can I edit my forensic photos before including them in the report?
Yes, but limit edits to basic adjustments like brightness, contrast, and cropping. Avoid altering colors or adding elements. Always retain the original unedited file and document any changes made in the photo caption or methodology section to maintain transparency and admissibility.
What is the best way to handle poor lighting conditions?
Use external flash units positioned off-camera to reduce glare and preserve texture. If natural light is insufficient, consider using continuous LED panels for video-like illumination. Adjust ISO settings carefully to minimize noise, and use a tripod for longer exposures to prevent motion blur.
Why is scale reference important in close-up photos?
Without a scale reference, viewers cannot determine the actual size of the object or injury. A small scratch could be mistaken for a large laceration, or vice versa. Including a standard scale (like an L-scale or ruler) ensures accurate interpretation of dimensions by judges, jurors, and other experts.