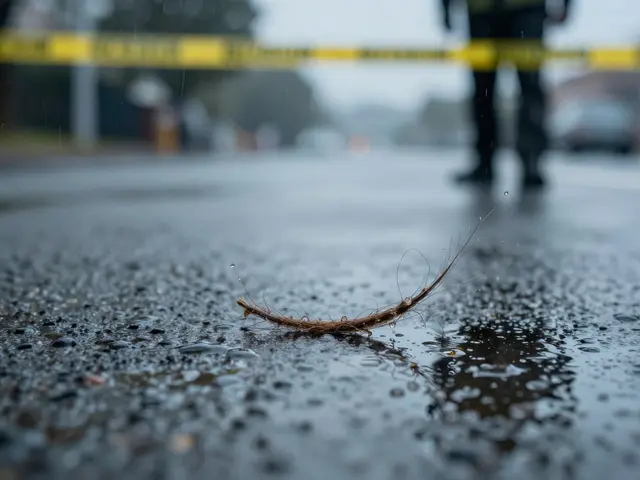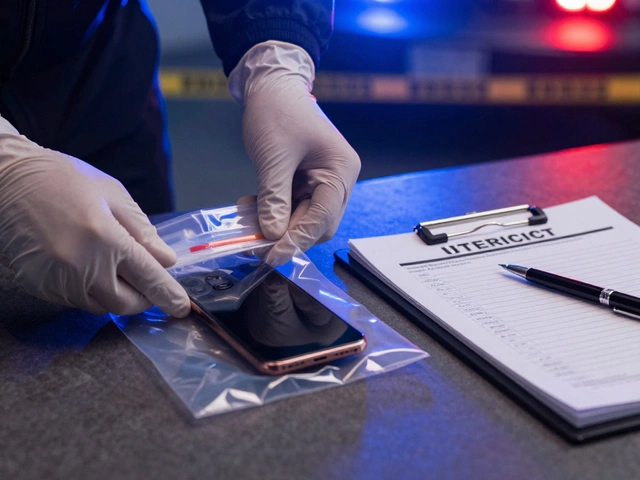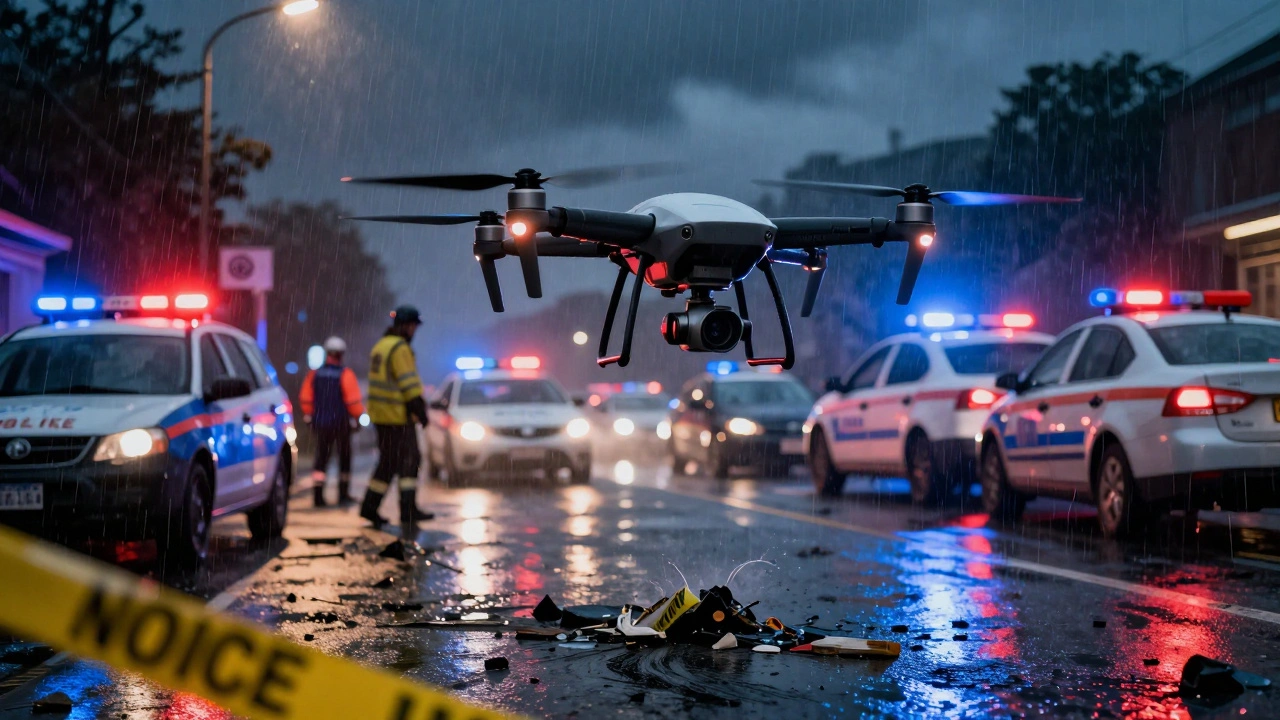
Imagine standing at a chaotic traffic accident site. Rain is falling, police tape is fluttering, and every second counts. You need to measure the skid marks, the position of the vehicles, and the debris field. Traditionally, you’d pull out a measuring tape, lay it down, mark points with spray paint, and sketch everything by hand. It’s slow, prone to human error, and once you leave, that physical reality is gone forever.
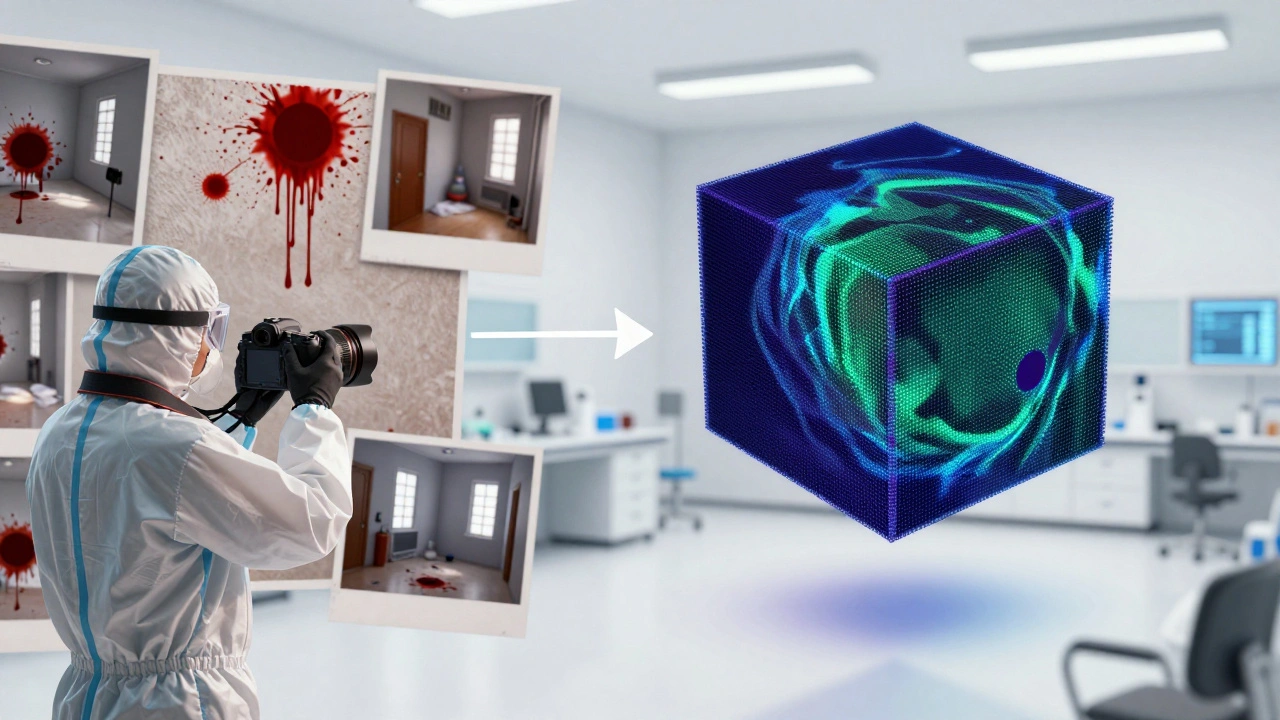
Now imagine taking hundreds of overlapping photos with a drone or a handheld camera. Within hours, those images transform into a precise, measurable 3D model of the entire scene. You can zoom in on a tire tread from your desk, measure distances to the millimeter, and even simulate how the lighting looked at the time of the crash. This isn’t science fiction; it’s photogrammetry, a technology that is rapidly changing how we document and reconstruct crime scenes.
What Is Forensic Photogrammetry?
At its core, photogrammetry is the science of making measurements from photographs. In a forensic context, it goes far beyond just taking pictures for memory. It involves capturing multiple overlapping images of a scene from different angles and using specialized software to stitch them together into a accurate 3D point cloud or mesh.
This digital replica allows investigators to extract real-world measurements-distances, heights, angles, and volumes-from the images long after the physical scene has been released. Whether it’s a homicide investigation, a vehicle collision, or an arson fire, photogrammetry provides a permanent, metrically reliable record of the scene’s geometry and spatial relationships.
The discipline dates back to the 19th century, nearly as old as photography itself. However, its application in forensics has exploded recently due to advances in digital cameras, computing power, and accessible software. Today, it sits alongside traditional methods like laser scanning and total station surveying as a standard tool for advanced forensic units.
Why Use Photogrammetry Over Traditional Methods?
You might wonder why we bother with complex 3D modeling when a tape measure works fine. The answer lies in speed, accuracy, and preservation. Here is how photogrammetry compares to the old-school ways:
| Feature | Manual Tape/Sketch | Terrestrial Laser Scanning (LiDAR) | Photogrammetry |
|---|---|---|---|
| Speed | Slow (hours for large scenes) | Fast scan, but setup takes time | Very fast capture (minutes) |
| Visual Detail | None (lines on paper) | Low (usually gray point clouds) | High (full-color textured models) |
| Cost | Low | High ($10k-$50k+ scanners) | Moderate (cameras + software) |
| Courtroom Impact | Hard for juries to visualize | Technical, less intuitive | Highly visual and persuasive |
| Lighting Dependency | None | Low (works in dark) | High (needs good light/texture) |
Traditional manual measurements require you to anticipate what needs measuring while you are still at the scene. If you forget to measure the distance between two shell casings, that data is lost forever. With photogrammetry, you capture the entire visible environment. Later, in the lab, you can measure anything that was visible in the photos. This comprehensive coverage reduces the risk of missing critical evidence.
Furthermore, 3D models are incredibly effective in court. Judges and juries often struggle to understand 2D sketches or raw data tables. A textured 3D model they can rotate and explore makes complex spatial relationships clear and undeniable.
Key Techniques in Crime Scene Imaging
Not all photogrammetry looks the same. Depending on the size of the scene and the equipment available, investigators use several distinct approaches.
Perspective Grid (Single-Image) Photogrammetry
This is the simplest form, useful when you only have one photo, perhaps from CCTV or a bystander’s phone. If there is an object of known dimensions in the image-like a standard door frame or a brick-you can use that as a scale reference. By applying geometric transformations based on perspective projection, you can estimate distances and sizes of other objects in the same plane. It’s rudimentary but powerful for legacy cases where no full 3D capture was done.
Close-Range Multi-Image Photogrammetry
This is the workhorse for indoor scenes and specific evidence areas. Investigators walk around the subject, taking dozens or hundreds of overlapping photos from different angles. They often place coded targets or scale bars in the scene to ensure accurate scaling. Software then aligns these images to create a dense 3D point cloud. This method is ideal for documenting bloodstain patterns, bullet holes, or the exact position of a victim relative to nearby furniture.
Drone and Micro-UAV Photogrammetry
For large outdoor scenes-like highway crashes, shooting incidents in parks, or rural homicides-drones are game-changers. A drone can fly a pre-programmed grid pattern over the scene, capturing aerial imagery that provides a complete overhead view. This reveals approach paths, lines of sight, and the overall layout of the area. Recent studies also show that small micro-drones can navigate tight indoor spaces without GPS, creating detailed interior maps where ground-based photography might miss ceiling details or high-up evidence.
Video-Based Analysis
Photogrammetry isn’t limited to still images. Specialized tools can analyze video footage from CCTV or smartphones. By extracting frames and identifying consistent features across the video sequence, investigators can reconstruct events, estimate suspect height, and determine object positions even if the physical scene is no longer accessible.
The Workflow: From Scene to Courtroom
Implementing photogrammetry requires a structured workflow to ensure the results are scientifically defensible. Here is the step-by-step process most forensic teams follow:
- Scene Preparation: Before taking any photos, place reference targets or scale bars in the scene. For outdoor scenes, you might use a total station to establish ground control points (GCPs) for geospatial accuracy. These known points anchor your 3D model to real-world coordinates.
- Image Acquisition: Capture overlapping images. The key rule is overlap: each photo should share about 60-80% of its content with the previous one. Ensure you cover all angles, including close-ups of critical evidence and wide shots for context. Avoid moving people or objects in the frame, as this creates "ghosting" artifacts in the final model.
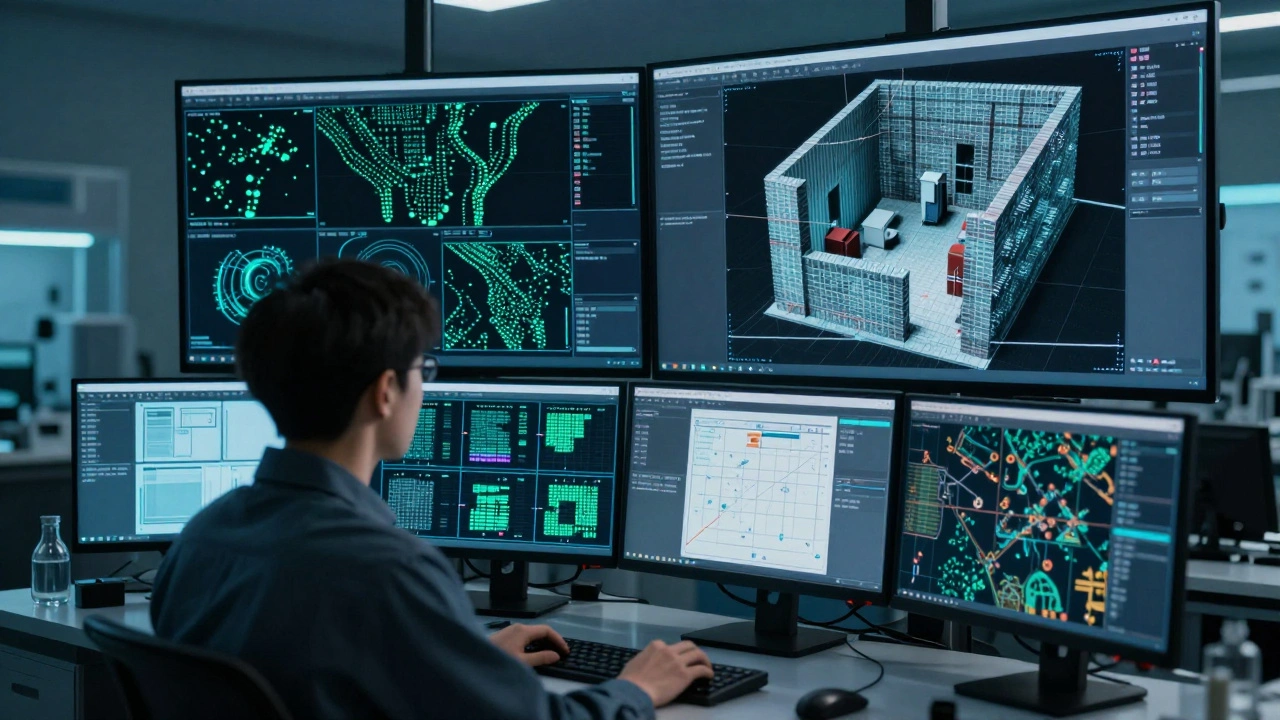
- Processing: Import the images into photogrammetry software like Pix4Dmapper, 3DF Zephyr, or Cognitech. The software performs feature detection, finding matching points between images to calculate camera positions. It then generates a sparse point cloud, followed by a dense point cloud, and finally a textured 3D mesh.
- Scaling and Measurement: Apply the scale using your reference targets or GCPs. Once scaled, you can take precise measurements directly in the software. Need to know the angle of a bullet trajectory? Measure it. What’s the volume of a burn scar? Calculate it.
- Visualization and Export: Create orthomosaics (flattened, distortion-free maps), cross-sections, and animations. Many experts export the model to visualization software to simulate lighting conditions, such as showing how streetlights illuminated a suspect at 2 AM.
- Documentation: Archive the raw images, project files, and final models. Every step must be documented so that opposing counsel can audit your methodology. Transparency is key to admissibility.
Accuracy and Limitations
How accurate is this stuff? When executed correctly-with calibrated cameras, adequate overlap, and proper control points-forensic photogrammetry can achieve millimeter-to-centimeter level accuracy. This is more than sufficient for most crime scene reconstruction tasks, such as determining stopping distances or verifying alibis based on line-of-sight.
However, it’s not magic. There are limitations you must respect:
- Occlusions: If an object is hidden behind another object in all photos, it won’t appear in the 3D model. You can’t measure what you can’t see.
- Surface Texture: Photogrammetry relies on identifying unique features (pixels) to match images. Highly reflective surfaces (mirrors, chrome), transparent surfaces (glass), or completely uniform textures (white walls, smooth concrete) can confuse the software, leading to gaps or inaccuracies.
- Moving Objects: People walking through the scene, swaying trees, or shifting debris between shots will cause errors. Always try to secure the scene and minimize movement during capture.
- Lighting Conditions: Poor lighting leads to noisy images, which reduces feature detection quality. While drones help with outdoor scenes, low-light indoor environments remain challenging.
To mitigate these issues, many agencies combine photogrammetry with LiDAR scanning. LiDAR provides precise geometric data regardless of texture or light, while photogrammetry adds realistic color and detail. Merging both datasets creates the most robust digital evidence possible.
Software Ecosystem and Costs
You don’t need a million-dollar budget to start. Several professional platforms cater to forensic users:
- Pix4Dmapper: Widely used for drone-based reconstructions. It excels at processing large aerial datasets and creating high-resolution orthomosaics. Popular among firms like Visual Law for courtroom presentations.
- 3DF Zephyr (by 3Dflow): Known for its user-friendly interface and strong performance on close-range and indoor scans. It integrates well with LiDAR data and offers robust measurement tools tailored for forensics.
- Cognitech: Focuses heavily on video analysis and single-image photogrammetry. Ideal for analyzing surveillance footage and estimating heights/distances from existing media.
Costs vary widely. Entry-level licenses might cost a few thousand dollars, while enterprise suites with advanced modules can run into tens of thousands annually. Remember to factor in hardware costs too: you’ll need a powerful workstation with a strong GPU to process heavy point clouds efficiently.
Getting Started: Practical Tips
If you’re considering adopting photogrammetry in your department, here’s how to begin:
- Train Your Team: Technology is only as good as the operator. Invest in training for photographic best practices (exposure, focus, overlap) and software workflows. Many vendors offer certification courses.
- Standardize Protocols: Develop Standard Operating Procedures (SOPs) for image capture, file naming, and data storage. Consistency ensures reproducibility and legal defensibility.
- Start Small: Don’t try to map a whole city block on day one. Start with simple indoor scenes or static evidence collections to build confidence and validate accuracy against manual measurements.
- Validate Early: Compare your photogrammetric measurements with traditional tape measures on test scenes. Document the error margins. This data will be crucial when defending your methods in court.
Photogrammetry is no longer a futuristic concept; it’s a practical, powerful tool that enhances investigative rigor and courtroom clarity. By embracing this technology, you preserve the truth of the scene with unprecedented precision, ensuring that justice is served based on facts, not assumptions.
Is photogrammetry admissible in court?
Yes, photogrammetry is generally admissible as demonstrative evidence, provided the methodology is scientifically sound. To ensure admissibility, you must document your calibration processes, use known reference scales, and be prepared to explain the error margins. Courts accept it when experts can testify to the reliability of the technique and the specific steps taken during the case.
Can I use smartphone photos for forensic photogrammetry?
In some cases, yes. Modern smartphones have high-quality lenses and sensors. If you have enough overlapping images with stable features and known reference points, you can generate a usable 3D model. However, for critical measurements requiring millimeter precision, professional DSLR or mirrorless cameras with fixed focal lengths are preferred due to better optical consistency and lower distortion.
How does photogrammetry compare to 3D laser scanning?
Laser scanning (LiDAR) is faster and more accurate in low light or on featureless surfaces, but it produces uncolored point clouds. Photogrammetry captures rich color and texture, making it more visually persuasive for juries, but it struggles with reflective or uniform surfaces. Many professionals combine both: using LiDAR for geometry and photogrammetry for texture, creating a hybrid model that leverages the strengths of both technologies.
What is the minimum overlap required for photos?
A general rule of thumb is 60-80% overlap between consecutive photos. This means each new photo should share at least 60% of its content with the previous one. Higher overlap increases the chance of successful feature matching and reduces gaps in the final 3D model. For drone flights, side-lap (overlap between rows) should also be maintained at similar levels.
Does photogrammetry work indoors without GPS?
Yes. Photogrammetry relies on visual features, not GPS signals. Indoor scenes are actually common use cases. You simply need to ensure good lighting and sufficient texture on walls and floors. Placing coded targets or using natural features like door corners helps the software orient the model accurately. Micro-drones are particularly useful here for capturing ceiling and high-wall details safely.