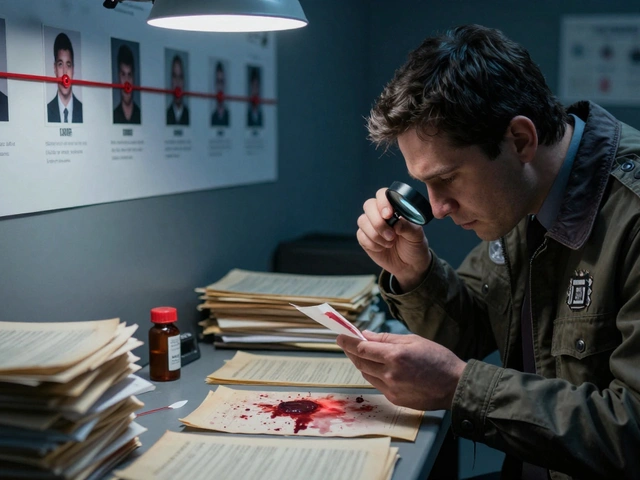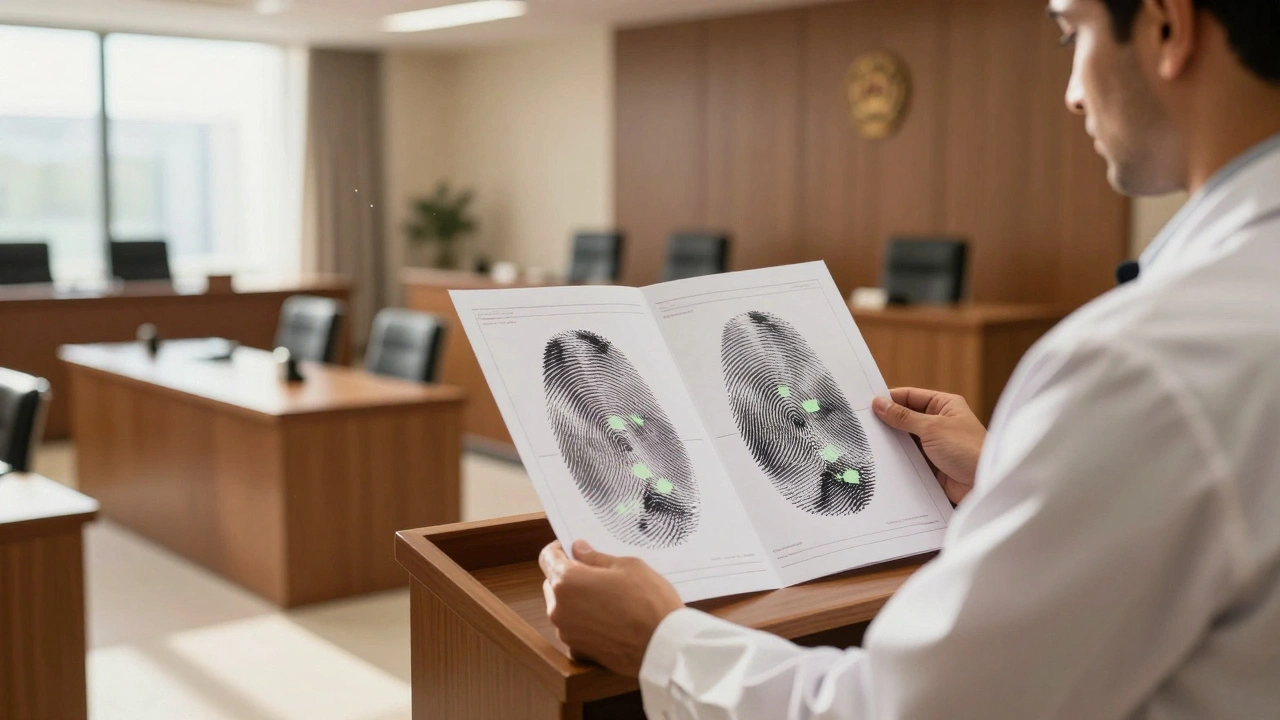
Fingerprints are often called the "gold standard" of forensic identification. But in a courtroom, a smudge on a doorknob doesn't speak for itself. You need a bridge between complex scientific analysis and a jury's understanding. That bridge is built with courtroom demonstratives. These visual aids transform abstract ridge patterns into clear, compelling narratives that explain how an expert reached their conclusion.
Using demonstratives isn't just about making slides look pretty. It’s a strategic necessity. If you present fingerprint evidence poorly, you risk confusing jurors or facing devastating objections from defense counsel. The goal is to illustrate the ACE-V methodology, which stands for Analysis, Comparison, Evaluation, and Verification. This article breaks down how to build these visuals, what formats work best, and how to keep them admissible under strict legal standards.
The Role of Visuals in Forensic Testimony
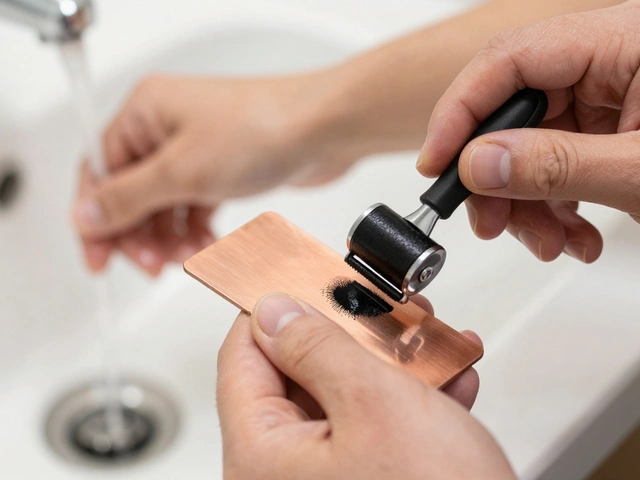
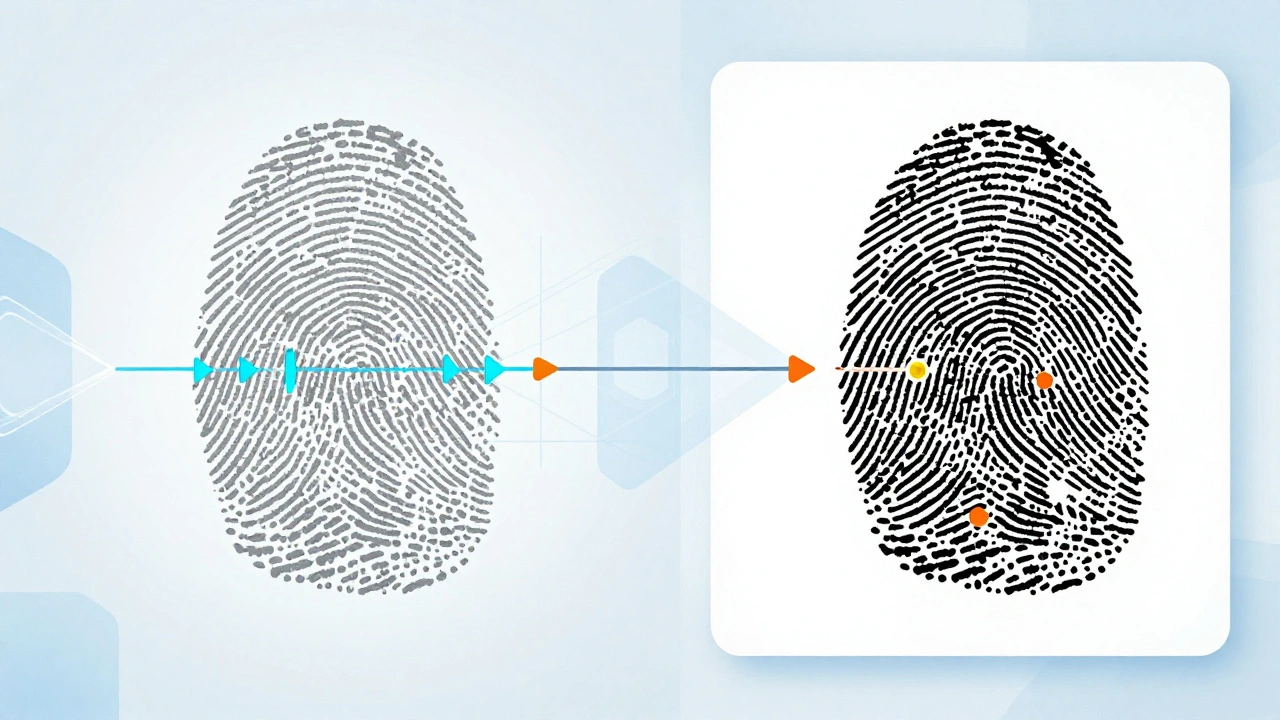
Demonstrative evidence serves a specific purpose: it illustrates witness testimony. It is not the evidence itself. Real evidence includes the actual latent print lifted from a crime scene or the inked card taken from a suspect. Demonstratives are tools-charts, animations, or diagrams-that help the jury understand what the expert saw and why they made a match.
According to forensic training materials from organizations like Sakitta, these aids make the technical process comprehensible to laypersons. When a jury sees a side-by-side comparison with highlighted ridge endings and bifurcations, the complexity of the science fades into the background. The focus shifts to the logical steps the expert took. This clarity builds empathy and understanding, helping jurors visualize the investigation as a rigorous, methodical process rather than a guess.
| Feature | Real Evidence | Demonstrative Evidence |
|---|---|---|
| Definition | Physical items found at the scene (e.g., latent prints, weapons) | Visual aids created to illustrate testimony (e.g., charts, animations) |
| Purpose | Substantive proof of facts | Clarification and explanation of substantive evidence |
| Admissibility Standard | Must be authentic and relevant | Must fairly and accurately reflect witness testimony |
| Creation | Collected by law enforcement | Created by attorneys, experts, or graphic designers |
Formats: Physical Charts vs. Digital Animations
You have two main paths for presenting fingerprint comparisons: traditional physical charts and modern digital presentations. Each has distinct advantages depending on your courtroom environment and the complexity of the case.
Physical Bi-Fold Charts
These are the "old-fashioned" approach. They consist of large, annotated posters showing the latent print and the known print side-by-side. Attorneys can hold them up or place them on easels. Some juries find tangible, paper-based exhibits more credible because they feel concrete and less manipulated. However, they offer limited flexibility. If you need to zoom in on a specific minutiae point or walk through the analysis step-by-step, a static chart falls short. You also need high-quality scans of the original evidence to ensure clarity.
Digital Animated Charts
Digital presentations allow you to control the narrative flow. Using software similar to PowerPoint or specialized forensic visualization tools, you can animate the ACE-V process. You might start with a blurred image, then reveal ridges one layer at a time, highlighting matching points as you speak. This controlled, repeatable method helps jurors follow the expert’s thought process without getting overwhelmed by too much information at once. Digital formats also integrate easily with large displays or individual viewing screens, ensuring everyone in the room sees the details clearly.
Structuring Content Around ACE-V
Your demonstrative must mirror the expert’s mental process. The ACE-V framework is the backbone of admissible fingerprint testimony. Your visuals should explicitly show each phase:
- Analysis: Show the latent print isolated from background noise. Highlight areas of sufficient quality for comparison. Explain what characteristics are present (loops, whorls, arches) and where friction ridge detail is usable.
- Comparison: Place the latent print next to the known print (the suspect’s inked card). Use overlays or side-by-side views to demonstrate alignment. Point out specific correspondence in ridge flow, directionality, and minutiae.
- Evaluation: Document the findings. Did you find enough corresponding points? Were there any discrepancies that disqualified a match? This phase moves from observation to conclusion.
- Verification: Indicate that a second qualified examiner reviewed the work. This adds a layer of reliability and addresses potential bias concerns.
Avoid jumping straight to "It’s a match." Jurors need to see the work. If your animation skips the analysis and goes straight to the final overlay, defense counsel may argue you’re hiding uncertainty or manipulating the image to force a conclusion.
Legal Standards for Admissibility
Demonstratives are powerful, but they carry risks. Improper use can lead to appellate reversals. To keep your visuals admissible, they must meet specific legal criteria.
Fair and Accurate Reflection
The most critical rule is that the demonstrative must fairly and accurately reflect the witness’s testimony. It cannot exaggerate features, distort proportions, or imply certainty where none exists. For example, if a latent print is partial, your chart must show it as partial. Do not fill in missing ridges digitally to make the comparison look cleaner. That would be misleading and likely inadmissible.
Foundation and Qualification
Before showing the demonstrative, you must establish the foundation. This means proving the authenticity of the underlying evidence. Who collected the latent print? Was the chain of custody maintained? Who impressed the suspect’s fingerprints on the known card? In many jurisdictions, if the person who took the suspect’s prints is unavailable, you may need to admit the card as a business record under Rule 803(6).
Additionally, the expert testifying about the comparison must be qualified. The officer who lifted the print does not need to be an expert, but the person saying the prints "correspond" must demonstrate expertise through education, training, and experience. Your demonstrative supports this testimony; it does not replace the need for qualification.
Pre-Trial Agreements
To avoid distracting objections during testimony, prosecutors often stipulate with the defense regarding the admissibility of fingerprint cards before trial. Agreeing on general terminology-such as acknowledging that prints were taken as part of routine record-keeping-smooths the path for presenting demonstratives later.

Avoiding Common Pitfalls
Even experienced attorneys stumble when creating fingerprint demonstratives. Here are three common mistakes to avoid:
- Implying Absolute Certainty: Fingerprint analysis is a scientific opinion, not a mathematical fact. Avoid language or visuals that suggest a "perfect match" in the way TV shows portray it. Acknowledge the methodology and the possibility of error, even if remote. This honesty strengthens credibility.
- Overcomplicating the Visuals: Clutter kills comprehension. Don’t label every single ridge ending. Focus on the key points of correspondence that led to the identification. Too much data overwhelms the jury and dilutes your message.
- Ignoring Technical Reliability: If you use digital projections, always have backups. Bring printed copies of your charts, extra cables, and compatible file formats. A technical glitch in the middle of a critical demonstration breaks momentum and frustrates the court.
Another pitfall is failing to contextualize the evidence. A match proves identity, but not necessarily guilt at the time of the crime. Your demonstrative should ideally link the fingerprint to the temporal and spatial circumstances of the alleged offense. For instance, combining the fingerprint chart with crime scene photos or timelines helps the jury understand why the presence of the print matters.
Best Practices for Implementation
Creating effective demonstratives requires collaboration between attorneys, forensic experts, and sometimes graphic designers. Start early in the preparation process. Give your expert ample time to review the proposed visuals for accuracy. They are the ones who will defend the content on the stand.
Keep the design clean and professional. Use consistent colors for highlighting (e.g., green for matches, red for non-correspondence) and stick to them throughout the presentation. Ensure text is large enough to read from the back of the courtroom. If using animations, practice the timing so it aligns perfectly with your questioning.
Finally, remember that demonstratives are persuasive tools. They weave technical facts into a visual narrative. By guiding the jury through the ACE-V process step-by-step, you help them see what the expert saw. This transparency builds trust and makes your case stronger.
What is the difference between real evidence and demonstrative evidence in fingerprint cases?
Real evidence consists of physical items collected from the crime scene or suspects, such as the actual latent print lift or the inked fingerprint card. Demonstrative evidence refers to visual aids-like charts, animations, or diagrams-created specifically to illustrate and clarify the expert's testimony regarding those physical items. Real evidence is substantive proof; demonstrative evidence is explanatory.
Why is the ACE-V methodology important for courtroom demonstratives?
ACE-V (Analysis, Comparison, Evaluation, Verification) is the standard scientific process used by fingerprint examiners. Demonstratives must visually represent each step of this process to be credible. Showing only the final match without illustrating the analysis and comparison phases can appear manipulative and may fail to meet admissibility standards for accurate reflection of testimony.
Can I use digital animations to enhance fingerprint comparisons?
Yes, digital animations are highly effective for demonstrating complex comparisons. They allow you to control the pace of the presentation, highlight specific minutiae, and layer information gradually. However, the animation must accurately reflect the underlying evidence and not distort or exaggerate features. Always have backup plans for technical issues.
What happens if a demonstrative is deemed inaccurate or misleading?
If a demonstrative unfairly distorts the evidence or misrepresents the expert's testimony, the opposing counsel can object, and the judge may exclude it. In severe cases, improper use of demonstratives can lead to mistrials or appellate reversals. Accuracy and fidelity to the scientific method are paramount.
Do I need to qualify the expert before showing fingerprint demonstratives?
Yes. Before presenting demonstratives that interpret fingerprint matches, you must establish the witness's qualifications as an expert. This involves demonstrating their education, training, experience, and familiarity with the ACE-V methodology. The demonstrative supports the testimony of a qualified expert; it cannot stand alone without proper foundational testimony.