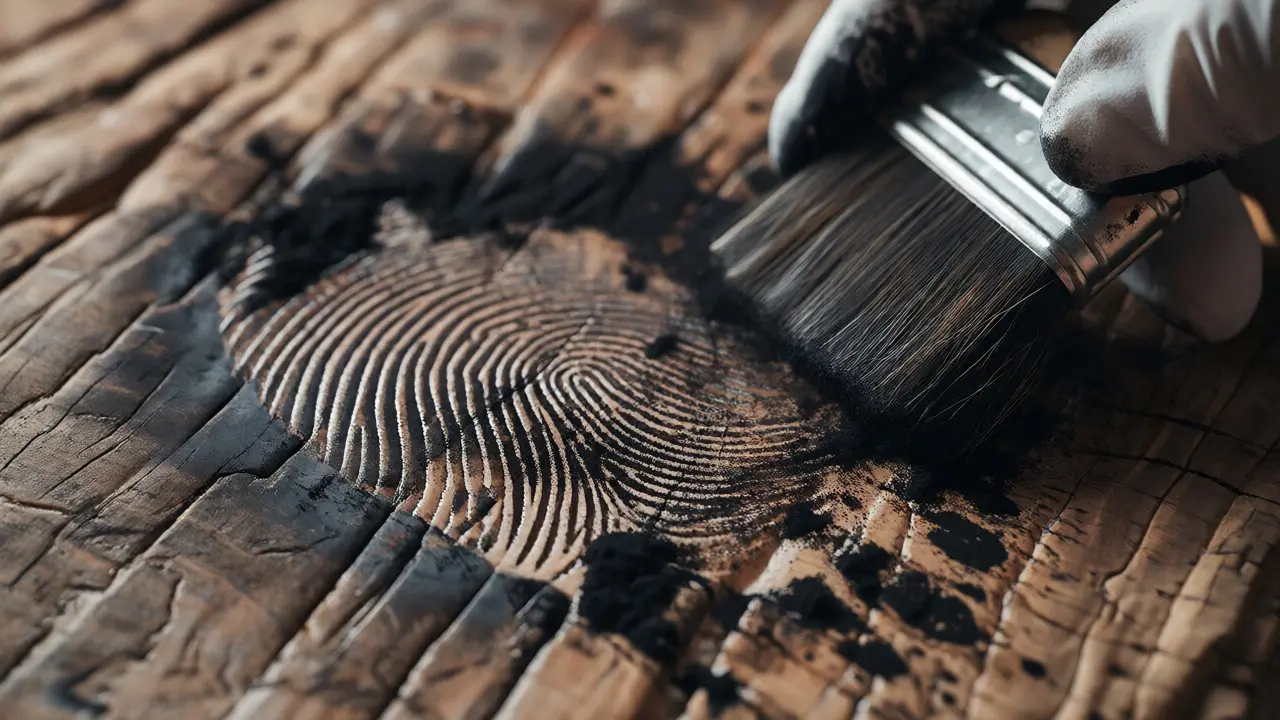
You’ve seen the movies. A detective dusts a glass with black powder, and a perfect thumbprint appears. But what happens when the surface is textured? Or wet? Or covered in grease? Standard powdering fails fast in those scenarios. That’s where powder suspension comes in. It’s not just about brushing harder; it’s about changing how the powder interacts with the residue.
If you work in forensics or law enforcement, you know that latent prints are fragile evidence. On smooth, non-porous surfaces like glass or polished metal, traditional granular powders work fine. But on rough wood, leather, painted walls, or even damp surfaces, standard methods often smear the print or miss it entirely. Powder suspension offers a smarter way to lift these elusive marks without destroying them.
| Method | Best For | Limitations | Complexity |
|---|---|---|---|
| Standard Granular Powder | Smooth, dry, non-porous surfaces (glass, plastic) | Fails on texture; smears easily; requires steady hand | Low |
| Powder Suspension | Textured, slightly damp, or semi-porous surfaces | Requires careful drying time; specific solvent mixtures | Medium |
| Cyanoacrylate Fuming | Non-porous surfaces needing permanent fixation | Expensive equipment; toxic fumes; needs post-treatment for visibility | High |
| Magnetic Powder | Delicate surfaces where brush contact damages prints | Less contrast than granular; struggles with deep textures | Low |
Why Standard Powders Fail on Rough Textures
Think about trying to read a message written in sand. If you sweep a broom over it, you lose the message. That’s what happens when you use dry granular powder on a textured surface. The powder gets trapped in the crevices of the material itself, not just the fingerprint residue. You end up with a background so noisy you can’t see the print.
Dry powder relies on static electricity and adhesion to the oily components of sweat and sebum. On a smooth surface, this works because there’s nowhere else for the powder to go. On a piece of unfinished oak or a brick wall, the powder adheres to the substrate as much as the print. This creates visual clutter. Worse, the friction from the brush can physically erase the delicate ridge details before you even get a chance to photograph them.
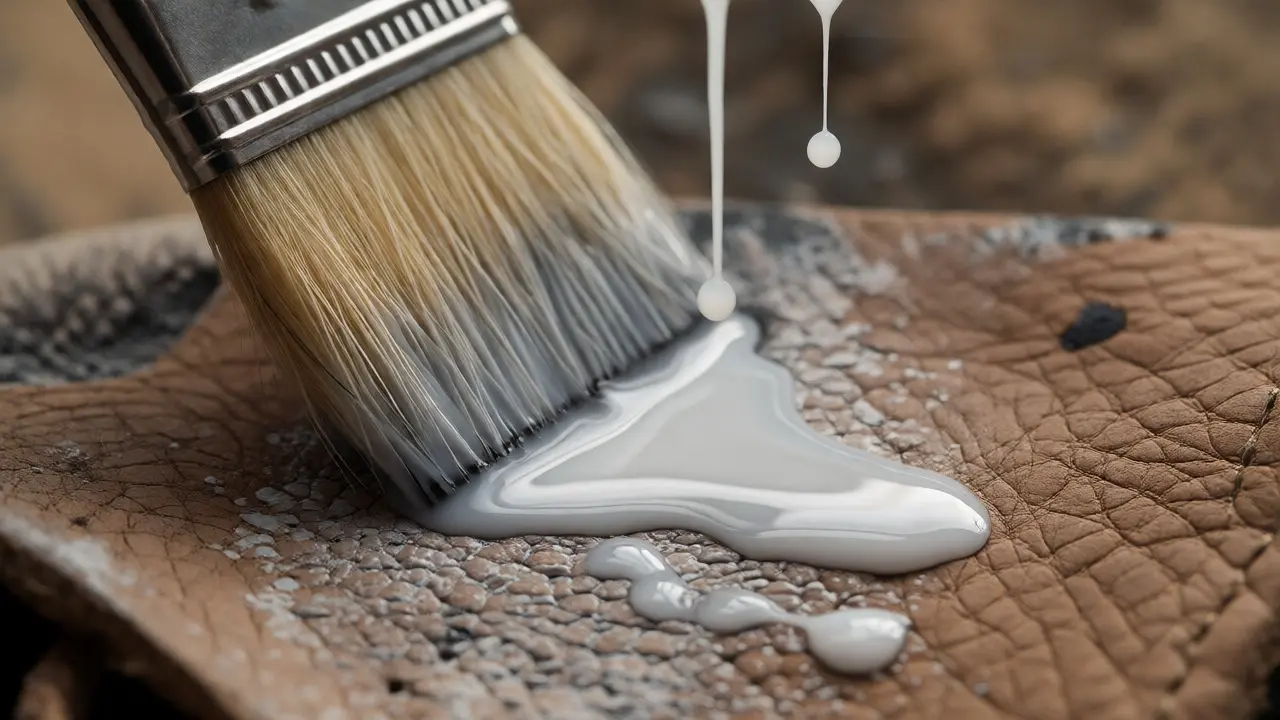
Suspension solves this by using a liquid carrier. Instead of dumping dry particles onto the surface, you apply a thin film of powder suspended in a volatile solvent. The solvent evaporates quickly, leaving the powder behind only where it has bonded to the fingerprint residue. Because the application is fluid, it flows into the microscopic valleys of the surface rather than just sitting on top of them. This allows the powder to settle specifically on the raised ridges of the print, enhancing contrast against the textured background.
The Chemistry Behind the Suspension
At its core, powder suspension is a mixture of two things: a fine particulate pigment and a volatile solvent. The solvent acts as a delivery vehicle. Common solvents include acetone, hexane, or specialized proprietary blends designed to evaporate at controlled rates.
The magic lies in the evaporation rate. If the solvent evaporates too slowly, the powder might slide around, blurring the image. If it evaporates too fast, the powder clumps up before it can settle properly. Forensic experts often tweak this ratio based on humidity and temperature. In Portland, where we deal with damp autumns, a faster-evaporating solvent might be necessary to prevent moisture interference.
The particles themselves are usually made of materials like carbon black, aluminum, or fluorescent compounds. These particles are engineered to have high affinity for lipids (oils) found in human skin secretions. When the solvent hits the surface, it dissolves some of the outer layer of the fingerprint residue, allowing the powder to embed itself more deeply. Once the solvent flashes off, the powder remains locked in place, creating a sharp, high-contrast image.
Step-by-Step Application Guide
Applying powder suspension isn’t as simple as dipping a brush and swiping. Precision matters. Here is how to do it right:
- Prepare the Mixture: Combine your chosen powder with the solvent in a small container. Aim for the consistency of heavy cream. Too thin, and it runs; too thick, and it won’t flow into the texture.
- Apply Lightly: Use a soft, wide-bristled brush or an airbrush for larger areas. Do not scrub. Apply the suspension in light, sweeping motions. Let gravity help distribute the liquid evenly.
- Allow Evaporation: Wait for the solvent to evaporate completely. This usually takes between 30 seconds to two minutes, depending on the solvent used. Do not touch the surface during this phase.
- Remove Excess: Once dry, gently blow away or lightly brush off any loose powder that didn’t adhere to the print. Be extremely gentle here. You want to remove background noise, not the evidence.
- Photograph Immediately: Suspended prints can be fragile. Photograph them under appropriate lighting angles as soon as they appear. Side-lighting often helps reveal ridge detail on textured surfaces.
A common mistake is applying too much pressure. Remember, the goal is deposition, not abrasion. If you press hard, you risk filling in the pores of the surface with powder, which obscures the print rather than revealing it.
When to Choose Suspension Over Fuming
Cyanoacrylate fuming is the gold standard for many non-porous surfaces. It polymerizes the fingerprint residue, creating a white, durable cast of the print. So why bother with powder suspension?
Fuming requires a sealed chamber. If you’re working at a crime scene outdoors or on a large object like a car door, sealing it for fuming is impractical. Powder suspension can be applied directly on-site. It’s portable. You don’t need a fuming cabinet or a vacuum pump. Just a bottle of solvent, some powder, and a brush.
Additionally, fuming produces a white print. On a light-colored textured surface, a white print might lack sufficient contrast. Powder suspension allows you to choose the color of the powder. Need a dark print on a light wall? Use black or blue powder. Need a light print on a dark tire? Use white or fluorescent yellow powder. This flexibility makes suspension invaluable for diverse crime scenes.
However, if the surface is highly porous, like paper or raw cardboard, neither method works well. Those require chemical treatments like ninhydrin or DFO. Powder suspension sits in the middle ground: ideal for semi-porous or textured non-porous items.
Common Pitfalls and How to Avoid Them
Even experienced technicians run into issues. Here are the big ones:
- Over-saturation: Applying too much liquid causes the powder to pool in low spots, creating false positives. Always start with less than you think you need.
- Incomplete Drying: If you try to lift or photograph while the solvent is still wet, the print will smear. Patience is key.
- Wrong Solvent Choice: Some solvents dissolve certain plastics. Acetone, for example, can damage polystyrene. Always test a small, inconspicuous area first if you’re unsure about the material.
- Contamination: Ensure your brushes are clean. Cross-contamination from previous cases can introduce foreign DNA or misleading powder patterns.
Another subtle issue is environmental humidity. High humidity slows down solvent evaporation. In a humid environment, you might need to add a desiccant to your workspace or use a fan to accelerate drying. Conversely, in very dry conditions, the solvent might evaporate so fast that the powder doesn’t have time to settle correctly, resulting in a grainy, low-resolution image.
Real-World Scenario: The Leather Wallet
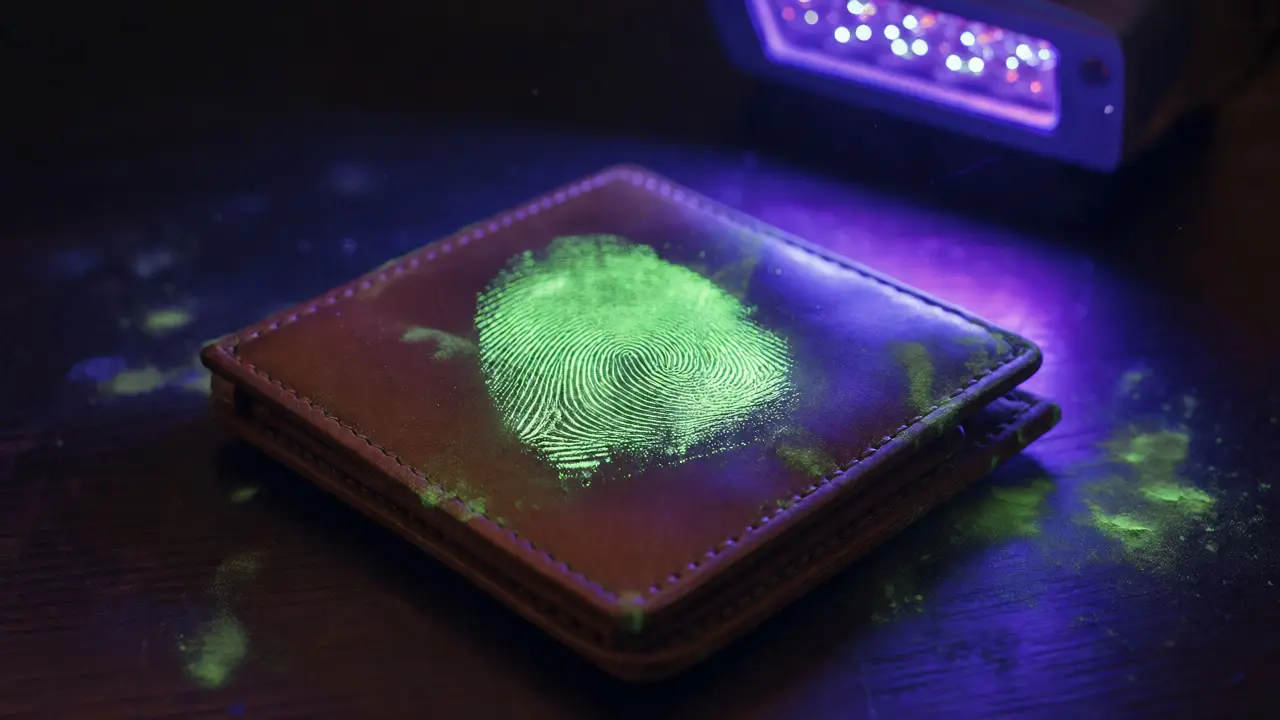
Imagine recovering a leather wallet from a muddy roadside. The leather is textured, slightly damp, and dirty. Standard powdering would just turn the whole thing gray. Cyanoacrylate fuming might work, but transporting a dirty, damp wallet to a lab risks losing the print due to mold growth or further degradation.
Using powder suspension, you can treat the wallet on-site. First, let it air-dry slightly to remove excess moisture. Then, apply a suspension of fluorescent powder in a fast-evaporating solvent. The fluorescent powder binds to the oils in the leather print. Under UV light, the print glows bright green against the dull brown leather. You photograph it, then seal it with a fixative spray to preserve it for transport. No fuming chamber needed. No expensive equipment required. Just smart chemistry.
Preserving the Evidence
Once you’ve developed the print, your job isn’t done. Powder suspension leaves a physical deposit on the surface. This deposit can rub off. If you plan to lift the print with tape, do so carefully. Lifts from suspended prints can sometimes have lower adhesive quality if the powder hasn’t fully set.
For long-term storage, consider spraying the developed print with a clear acrylic fixative. This locks the powder in place, preventing accidental loss during handling. Document everything. Note the type of powder, the solvent used, and the ambient conditions. This metadata helps other analysts understand how the print was developed and assess its reliability.
Can powder suspension be used on wet surfaces?
Yes, but with caution. While powder suspension handles slight dampness better than dry powder, heavily wet surfaces will dilute the solvent and wash away the residue. Ideally, allow the surface to air-dry until it is merely cool to the touch, not visibly wet, before application.
Is powder suspension safe for all materials?
No. Solvents like acetone can dissolve certain plastics, such as polystyrene or ABS. Always perform a spot test on an inconspicuous area of the object before treating the entire surface to ensure no damage occurs.
How does powder suspension compare to magnetic powder?
Magnetic powder reduces physical contact, making it great for delicate surfaces. However, it lacks the ability to penetrate deep textures effectively. Powder suspension uses fluid dynamics to reach into crevices, making it superior for rough or uneven surfaces where magnetic powder fails to provide adequate contrast.
What is the best solvent for powder suspension?
There is no single "best" solvent. Acetone is common for its fast evaporation and strong cleaning power. Hexane is milder and safer for sensitive plastics. Many commercial kits use proprietary blends optimized for specific powder types. Choose based on the substrate material and local humidity levels.
Can I lift a print after using powder suspension?
Yes, but success varies. The powder must be completely dry and fixed. Using a lifting tape with moderate tack strength is recommended. Sometimes, photographing the print in situ is preferred over lifting, especially on highly textured surfaces where the lift may capture background noise along with the print.