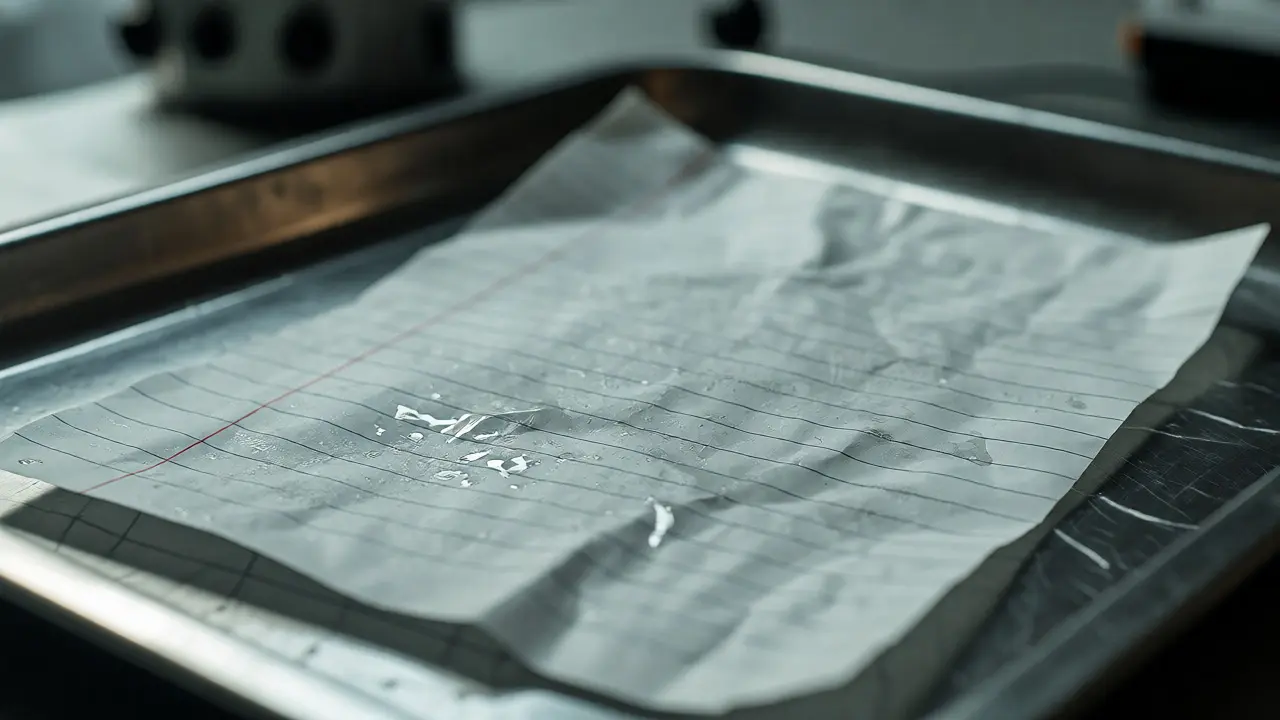
You have a wet notebook page. You have a damp cardboard box. Maybe it’s a piece of paper that sat out in the rain for an hour. In the world of forensic science, these are nightmares for traditional methods like cyanoacrylate fuming or even standard ninhydrin treatments. Why? Because water washes away amino acids, and humidity destroys the fragile ridge detail before you can lift it. This is where the Physical Developer (PD) steps in as the heavy hitter of latent print enhancement.
If you’re working with porous surfaces-paper, cardboard, untreated wood, or raw fabric-and they’ve been exposed to moisture, PD is often your last resort. It’s not just another chemical dip; it’s a silver-based reaction that targets lipids and proteins rather than just amino acids. But here’s the catch: it’s finicky. It’s expensive. And if you mess up the timing, you’ll turn your evidence into a black blob. Let’s break down how this technique works, why it’s superior for wet evidence, and how to actually pull it off without ruining your samples.
What Exactly Is Physical Developer?
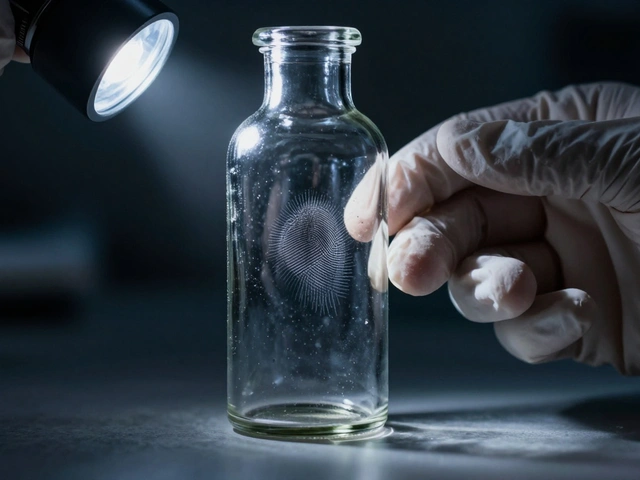
Physical Developer is a colloidal suspension of silver particles used to develop latent fingerprints on porous materials. Unlike ninhydrin, which reacts specifically with amino acids, PD relies on a redox reaction involving silver ions and organic residues left behind by sweat, specifically lipids and proteins. The key distinction here is resilience. Ninhydrin fails when amino acids leach out due to water exposure. PD doesn’t care about amino acid depletion because it grabs onto the greasy, waxy components of the fingerprint residue that tend to stay put even after getting wet.
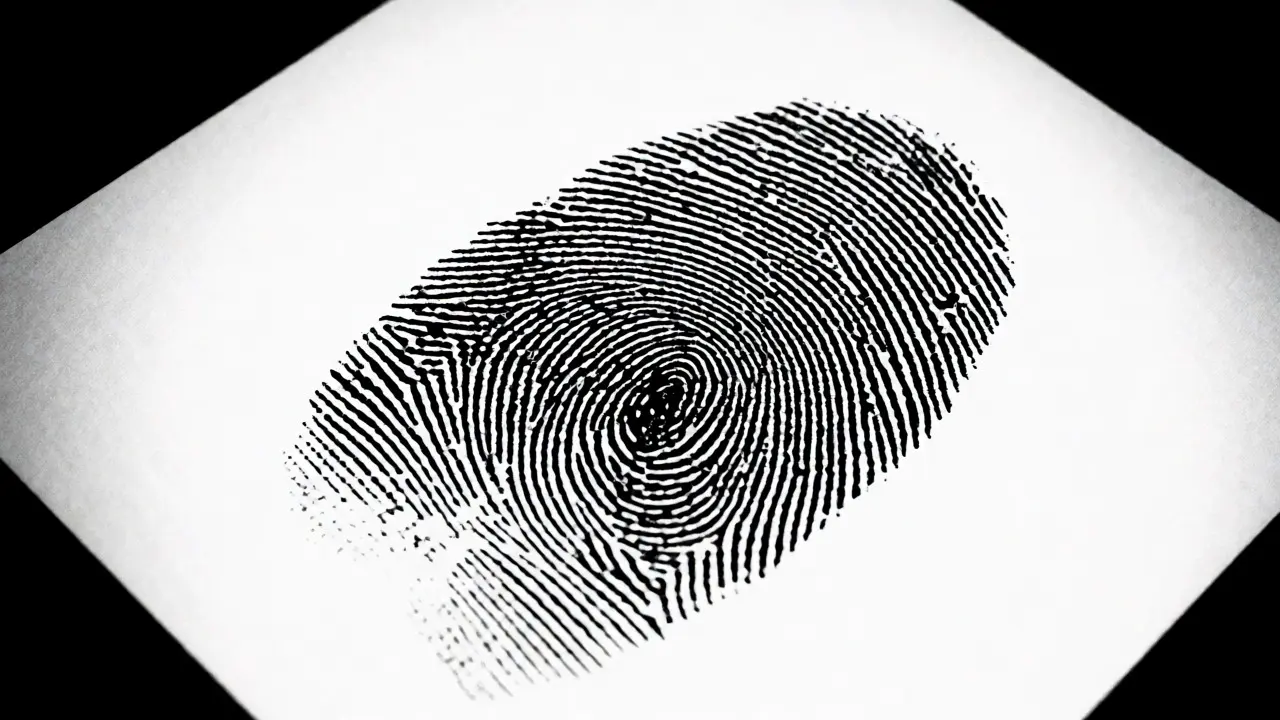
The "physical" part of the name refers to the physical reduction of silver ions into metallic silver on the fingerprint ridges. The "developer" part comes from its similarity to photographic developers, though the chemistry is distinct. It was first introduced in Japan in the late 1980s and quickly became a staple in crime labs worldwide for handling compromised evidence. If you see a black, high-contrast print on a white sheet of paper that looks almost like a photocopy, you’re likely looking at PD results.
Why Choose PD Over Ninhydrin or DFO?
Let’s be real: Ninhydrin is cheaper, easier to use, and generally gives beautiful purple prints. So why bother with PD? Because Ninhydrin has a fatal flaw-it needs amino acids. Water dissolves amino acids. If a suspect drops a letter in a puddle, or if evidence sits in a humid basement, the amino acids migrate or dissolve. Ninhydrin will give you nothing, or faint, broken lines. DFO (1,8-Diazafluoren-9-one) is more sensitive than Ninhydrin but still suffers from the same solubility issue.
PD shines in three specific scenarios:
- Wet Evidence: Items that have been submerged, rained on, or washed.
- Older Evidence: While PD works best on fresh prints, it retains efficacy longer than Ninhydrin on certain aged papers because lipid degradation is slower than amino acid oxidation.
- Post-Treatment Failure: If you tried Ninhydrin and got no results, PD can sometimes recover the print. However, note that PD is usually destructive to subsequent tests, so sequence matters.
| Method | Primary Target | Water Resistance | Sensitivity | Best Use Case |
|---|---|---|---|---|
| Ninhydrin | Amino Acids | Low | Moderate | Dry paper, clean evidence |
| DFO | Amino Acids | Low-Moderate | High | Faint prints on dry paper |
| Physical Developer | Lipids & Proteins | High | High | Wet, damp, or contaminated paper |
The Chemistry Behind the Black Lines
You don’t need a PhD in electrochemistry to run PD, but understanding the basics prevents disasters. The solution consists of two main parts mixed right before use: a silver nitrate solution and a reducing agent (usually ferrous sulfate). When you mix them, you create unstable silver particles. These particles are attracted to the hydrophobic (water-repelling) residues in the fingerprint ridges.
Here’s the critical bit: The background of the paper also attracts some silver, but less strongly. Your job is to stop the reaction exactly when the ridges are visible but before the background turns completely black. This is called "overdevelopment." Once the background goes dark, you can’t undo it. The contrast disappears. It’s a race against time, measured in seconds, not minutes.
Stabilizers are added to slow down the reaction rate, giving you a slightly wider window for control. Without stabilizers, the silver precipitates too fast, creating a messy, grainy image instead of crisp ridges. Always check the expiration date on your reagents. Silver solutions degrade rapidly once opened, losing their potency within days or weeks depending on storage conditions.
Step-by-Step Application Protocol
Ready to try it? Here’s how you do it without turning your lab bench into a hazard zone. Safety first: wear gloves and eye protection. Silver stains skin and clothes permanently, and it’s toxic if ingested.
- Preparation: Cut your sample to fit the tray. If the item is large, you might need to work in sections. Ensure the surface is free of loose debris. Do not wash the item again unless absolutely necessary.
- Mixing: Combine Solution A (silver nitrate) and Solution B (reducer/stabilizer) in equal volumes. Mix gently. Do not shake vigorously, as this introduces air bubbles that stick to the paper and create artifacts. The mixture should be clear or slightly cloudy initially.
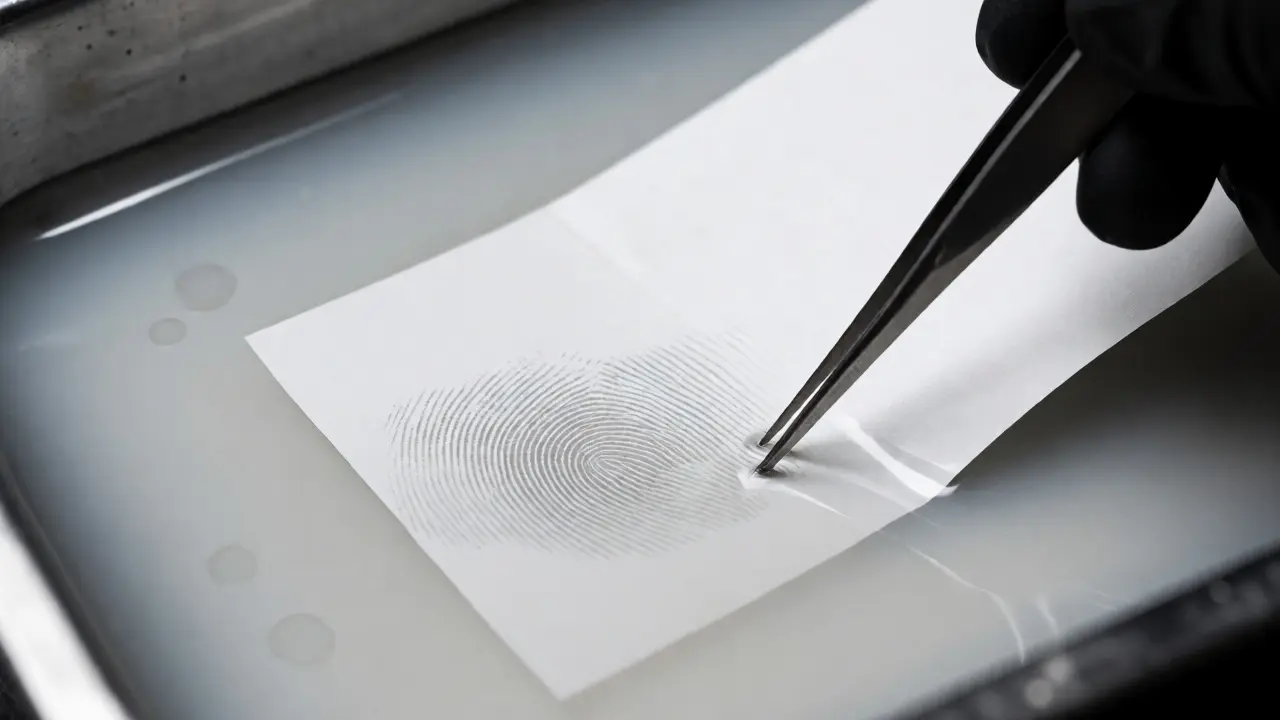
- Immersion: Submerge the evidence completely. Gently agitate the tray to ensure even coverage. Watch the paper closely. You’ll start seeing faint gray lines appear within 30 seconds to 2 minutes.
- Monitoring: Keep watching. The ridges will darken from gray to black. The background will slowly turn grayish-brown. This is the moment of truth. As soon as the ridges are clearly defined and the background is still light enough to provide contrast, remove the item.
- Rinsing: Immediately rinse the item in distilled water. This stops the chemical reaction. If you skip this, development continues, and you lose contrast.
- Drying: Air dry flat. Do not blot aggressively, as wet silver ridges are fragile. Once dry, you may fix the print with a dilute sodium thiosulfate solution to prevent further darkening over time, though many labs skip this for immediate photography.
Troubleshooting Common PD Failures
Even experienced technicians struggle with PD. Here’s what goes wrong and how to fix it.
The Background is Too Dark: You waited too long. Next time, pull the item out earlier. Use a timer. Also, check your temperature. Warmer solutions react faster. If your lab is hot, reduce immersion time.
No Prints Appeared: Either the print was too weak, or the solution was dead. Test your reagents on a known positive control (a piece of paper with a known finger mark) before processing evidence. If the control fails, dump the batch.
Grainy or Blotchy Appearance: You likely shook the solution too hard during mixing, or there were impurities in the water. Use distilled water only. Tap water contains minerals that interfere with the silver reaction.
Uneven Development: The paper wasn’t fully submerged, or air bubbles stuck to the surface. Use tweezers to hold the paper under the liquid and gently move it around to dislodge bubbles.
Storage and Handling of Reagents
Silver nitrate is light-sensitive and oxidizes easily. Store Solutions A and B in amber bottles at room temperature, away from direct sunlight. Once mixed, the working solution lasts only about 30 minutes to an hour. Plan your workload accordingly. Don’t mix a gallon of solution if you only have one small envelope to process.
Disposal is another headache. Silver waste cannot go down the drain in most jurisdictions due to environmental regulations. You must collect spent PD solution in designated heavy metal waste containers. Check your local EPA or equivalent guidelines. Improper disposal can lead to significant fines and environmental damage.
When Not to Use Physical Developer
PD isn’t magic. It has limitations. Avoid using it on glossy coated papers, such as magazine pages or photo paper, unless you’ve tested it first. The coating can repel the solution unevenly, leading to patchy results. Similarly, heavily colored papers can make visual interpretation difficult, though digital enhancement can help.
Also, consider the value of the evidence. PD is somewhat destructive. It leaves a permanent metallic deposit. If you plan to perform DNA analysis later, PD might inhibit PCR reactions. In those cases, consult with your biology team. Often, you’d extract DNA from a cut-out section before applying PD to the rest of the document.
Can I use Physical Developer on non-porous surfaces?
While primarily designed for porous substrates like paper and cardboard, PD can sometimes work on semi-porous surfaces like untreated wood or leather. However, for smooth non-porous surfaces like glass or plastic, techniques like cyanoacrylate fuming followed by dye staining are far more effective and efficient.
How long does it take for Physical Developer to show results?
Development typically begins within 30 seconds to 2 minutes after immersion. The exact time depends on the age of the print, the type of paper, and the temperature of the solution. You must monitor the process continuously, as overdevelopment can occur in less than five minutes.
Is Physical Developer safe to handle?
It requires careful handling. Silver nitrate is corrosive and causes permanent black stains on skin and clothing. The reducing agents can be irritants. Always wear nitrile gloves, safety glasses, and a lab coat. Work in a well-ventilated area and dispose of chemical waste according to local hazardous material regulations.
Can I combine Ninhydrin and Physical Developer on the same item?
Yes, but order matters. Typically, you would apply Ninhydrin first because it is less destructive and provides good results on dry evidence. If Ninhydrin fails to produce usable prints, you can then apply Physical Developer. Note that PD may obscure any existing Ninhydrin marks, so photograph all stages of development.
Why did my Physical Developer solution turn brown immediately?
This indicates contamination or expired reagents. Silver solutions should remain clear or slightly milky until activated by the fingerprint residue. Immediate browning suggests the solution was already reacting with contaminants in the water or container, or the silver nitrate had degraded. Discard the batch and prepare a fresh one using distilled water.