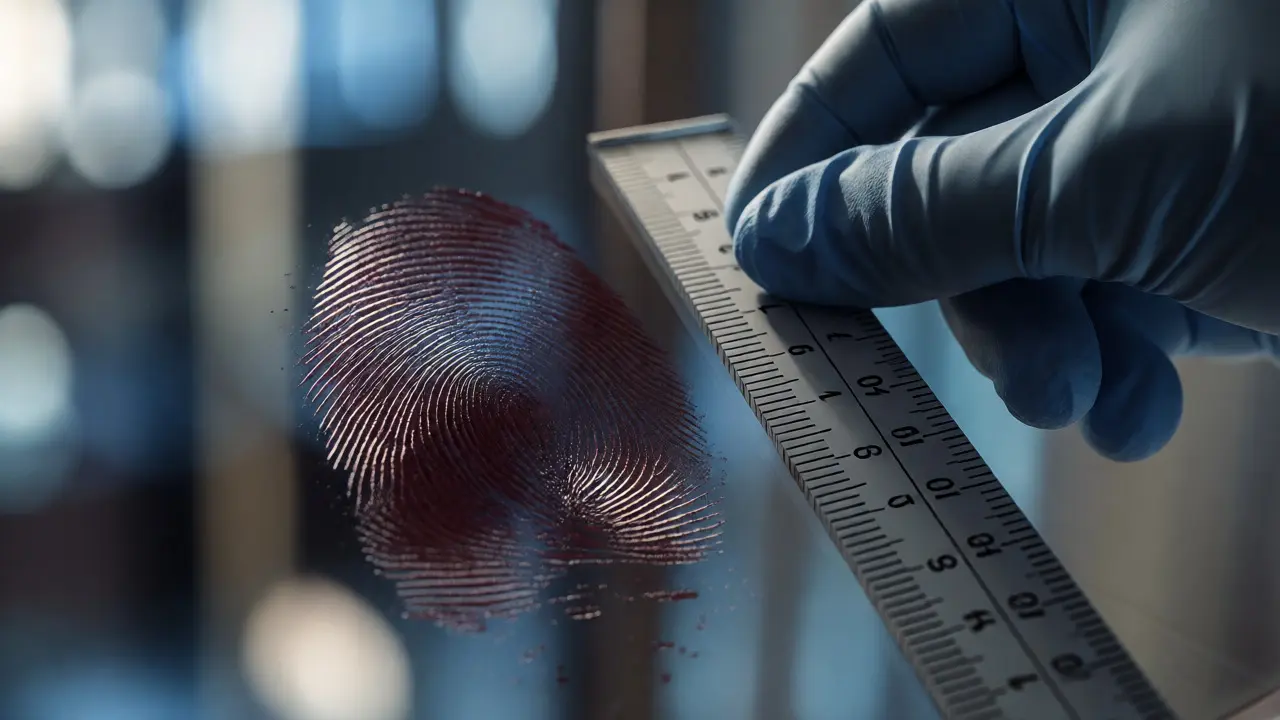
You walk into a room, touch a glass of water, and leave behind a tiny map of your identity. Most people don't see it, but for a forensic investigator, that visible smudge is gold. We call these patent fingerprints, which are visible impressions left on smooth surfaces by substances like blood, ink, grease, or dirt. Unlike their invisible counterparts, you don't need chemical powders to find them. You just need your eyes and a camera. But here is the catch: finding them is easy; documenting them in a way that holds up in court is where most beginners stumble.
If you're working a scene in Portland this October, or anywhere else, how you photograph and record these prints can make or break a case. A blurry photo isn't just bad art; it's inadmissible evidence. This guide breaks down exactly how to capture patent fingerprints correctly, ensuring that when you hand over your report, the detail is undeniable.
What Exactly Are Patent Fingerprints?
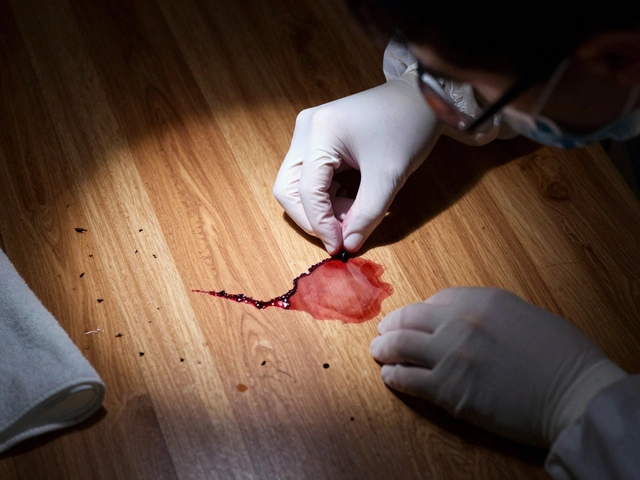
Before we grab the camera, let's clear up the terminology. In forensic science, we categorize prints into three types: latent, plastic, and patent. Latent prints are invisible residues made of sweat and oils. Plastic prints are three-dimensional impressions pressed into soft materials like putty or wet paint. Patent prints are different. They are two-dimensional, visible marks transferred from a finger onto a surface via a colored substance.
Think of a toddler who just played with blue paint and grabbed the white wall. That mark is a patent print. It’s already visible, which means the development phase is skipped. The challenge shifts entirely to preservation. Because they are often fragile-especially if made of dried blood or loose powder-they can be easily destroyed by improper handling or harsh lighting during documentation.
The Equipment You Actually Need
You don't need a $50,000 lab setup to document a patent print effectively, but you do need more than just your smartphone. While modern phone cameras are impressive, they lack the manual control required for forensic standards. Here is what belongs in your kit:
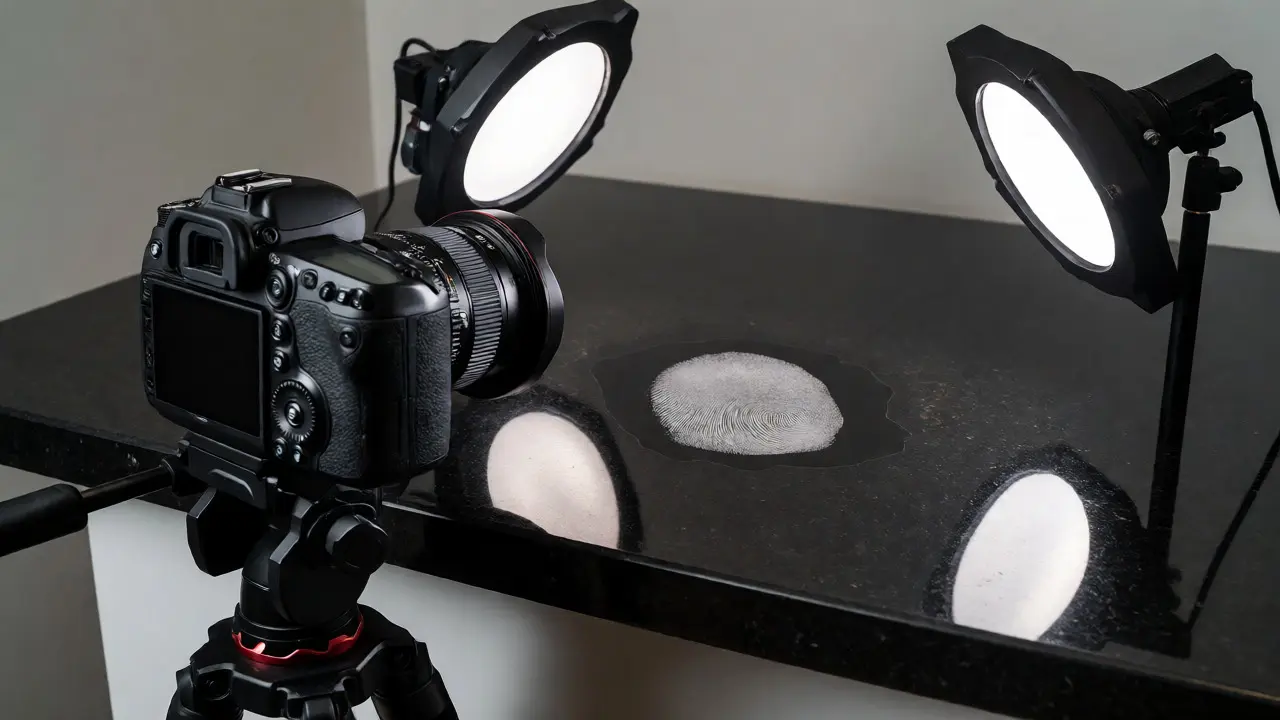
- A DSLR or Mirrorless Camera: You need manual mode to control aperture, shutter speed, and ISO. Auto-mode often fails with high-contrast subjects like black ink on a black shirt.
- Macro Lens: A dedicated macro lens (like a 100mm) allows you to get close enough to resolve ridge details without casting a shadow with your body.
- Scale/Ruler: This is non-negotiable. Every evidence photo must include a scale (like an L-scale or ABFO scale) so investigators know the actual size of the print later.
- Lighting Gear: A portable LED panel or ring flash helps eliminate glare on glossy surfaces like glass or polished wood.
- Oblique Lighting Tools: Sometimes a simple flashlight held at a low angle reveals details that flat lighting misses.
Why the fuss about gear? Because digital zoom crops pixels, but optical focus preserves data. If you rely on cropping a wide shot later, you lose the ridge characteristics needed for comparison.
Mastering the Photography Technique
Photographing patent fingerprints is less about taking a picture and more about solving a lighting puzzle. The goal is maximum contrast between the print material and the background surface. If you have a dark fingerprint on a light wall, great. But what about a bloody fingerprint on a red leather chair? Or an oily print on a shiny countertop?
Start with the "Overview-Midrange-Closeup" protocol. First, take a wide shot showing the print in context with the room. Then, move closer to show the specific object. Finally, get tight on the print itself. For the closeup, follow these steps:
- Position the Scale: Place the ruler next to the print, not on top of it. Ensure it is parallel to the surface plane to avoid perspective distortion.
- Adjust Lighting: Use oblique lighting (light coming from the side) to create shadows in the ridges. This enhances texture. If the surface is reflective, use cross-polarization filters on your lens and light source to kill glare.
- Set Manual Focus: Switch to manual focus and use live view to zoom in on the screen. Adjust until the sharpest part of the print is crisp. Don't trust autofocus; it might lock onto the edge of the window frame instead of the fingerprint.
- Shoot RAW: Always shoot in RAW format. JPEGs compress data, potentially losing subtle ridge endings. RAW files give you latitude to adjust exposure and contrast in post-processing without degrading image quality.
| Technique | Best For | Pros | Cons |
|---|---|---|---|
| Direct Flash | Matte surfaces, low light | Bright, even illumination | Causes glare on glossy surfaces |
| Oblique Lighting | Textured surfaces, faint prints | Enhances ridge depth via shadows | Can cast unwanted shadows if misaligned |
| Cross-Polarization | Glass, metal, wet surfaces | Eliminates reflections completely | Requires specialized filters and lights |
| UV Light | Fluorescent contaminants | Reveals hidden biological fluids | Not all patent prints fluoresce |
Documentation Beyond the Photo
A photo is powerful, but it’s not the whole story. Your written documentation needs to match the visual evidence. When you log a patent fingerprint, your notes should answer the questions a defense attorney will ask six months later.
Record the exact location using triangulation if possible. Instead of saying "on the door," say "24 inches from the floor, 3 inches right of the handle." Note the substrate material-is it painted drywall, varnished oak, or stainless steel? These details matter because different materials affect how a print adheres and ages.
Also, document the condition of the print at the time of discovery. Was it fresh and wet? Dry and flaking? Partially obscured by dust? If you attempt any lifting before photographing, note that action. Ideally, you photograph first, then lift. Once you lift a patent print with tape, you’ve altered the original state. Never lift before capturing the full context unless the print is at immediate risk of destruction.
Common Pitfalls to Avoid
I’ve seen countless cases weakened by preventable errors. The biggest one is perspective distortion. If you shoot a print on a vertical wall from an angle, the image looks skewed. This makes automated AFIS (Automated Fingerprint Identification System) matching difficult. Keep your camera sensor parallel to the surface whenever possible.
Another mistake is over-lighting. Blowing out the highlights erases the ridge edges. It’s better to underexpose slightly and brighten in post-production than to try recovering lost highlight detail. Also, never forget the scale. A beautiful, sharp photo of a fingerprint is useless if no one knows if it’s 1 inch or 3 inches long.
Finally, beware of contamination. If you’re wearing gloves, ensure they aren’t leaving their own prints on the surface as you position the camera. Wear clean, lint-free nitrile gloves. And always, always change gloves between scenes to prevent cross-contamination.
Lifting vs. Photographing: When to Choose Which
Should you lift the print or just photograph it? This depends on the substrate. If the print is on a porous surface like paper or cardboard, lifting with adhesive tape might damage the fibers or remove the pigment. In these cases, high-resolution photography is often preferred. However, for non-porous surfaces like glass or tile, lifting provides a physical exhibit that can be handled and analyzed further.
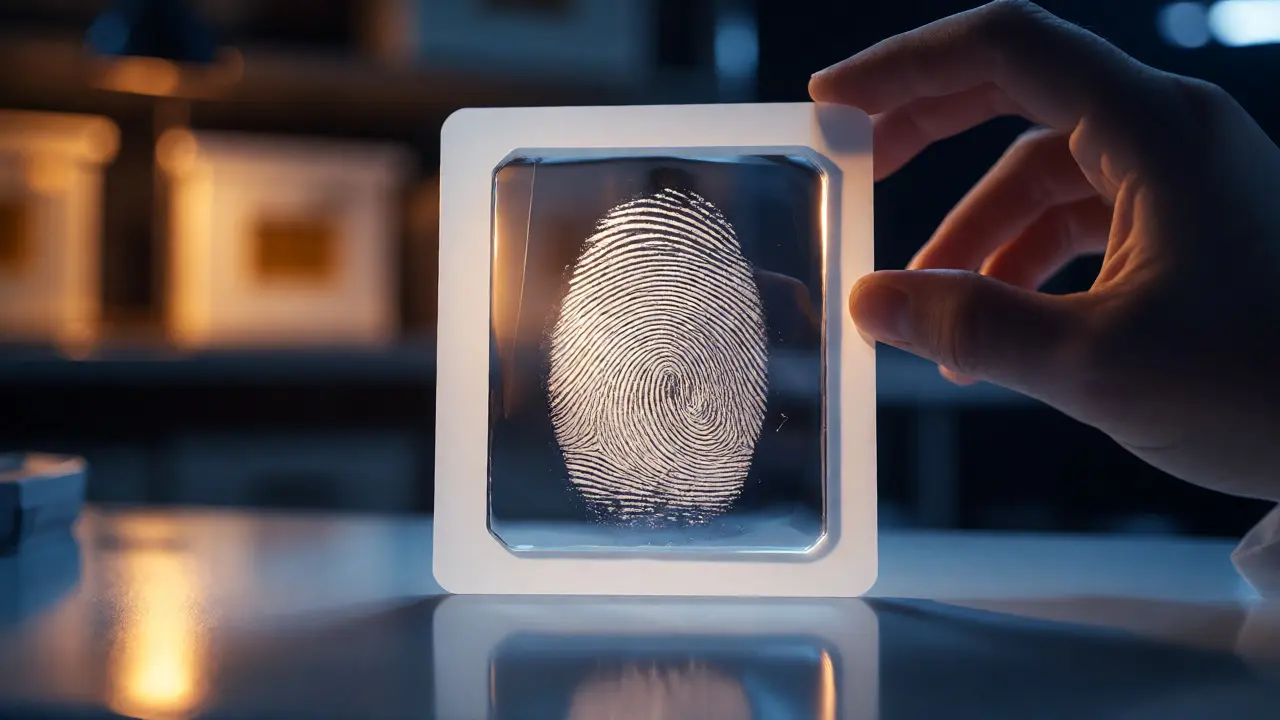
When you do lift, use a backing card that contrasts with the print color. Black backing for light prints, white for dark ones. Label the card immediately with the case number, date, and collector’s initials. Store it in a protective sleeve to prevent dust accumulation. Remember, the lifted print is now a separate piece of evidence chain-of-custody wise. Document its transfer carefully.
Post-Processing for Court Presentation
Once you’re back at the station or office, your job isn’t done. You’ll likely need to enhance the images for reports. Use software like Photoshop or GIMP to adjust levels and curves. Increase contrast to make the ridges pop against the background. Crop tightly to the area of interest, but keep a wider version for context.
Crucially, maintain an audit trail of your edits. Save the original unedited file separately. Courts prefer transparency. If you heavily manipulated an image, explain why. Did you boost contrast to reveal a ridge ending? Say so. Don’t hide your work. Authenticity builds credibility.
Frequently Asked Questions
Do patent fingerprints last longer than latent prints?
Not necessarily. Patent prints are made of foreign substances like ink or blood, which can dry out, crack, or wash away. Latent prints consist of natural skin oils that can adhere to surfaces for weeks or months depending on humidity and temperature. The longevity depends more on the environment and the specific material used than the classification type.
Can I use my smartphone to photograph patent fingerprints?
You can, but it’s risky for serious investigations. Smartphones often struggle with macro focusing and dynamic range. If you must use a phone, enable macro mode, use a tripod to stabilize, and add external lighting. However, for evidentiary purposes, a DSLR with a macro lens is the standard recommendation to ensure sufficient resolution for ridge detail analysis.
What is the best way to photograph a print on a curved surface?
Curved surfaces like bottles or pipes present challenges due to reflection and focus issues. Use a small aperture (higher f-stop) to increase depth of field, keeping more of the curve in focus. Take multiple shots from slightly different angles and stitch them together in post-processing if necessary. Oblique lighting is essential here to manage glare across the curvature.
Is it safe to lift a patent fingerprint with regular tape?
Regular packaging tape can be too aggressive and may pull pigment off the surface or leave adhesive residue. Forensic lifting tape is specifically designed to be strong enough to pick up the print but gentle enough not to destroy it. If you only have household tape, test it on an inconspicuous area first or stick it to your pants leg to reduce tackiness before applying it to the evidence.
How does AFIS handle patent fingerprints?
AFIS systems primarily analyze ridge flow and minutiae points, regardless of whether the print was latent, plastic, or patent. However, patent prints often contain noise from the contaminant (e.g., blood splatter patterns). Technicians may need to digitally clean up the image to isolate the ridge structure before submitting it to the database for matching.
Final Thoughts on Preservation
Documenting patent fingerprints is a blend of art and science. It requires patience, steady hands, and a deep understanding of light. By following these protocols-using proper equipment, controlling lighting, and maintaining rigorous documentation-you ensure that every visible clue tells its story clearly. Next time you spot a smudge on a windowpane, don’t just wipe it away. Capture it. Preserve it. Let it speak for you in court.