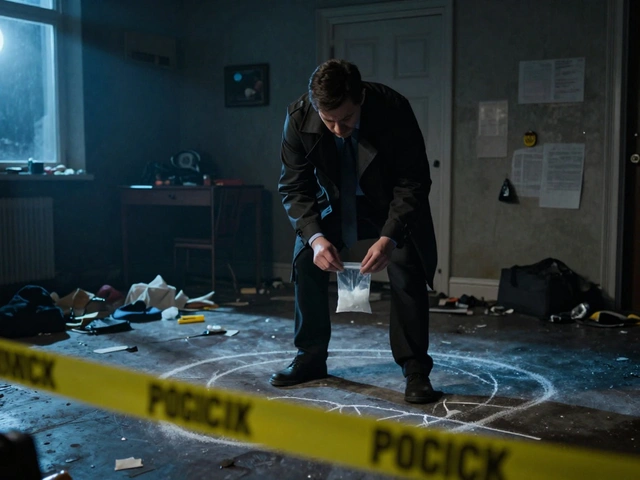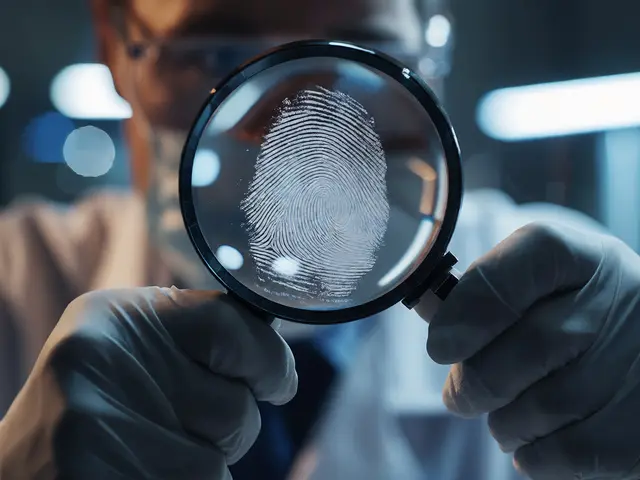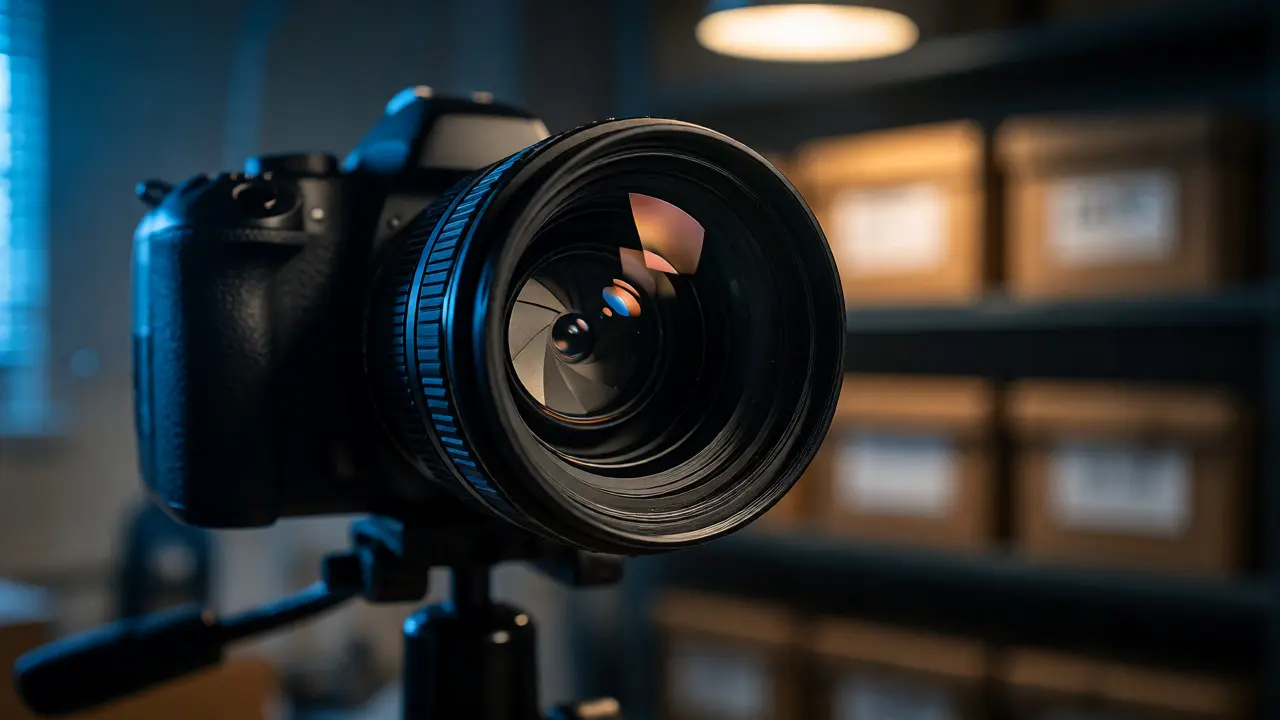
You snap a photo of a suspect's license plate at night. It’s blurry. Or maybe you try to capture the texture of a blood spatter pattern, but everything looks flat and lifeless. Why does this happen? It’s not because your camera is broken. It’s because you’re fighting against physics without knowing the rules.
Photography isn’t magic; it’s math and light management. Three specific dials control how your image turns out: focal length, shutter speed, and aperture. Get these wrong, and you lose critical detail. Get them right, and your evidence speaks for itself. Whether you are documenting a crime scene or just trying to take better pictures on your phone, understanding these three pillars changes everything.
The Exposure Triangle: How Light Gets In
Think of your camera sensor like a bucket catching rain. The goal is to fill the bucket perfectly-no more, no less. If it overflows, the image is white and blown out (overexposed). If it’s barely damp, the image is dark and noisy (underexposed).
Two of our three main settings directly control this "rain":
- Aperture: The size of the hole letting light in.
- Shutter Speed: How long the hole stays open.
Focal length doesn’t change exposure directly, but it changes what fits in the frame and how much shake you see, which indirectly forces you to adjust those other two. You can’t tweak one without thinking about the others. This interplay is called the Exposure Triangle.
Focal Length: Zooming In vs. Moving Closer
Focal length is measured in millimeters (mm). It determines the angle of view. A low number (like 18mm) gives you a wide view. A high number (like 200mm) zooms in tight.
But here is where people get confused. Focal length also affects perspective compression. When you use a long focal length from far away, background objects look closer to the subject than they actually are. When you use a short focal length up close, backgrounds stretch out and distort.
For forensic work, this matters. If you photograph a footprint with a wide-angle lens from two feet away, the toes might look huge and the heel tiny. That distortion misrepresents reality. To fix it, step back and use a longer focal length. You keep the subject the same size in the frame, but the perspective becomes natural.
| Focal Length | Type | Best For | Perspective Effect |
|---|---|---|---|
| 16-35mm | Wide Angle | Large scenes, interiors | Exaggerates distance, makes spaces feel larger |
| 50mm | Standard | General documentation | Natural human eye view, minimal distortion |
| 85-135mm | Portrait/Telephoto | Close-ups, isolating details | Compresses background, flattens features |
| 100mm+ | Macro/Long Tele | Trace evidence, textures | High magnification, shallow depth of field potential |

Aperture: Controlling Sharpness Depth
Aperture is the opening in the lens diaphragm. We measure it in f-stops (f/1.8, f/4, f/11, etc.). Here is the counter-intuitive part: a smaller f-number means a bigger hole. A bigger f-number means a smaller hole.
Why care? Because aperture controls depth of field (DoF). DoF is the zone of sharpness in front of and behind your focus point.
If you shoot at f/2.8, you have a razor-thin slice of sharpness. Everything else blurs. This is great for portraits or isolating a specific bullet casing on a messy table. But if you are shooting a whole room, an f/2.8 aperture will leave half the room out of focus. You need f/11 or f/16 to keep the foreground and background sharp.
In legal contexts, clarity is king. Blurry edges can be challenged. Use a narrower aperture (higher f-number) when you need everything in focus. Use a wider aperture (lower f-number) only when you intentionally want to guide the viewer’s eye to one specific detail.
Shutter Speed: Freezing Motion or Showing Flow
Shutter speed is how long the sensor is exposed to light. It is measured in seconds or fractions of a second (e.g., 1/1000s, 1/60s, 2s).
This setting has two jobs:
- Control Exposure: Longer time lets in more light.
- Control Motion: Fast speeds freeze action; slow speeds blur it.
Handheld cameras shake. Even your heartbeat moves the camera slightly. If your shutter speed is too slow, that shake creates motion blur. The general rule of thumb? Your shutter speed should be faster than your focal length. If you use a 200mm lens, don’t shoot slower than 1/200s unless you have stabilization. With modern mirrorless cameras and good technique, you can push this limit, but it’s risky.
For static evidence, you want fast enough to stop hand shake. For moving subjects (like a vehicle crash reconstruction), you need very fast speeds (1/1000s or faster) to freeze the moment of impact.
Balancing the Trio: Practical Scenarios
So, how do you combine these? You prioritize based on the shot.
Scenario 1: The Crime Scene Overview
You need the whole room sharp. You set a narrow aperture (f/8 or f/11). This reduces light entering the lens. To compensate, you must either increase ISO (add digital noise) or slow down the shutter speed. Since the scene is static, you can safely slow the shutter to 1/60s or even 1/30s if you brace yourself. Focal length? Wide angle (24mm) to fit it all in.
Scenario 2: The Finger Print Close-Up
You want the print sharp, but the background cluttered desk blurred. Set a wide aperture (f/2.8 or f/4). This creates shallow depth of field. Now you have lots of light. You can use a fast shutter (1/200s) to avoid blur. Focal length? Use a macro lens (90mm or 100mm) from a few inches away.
Scenario 3: Low Light Night Shot
No flash allowed. You need maximum light. Open the aperture wide (f/1.8). Slow the shutter as much as possible without shaking (maybe 1/15s). Raise the ISO to 1600 or 3200. Accept some grain to get the shot.
Common Pitfalls to Avoid
Don’t let auto-mode fool you. Cameras guess. They often pick weird apertures or slow shutters that ruin forensic integrity.
- Ignoring Diffraction: Going to f/22 sounds sharp, but light waves bend around the tiny aperture blades, softening the image. Stick to f/8-f/11 for maximum sharpness on most lenses.
- Camera Shake: Using a telephoto lens handheld at 1/50s? It will be blurry. Use a tripod or increase shutter speed.
- Distortion Bias: Shooting evidence from too close with a wide lens distorts shapes. Step back, zoom in.
Practice makes perfect. Take ten shots of the same object changing one variable at a time. See how the background blur changes with aperture. See how motion freezes with shutter speed. Once you see the cause and effect, you’ll never rely on Auto again.
What is the best aperture for landscape photography?
For landscapes, you typically want a deep depth of field so both the foreground rocks and distant mountains are sharp. An aperture between f/8 and f/11 is usually the sweet spot. Going higher (f/16-f/22) can introduce diffraction, which slightly softens the image despite increasing depth of field.
Does focal length affect exposure?
Indirectly, yes. While focal length itself doesn't change the amount of light hitting the sensor (that's aperture and shutter speed), longer focal lengths amplify camera shake. This forces you to use faster shutter speeds to avoid blur, which reduces the total light captured. You then have to compensate by widening the aperture or raising ISO.
How does shutter speed affect motion blur?
Shutter speed determines how long the camera records movement. A fast shutter speed (e.g., 1/1000s) freezes motion, making moving objects appear sharp. A slow shutter speed (e.g., 1/30s) allows the subject to move across the sensor during exposure, creating streaks or blur. This is useful for creative effects like flowing water but detrimental for capturing static evidence clearly.
What is the difference between optical and digital zoom?
Optical zoom uses physical lens elements to magnify the image before it hits the sensor, maintaining resolution and quality. Digital zoom simply crops the center of the image and enlarges the pixels, resulting in a loss of detail and pixelation. Always prefer optical zoom (changing focal length) over digital zoom for high-quality images.
Why is my background blurry?
A blurry background is caused by a shallow depth of field. This happens when you use a wide aperture (low f-number like f/1.8), a long focal length, or get very close to your subject. If you want a sharp background, stop down the aperture (use a higher f-number like f/8 or f/11), use a shorter focal length, or move further away from the subject.