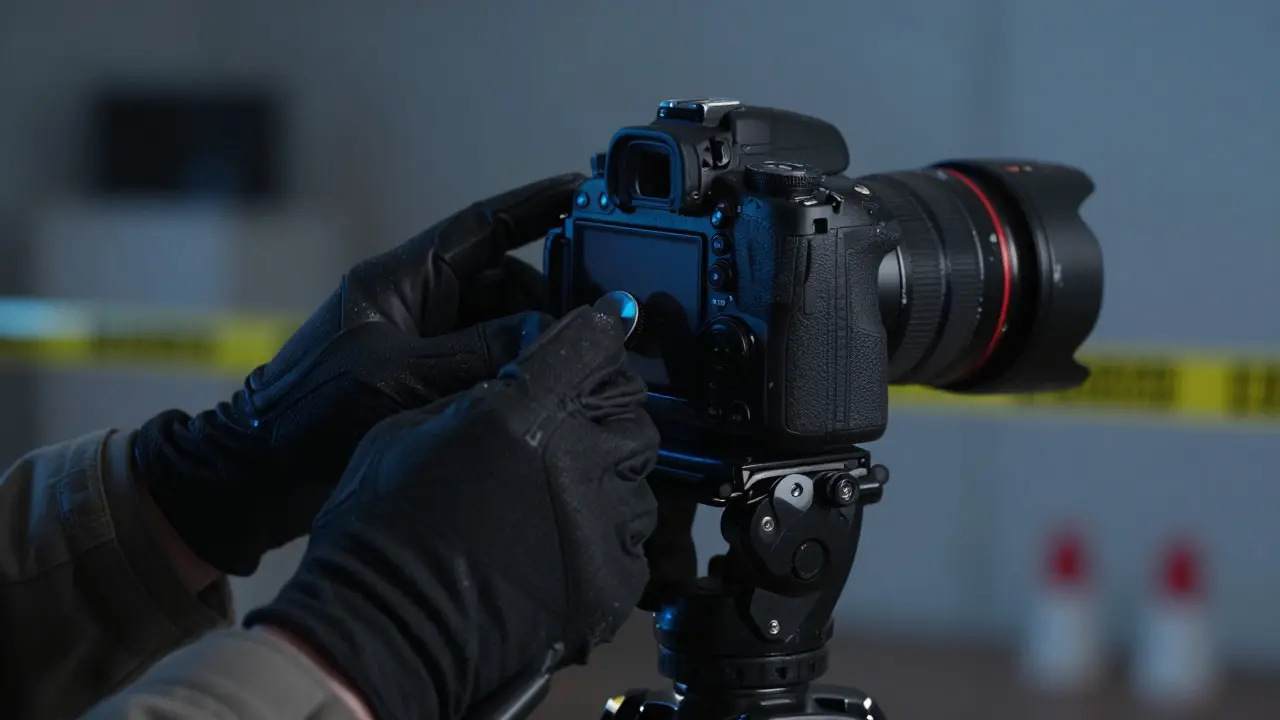
Ever tried to capture a clear image of a crime scene at 2 AM? The lights are dim, the air is cold, and your hands are shaking slightly. In that moment, noise reduction isn't just about making a pretty picture; it's about preserving evidence. If the grain is too heavy, you might miss a fingerprint or a scuff mark. And if the shot is blurry because of poor stability, the whole photo becomes useless in court. Low-light photography is less about artistic flair and more about technical discipline. You need to balance three things: getting enough light onto the sensor, keeping the image sharp, and minimizing digital artifacts that obscure details.
Understanding Digital Noise in Dim Conditions
Digital noise looks like salt and pepper grains on your photo. It happens when your camera sensor struggles to distinguish actual light signals from random electrical interference. This gets worse as you raise the ISO setting. Think of ISO as the sensitivity dial. At ISO 100, the sensor is calm and precise. At ISO 6400 or higher, the sensor is amplifying every tiny signal, including the junk. For forensic work, this is critical. A noisy image can hide micro-textures on a weapon or fade the contrast in a victim’s clothing. The goal is not just to see the scene, but to see it with clarity that withstands scrutiny under magnification.
The Triangle of Exposure: Prioritizing Stability
You have three knobs to turn: aperture, shutter speed, and ISO. In low light, these fight against each other. If you want a fast shutter speed to freeze motion, you need a wide aperture (like f/1.8) or a high ISO. But widening the aperture reduces depth of field, meaning only a thin slice of the scene is in focus. That’s risky if you’re photographing a large area. Raising the ISO introduces noise. So, what do you do? You prioritize stability. By using a tripod, you free yourself from the constraint of a fast shutter speed. You can drop the shutter speed to 1/4 second or even slower, allowing you to use a lower ISO (like 400 or 800) and a narrower aperture (like f/5.6). This combination yields a cleaner, sharper image. Handheld shooting forces you to keep the shutter speed above 1/60th of a second, which often pushes you into high-ISO territory where noise takes over.
Practical Techniques for Reducing Grain
Beyond just lowering the ISO, there are specific techniques to combat noise before it even appears. First, shoot in RAW format. JPEG files are compressed and processed by the camera, which often applies aggressive sharpening that makes noise look worse. RAW files keep the data raw, giving you much more control during post-processing. Second, use in-camera noise reduction carefully. Many cameras have an option for "High ISO NR." Turn this off for single shots. It softens details to smooth out noise, which is bad for evidence. Instead, handle noise reduction in software where you can target specific areas. Third, consider bracketing. Take three shots: one normal, one slightly darker, and one slightly brighter. Later, you can blend them or use the best exposure for different parts of the image. This technique, called exposure blending, allows you to keep shadows clean without blowing out highlights.
Stability Tools Beyond the Tripod
A sturdy tripod is non-negotiable for static scenes. But what if you’re in a cramped room or need to move quickly? Use a monopod. It gives you vertical stability while letting you pivot horizontally. Or, simply brace yourself. Press your elbows against your ribs, hold your breath, and squeeze the shutter button gently. Avoid pressing hard, as that jolts the camera. If you have a remote shutter release or intervalometer, use it. Even the slightest vibration from your finger on the button can cause blur in long exposures. Also, check your lens stabilization. Most modern lenses have Image Stabilization (IS) or Vibration Reduction (VR). Turn it ON when handheld. But here’s the catch: if you’re on a solid tripod, turn IS OFF. Sometimes, the stabilization system fights the fixed position of the tripod, creating subtle wobbles in the image.
Lighting: Adding Light to Reduce Need for Speed
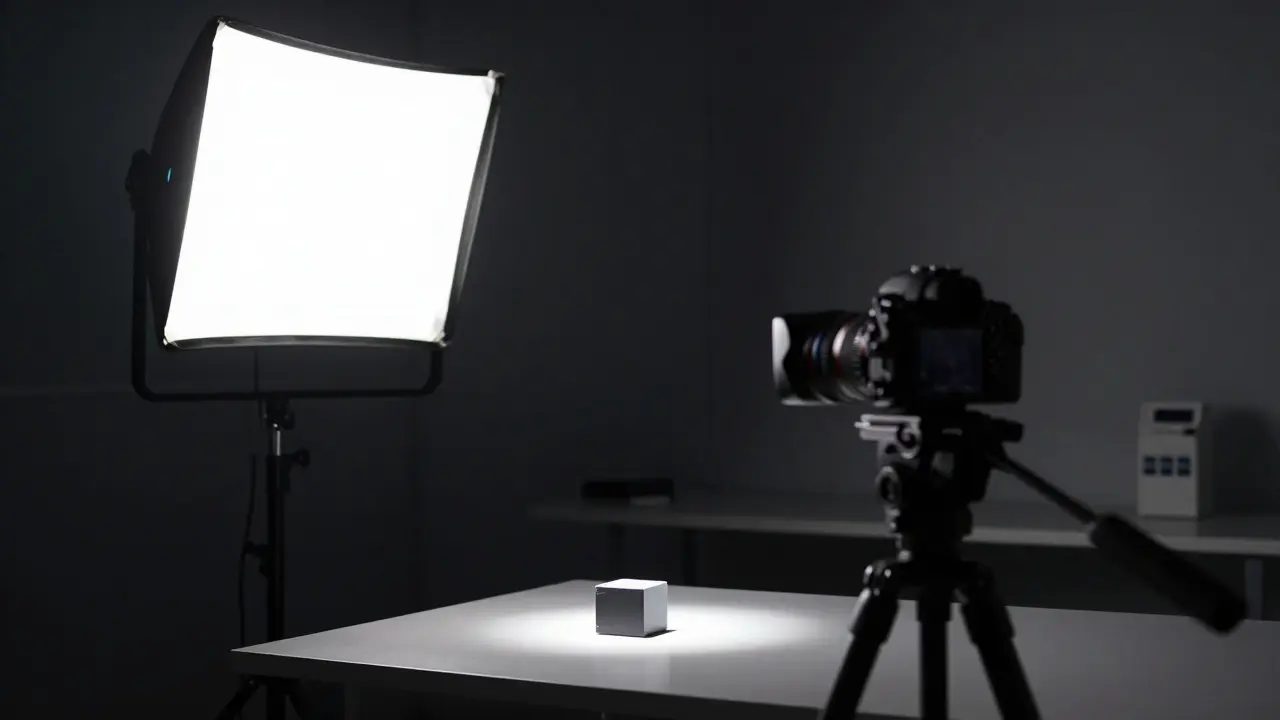
The best way to reduce noise is to add more light. If you can’t change the ambient lighting, bring your own. LED panels are ideal for forensic work because they are cool to the touch and don’t heat up the scene. They provide consistent, white-balanced light. Flash is another option, but be careful. Direct flash creates harsh shadows and glare, which can wash out details. Use bounce flash or diffused flash to spread the light evenly. If you’re photographing a document or a small object, a ring light or twin heads attached to the lens can eliminate shadows entirely. Remember, every stop of light you add allows you to halve your ISO. Going from ISO 3200 to ISO 1600 cuts noise in half. Going to ISO 800 cuts it again. It’s exponential improvement.
| Scenario | Recommended Settings | Primary Risk | Mitigation Strategy |
|---|---|---|---|
| Handheld, No Tripod | ISO 1600-3200, f/2.8, 1/60s | High Noise, Motion Blur | Use Lens Stabilization, Brace Body |
| Tripod, Static Scene | ISO 100-400, f/5.6-8, 1-2s | Camera Shake | Use Remote Release, Turn Off IS |
| Adding Artificial Light | ISO 200-800, f/4-5.6, 1/125s | Harsh Shadows, Glare | Diffuse Light, Balance Ambient |
Post-Processing: Cleaning Up Without Losing Detail
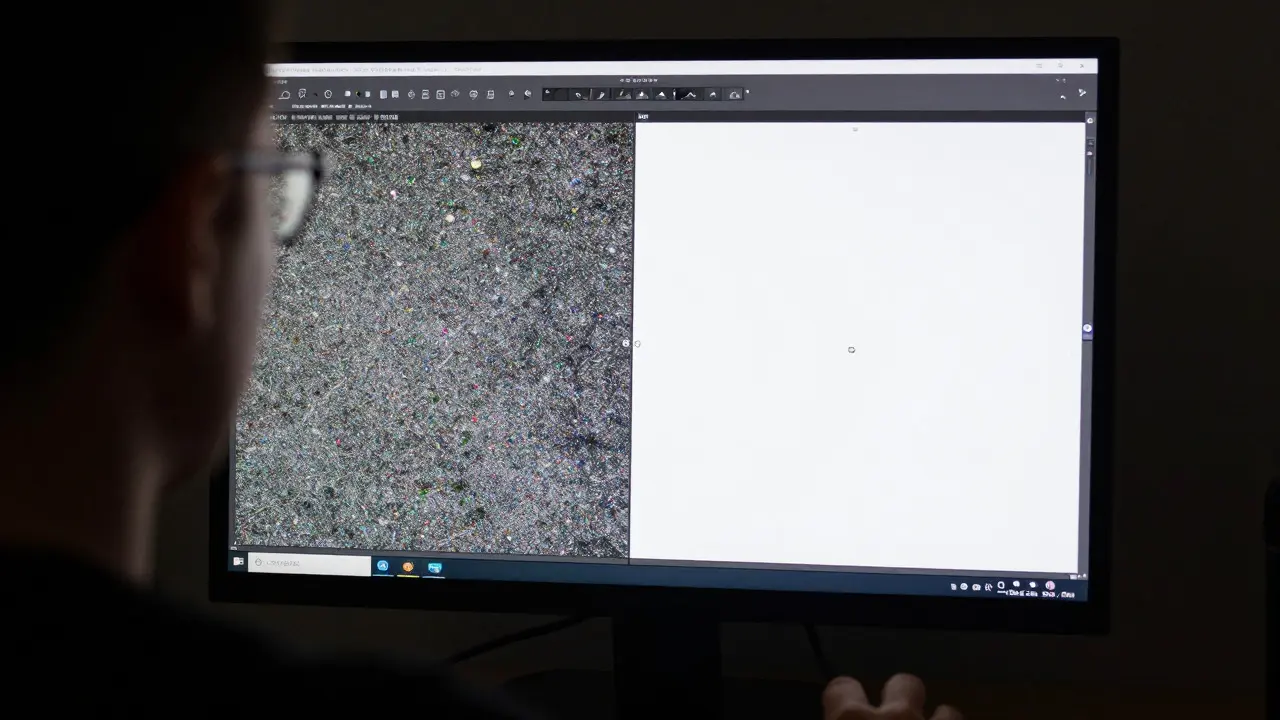
No matter how good your settings are, some noise will remain. Post-processing is where you refine the image. Start by adjusting levels and curves to fix exposure. Then, tackle noise. Use dedicated noise reduction tools in software like Adobe Lightroom or Capture One. Don’t apply global noise reduction blindly. Zoom in to 100% and adjust luminance noise first. Luminance noise is the gray speckle. Chroma noise is the colored dots (red, green, blue). Usually, chroma noise is easier to remove without losing detail. Be conservative. Over-reducing noise makes the image look plastic or waxy. You want to preserve texture. If you’re working with forensic evidence, annotate your process. Note the original ISO, the amount of noise reduction applied, and any cropping. Transparency builds trust in the chain of custody.
Common Mistakes to Avoid
Many photographers make the same errors in low light. First, relying solely on auto mode. The camera’s metering system often underexposes dark scenes, leading to muddy blacks and crushed shadows. Switch to manual mode. You know exactly how much light you need. Second, ignoring white balance. In mixed lighting (tungsten streetlights and moonlight), colors can shift. Set your white balance manually or use a gray card to calibrate. Accurate color is crucial for identifying materials or injuries. Third, forgetting to check the histogram. A bright spot on the screen might look fine, but the histogram tells you if highlights are clipped. Clipped highlights mean lost data forever. Keep your peaks within the graph boundaries. Finally, don’t neglect battery life. Cold weather drains batteries fast. Bring spares. Nothing ruins a scene investigation faster than a dead camera.
Frequently Asked Questions
What is the best ISO setting for low-light photography?
There is no single best ISO. It depends on your shutter speed and aperture. Generally, aim for the lowest ISO that still allows a safe shutter speed. With a tripod, ISO 100-400 is ideal. Handheld, you might need ISO 1600-3200. The key is balancing noise against motion blur.
Should I use image stabilization on a tripod?
Usually, no. When the camera is locked down on a solid tripod, image stabilization systems can sometimes introduce micro-vibrations. Turn it off unless you are using a very lightweight head or shooting video. For still photos on a stable surface, disable IS for maximum sharpness.
How do I reduce color noise in photos?
Color noise appears as red, green, or blue specks. It is most visible in flat, dark areas like night skies or shadows. Use dedicated chroma noise reduction tools in post-processing. These tools target colored pixels specifically, allowing you to remove color speckle without blurring the fine details (luminance) of the image.
Is RAW format necessary for forensic photography?
Yes, highly recommended. RAW files contain unprocessed data from the sensor. This allows you to recover details from shadows and highlights that would be lost in a JPEG. It also gives you greater flexibility in correcting white balance and reducing noise without degrading image quality significantly.
How does temperature affect low-light shooting?
Cold temperatures drain battery life faster, which can cut short your session. Additionally, condensation can form on lenses and sensors when moving between cold outside and warm inside, causing foggy images. Let your gear acclimate in a sealed bag before exposing it to new temperatures. Warm hands also shake less, improving handheld stability.