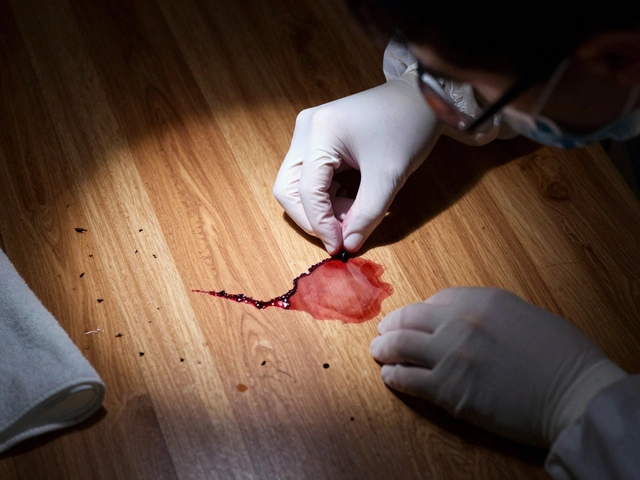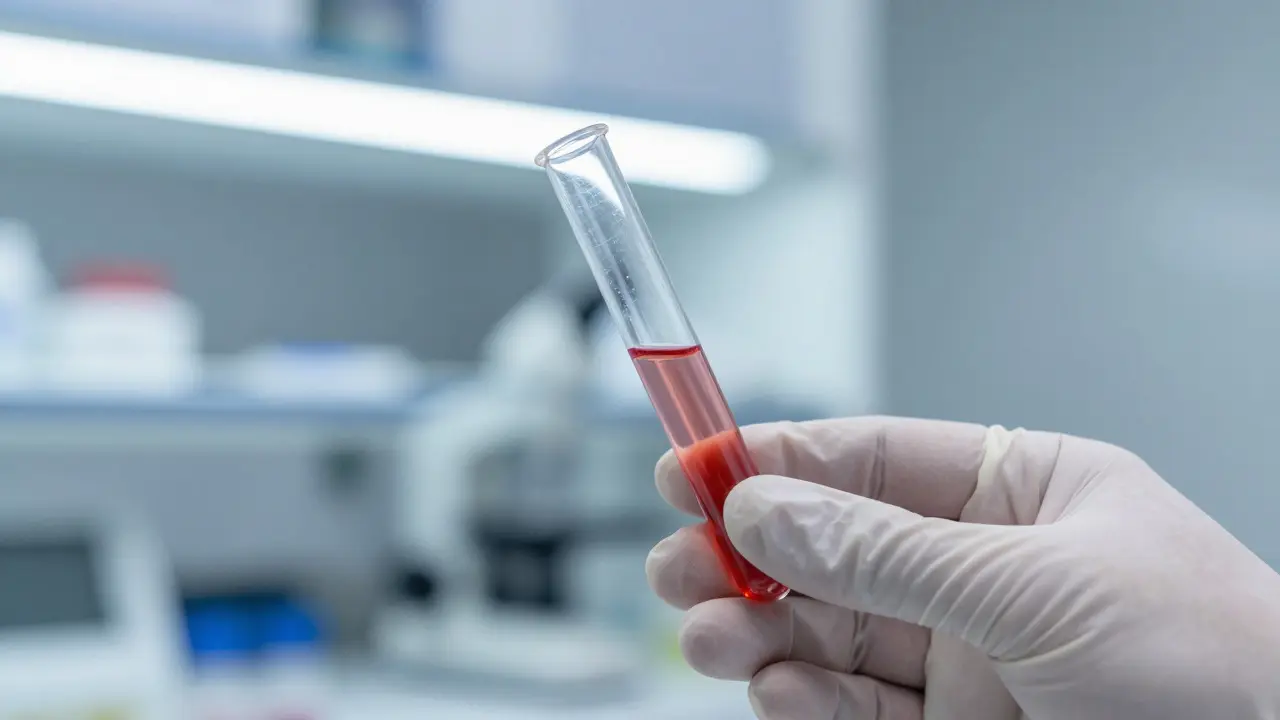
Imagine you are a lead investigator reviewing a case file. The DNA profile from the crime scene matches the suspect perfectly. But then, a single drop of blood from a lab technician who handled the evidence three weeks earlier appears in the mix. Suddenly, that perfect match is compromised. In forensic science, lab contamination is the unintended introduction of extraneous biological material into evidence samples or reagents, which can alter analytical results and compromise case integrity. It is not just a theoretical risk; it is a tangible threat to justice.
For labs processing high-volume casework, the stakes are incredibly high. A single contaminated sample can lead to wrongful convictions or acquittals. Understanding how to detect these events early and remediate them effectively is no longer optional-it is a core competency for any forensic team aiming for accreditation under standards like ISO/IEC 17025 or SWGDAM guidelines.
Why Contamination Happens in Forensic Labs
Contamination rarely happens because someone was careless. More often, it occurs due to systemic gaps in workflow design. The primary source is human shedding. Every person sheds skin cells, hair, and saliva constantly. In a busy lab, this becomes a constant background noise of genetic material.
- Airborne transfer: Talking, coughing, or even breathing releases particles that settle on open tubes.
- Contact transfer: Gloves touching non-sterile surfaces (like door handles or keyboards) before handling evidence.
- Cross-contamination between cases: Reusing pipette tips or leaving samples unattended during extraction.
- Reagent carryover: Commercial kits sometimes contain trace amounts of foreign DNA if not properly validated.
The environment plays a role too. Drafts from HVAC systems can move particles across benches. If your lab doesn’t have dedicated pre-analysis and post-analysis zones, the risk multiplies. Pre-analysis areas handle raw evidence; post-analysis areas handle amplified DNA (PCR products). Mixing these two creates a "hot" zone where old PCR products can jump onto fresh samples, creating false positives.
Signs That Something Went Wrong: Detection Methods
You cannot see contamination with the naked eye. You need data-driven signals to catch it. Here are the most reliable indicators used by accredited labs today:
- Negative Controls: These are blank samples run alongside every batch. If a negative control shows a DNA peak, something went wrong. A clean lab should see zero peaks in negatives. If you see a peak at 100-200 bp, you likely have primer-dimer artifacts or low-level contamination.
- Internal Standards (IS):stability: Modern kits include an internal standard added at the start of extraction. If the IS ratio deviates significantly from expected values, it suggests inhibition or loss of sample, but it can also flag cross-contamination if multiple samples show similar anomalies.
- Statistical Outliers: Using software like STRmix or TrueAllele, analysts look for profiles that don’t fit the expected mixture model. A sudden appearance of an allele not present in the reference sample is a red flag.
- Environmental Monitoring: Some labs use real-time PCR (qPCR) swabs on workbenches after each shift. If a swab from a bench top yields a positive result, that bench is out of commission until cleaned.
Don’t wait for the final report to check for errors. Catching contamination at the extraction stage saves hours of re-work. Implement a rule: if any negative control fails, repeat the entire batch. No exceptions.
Immediate Response: Containment Protocols
Once you suspect contamination, speed matters. The goal is to stop the spread before it affects more samples. Follow this immediate containment protocol:
- Stop Work: Halt all processing in the affected area. Do not move samples unless necessary.
- Quarantine Samples: Move all samples processed since the last known clean point into a labeled "HOLD" container. Do not discard them yet-they may still be usable if isolated correctly.
- Identify the Source: Was it a specific technician? A specific kit lot? A specific bench? Document everything. Time-stamp when the issue was noticed.
- Notify QA Manager: This is not a decision to make alone. Your Quality Assurance manager needs to assess whether the event impacts previous reports.
Documenting the timeline is critical for legal defensibility. If a defense attorney asks, "How do you know only these five samples were affected?" your answer must be backed by precise logs of who touched what, when, and where.
Remediation Strategies: Cleaning vs. Discarding
Not every contaminated sample is lost. Sometimes, you can salvage the data. Other times, you must start over. Here is how to decide:
| Scenario | Action | Rationale |
|---|---|---|
| Negative control positive, but main sample profile is strong and unique | Repeat extraction and amplification | Low-level contamination may not affect high-template samples |
| Mixture profile with unknown contributor | Deconvolution analysis | Use probabilistic genotyping to separate known from unknown alleles |
| Multiple samples in same batch affected | Discard entire batch | High risk of systematic error; cost of re-testing is lower than risk of misinterpretation |
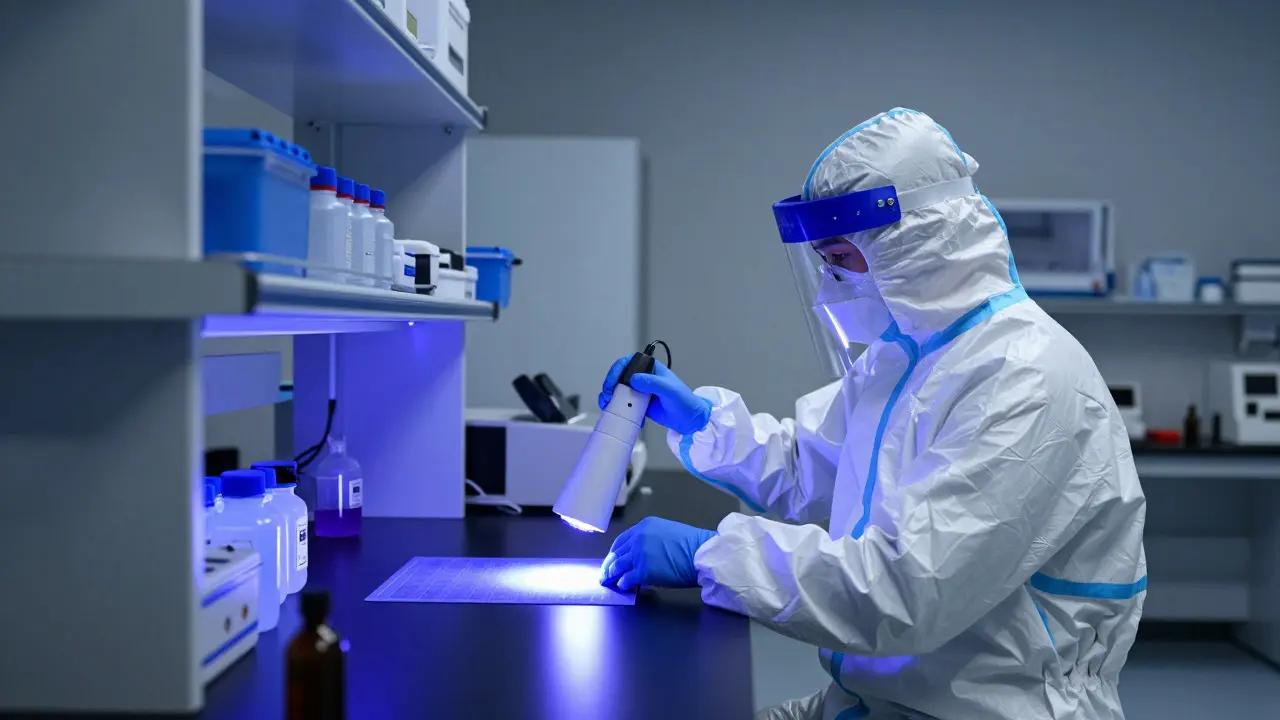
| PCR product detected in pre-analysis zone | Deep clean + UV irradiation + 48-hour quarantine | PCR products are stable; require aggressive decontamination |
When cleaning, use enzymatic cleaners like DNase solutions rather than just bleach. Bleach kills bacteria but doesn’t always break down DNA fully. UV light helps degrade nucleic acids, but it only works on exposed surfaces. Wipe down every surface, including the inside of centrifuges and pipette barrels.
After remediation, run a verification panel. This includes:
- A known positive control (to ensure the system still works)
- A known negative control (to confirm cleanliness)
- A blind replicate of a previously tested sample (to check consistency)
Preventing Future Events: Systemic Improvements
Fixing one incident is good. Preventing the next one is better. Most labs fail here because they treat contamination as a one-off mistake rather than a process failure. Here’s what actually works:
- Zoning Enforcement: Physically separate pre-analysis and post-analysis areas. Use different colored gloves, lab coats, and even shoes for each zone. Make it impossible to accidentally carry PCR products backward.
- Airflow Control: Ensure laminar flow hoods are positioned so air flows away from open samples. Regularly test airflow velocity. If it drops below 90% of spec, recalibrate immediately.
- Staff Training Refreshers: Annual training isn’t enough. Do quarterly micro-training sessions focused on common mistakes. Review actual contamination incidents (anonymized) to keep the risk real.
- Kit Lot Tracking: Log every lot number of extraction and amplification kits. If a problem arises, you can quickly identify if a specific manufacturer batch was faulty.
Also, consider using automated liquid handlers. They reduce human touchpoints by up to 70%, significantly lowering the chance of manual error. While expensive upfront, the cost savings from avoided re-tests and legal challenges often justify the investment within two years.
Legal and Reporting Implications
If contamination is discovered after a report has been issued, you face a tough choice: retract the report or issue a supplementary statement. Retraction is rare but necessary if the core finding is invalid. A supplementary statement works if the contamination only affects minor alleles or if the primary conclusion remains unchanged.
Always consult with your lab director and legal counsel before making this call. Document the decision-making process thoroughly. Courts respect transparency. Hiding a known issue is far worse than acknowledging it and showing you took corrective action.
Remember, the goal of forensic science is truth, not just a match. When you handle contamination with rigor, you protect both the suspect’s rights and the victim’s pursuit of justice.
Frequently Asked Questions
What is the most common source of contamination in forensic DNA labs?
The most common source is human-derived DNA from laboratory staff. Skin cells, hair, and saliva shed during routine work can land on evidence or reagents. Airborne transfer and contact via gloves are the primary mechanisms.
How do I know if a negative control is truly failed?
A negative control is considered failed if it shows any detectable DNA peak above the instrument’s threshold. Even small peaks can indicate low-level contamination. Best practice is to repeat the entire batch if any negative control fails, regardless of peak size.
Can I reuse a contaminated pipette tip?
No. Pipette tips are single-use. Once contaminated, they should be discarded. Reusing them risks transferring DNA to subsequent samples. Always inspect tips for visible debris before use, but assume sterility is compromised if the associated sample failed controls.
What cleaning agent is best for removing DNA from lab surfaces?
Enzymatic cleaners containing DNase are most effective for breaking down DNA. Bleach is useful for disinfection but does not reliably degrade DNA. Combine enzymatic wiping with UV irradiation for thorough decontamination of hard-to-reach areas.
How long should a lab remain closed after a major contamination event?
There is no fixed duration. Closure length depends on the extent of contamination. Typically, labs undergo deep cleaning, UV treatment, and verification testing. This process usually takes 24-72 hours. Resume operations only after passing a full verification panel including positive and negative controls.
Does automation completely eliminate contamination risk?
No, but it significantly reduces it. Automated systems minimize human touchpoints, which are the primary source of error. However, contamination can still occur during loading/unloading, maintenance, or if reagents are compromised. Automation complements, but does not replace, strict procedural controls.