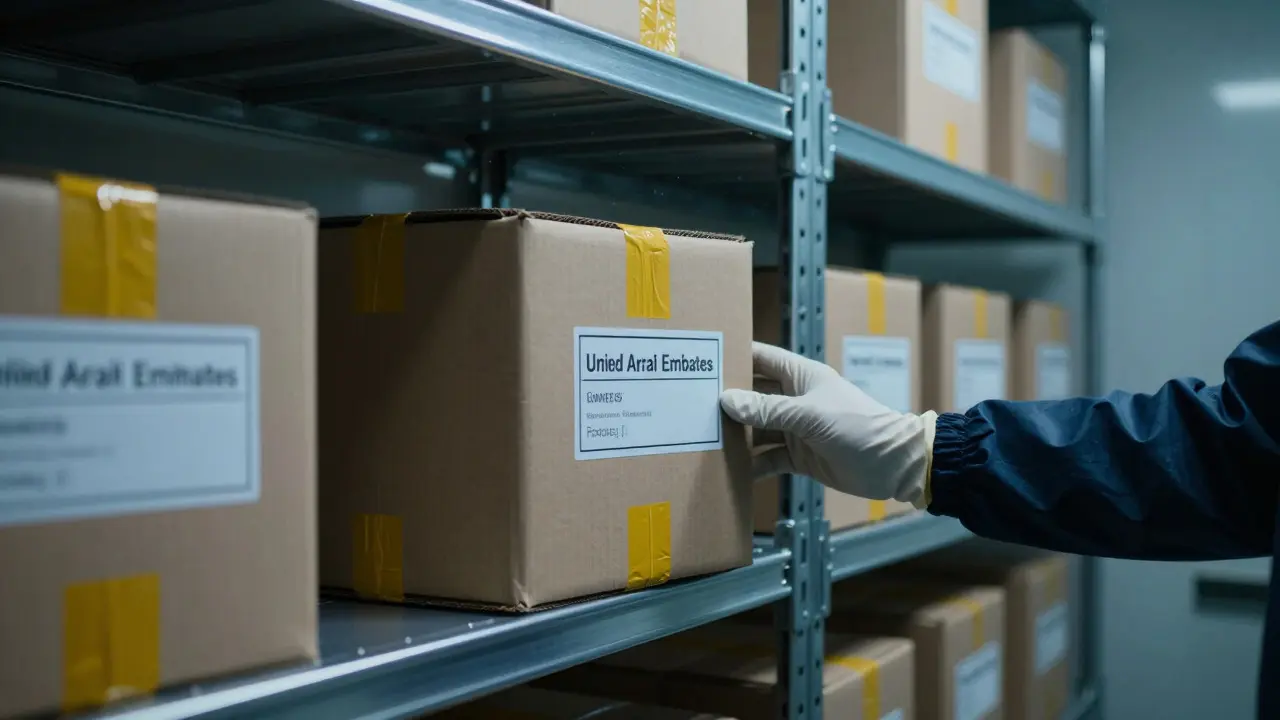
Imagine pulling a box from the back of a storage room that hasn’t been touched in five years. Inside is a DNA sample or a digital drive that was central to a case closed long ago. If you can’t prove exactly who touched it, when they touched it, and why, that evidence might be worthless in court. This is where archive retrievals become critical. It’s not just about finding the item; it’s about rebuilding the story of its integrity after a period of dormancy.
Many labs treat archive retrieval as an administrative task, but it is actually a high-risk phase of the forensic process. The gap between initial analysis and re-examination creates a vacuum where contamination, degradation, or mishandling can occur unnoticed. To prevent this, you need a rigorous documentation protocol that bridges the past and present seamlessly.
Why Re-Examination Breaks Standard Protocols
Standard Chain of Custody is a record that documents the seizure, handling, transfer, and analysis of physical evidence usually flows linearly: collection, transport, intake, analysis, and return. However, when evidence sits in an archive for months or years, that line breaks. The item enters a state of "storage silence." When it comes back out, you are no longer following the original flow; you are starting a new forensic journey with an old object.
The risk here isn't just about theft. It’s about environmental factors. Did the temperature in the storage facility spike last winter? Was the humidity control unit serviced? If your documentation doesn't account for these variables, defense attorneys will argue that the sample degraded naturally, making any new results suspect. You aren't just documenting movement; you are documenting preservation.
The Core Components of a Retrieval Log
A robust archive retrieval log needs more fields than a standard intake form. You must capture the context of the delay. Here is what every entry should include:
- Original Case ID & Date: Links the item back to its origin.
- Storage Location Details: Specific shelf, bin, and climate zone (e.g., refrigerated vs. ambient).
- Reason for Retrieval: Why now? New technology, appeal, or cross-reference?
- Condition Check: Visual inspection notes upon removal (seal intact, packaging condition).
- Environmental Data: If available, logs of temperature/humidity during the storage period.
This level of detail transforms a simple "item moved" note into a defensible narrative. It shows the court that you didn't just grab the box; you assessed its viability before opening it.
Step-by-Step Process for Secure Retrieval
Consistency is key. Whether you have one analyst or fifty, the steps must be identical. Here is a workflow that minimizes error:
- Verify the Request: Confirm the legal authority for the pull. Is there a signed subpoena or internal approval?
- Retrieve with Two Witnesses: Never pull archived evidence alone. Two people verify the location and the seal integrity simultaneously.
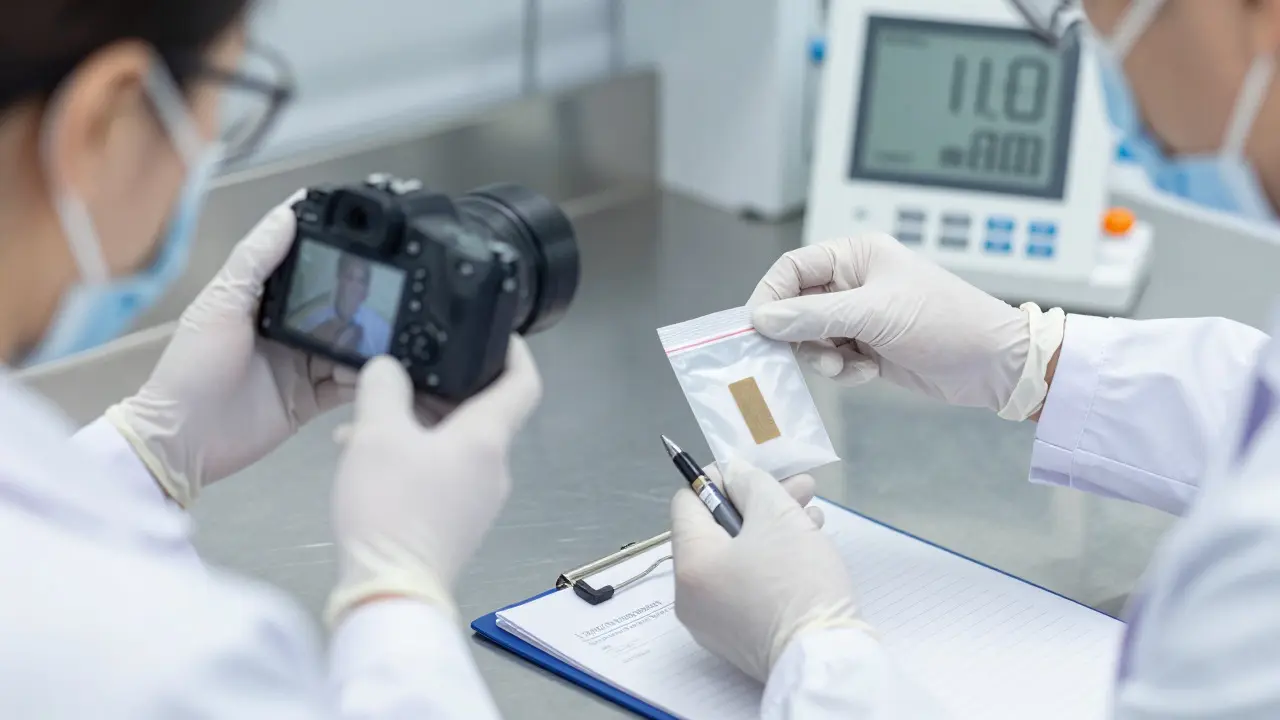
- Photograph the Seal: Before breaking anything, take high-resolution photos of the tamper-evident seals and the outer packaging.
- Log the Removal: Record the exact time, date, and names of both witnesses in the digital system immediately.
- Transfer to Staging Area: Move the item to a controlled environment (not directly to the bench) to acclimate if necessary.
- Re-Seal or Open: Decide if the item needs to be opened now or if it stays sealed for later. Document this decision.
This sequence ensures that if the seal is broken later, you have proof of who broke it and under what conditions.
Digital Forensics: The Unique Challenge
If you are dealing with digital evidence, the stakes are higher. A hard drive pulled from an archive might still be powered on, or its metadata might have shifted due to magnetic decay. For digital media, Hash Verification is a method of creating a unique digital fingerprint of data to ensure integrity becomes non-negotiable.
Before the drive leaves the archive, you should compute a hash value if possible, or at least document the previous hash values recorded at intake. If the current hash matches the historical record, you have mathematical proof that the data hasn't changed. If it doesn't match, you don't have an error; you have a finding. That finding must be documented as a potential integrity issue, not hidden.
| Feature | Physical Evidence (DNA, Firearms) | Digital Evidence (Drives, Phones) |
|---|---|---|
| Primary Integrity Check | Visual seal inspection, weight verification | Hash value comparison (MD5/SHA-256) |
| Environmental Risk | Temperature/Humidity degradation | Magnetic decay, static discharge |
| Documentation Focus | Condition report, photo of packaging | Metadata snapshot, write-blocker usage |
| Common Failure Point | Broken tamper-evident tape | Unrecorded power-on events |
Common Pitfalls That Void Evidence
Even with good intentions, small mistakes can sink a case. Here are the traps that catch most labs off guard:
- The "Quick Pull": Analysts skipping the two-witness rule because they are behind schedule. One signature is never enough for archived items.
- Vague Condition Notes: Writing "looks fine" instead of describing specific details like "tape slightly discolored" or "box corner crushed." Specificity defends you; vagueness invites doubt.
- Ignoring Storage History: Failing to check if the item was ever moved within the archive. Internal moves also require logging.
- Delay in Logging: Waiting until the end of the shift to enter data. Memory fades. Log it while you hold the item.
These errors seem minor in isolation, but in a courtroom, they compound. A single vague note can lead to a motion to suppress, costing the prosecution months of work.
Best Practices for Long-Term Storage Integrity
Prevention is better than cure. If you want your retrievals to be smooth, you need to manage the storage phase aggressively. Implement regular audits of your archive conditions. Use sensors that log temperature and humidity automatically, so you don't have to rely on manual checks that might be missed.
Additionally, categorize your archives by volatility. High-value DNA samples might need annual reviews, while low-priority paperwork might only need a decennial check. Tailoring your review frequency to the risk level saves resources without sacrificing integrity. This proactive approach means that when you finally do retrieve an item, you already know its history, not just its location.
Frequently Asked Questions
How long should evidence stay in the archive before it is considered 'cold'?
There is no universal legal definition, but most forensic labs consider evidence 'cold' or 'archived' after 12 months of inactivity. At this point, it moves from active casework files to long-term storage, triggering stricter retrieval protocols.
Do I need a new Chain of Custody form for re-examination?
Yes. While you reference the original form, you must start a new chain of custody document for the re-examination phase. This separates the historical record from the current handling, making it easier for judges to follow the timeline.
What happens if the tamper-evident seal is damaged upon retrieval?
Do not open the package immediately. Photograph the damage, note the extent, and consult with a supervisor. If the seal was compromised in storage, you may need to perform a preliminary integrity test (like a hash check for digital items) before full analysis to determine if the evidence is still admissible.
Is photography mandatory for all archive retrievals?
While not always legally required, it is a best practice for high-stakes cases. Photos provide objective proof of the item's condition at the moment of retrieval, removing reliance on human memory or subjective written descriptions.
How does climate control affect biological evidence in archives?
Biological evidence is highly sensitive to temperature and humidity fluctuations. Even if stored properly, minor deviations over years can degrade DNA. Documenting the specific climate zone where the item was stored helps experts assess the likelihood of degradation during re-examination.