Imagine you just secured a bloody knife at a crime scene. You’ve bagged it, labeled it, and signed the log. But if you used a plastic zip-lock for wet blood or forgot to seal the tape ends, that evidence might be inadmissible in court. Proper physical evidence packaging isn’t just about putting things in boxes; it’s about preserving biological viability, preventing contamination, and proving to a judge that nothing changed from the moment you found it until the lab analyzed it.
This guide breaks down exactly how to handle different types of items so they survive the journey from the field to the laboratory without losing their evidentiary value.
Why Packaging Matters More Than Collection
You can collect an item perfectly, but poor packaging can ruin its utility. The primary goal is to maintain the Chain of Custody, which is the documented trail showing who had the evidence and when. If a package leaks, dries out incorrectly, or gets contaminated by your own DNA, the defense attorney will attack the integrity of the proof.
Think of packaging as a time capsule. It must freeze the state of the evidence exactly as you left it. This involves three core principles:
- Containment: Keeping the item secure and preventing loss.
- Preservation: Stopping chemical or biological degradation (like mold on wet clothes).
- Identification: Ensuring the label matches the item and the case number.
The Golden Rule: Match the Container to the Content
One of the most common mistakes in the field is using the wrong container type. Not all evidence behaves the same way. Using a plastic bag for wet organic material is a recipe for disaster because trapped moisture creates a perfect environment for bacteria and mold to grow, destroying DNA profiles within hours.
| Evidence Type | Correct Container | Avoid Using | Reason |
|---|---|---|---|
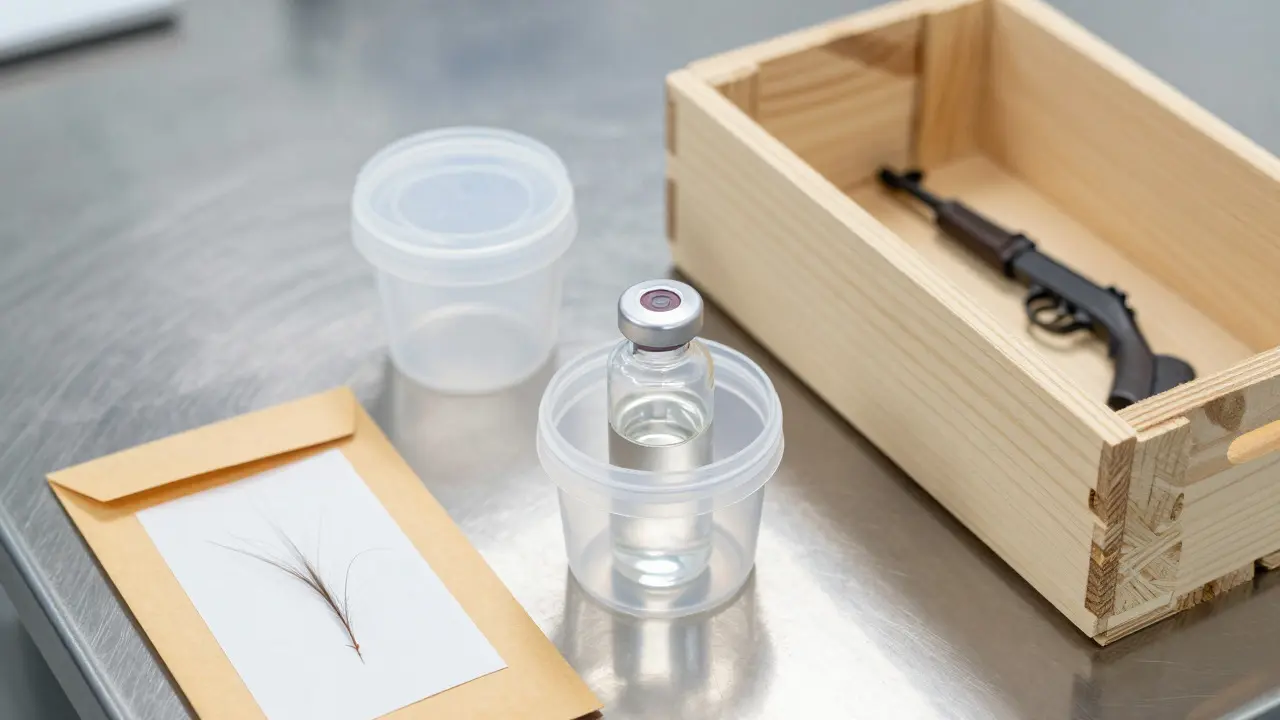
| Wet Biologicals (Blood, Saliva) | Paper Bag or Breathable Envelope | Plastic Zip-locks | Allows moisture to evaporate, preventing mold growth. |
| Dry Solids (Fibers, Hair) | Paper Envelope or Small Box | Loose in hand | Prevents static cling and loss of tiny particles. |
| Liquids (Toxic Substances) | Leak-proof Glass or Plastic Vial | Paper Bags | Prevents evaporation and absorption into paper. |
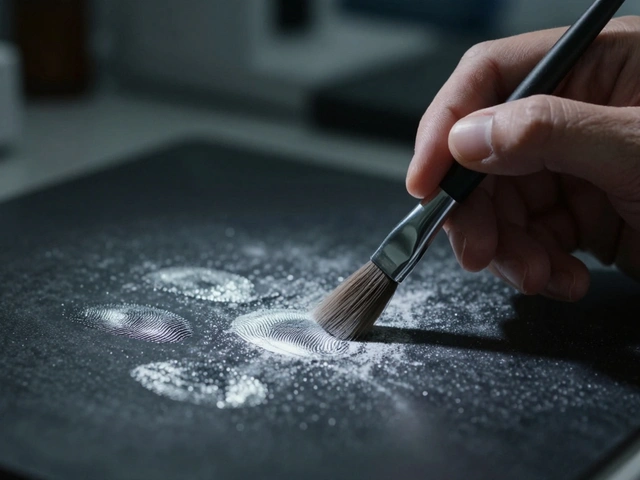
| Fingerprints (Latent Prints) | Rigid Cardboard or Plastic Tray | Soft Cloth | Prevents smudging fragile ridge details. |
| Firearms | Wooden Box with Padding | Cardboard Box | Protects against impact damage during transport. |
Step-by-Step: Handling Wet Biological Evidence
If you are dealing with blood-stained clothing, a wet towel, or any item with significant moisture, follow this sequence. Speed matters here, but technique matters more.
- Do not dry artificially. Do not put wet clothes under a lamp or in direct sun. Let them air-dry naturally if possible before long-term storage, but package them immediately if transport is required.
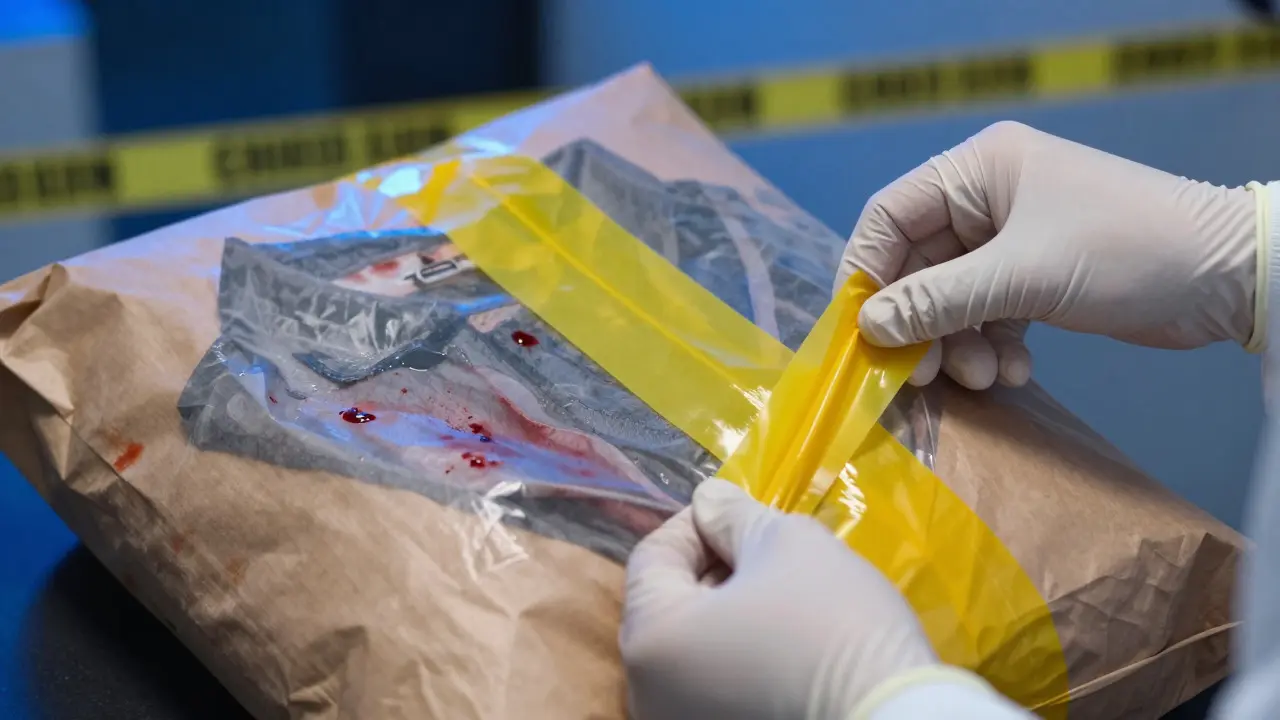
- Use paper bags. Place the item inside a large, unlined paper bag. Avoid plastic entirely for wet organics.
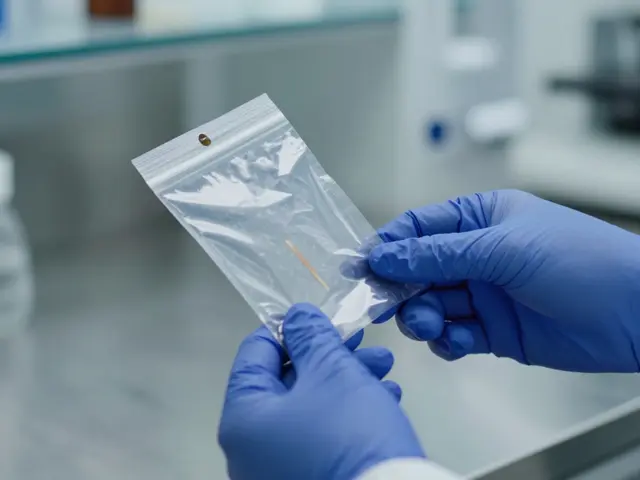
- Seal securely. Fold the top of the bag over and seal it with evidence tape. Write your initials, date, and time across the tape seal so anyone can see if it was opened.
- Label clearly. Attach a tag with the case number, item description, and location found. Use waterproof markers if available.
Why paper? Paper allows water vapor to escape. If you trap that moisture in plastic, you create a humid microclimate. Within 24 to 48 hours, bacteria begin breaking down DNA strands, making extraction difficult or impossible for the lab technicians.
Securing Dry Trace Evidence
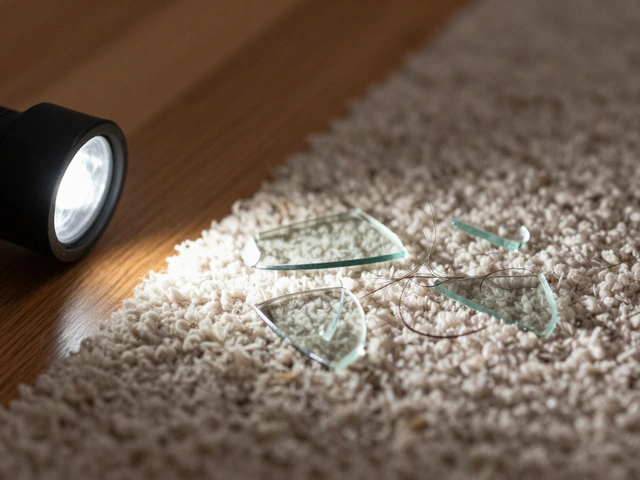
Trace evidence like hair, fibers, glass fragments, or soil samples is delicate. These items are often microscopic and easy to lose. The biggest risk here is static electricity and physical dislodgement.
For hairs or fibers, use a small paper envelope. If the item is very light, consider placing it on a piece of white paper first, then folding the paper around it before sealing the envelope. This provides a background that helps lab analysts see the item clearly under magnification.
For larger dry items like shoes or tools, a standard cardboard box works well. Line the bottom with clean tissue paper or bubble wrap to cushion the item. Make sure the box is large enough that the item doesn’t shift around during transport. Movement causes friction, which can wipe away latent fingerprints or transfer dust onto the evidence.
Managing Liquids and Volatile Substances
Liquid evidence presents a unique challenge: evaporation. If you have a sample of unknown liquid, alcohol, or toxic substance, you need a leak-proof container. Glass vials are preferred for chemical stability, but high-quality plastic vials are acceptable if the chemical isn’t reactive to plastic.
Always fill the vial only to the recommended line-usually no more than 90% full. Overfilling leads to pressure changes during temperature fluctuations, which can cause the cap to pop off or the liquid to seep past the seal. Once sealed, place the vial in a secondary container, such as a small rigid box, to protect it from breaking during transit.
Label these containers with extra care. Include the volume collected (e.g., "5 mL") and the specific location where it was drawn or swabbed. For volatile compounds, note the time of collection, as some chemicals degrade rapidly once exposed to air.
Documenting the Chain of Custody
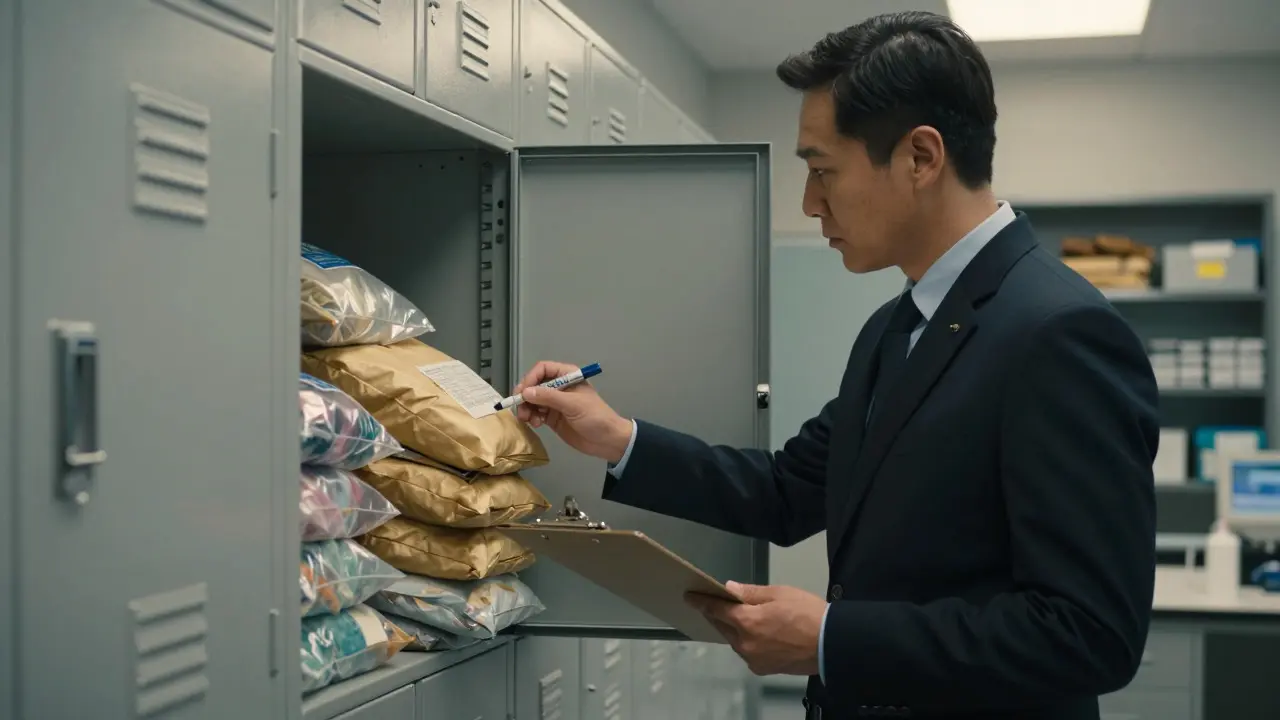
The physical package is only half the battle. The paperwork is the other half. Every time evidence changes hands, the Chain of Custody form must be updated. This document tracks every person who touched the item, the reason for the transfer, and the exact time.
A broken chain doesn’t mean the evidence is fake; it means there is a gap in accountability. If a detective forgets to sign the log when handing a bag to a tech, and that bag goes missing for two days, the defense can argue that someone tampered with it during that window. To prevent this:
- Sign the log immediately upon receipt or transfer.
- Use permanent ink (blue or black) that won’t smear.
- Keep a copy of the log in the case file, separate from the physical evidence locker.
Common Mistakes That Ruin Cases
Even experienced investigators make errors that compromise evidence. Here are the pitfalls to avoid:
- Contamination by handler DNA. Always wear gloves and change them between items. If you touch a gun barrel with bare hands, your DNA becomes part of the evidence profile.
- Poor labeling. Illegible handwriting or missing case numbers lead to mix-ups. Double-check the label against the item before sealing the package.
- Inadequate sealing. A torn tape seal or a loose bag flap invites doubt. If the seal looks compromised, re-seal it and note the repair on the custody log.
- Mixing evidence types. Never put multiple unrelated items in one bag unless they were found together in a specific context (like a single pocket). Mixing items makes it hard for the lab to isolate specific samples.
Transporting Evidence Safely
Once packaged, evidence needs to move from the scene to the lab. How you transport it matters. Fragile items like glass shards or fingerprint cards should be placed in rigid trays or boxes to prevent crushing. Heavy items like firearms need sturdy wooden crates.
Keep evidence separate from personal belongings. Don’t put a bag of evidence in the same glove compartment as your coffee cup or phone. Accidental spills or heat exposure can alter chemical compositions or degrade biological samples. If possible, store evidence in a climate-controlled area of the vehicle, away from direct sunlight which can heat up plastic containers and accelerate decomposition.
Final Checks Before Submission
Before you hand the evidence over to the laboratory, perform a final visual inspection. Is the label legible? Is the seal intact? Does the item match the description on the tag? If everything checks out, sign the submission form and keep a duplicate for your records. This final step ensures that the lab receives exactly what you documented, closing the loop on your end of the process.
Can I use plastic bags for wet blood evidence?
Generally, no. Plastic traps moisture, leading to mold and bacterial growth that degrades DNA. Use paper bags or breathable envelopes for wet biological materials to allow air circulation.
What happens if I break the chain of custody?
A broken chain doesn't automatically invalidate evidence, but it creates a burden of proof. You must explain the gap to the court. Consistent documentation minimizes this risk significantly.
How should I package a firearm?
Place the firearm in a rigid wooden box with padding to prevent movement. Ensure the safety is engaged if applicable, and label the box clearly. Avoid cardboard boxes for heavy weapons as they may crush during transport.
Do I need to dry evidence before packaging?
Only if it is safe to do so. Do not apply heat. If the item is heavily saturated, package it in paper immediately and let it air-dry in the lab or a controlled environment. Artificial drying can destroy volatile compounds.
What marker should I use for labeling evidence?
Use permanent markers in blue or black ink. Avoid pencils, which can smudge, and red ink, which can sometimes bleed through paper packaging. Ensure the writing is clear and concise.