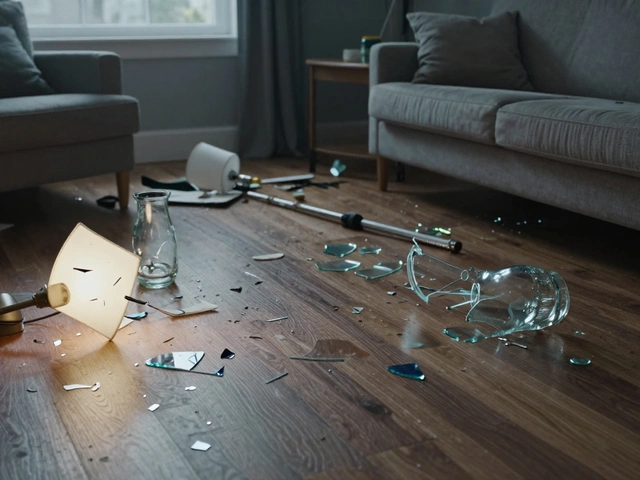
You take a perfect shot of the murder weapon. It’s sharp, well-lit, and shows every detail. But six months later, in court, a defense attorney asks, "Which photo is this?" You can’t answer. Without a proper evidence photo log that links images to specific items, your photo is just a picture. In forensics, it’s inadmissible evidence.
An evidence photo log isn't busywork. It is the bridge between a digital file on a memory card and a physical object in an evidence locker. According to the National Institute of Justice (NIJ), photographs themselves are not evidence; they are visual documentation. The log proves what the image depicts, where it was taken, and why it matters. If you skip this step, you risk having your entire case thrown out for lack of authenticity.
The Core Purpose: Why Logs Matter More Than Cameras
Many investigators think high-resolution cameras solve documentation problems. They don’t. A 2018 study in the *Journal of Forensic Dental Sciences* highlights that while digital imaging offers instant review, it creates massive data dumps that are easy to mismanage. Without structure, hundreds of photos become a liability.
The core purpose of a photo log is clarity. As noted in law enforcement training materials, the log ensures that everyone-from the initial responder to the jury-understands the subject matter and purpose of each photograph. It answers three critical questions:
- What is in the photo?
- Where was it located?
- Why was it taken?
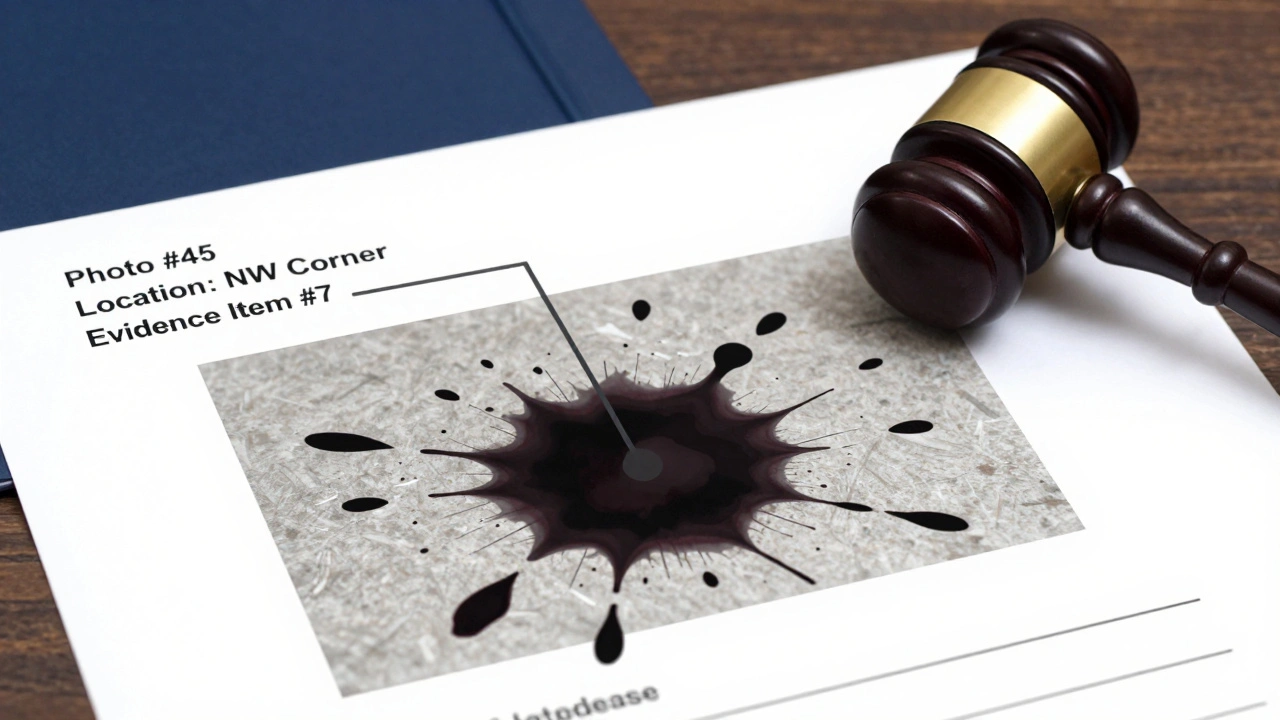
If a juror looks at Photo #45 and sees a blurry spot on the floor, the log tells them it is "Evidence Item #7: Blood spatter pattern near victim's left hand." Without that link, the photo is meaningless noise.
Essential Components of a Valid Photo Log
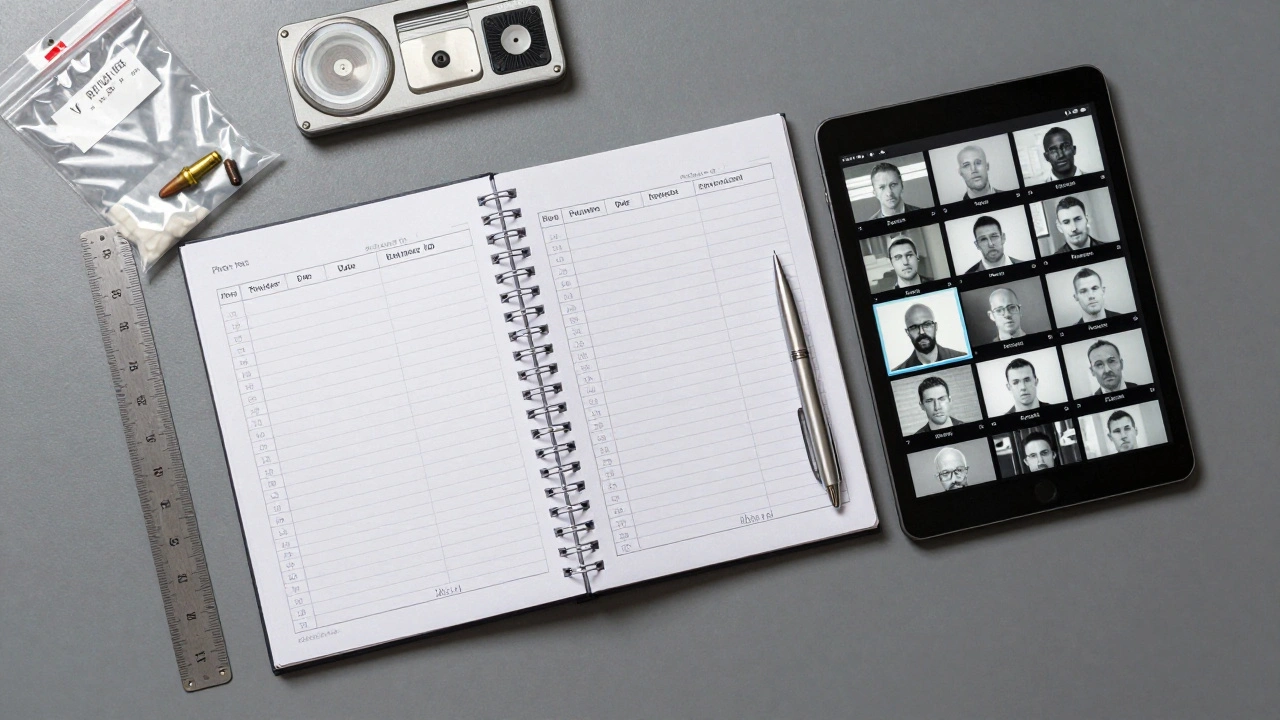
A valid photo log is a structured record, usually tabular, with one entry per photograph. Whether you use a paper notebook or a digital case management system, the content must remain consistent. Based on guidelines from the Scientific Working Group on Digital Evidence (SWGDE) and NIJ training guides, here is what every entry needs.
| Field | Description | Example Value |
|---|---|---|
| Photo Number | Sequential identifier for the image file. | 001, 002, 003... |
| Date & Time | When the photo was captured (must match camera settings). | 2026-05-26 14:30 |
| Evidence Item ID | Link to the physical evidence inventory number. | Item #12 (Knife) |
| Description | Clear statement of subject and context. | Close-up of blade with scale |
| Scale Used | Indicates if a measurement tool is present. | Yes (ABFO #2) |
| Photographer | Name or badge number of the person taking the photo. | Officer J. Doe |
Note that the agency name and case number are typically recorded once at the top of the log sheet, but they are vital for establishing the chain of custody. Never assume the filename alone is enough. Filenames like "IMG_9921.jpg" mean nothing to a judge or expert witness.
The Workflow: Linking Images Step-by-Step
Creating a log isn't something you do after the scene is cleared. It happens simultaneously with photography. The standard workflow follows a specific sequence: overall, mid-range, and close-up shots. Your log should mirror this progression.
- Establish the Scene Log First: Before taking any photos, ensure the crime scene log is active. This tracks who enters and exits. Only then do you begin assessing the scene for photography planning.
- Assign Identifiers: Place evidence markers (sticky notes, numbered tents) at key locations. For example, label corners of a room as A, B, C, and D. Use these labels consistently in your sketches and photos.
- Shoot the Sequence: For each item, take three types of photos:
- Overall: Shows the item in relation to the whole scene.
- Mid-range: Shows the item in relation to nearby objects.
- Close-up: Detailed view of the item itself.
- Log Each Shot: Record every single image. If you take Photos 35, 36, and 37 for Evidence Marker #7, your log entries might look like this:
- Photo 35: Overall view of living room showing Evidence #7 on coffee table.
- Photo 36: Mid-range of coffee table and Evidence #7.
- Photo 37: Close-up of Evidence #7 with ABFO #2 scale.
This method ensures that no image is orphaned. Even if you take a photo by mistake, log it. Gaps in numbering raise red flags in court. Defense attorneys will argue that missing numbers mean deleted evidence. By logging everything-including bad shots-you prove transparency.
In-Frame Labels vs. External Logs
There are two ways to link an image to an item: visually within the frame or externally via the log. Best practice? Use both.
In-frame identifiers include evidence tags, scales, or sticky notes visible in the photo. SWGDE guidelines state that either a unique identifier must be in the field of view OR referenced in a photo log. However, relying solely on external logs is risky. If the log is lost or illegible, the photo loses its context. When you place an ABFO #2 scale next to a bullet fragment and write "Item #5" on it, the photo becomes self-documenting.
External logs provide the narrative. They explain the relationship between items. For instance, a photo might show a footprint, but the log explains that "Photo 112 is a close-up of footwear impression #3 found in the northwest corner of the driveway." This combination creates a robust chain of verification.
Special Cases: Injury Documentation and Trace Evidence
Not all evidence fits neatly into a box. Injury documentation requires precision. According to 2024 basic evidence photography manuals, each injury needs at least four photos:
- Full-body overview (including face for identification).
- Mid-range of the injured area.
- Two close-ups: one with a scale, one without.
Your log must differentiate these clearly. An entry might read: "Subject: Jane Doe. Injury #1: Left forearm laceration. Photo 045: Full body. Photo 046: Mid-range left arm. Photo 047: Close-up with scale. Photo 048: Close-up without scale." This level of detail prevents confusion when multiple victims or injuries are involved.
For trace evidence like toolmarks, magnification changes the game. You may need 1:1 or 1:2 macro shots. SWGDE recommends placing items on a neutral background with the camera perpendicular to avoid distortion. Log these technical details too. Note the aperture, ISO, and shutter speed if relevant to the interpretation, as EXIF metadata supports the authenticity of the image.
Legal Significance and Chain of Custody
The photo log is a legal document. It supports the chain of custody by proving that the image has not been altered and accurately represents the scene at the time of collection. Courts require authentication under rules like Federal Rule of Evidence 901. The log provides the foundation for a photographer to testify: "I took this photo on this date, at this location, depicting this specific item."
If the log is incomplete, the defense can challenge the integrity of the entire photographic record. They might argue that photos were swapped, edited, or taken from different scenes. A meticulous log, cross-referenced with the evidence inventory and crime scene sketch, closes these loopholes.
Common Pitfalls to Avoid
Even experienced investigators make mistakes. Here are the most common errors that undermine photo logs:
- Skipping Mistakes: Failing to log blurry or accidental photos creates gaps in the sequence. Always log every file generated by the camera.
- Vague Descriptions: Writing "Knife" is insufficient. Write "Stainless steel kitchen knife, handle facing north, on blue rug." Specificity wins cases.
- Mismatched IDs: Ensuring the evidence number in the photo matches the property sheet. If the tag says "#12" but the log says "#13," the link is broken.
- Ignoring Metadata: Not verifying camera date/time settings. If the camera clock is wrong, the timestamp in the log is false, casting doubt on the timeline.
Remember, technology doesn't replace discipline. Sticky notes and handwritten logs work if they are precise. Expensive software fails if the input is sloppy. Focus on accuracy, consistency, and completeness.
Do I need to log photos taken by mistake?
Yes. Every photograph taken during an investigation must be logged, even those that are blurry, accidental, or unusable. Skipping these creates gaps in the sequential numbering, which defense attorneys can exploit to suggest evidence was deleted or hidden.
What is the difference between a crime scene log and a photo log?
A crime scene log tracks personnel movements-who entered and exited the scene and when. A photo log tracks visual documentation-linking specific images to evidence items, locations, and descriptions. Both are essential but serve different purposes in maintaining the chain of custody.
Should I use in-frame labels or just rely on the photo log?
Best practice is to use both. In-frame labels (like evidence tags or scales with numbers) make the photo self-documenting. The external photo log provides context and narrative. Relying on only one method increases the risk of ambiguity or loss of connection between the image and the evidence.
How many photos should I take for each piece of evidence?
Standard procedure involves three perspectives: overall (scene context), mid-range (relation to nearby objects), and close-up (detail). For injuries, guidelines often recommend at least four photos per injury, including views with and without a scale. Log each of these separately.
Does the format of the photo log matter (paper vs. digital)?
The format matters less than the content. Paper logs are acceptable if they are clear, complete, and preserved. Digital logs offer easier searchability and integration with case management systems. Regardless of format, the log must include unique identifiers, dates, times, descriptions, and photographer information to meet legal standards.