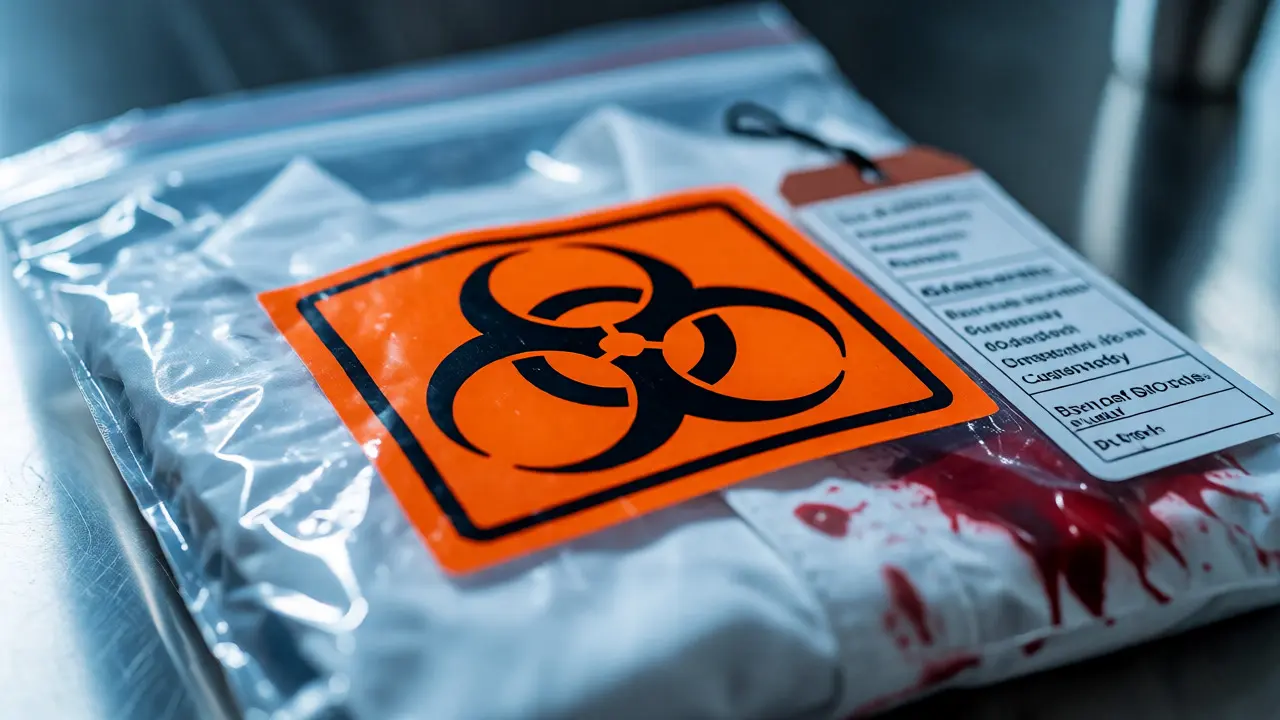
You just bagged a bloody shirt from a crime scene. It looks fine to you, but to the lab tech ten miles away, it’s a potential infection vector or a volatile chemical bomb. If you don’t label it correctly, that shirt doesn’t just get delayed-it gets rejected, destroyed, or worse, causes an injury. In forensic science, hazardous evidence is physical proof collected at a crime scene that poses a health risk due to biological contaminants, chemical reactivity, or radiological properties. Getting the paperwork right isn’t bureaucratic red tape; it’s the primary shield protecting everyone from the first responder to the final analyst.
Most people think labeling is just about writing "Item 1" on a tag. But when fluids are involved, you’re dealing with two distinct regulatory worlds colliding: law enforcement chain of custody protocols and workplace safety laws like those from OSHA (Occupational Safety and Health Administration). If you miss one, you break the legal admissibility of the evidence. If you miss the other, you violate federal safety standards. This guide breaks down exactly how to handle these dual requirements without losing your mind-or your case.
The Dual Mandate: Legal vs. Safety Compliance
Here is the core conflict every evidence technician faces. The court wants to know where the item came from, who touched it, and when. The safety officer wants to know if opening that container will spray infectious agents or toxic fumes into someone’s face. You have to satisfy both simultaneously.
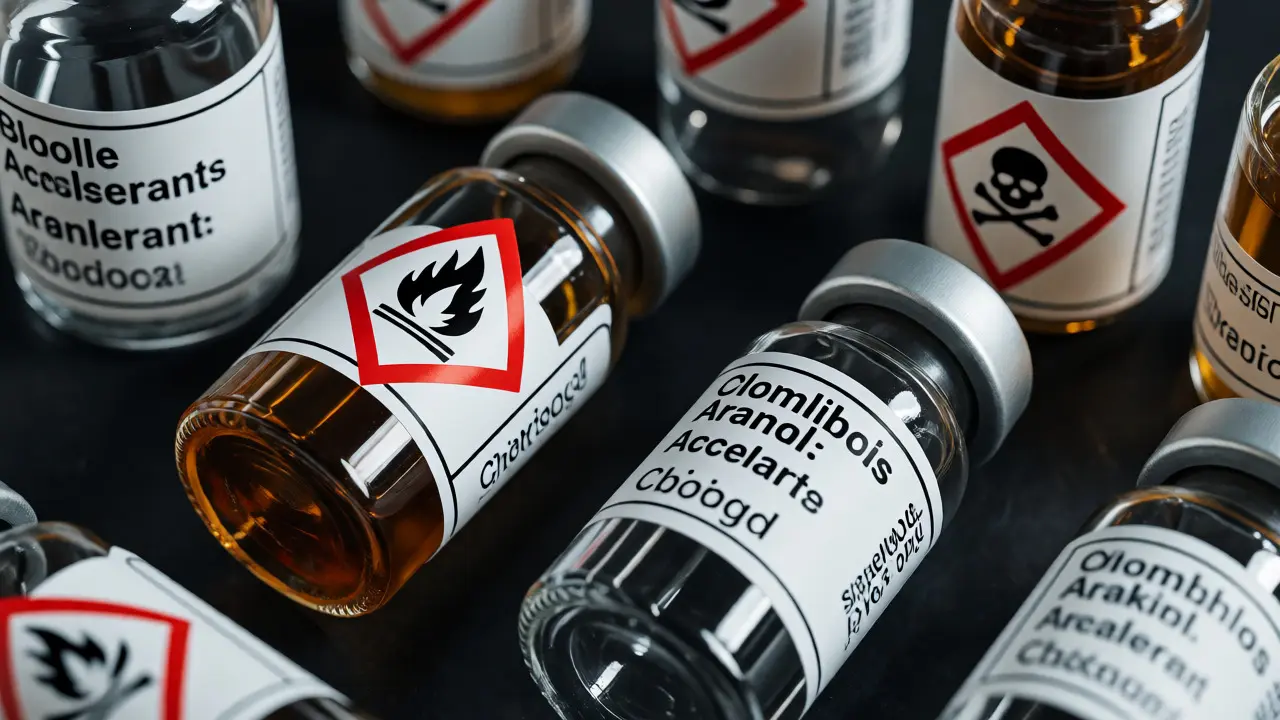
For biological hazards, the Bloodborne Pathogens Standard (29 CFR 1910.1030) dictates that any container holding potentially infectious materials must be labeled with the biohazard symbol. This isn't optional. Even if the blood looks dry, the regulation assumes it’s wet until proven otherwise by testing. For chemicals, you lean on the Hazard Communication Standard (HazCom), which aligns with the Globally Harmonized System (GHS). This means you need specific pictograms-like the skull and crossbones for acute toxicity or the flame for flammability-directly on the primary container.
Why does this matter? Because a jury might exclude evidence if they believe it was handled negligently. If a defense attorney proves that a suspected cocaine sample wasn’t labeled as a controlled substance hazard, or that a DNA swab wasn’t marked as biohazardous, they can argue the integrity of the sample was compromised by improper storage conditions caused by poor labeling.
Decoding the Symbols: What Goes Where
Let’s get specific. You cannot just slap a generic "Danger" sticker on everything. Precision saves lives and cases.
| Hazard Type | Required Symbol/Pictogram | Primary Regulation | Common Forensic Examples |
|---|---|---|---|
| Biological | Orange Biohazard Symbol (Trefoil) | OSHA BBP / DOT | Bloody clothing, tissue samples, vaginal swabs |
| Chemical Flammable | GHS Flame Pictogram | OSHA HazCom / NFPA | Arson accelerants, gasoline residues, alcohol vials |
| Corrosive | GHS Corrosion Symbol | OSHA HazCom | Acidic cleaners found at scenes, battery leakage |
| Toxic | GHS Skull and Crossbones | OSHA HazCom | Cyanide containers, unknown powders, pesticide bottles |
Notice the difference in color coding. Biological hazards almost always use orange or bright yellow backgrounds with black symbols. Chemical GHS labels use white backgrounds with red diamond borders. Mixing these up confuses handlers. A lab tech seeing a red diamond expects a chemical reaction; seeing the trefoil expects a needle stick risk. Your label sets their mental gear before they even open the box.
Step-by-Step: Labeling Biological Evidence
When you are collecting biological evidence such as blood, semen, saliva, or urine, follow this sequence to stay compliant.
- Assess Moisture Content: If the item is wet, it must go into a biohazard-labeled container immediately. If it is dried properly, some jurisdictions allow standard packaging, but best practice is to label it as biohazard anyway. Why? Because visual inspection is not a test for HIV or Hepatitis B.
- Apply the Primary Label: Affix the orange biohazard label directly to the innermost container. If you put the label on the outer shipping box but not the plastic bag inside, and that bag leaks, the next person has no warning.
- Add Secondary Containment Labels: If you place the biohazard bag inside a rigid cardboard box for transport, label the outside of the box too. This prevents someone from casually tossing the box onto a desk without knowing what’s inside.
- Note the Specific Agent: Don’t just write "Bio." Write "Suspected Blood," "Saliva Swab," or "Tissue Sample." This helps the lab prioritize processing. Saliva degrades faster than dried blood, so timing matters.
- Check for Sharp Objects: If the biological item includes a knife or glass shard, you need both a biohazard label and a "Sharp Object" caution label. Never rely on the biohazard label alone to warn about puncture risks.
A common mistake I see in Portland labs is technicians using handwritten notes on masking tape instead of pre-printed compliance labels. Tape peels off. Ink smears. Use durable, water-resistant synthetic paper labels. If the label falls off in transit, the evidence becomes unidentifiable, and often, unusable.
Handling Chemical Hazards: Beyond the Biohazard
Chemical evidence is trickier because the hazards are invisible. You can’t see cyanide vapor. You can’t smell arsenic powder. When you collect chemical evidence like arson residues, drugs, or industrial spills, you must identify the substance class.
If you find a bottle of bleach mixed with ammonia at a scene, you have chloramine gas potential. Labeling the container simply "Liquid" is dangerous. You need to mark it as "Irritant" or "Corrosive." If you don’t know what it is, treat it as highly reactive. Use the GHS "Exclamation Mark" pictogram for irritants and the "Skull and Crossbones" for unknown toxins.
Crucially, chemical compatibility affects packaging. You cannot store acidic evidence in metal cans if the acid will eat through them. You cannot store volatile solvents in plastic bags if they dissolve the plastic. Your label should include a note on storage requirements: "Keep Cool," "Away from Light," or "Flammable - No Open Flames." These instructions prevent degradation. Arson accelerants evaporate quickly; if you don’t seal and label them as volatile, the concentration drops, and the analysis fails.
The Chain of Custody Intersection
Here is where the rubber meets the road. Every time you add a hazard label, you are adding data to the chain of custody. Your label must integrate with the evidence log.
- Unique Identifier: The hazard label must reference the same Case Number and Item Number as the main evidence tag. If the biohazard sticker says "Case 24-501" but the bag says "Case 24-502," you have a discrepancy that defense attorneys will exploit.
- Date and Time of Collection: Hazard status can change over time. A wet blood stain dries. A volatile chemical evaporates. Recording the exact time helps analysts interpret results.
- Collector’s Initials: Who applied the label? If the wrong symbol was used, we need to know who made the call. Was it a rookie cop? A seasoned detective? This accountability protects the department from liability claims regarding worker safety.
- Condition Notes: Add a brief note on the label or attached tag: "Wet," "Dripping," "Powder," or "Volatile." This prepares the receiving staff. They won’t open a "Wet/Biohazard" bag in an open-air room; they’ll move it to a fume hood or biosafety cabinet.
Think of the label as a contract between the collector and the receiver. The collector promises the information is accurate. The receiver relies on that promise to protect themselves. Break that trust, and the system fails.
Pitfalls to Avoid in the Field
Even experienced investigators make mistakes. Here are the top three traps regarding hazardous evidence labeling.
1. The "Dry Means Safe" Fallacy. Many officers assume that once blood is dry, it’s no longer a biohazard. False. Dried blood can still harbor viable pathogens for weeks depending on temperature and humidity. Always label dried biological evidence as biohazardous unless a specific protocol states otherwise for your jurisdiction.
2. Overlooking Mixed Hazards. A bullet casing covered in blood is both a physical sharp object and a biohazard. A drug packet containing crushed pills might be both a controlled substance and a respiratory irritant. Double-label these items. One symbol is rarely enough.
3. Ignoring Local Jurisdiction Rules. While OSHA is federal, state laws can be stricter. California, for instance, has Title 8 regulations that sometimes exceed federal minimums. In Oregon, where I’m based, we follow OSHA but also adhere to strict DEQ (Department of Environmental Quality) rules for disposing of contaminated packaging. Check your local agency’s SOP (Standard Operating Procedure) before assuming a national guideline applies everywhere.
Practical Checklist for Evidence Technicians
Before you seal that evidence bag, run through this quick audit. It takes thirty seconds but saves hours of rework.
- [ ] Is the primary container leak-proof?
- [ ] Does the biohazard symbol cover at least 50% of the visible surface area of the container?
- [ ] Are chemical GHS pictograms legible and not obscured by tape?
- [ ] Does the label match the case number on the external evidence tag?
- [ ] Have you noted the physical state (wet, dry, powder, liquid)?
- [ ] Is there a secondary containment label if required by your agency?
- [ ] Did you check for incompatible materials stored nearby?
This checklist isn’t just busywork. It’s a cognitive aid. When you’re tired, cold, or stressed at a crime scene, you forget details. The checklist keeps you honest.
Do I need to label dried blood as a biohazard?
Yes. Under OSHA’s Bloodborne Pathogens Standard, all human blood and certain human body fluids are treated as if they are infectious regardless of whether they appear wet or dry. Visual assessment is not a reliable indicator of pathogen viability. Therefore, dried blood evidence must bear the biohazard label to ensure proper handling precautions by laboratory personnel.
What happens if I forget the biohazard label?
If a container lacks the required biohazard label, it may be refused by the laboratory. More critically, it violates OSHA regulations, exposing the agency to fines and workers' compensation claims if an employee is exposed during unpacking. Legally, it can also lead to challenges regarding the chain of custody and proper preservation of evidence.
Can I use a generic 'Caution' label instead of specific hazard symbols?
No. Generic labels do not meet regulatory standards. Biological hazards require the specific trefoil biohazard symbol. Chemical hazards require specific GHS pictograms (e.g., flame, skull, corrosion) corresponding to the identified risk. Using a generic label fails to communicate the specific nature of the danger, leading to improper storage or handling procedures.
How do I label evidence that is both chemical and biological?
You must apply multiple labels. For example, a knife with blood residue requires a biohazard label for the blood and a sharp object caution label for the blade. If the blood was preserved in a chemical fixative, you would also need a chemical hazard label for the preservative. All applicable hazards must be visibly indicated on the container.
Does the size of the biohazard label matter?
Yes. OSHA guidelines suggest that the biohazard symbol and word should be clearly visible. For small containers, the label must be large enough to be easily seen and read. If the container is too small for a full-size label, use a tag or attach the label to the outer packaging, ensuring the connection between the item and the warning is obvious and secure.