You’ve seen it in every crime drama worth its salt. The camera pans over a cold, stainless steel table. A gloved hand holds a scalpel. One smooth motion, and the skin parts to reveal what lies beneath. But here’s the thing about TV forensics: they rarely show you the struggle, the precision, or the sheer physical effort required to open a human body without turning it into a mess. If you’re studying forensic pathology, or just curious about how we actually get answers from the dead, you need to understand the Y-Incision. It isn’t just a cut; it’s a roadmap.
The Y-incision is the gold standard for opening the thoracic and abdominal cavities during an autopsy. Why "Y"? Because it preserves the cosmetic appearance of the face and neck while giving the pathologist maximum access to the vital organs. Think of it as unzipping a suit jacket rather than tearing open a paper bag. Done right, it allows for a thorough inspection of the heart, lungs, liver, and intestines. Done wrong, and you risk damaging evidence, creating confusing tissue flaps, or making reassembly a nightmare. Let’s break down exactly how this works, step by step, without the Hollywood gloss.
Why the Y-Incision Is the Standard
Before you pick up the knife, you have to ask: why not just cut straight down the middle? That’s called a midline incision, and while it’s faster, it has serious downsides. A straight vertical cut leaves a gaping hole that’s hard to sew back together neatly. More importantly, if the cause of death involves trauma to the chest wall or neck, a straight cut might slice right through the injury, destroying crucial clues.
The Y-shape solves these problems. By starting at the shoulders and meeting at the sternum, then dropping down to the pubic bone, you create two large "flaps" of skin and muscle. These flaps can be peeled back like curtains, exposing the rib cage and abdominal wall. After the internal exam, those flaps fold back over the cavity like a blanket, hiding the scars when the family views the body. This respect for the deceased matters-it’s part of the professional code.
| Feature | Y-Incision | Midline Incision |
|---|---|---|
| Cosmetic Outcome | Excellent; hidden under clothing/collar | Poor; visible vertical scar on torso |
| Trauma Preservation | High; avoids central chest/neck injuries | Low; may bisect critical wounds |
| Access to Organs | Full access to thorax and abdomen | Good access, but limited lateral view |
| Complexity | Moderate; requires careful angle control | Simple; single straight line |
Preparation: Setting the Stage
You don’t just walk into the morgue and start cutting. Preparation is half the battle. First, the body must be properly identified and documented. Photographs are taken from multiple angles before any skin is broken. You’re looking for external signs of trauma, tattoos, surgical scars, or medical devices like pacemakers. These details dictate where you place your incisions.
Next comes positioning. The body lies supine (on its back) on the autopsy table. Arms are usually tucked to the sides or slightly abducted, depending on shoulder trauma. You need good lighting-no shadows hiding a subtle bruise-and sharp instruments. A dull scalpel slips; a sharp one glides. Always check your blade. For the initial skin cut, a #10 or #20 scalpel blade is common. You’ll also need scissors (often curved Metzenbaum scissors) for deeper dissection and forceps to hold tissue.
Hygiene and safety come first. You’re dealing with potential biohazards. Gloves, gowns, eye protection, and sometimes respirators are non-negotiable. In Portland, where I work, we follow strict OSHA guidelines for bloodborne pathogens. Remember, the dead can still transmit infections. Treat every case as potentially infectious until proven otherwise.
Executing the Y-Incision: Step-by-Step
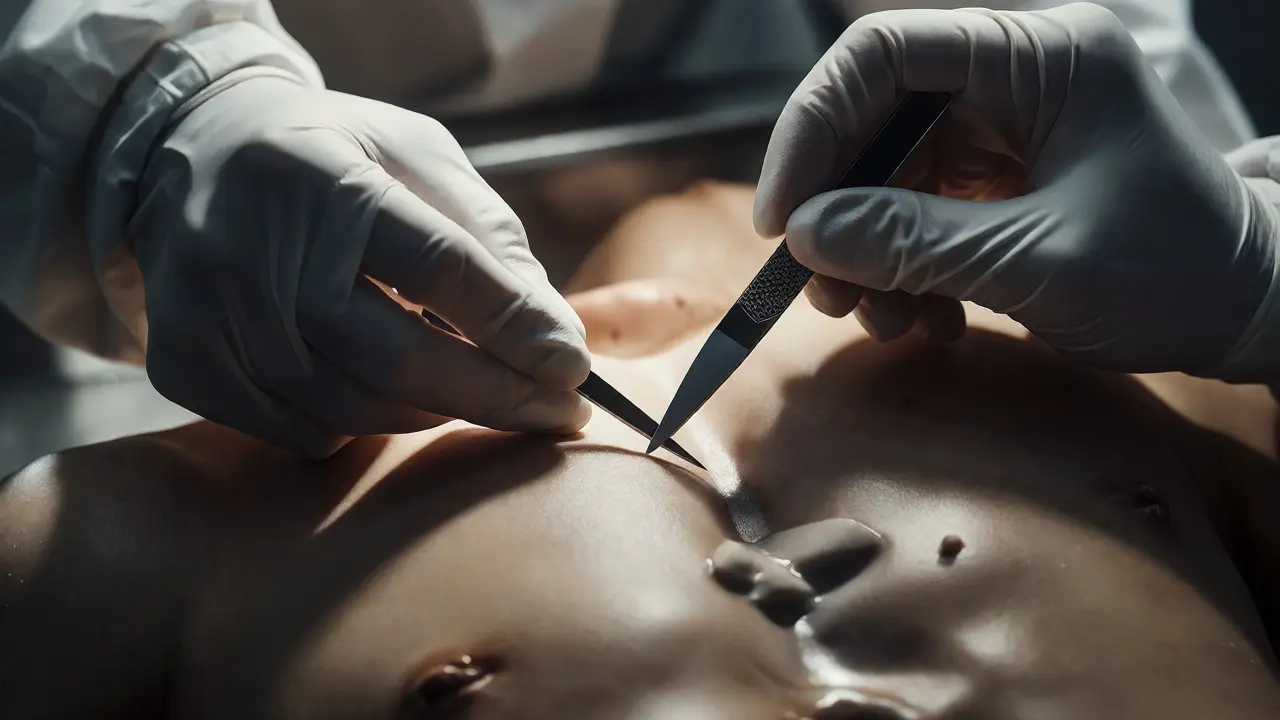
Now, the actual cut. This is where skill separates the novice from the pro. The goal is a clean, continuous line that goes through skin and subcutaneous fat but stops short of the underlying muscles and organs initially. You want to define the boundary, not breach the cavity yet.
- Start Point: Begin at the top of the left shoulder, just below the earlobe. Some pathologists prefer starting near the acromion process (the bony point of the shoulder). Consistency is key.
- The Left Arm: Draw the scalpel diagonally downward toward the xiphoid process (the bottom tip of the breastbone). Keep the angle steady. If you go too shallow, the skin won’t lift later. Too deep, and you puncture the pericardium or lung.
- The Right Arm: Repeat the same motion from the right shoulder to the xiphoid process. Your two lines should meet at the center of the chest, forming the top of the "Y."
- The Stem: From the xiphoid process, cut straight down the midline to the pubic symphysis (the joint above the genitals). This completes the stem of the Y.
Here’s a pro tip: keep your wrist locked. Use your arm and shoulder to guide the cut, not your fingers. Small finger movements lead to jagged edges. Large muscle groups provide stability. As you cut, you’ll feel resistance change. Skin offers little resistance once pierced. Fat feels soft and greasy. When you hit fascia (the connective tissue layer), you’ll feel a slight pop or drag. Stop there. Don’t push through into the rectus abdominis muscle yet.
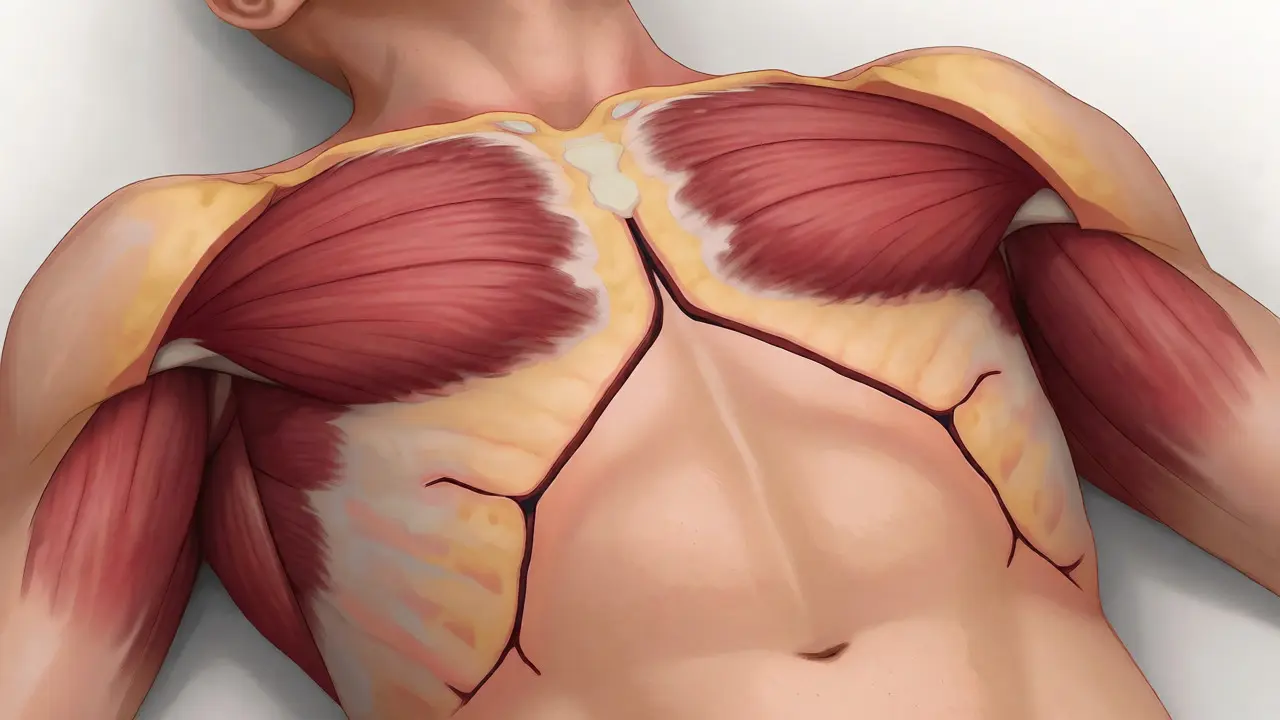
Reflecting the Flaps: Exposing the Cavity
With the Y drawn in blood and fat, the next phase is reflection. You’re essentially peeling the skin and muscle layers away from the ribs and abdominal wall. This is messy work. Blood and fluid will flow. Have suction ready.
Using blunt dissection techniques-mostly with your fingers or the flat side of a scalpel handle-you separate the skin flap from the underlying pectoralis major muscles. Work gently. You want to preserve the muscle integrity if possible, though often the muscle is removed with the flap. Once the upper flaps are free, peel them upward toward the neck. This exposes the clavicles and the anterior neck structures.
For the lower section, reflect the abdominal skin downward. This reveals the linea alba (the white line running down the center of the abdomen) and the rectus abdominis muscles. At this stage, the body looks raw and exposed. It’s intense, even for seasoned professionals. The smell of formalin mixed with biological decay hits you immediately. Ventilation systems in modern morgues help, but nothing fully masks it.
Opening the Thoracic and Abdominal Cavities
Once the skin flaps are reflected, you need to open the skeleton itself. This is where the power tools come in. An electric saw (Stryker saw) is used to cut through the costal cartilages connecting the ribs to the sternum. You cut from the second rib down to the tenth, staying parallel to the intercostal spaces to avoid nicking the lungs.
After cutting the cartilages, use heavy-duty rib cutters to sever the ribs laterally. Lift the entire sternum and attached rib fragments off the chest. Underneath, you’ll see the pleural cavities and the mediastinum. Check for air leaks, blood accumulation, or organ enlargement.
Move to the abdomen. Cut along the linea alba using scissors. Extend the cut upward to the diaphragm and downward to the pubic bone. Lift the abdominal wall flaps outward. Now you’re looking at the stomach, liver, spleen, and intestines. Document everything before removing anything. Take photos. Note colors, sizes, and textures. A pale liver suggests different causes than a congested, dark red one.
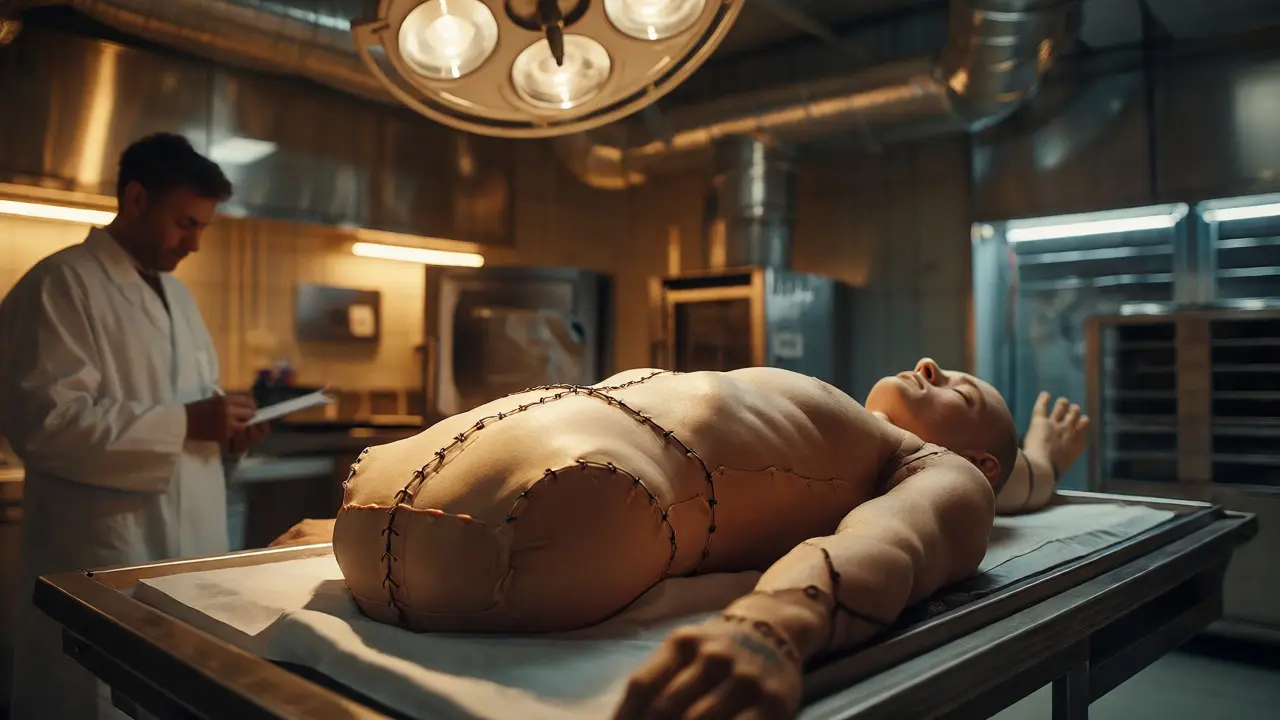
Common Pitfalls and How to Avoid Them
Even experienced pathologists make mistakes. Here are the big ones:
- Inconsistent Depth: Cutting too deep early on damages underlying organs. Stay in the subcutaneous fat layer for the initial outline.
- Asymmetry: If your Y arms aren’t symmetrical, the flaps won’t close evenly later. Use landmarks like the nipples or clavicle heads to gauge placement.
- Damaging Trauma Sites: If the victim was shot in the chest, adjust your incision to go around the wound track, not through it. Flexibility is crucial.
- Sloppy Reflection: Tearing the skin makes closure difficult. Be patient with blunt dissection.
Another issue is handling edema (swelling). In cases of drowning or heart failure, tissues are waterlogged and fragile. They tear easily. Go slower. Use more support for the tissue flaps.
Closure: Restoring Dignity
After the organs are examined, weighed, and sampled, you remove the remaining viscera. Then comes closure. The skin flaps are pulled back into place. The original Y lines align. Pathologists use large, sturdy sutures-often a running stitch with heavy silk or synthetic material-to close the incision. The goal is tight enough to prevent leakage but not so tight that it cuts the skin.
Finally, cotton packing is placed inside the cavity to absorb residual fluids. The body is washed, dressed, and prepared for viewing. To the family, the person looks peaceful. The violence of the investigation is hidden beneath the clothes. That’s the silent promise of the Y-incision: truth for us, dignity for them.
Is the Y-incision always used in autopsies?
No, not always. While it is the standard for most full autopsies, specific circumstances might call for other approaches. For example, in cases of severe facial trauma, a modified incision might be used to preserve reconstruction options. Pediatric autopsies sometimes use smaller, simpler cuts due to the size of the child. Additionally, if only an external exam is performed (no internal exploration), no incision is made at all.
How long does it take to perform a Y-incision?
The incision itself takes about 5-10 minutes for an experienced pathologist. However, reflecting the flaps and opening the cavities adds another 15-20 minutes. The entire process of opening the body, before detailed organ examination begins, typically takes 30-45 minutes depending on the condition of the body and the presence of adhesions from prior surgeries.
Can families see the Y-incision scar?
Generally, no. The incision starts at the shoulders and ends at the groin. When the body is dressed in a shirt and pants, the entire Y-shape is covered. The collar of a dress shirt hides the upper points, and the waistband hides the lower stem. Only if the family chooses very low-cut clothing might the top points be partially visible, but they are usually well-hidden by natural folds or hair.
What tools are essential for the Y-incision?
You need a sharp scalpel (#10 or #20 blade) for the initial skin cut, curved scissors for dissecting tissue planes, forceps for grasping skin, and an electric Stryker saw for cutting cartilage and bone. Rib cutters are also necessary for separating the rib cage. Protective gear including gloves, gowns, and eye protection is mandatory throughout the procedure.
Does the Y-incision affect toxicology results?
Not if done correctly. Toxicology samples (blood, urine, vitreous humor) are usually collected before the main incision or carefully avoided during it. The incision provides access to collect additional samples like bile or gastric contents if needed. Proper technique ensures that contamination between compartments is minimized, preserving the integrity of the chemical analysis.