You walk into a crime scene. The floor is littered with debris, fibers from a suspect’s jacket are tangled in the carpet, and a single hair lies near the victim’s shoe. Do you vacuum everything? Do you tape-lift every square inch? Or do you reach down with tweezers and pick it up by hand?
This isn’t just a procedural question; it’s a decision that can make or break a case. Hand picking is one of the oldest and most direct methods for collecting trace evidence-tiny materials like hair, fibers, glass fragments, and soil particles. While modern labs rely heavily on chemical analysis, the initial act of physically removing an item from a surface remains a critical skill. But when does hand picking beat taping? And how do you do it without contaminating the very clue you’re trying to save?
When Hand Picking Beats Tape and Vacuum
Most forensic technicians default to tape lifting or vacuuming because they cover large areas quickly. But these methods have limits. Tape lifts work best on smooth, non-porous surfaces where loose particles sit on top. Vacuuming is great for bulk collection but mixes samples, making it hard to link a specific fiber to a specific location.
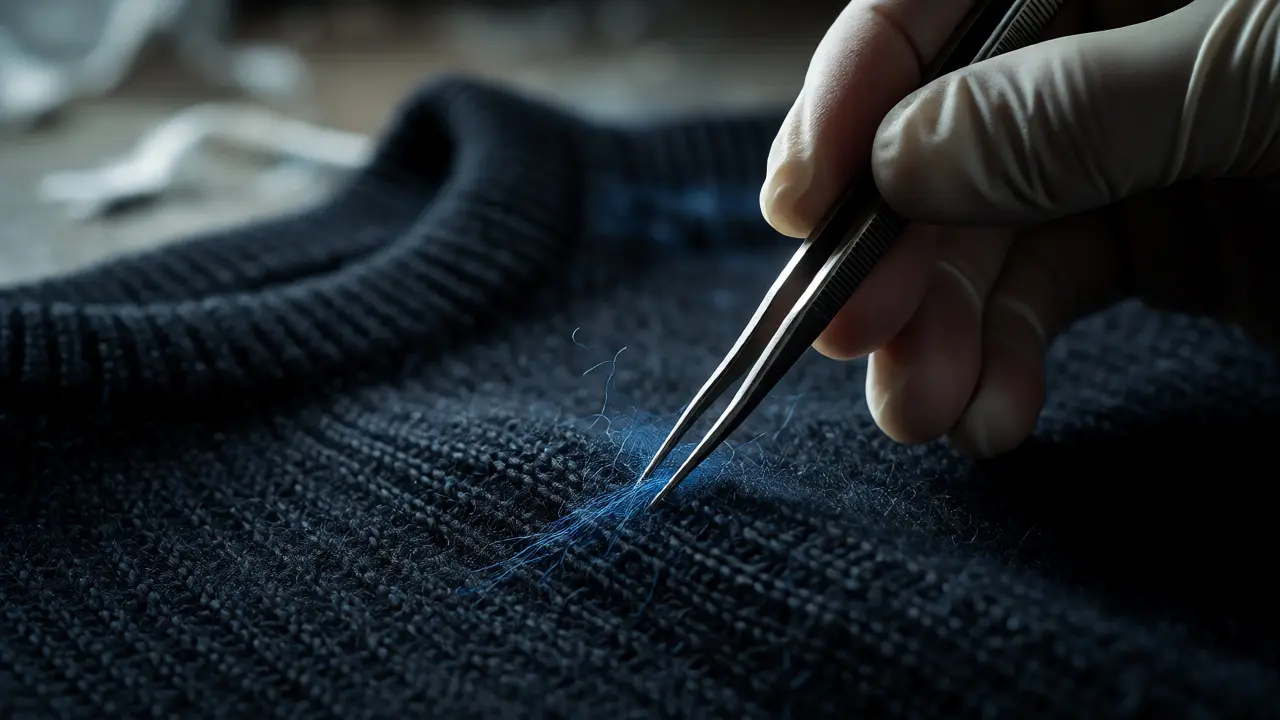
Hand picking becomes the superior choice when the evidence is distinct, visible, and isolated. Think of a blue nylon fiber stuck to a dark wool sweater. If you vacuum the whole sweater, you get a soup of white lint, skin cells, and random dust. You lose the context. By hand picking that specific blue fiber, you preserve its spatial relationship to other clues.
Consider three scenarios where hand picking is mandatory:
- High-Value, Low-Volume Items: A single bullet fragment or a unique glass shard. You don’t want this mixed with ten thousand generic dust particles.
- Complex Textures: Deep pile carpets or textured upholstery. Tape won’t grab fibers buried deep in the weave. Vacuum nozzles might miss them if they’re static-clung. Tweezers can dig in.
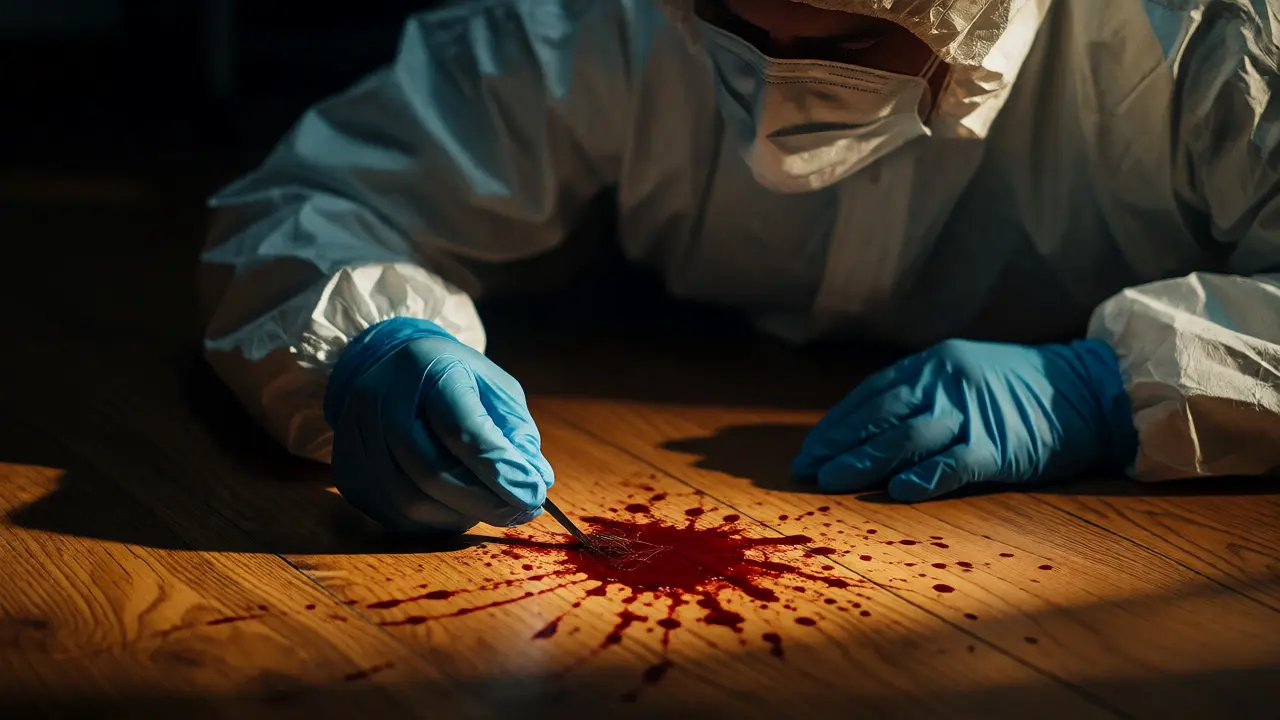
- Biological Context: Blood spatter patterns often trap specific hairs or fibers within the droplet itself. Removing the entire droplet preserves the association between the biological material and the trace element.
The rule of thumb? If you can see it clearly and isolate it without disturbing neighbors, pick it. If it’s scattered and indistinct, sweep or vacuum it.
The Tool Kit: What You Need in Your Pocket
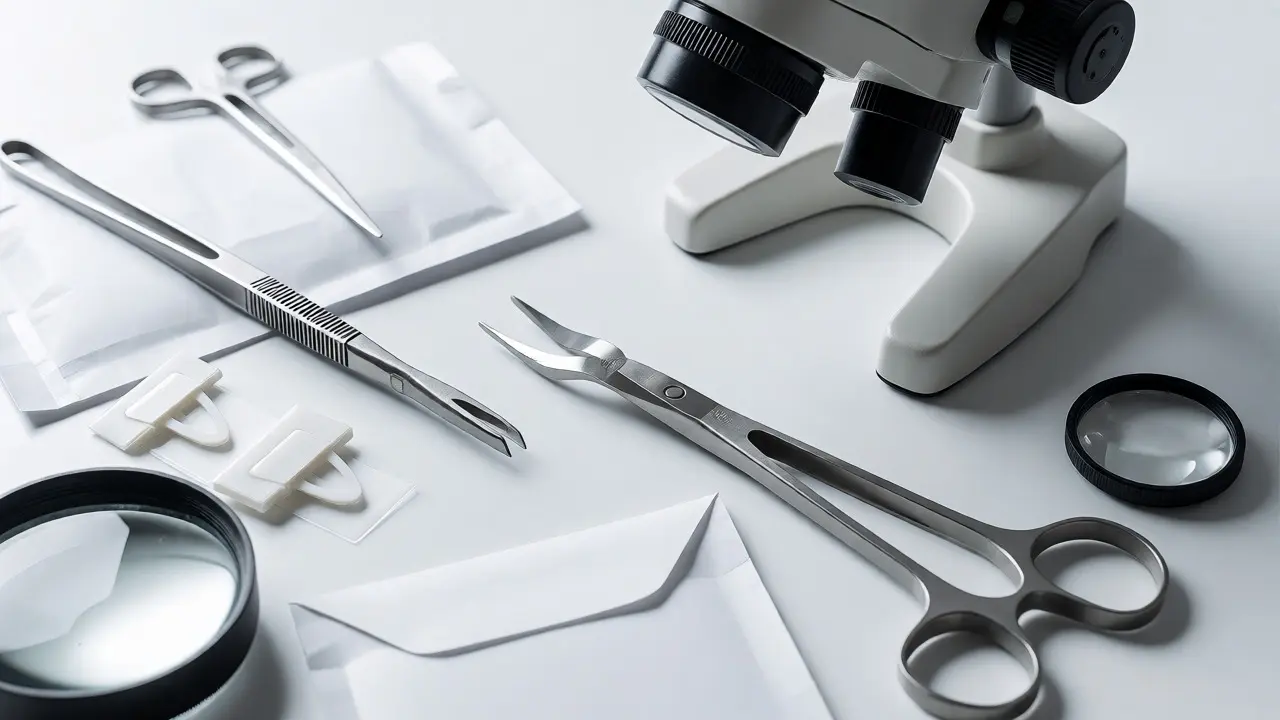
You can’t hand pick effectively with bare fingers. Your gloves will shed, your breath might contaminate the sample, and fine motor control drops when you’re wearing thick nitrile. Here’s what belongs in your kit for precision work.
| Tool | Best For | Critical Feature |
|---|---|---|
| Forceps (Tweezers) | Hairs, short fibers, insect parts | Must be stainless steel or plastic to avoid rust or reaction. Tips should be fine but not sharp enough to cut fibers. |
| Adhesive Lifters | Fibers adhering to fabric | Low-tack adhesive prevents pulling out the host fabric while grabbing the foreign trace. |
| Stereo Microscope | Visual confirmation before pickup | Portable field scopes help identify if the "fiber" is actually a piece of thread or synthetic mesh. |
| Evidence Envelopes | Storage after pickup | Paper envelopes prevent moisture buildup, which degrades organic traces like hair. |
A common mistake is using cheap drugstore tweezers. They bend under pressure and often crush delicate structures. Invest in high-quality, non-magnetic forceps. If you’re working with metal fragments, ensure your tools are clean to avoid cross-contamination from previous scenes. One technician’s leftover copper shavings can ruin another’s gunshot residue analysis.
Step-by-Step: The Art of the Pick
Hand picking sounds simple, but technique matters. Sloppy handling destroys evidentiary value. Follow this workflow to maintain integrity.
- Document Before Touching: Photograph the item in situ. Use a scale marker. If possible, sketch its position relative to fixed objects. Once you move it, that context is gone forever.
- Isolate the Area: Clear away loose debris around the target item. You don’t want to accidentally knock a nearby hair into your tweezers.
- Approach Correctly: Hold the forceps perpendicular to the surface. Don’t scrape across the surface; this drags contaminants into the sample. Instead, lower the tips directly onto the item.
- Grip Gently: Clamp the item firmly enough to lift it but loosely enough not to stretch or break it. Fibers stretch easily; once broken, their length-a key comparison metric-is lost.
- Lift Vertically: Pull straight up. Lateral movement can snag the item on surrounding textures, causing fragmentation.
- Transfer Immediately: Place the item into a sterile container or onto a backing card. Do not hold it in mid-air for more than a second. Static electricity can pull it off your tool and onto your glove.
What about wet evidence? If the trace is embedded in blood or mud, do not try to wash it off. Wash it later in the lab. At the scene, use a sterile swab to lift the entire blob of fluid containing the trace. This preserves the mixture.
Contamination: The Silent Killer
The biggest risk in hand picking isn’t losing the evidence; it’s adding false evidence. Every time you touch something, you transfer DNA, skin cells, and clothing fibers. If you’re not careful, you become part of the crime scene.
Here’s how pros minimize contamination:
- Change Gloves Between Items: Yes, really. If you pick up a red fiber, then a blue fiber, your gloves now carry both. Change them, or wipe them with a fresh alcohol pad if the protocol allows.
- Face Masks Are Mandatory: Hair falls from your head. Skin flakes fly from your face. A surgical mask catches most of this. Without one, you’re spraying potential DNA all over the scene.
- Control Your Clothing: Wear a lab coat or Tyvek suit. Regular cotton shirts shed lint constantly. That lint ends up in your sample, confusing the lab tech who thinks it came from the suspect’s shirt.
- One Item, One Tool: Ideally, use a new pair of tweezers for each distinct type of evidence. If you must reuse them, sterilize them thoroughly between uses. Flame sterilization works for metal, but wipes are safer for plastics.
Remember, the defense attorney will ask: "Could this fiber have come from the investigator’s own clothes?" If you didn’t wear a mask and change gloves, the answer is yes. And that doubt creates reasonable doubt.
Special Cases: Glass, Soil, and Insects
Not all trace evidence behaves the same way. Hand picking techniques vary by material type.
Glass Fragments are brittle. Using standard tweezers can crack them further. For small shards, use a strip of double-sided tape pressed gently onto the glass, then lifted. This holds the irregular shape without applying point pressure. Larger pieces can be picked with padded forceps.
Soil Particles are tricky. Loose dirt doesn’t stick to tweezers well. For dry soil, use a vacuum with a fine filter or a sticky pad. For damp soil, scoop it with a spoon or spatula rather than picking individual grains. If you need specific layers, excavate carefully with a brush and trowel, bagging each layer separately.
Entomological Evidence (insects) requires care. Live insects move. Dead ones crumble. Use aspirators (bug guns) for live specimens. For dead larvae or beetles, use soft-bristled brushes to sweep them into containers. Avoid crushing legs or wings, as these features are crucial for species identification.
Lab Expectations: What Happens After You Pick It
Why go through all this trouble? Because the lab can only analyze what you give them. If you mix five different colored fibers into one bag, the analyst has to separate them again, risking loss or damage. If you hand pick and label each fiber individually (e.g., "Fiber 1A - Red - Left Sleeve"), the analyst can compare each one directly against known standards.
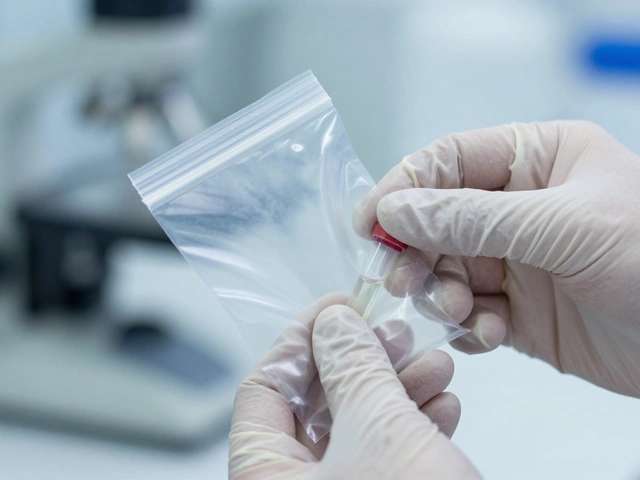
Proper labeling is part of the collection process. Write on the envelope immediately. Note the date, time, collector’s initials, and exact location. Vague labels like "Floor Sample" waste hours of lab time. Specific labels like "Living Room Rug, North Corner, Blue Fiber" speed up processing and improve accuracy.
Modern labs use Fourier Transform Infrared Spectroscopy (FTIR) and Microspectrophotometry to analyze these tiny samples. These instruments need clean, uncontaminated material. Your careful hand picking ensures the spectrum readout reflects the true composition of the evidence, not your glove powder.
Common Pitfalls to Avoid
Even experienced investigators slip up. Watch out for these errors:
- Over-collection: Grabbing too much material overwhelms the lab and increases the chance of mixing samples. Be selective.
- Under-documentation: Failing to photograph the item before removal. Without photos, you can’t prove where it came from.
- Using Plastic Bags for Wet Evidence: Trapped moisture breeds mold, destroying DNA and degrading fibers. Always use paper for anything damp.
- Ignoring Background Samples: You found a blue fiber on the victim. Did you also collect background samples from the room? If the room is full of blue furniture, that fiber might mean nothing. Collect controls!
Frequently Asked Questions
Can I use my fingernails to pick up trace evidence?
No. Fingernails harbor bacteria, fungi, and microscopic debris from your daily life. Touching evidence with bare hands introduces significant contamination risks. Always use sterile forceps or tweezers. If you absolutely must use your hands, wear double gloves and change them frequently, but tools are always preferred.
How do I handle trace evidence embedded in fabric?
For deeply embedded fibers, hand picking may not work. Instead, consider cutting out the section of fabric containing the evidence. Bag the entire piece of cloth. Alternatively, use a strong adhesive tape lift specifically designed for textiles, pressing firmly to grab the foreign fibers without tearing the base fabric. Document the exact location on the garment before cutting.
Does lighting affect hand picking success?
Absolutely. Poor lighting hides fine details. Use a raking light source (light coming from the side at a low angle) to cast shadows, making raised particles like glass shards or pollen grains stand out. A portable LED flashlight with a focused beam is essential for spotting micro-traces on dark or textured surfaces.
Should I hand pick or vacuum first?
It depends on the priority. If there are obvious, distinct items (like a bullet casing or a unique button), hand pick those first to preserve their context. Then, vacuum the surrounding area for general trace collection. If you vacuum first, you might suck up the distinct items along with the dust, losing their specific location data.
What is the difference between a control sample and a collected sample?
A collected sample is the evidence found on the person or object of interest (e.g., fibers on the suspect's jacket). A control sample is taken from the environment where the evidence was found (e.g., fibers from the carpet where the suspect stood). Controls help determine if the trace evidence is unique to the contact event or just background noise present everywhere.