You walk into a crime scene. A window is shattered. Shards of glass cover the floor, the sidewalk, and maybe even the suspect’s jacket. It looks like a mess, but to a forensic examiner, it’s a puzzle waiting to be solved. Glass fragments are tiny pieces of broken material that serve as critical trace evidence in criminal investigations. They can link a suspect to a location, determine how a break-in happened, or even exonerate an innocent person.
But here’s the catch: if you collect them wrong, analyze them poorly, or contaminate the samples, that evidence becomes useless-or worse, misleading. Getting it right requires strict adherence to protocols established by organizations like the ASTM International, ENFSI, and the U.S. Department of Justice. This guide breaks down exactly how professionals handle glass evidence, from the moment it hits the ground to the final lab report.
The Golden Rule: Collecting Known Samples
Before you worry about what’s on the suspect, you need to know what *should* be there. That means collecting "known" samples from the source-the broken window, car windshield, or mirror. The most important rule? Take your known sample directly from the source whenever possible.
If the window is still in the frame, cut a piece out of it. Don’t just sweep up shards from the ground unless absolutely necessary. Ground samples get contaminated with dirt, other debris, and potentially evidence from other sources. According to guidelines from the Virginia Department of Forensic Science and the IAAI, your known sample should be:
- Size matters: No smaller than a quarter, no larger than a sheet of paper.
- Source specific: If there are multiple panes (like in a double-pane window), collect from each one separately.
- Labeled clearly: Mark which side was inside and which was outside. This helps later when determining the direction of force.
For vehicles, it gets more complex. You might need to sample both sides of a laminated windshield, each side window, mirrors, and headlights separately. Why? Because cars use different types of glass for safety reasons. Windshields are usually laminated (two layers of glass with plastic in between), while side windows are often tempered (heat-treated to shatter into small cubes). Mixing these up ruins the comparison.
| Scenario | Collection Method | Key Consideration |
|---|---|---|
| Intact Window Pane | Cut section from frame | Label interior vs. exterior surfaces |
| Shattered on Ground Only | Collect largest practical amount | Avoid mixing with soil/debris |
| Vehicle Windshield | Sample both glass layers | Laminated structure requires separate analysis |
| Tempered Side Window | Multiple random samples | Refractive index varies by location |
Recovering Questioned Particles: The Suspect’s Evidence
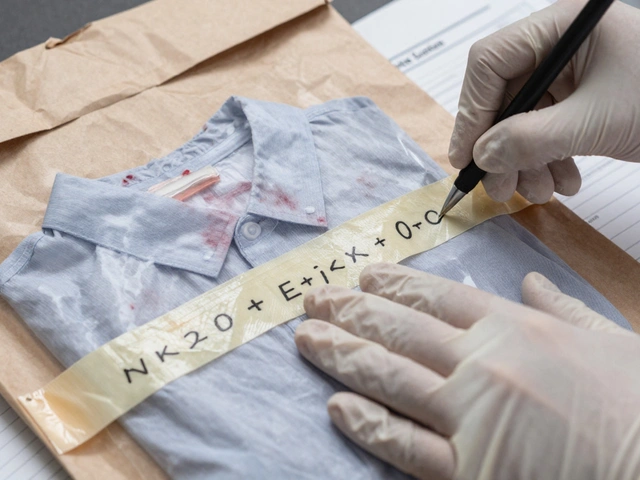
Now comes the tricky part: getting the glass off the suspect’s clothes, shoes, or tools. These are called "questioned" particles because we don’t know where they came from yet. The goal is to remove them without losing any or contaminating them with new material.
Small particles-those under 0.5 millimeters-are nearly impossible to see with the naked eye. Visual inspection alone misses a huge percentage of them. That’s why techniques like shaking, tugging, and vacuuming are standard. Here’s how pros do it:
- Turn out pockets and cuffs: Glass loves to hide in folds. Turn everything inside out over a clean collection surface.
- Shake and tug: Gently shake the garment while pulling at seams. This dislodges embedded particles.
- Scrape carefully: Use a soft brush or scraper to lift particles from hard surfaces like shoe soles or tool handles.
- Vacuum with caution: Vacuuming is efficient for tiny particles, but it can also suck up dust and fibers that clog filters or mix with your evidence. Always change bags or clean filters between samples.
Cross-contamination is the enemy here. If you process a suspect’s jacket and then immediately touch a known sample from the scene without changing gloves, you’ve just ruined the case. Keep all questioned samples completely separate from known samples at every stage-from collection to packaging to lab analysis.
Physical Fit: The Ultimate Proof
Imagine two pieces of a jigsaw puzzle. If they fit together perfectly, you don’t need a microscope to prove they came from the same box. In forensics, this is called physical fit analysis, and it’s the most conclusive type of evidence you can get.
If a large shard found on a suspect’s shoe fits exactly into the hole left in the window pane, that’s a direct association. No statistical probability needed-it’s a binary yes or no. However, physical fit only works if:
- The original fracture edges are preserved (no chipping or wear).
- You have enough of the original source to compare against.
- The glass wasn’t tempered (tempered glass shatters into uniform small pieces, making fitting impossible).
When physical fit isn’t possible-which is most of the time-you move to microscopic and chemical comparisons.
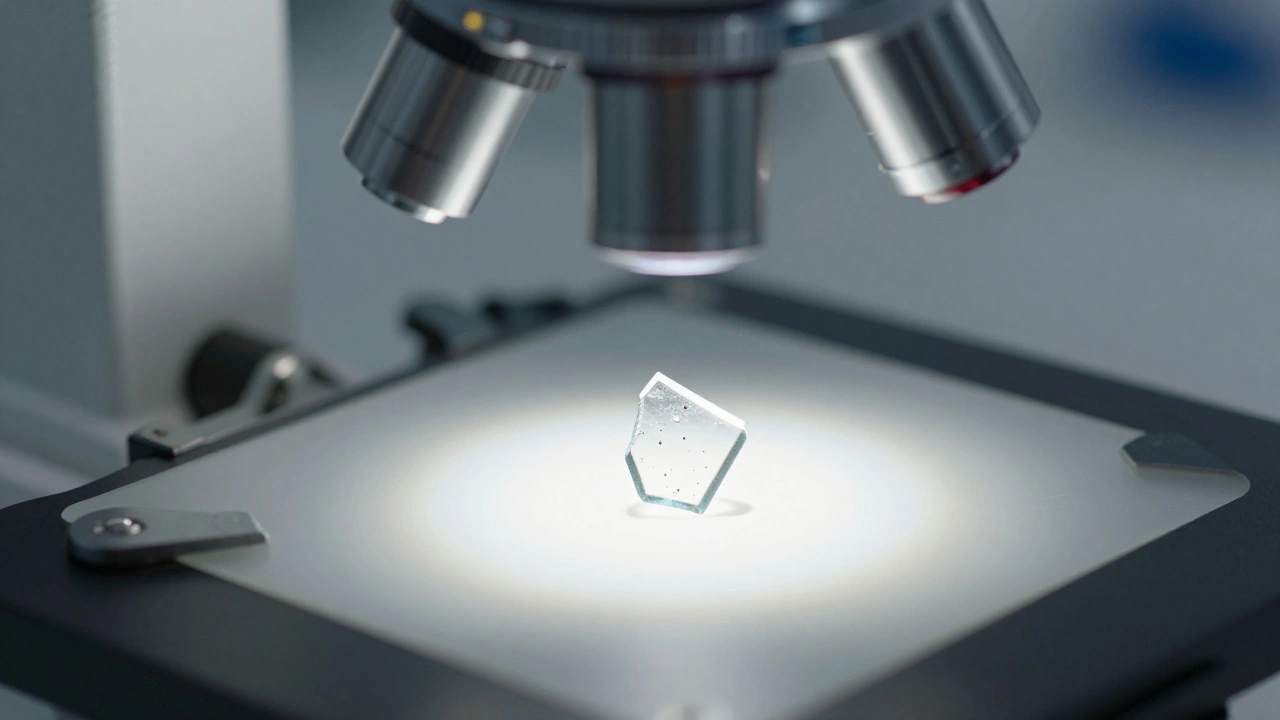
Microscopic Examination: Seeing the Invisible
Before running expensive tests, examiners look at the glass under a stereomicroscope. They check for:
- Color: Even slight differences in tint can exclude a match. Compare fragments side-by-side on edge over a white background using natural light.
- Fracture patterns: Look for radial or concentric cracks that indicate impact direction.
- Inclusions and bubbles: Tiny air bubbles or mineral specks trapped during manufacturing can be unique identifiers.
- Layer structures: Laminated glass shows distinct layers; coated glass may show reflective films.
Transmitted light microscopy is especially useful here. By shining light through the fragment, you can see internal features that reflected light would miss. This step doesn’t prove a match, but it can quickly rule out obvious mismatches, saving time and resources.
Refractive Index: The Core Measurement
If color and shape don’t give you answers, you measure the refractive index (RI). This is how much light bends as it passes through the glass. Every batch of glass has a slightly different RI based on its chemical composition.
To measure RI accurately, you immerse the glass fragment in a liquid with a known RI and heat it until the boundary between the glass and liquid disappears (the Becke line vanishes). The temperature at which this happens corresponds to the RI value.
Here’s the critical protocol from the U.S. Department of Justice Office of Justice Programs (OJP):
- Take at least 30 measurements from at least 10 different fragments of the known sample.
- Why so many? Glass isn’t perfectly uniform. Tempered glass, in particular, has density variations across its surface. One measurement isn’t enough.
- Comparison criterion: Use a range overlap method. If the ranges of RI values from the questioned and known samples overlap significantly, they may share a common origin.
Studies show that following this protocol keeps false exclusion rates below 3% and false inclusion rates below 9%. That’s pretty reliable, but it’s not perfect. Which is why we add another layer: elemental analysis.

Elemental Analysis: Checking the Chemical Recipe
Glass is made of silica, soda, lime, and various additives. The exact mix depends on the manufacturer and purpose. Techniques like micro X-ray fluorescence (µXRF), Scanning Electron Microscopy with Energy Dispersive X-ray (SEM-EDX), and Inductively Coupled Plasma (ICP) analysis reveal the elemental fingerprint.
µXRF is non-destructive and fast. You place the fragment under the instrument, and it spits out a spectrum of elements present. For aluminosilicate glass (common in automotive and architectural applications), researchers recommend a modified 5-second comparison criterion for element ratios. This approach yields false exclusion rates under 4% and false inclusion rates under 0.5%.
Combining RI and elemental data gives you a powerful dual-check system. If both methods point to a match, the confidence level skyrockets. If they disagree, you dig deeper-maybe the glass is coated, layered, or from a specialized manufacturing process.
Packaging and Chain of Custody
All your careful work means nothing if the evidence gets mixed up in transit. Packaging rules are strict:
- Separate containers: Each known sample goes in its own envelope or bag. Never mix samples from different windows or vehicles.
- Rigid protection: Small fragments go in rigid boxes or padded envelopes to prevent crushing.
- Clear labeling: Include source location, date, collector name, and diagram references.
- Chain of custody log: Document every person who handles the evidence, when, and why.
Even tears or cuts in packaging bags must be noted. A compromised package raises doubts about contamination or tampering.
Common Pitfalls to Avoid
Even experienced investigators make mistakes. Watch out for these:
- Ignoring multi-source potential: A suspect might have glass from several locations on their clothes. Assume multiple origins until proven otherwise.
- Under-sampling known sources: Taking one tiny chip from a large window won’t represent the whole pane’s variability.
- Mixing laminated layers: Treating both sides of a windshield as one sample ignores structural differences.
- Skipping preliminary screening: Rushing to expensive tests without checking color or size first wastes resources.
How many glass fragments should I collect for a known sample?
Aim for at least 10 fragments totaling around 30 measurable points. This ensures you capture natural variations in refractive index and elemental composition, especially important for tempered glass where properties vary by location.
Can I use vacuuming to collect glass from clothing?
Yes, but with caution. Vacuuming efficiently recovers sub-millimeter particles, but it can also pull in dust and fibers that contaminate your sample. Always use fresh filter bags and clean equipment between cases to avoid cross-contamination.
What is the most conclusive way to link glass to a source?
Physical fit analysis is the gold standard. If two pieces interlock perfectly like puzzle pieces, they definitively originated from the same object. However, this only works with large, unbroken edges and non-tempered glass.
Why do I need to label inside and outside surfaces of glass?
Labeling helps determine the direction of force applied during breakage. Fracture patterns differ depending on whether the impact came from inside or outside. It also aids in reconstructing the sequence of events if multiple breaks occurred.
Is refractive index testing destructive?
No, measuring refractive index via immersion methods is non-destructive. The glass fragment remains intact after testing. Destructive methods like ICP analysis require dissolving the sample, so they’re used only when necessary and after non-destructive options are exhausted.
How does tempered glass complicate forensic analysis?
Tempered glass shatters into small, uniform cubes, preventing physical fit analysis. Additionally, its refractive index varies across the surface due to heat treatment, requiring multiple measurements from different areas to establish a reliable profile.