You might think your main job at a fire scene is just to put out the flames and get people out safely. While that's absolutely the priority, the moments after you arrive-and even the minutes you spend driving toward the smoke-are the most critical for the legal outcome of the case. By the time a professional investigator pulls up, the scene has changed. Water has shifted debris, ventilation has altered burn patterns, and bystanders may have stepped on crucial evidence. This is why fire scene documentation by the first unit on site isn't just a chore; it's the foundation of the entire investigation.
The goal here isn't for you to play detective or solve the crime on the spot. Your job is to be a human camera. You are recording what is actually there, not what you think it means. If you see a gas can near the door, you don't write "arson suspect left a can"; you write "one red 5-gallon plastic container located 3 feet from the north entrance." Descriptive facts are gold; conclusions are guesses that can fall apart in court.
The Pre-Arrival Phase: Observation Starts Now
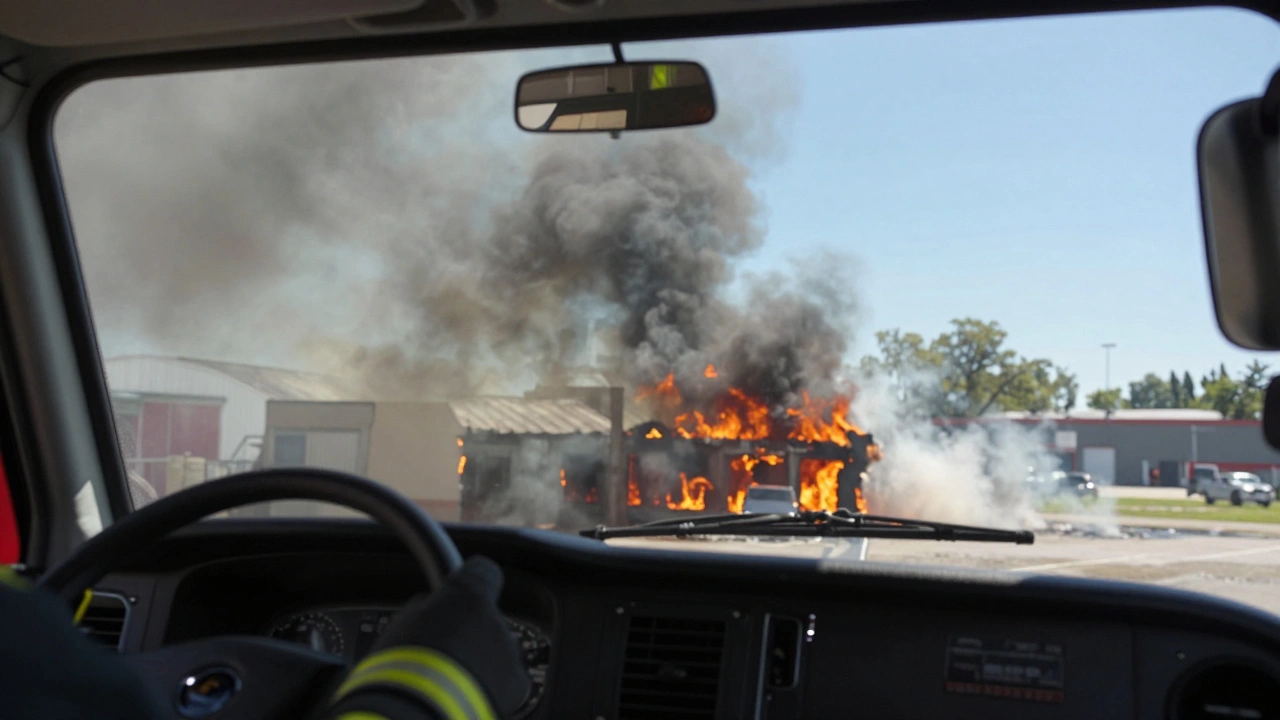
Documentation doesn't start when you step off the rig; it starts the second you see smoke on the horizon. What you notice while approaching the scene often disappears by the time the fire is knocked down. As you drive in, take mental or voice notes of the overall environment. Are there cars speeding away from the scene? Is there a crowd of bystanders acting strangely? Is the smoke a heavy, oily black or a light grey?
These initial details help investigators determine the fuel source. For example, thick black smoke often suggests petroleum-based accelerants, while grey or white smoke might indicate wood or paper. If you notice a vehicle leaving the area in a hurry, jot down the make, model, and license plate if possible. These are the "invisible" clues that professional investigators can't find once the scene is secured.
The First Responder's Documentation Checklist
Once the scene is safe and the immediate life-safety threats are handled, you need to transition into a systematic observation mode. According to standards from the National Interagency Fire Center, there are six core responsibilities every responder should hit. To keep it simple, think of it as a process of moving from the big picture to the small details.
| Observation Area | What to Document | Why it Matters |
|---|---|---|
| General Conditions | Flame color, smoke type, fire behavior | Identifies potential fuel sources |
| Security Systems | Status of alarms and sprinklers | Shows if safety systems were disabled |
| Environmental Data | Wind speed, temperature, humidity | Helps reconstruct fire spread |
| People/Witnesses | Names, locations, roles of bystanders | Provides leads for interviews |
| Physical Evidence | Unusual objects, ignition sources | Directly links to the cause of fire |
| Scene Access | Log of everyone who enters the site | Prevents evidence contamination |
Capturing the Environment and Weather
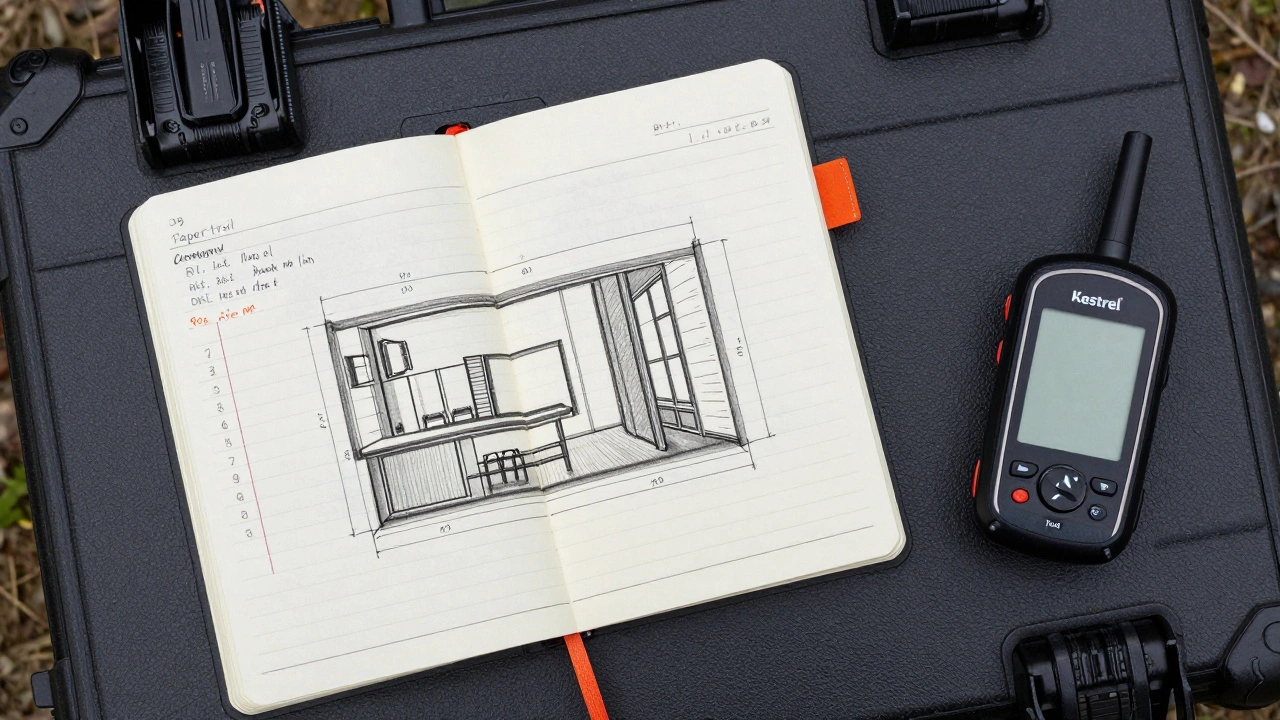
It sounds tedious, but recording the weather is non-negotiable. Wind direction and speed can completely change how a fire moves through a structure or a forest. If you're using a digital weather instrument, don't just write "Wind 10mph." Write "Wind 10mph via [Brand Name] Kestrel meter." This creates a chain of traceability that prevents a defense attorney from questioning the accuracy of your data.
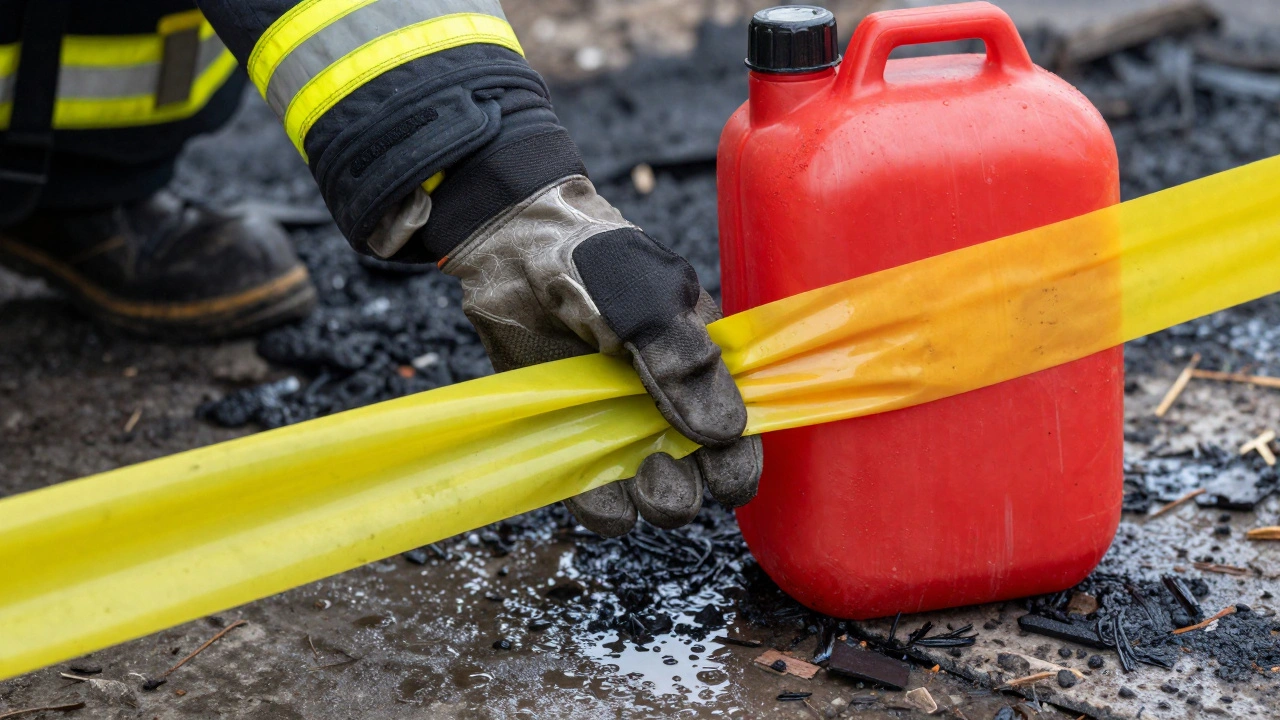
Beyond the weather, look at the perimeter. Who is standing where? If a witness is pointing frantically at a specific spot, mark that spot. Use flagging tape-preferably yellow ribbon-to mark evidence locations immediately. This doesn't just save the evidence; it tells other crews, "Don't park the truck here" and "Don't walk through this area."
Identifying and Protecting Physical Evidence
You aren't expected to be a forensics expert, but you should be alert for things that seem "out of place." This includes things like timers, unusual containers, or patterns of fire that don't make sense (like multiple separate fire starts in different rooms). When you find something, the rule is simple: over-document everything.
If you have to move something to save a victim or put out a fire, you must document exactly what you touched and where it was originally. If you dragged a victim across a floor, note that you may have disturbed debris in that specific path. Use sketches and simple diagrams. A quick drawing showing the distance from the front door to a suspicious piece of debris is far more useful than a vague note saying "it was near the door."
For high-accuracy location tracking, use a GPS unit. Documenting the exact coordinates of the general origin area ensures that investigators can find the exact spot, even if the scene is cluttered with salvage equipment or debris.
Spotting the Signs of Arson
While your goal is observation, knowing what an intentionally set fire looks like helps you know what to document. You're looking for "indicators." This could be the smell of gasoline in an area where no fuel should be, or fire patterns that suggest the fire moved in an unnatural way.
Pay close attention to how the fire reacts to water. Does it flare up? Does it seem to be burning deeper than a normal fire should? Document these reactions. When you identify a potential ignition source, don't touch it if you can avoid it; instead, mark it with tape and notify the Incident Commander immediately. Your ability to recognize these red flags is what turns a "simple" fire into a successful criminal prosecution.
Managing the Scene and the Paper Trail
A scene that isn't controlled is a scene that's contaminated. As soon as the immediate danger is gone, establish a security perimeter using barrier tape or sentries. Keep a strict access log. If the Chief, the Mayor, or a curious neighbor walks into the scene, their name and time of entry go on the list. Why? Because if a piece of evidence is moved, the log tells the investigator who was in the vicinity.
Your field notes are the primary record. Whether you use a notebook, a voice recorder, or a digital tablet, ensure your notes are chronological. A timeline of events-from the first 911 call to the final knockdown-is essential. This record eventually feeds into the National Fire Incident Reporting System (NFIRS), and any gaps in your notes are gaps in the official history of the incident.
What should I do if I have to move evidence to save a life?
Life safety always comes first. If you must move a piece of evidence or disturb a scene to perform rescue or suppression, simply document exactly what was moved, where it was originally located, and where it ended up. This allows investigators to "reverse" the change in their minds during reconstruction.
Is a voice recording enough for initial documentation?
Voice recordings are great for capturing real-time observations while your hands are busy, but they should be supplemented with written field notes and photos. A combination of formats (written, audio, and visual) provides the strongest evidentiary support in court.
How do I distinguish between an observation and a conclusion?
An observation is what you see: "The carpet is charred in a V-pattern on the north wall." A conclusion is what you think it means: "The fire started at the north wall." Stick to the observation. Let the certified fire investigator draw the conclusion based on your data.
Why is the color of the smoke so important to document?
What is the best way to mark evidence on a chaotic scene?
Use bright yellow flagging tape or fire line tape. Place the tape around the item to create a "no-go zone" for other personnel and vehicles. Pair this with a quick sketch in your field notes to ensure the location is preserved even if the tape is accidentally moved.
Next Steps for Field Application
If you're heading back into the field tomorrow, start by auditing your gear. Ensure you have a reliable way to take notes (waterproof notebooks are best) and that your GPS and weather tools are calibrated. Practice a "mental walk-through" of a scene: look for the perimeter, check the alarms, and scan for anomalies.
For those in leadership roles, encourage your crews to embrace "over-documentation." It's a lot easier for an investigator to ignore a useless detail in a report than it is for them to find a piece of evidence that was never recorded and was subsequently washed away by a hose stream.